
As I rummaged through my pantry, I unearthed a tub of Greek yogurt that was begging to be used. Inspired, I whipped up a batch of Fudgy Greek Yogurt Blondie Brownies that would rival any dessert shop treat. These brownies not only satisfy that sweet tooth with their rich, fudgy texture, but they also bring a delightful nutty essence from creamy peanut butter. What’s even better? They’re a high-protein, gluten-free option that allows you to indulge without the guilt. Quick to prepare and easy to enjoy, these brownies are perfect for those evenings when you’re craving a homemade treat but don’t want to spend hours in the kitchen. Curious how to make these delectable goodies? Let’s dive into the recipe together!
Why are Greek Yogurt Blondies so irresistible?
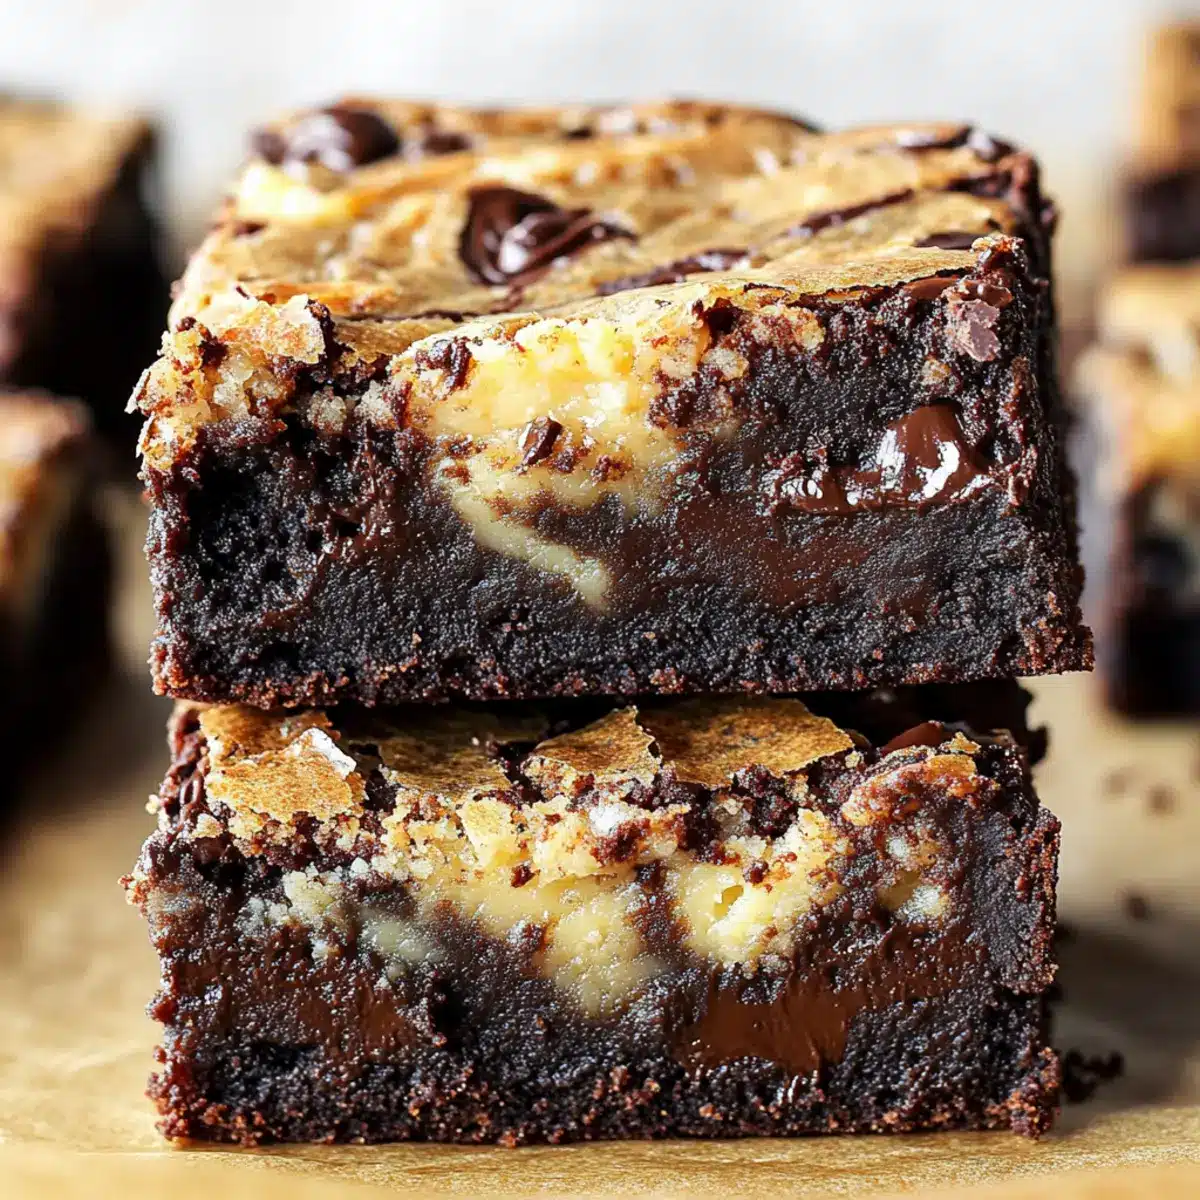
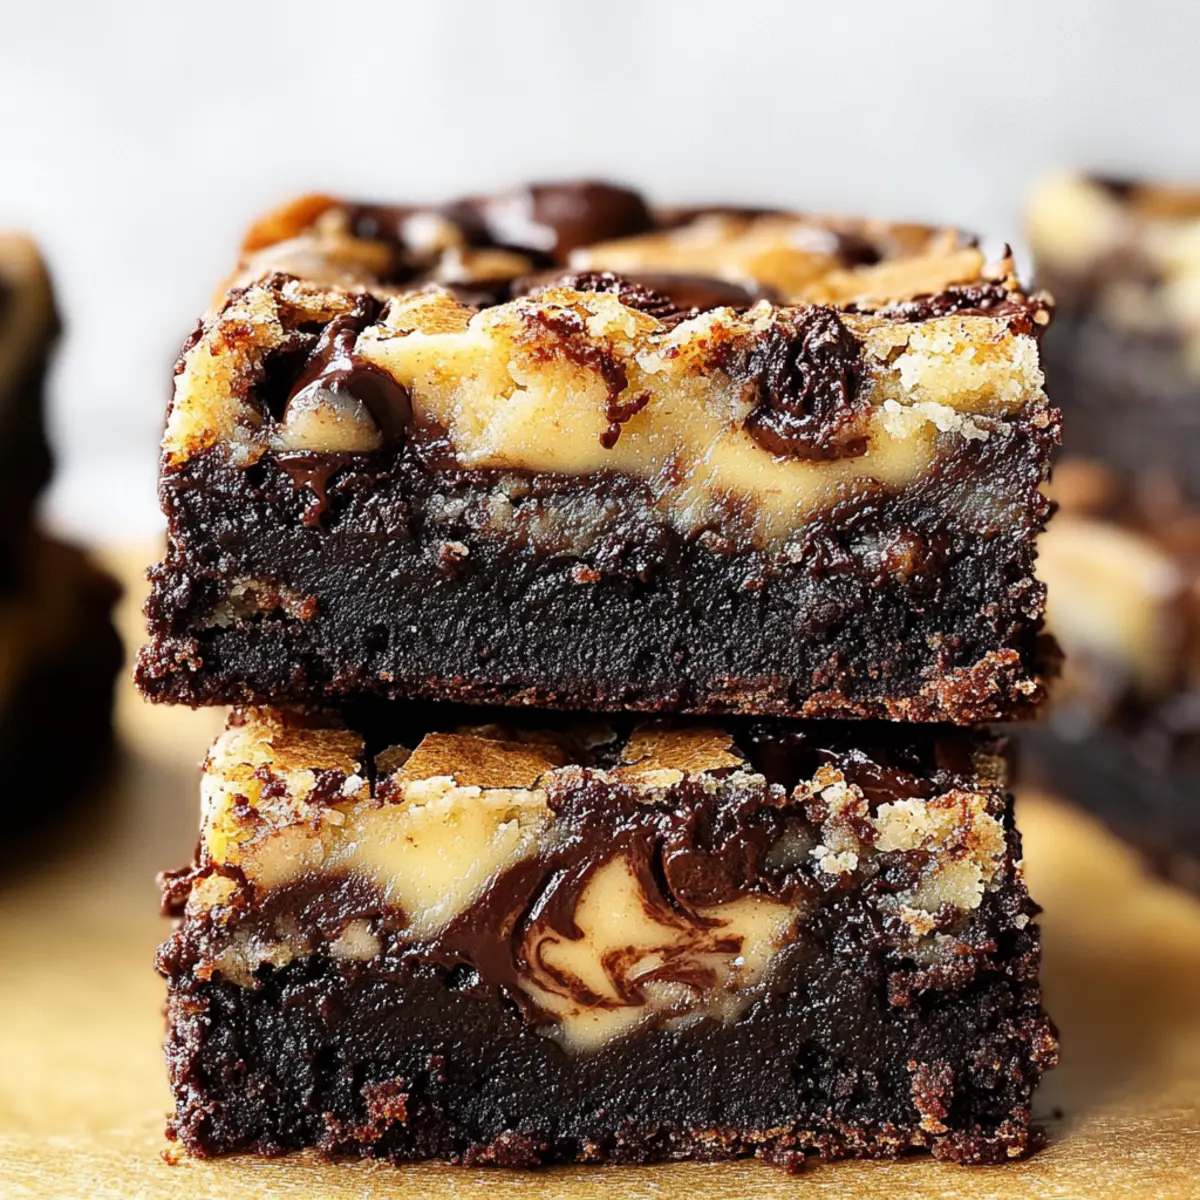
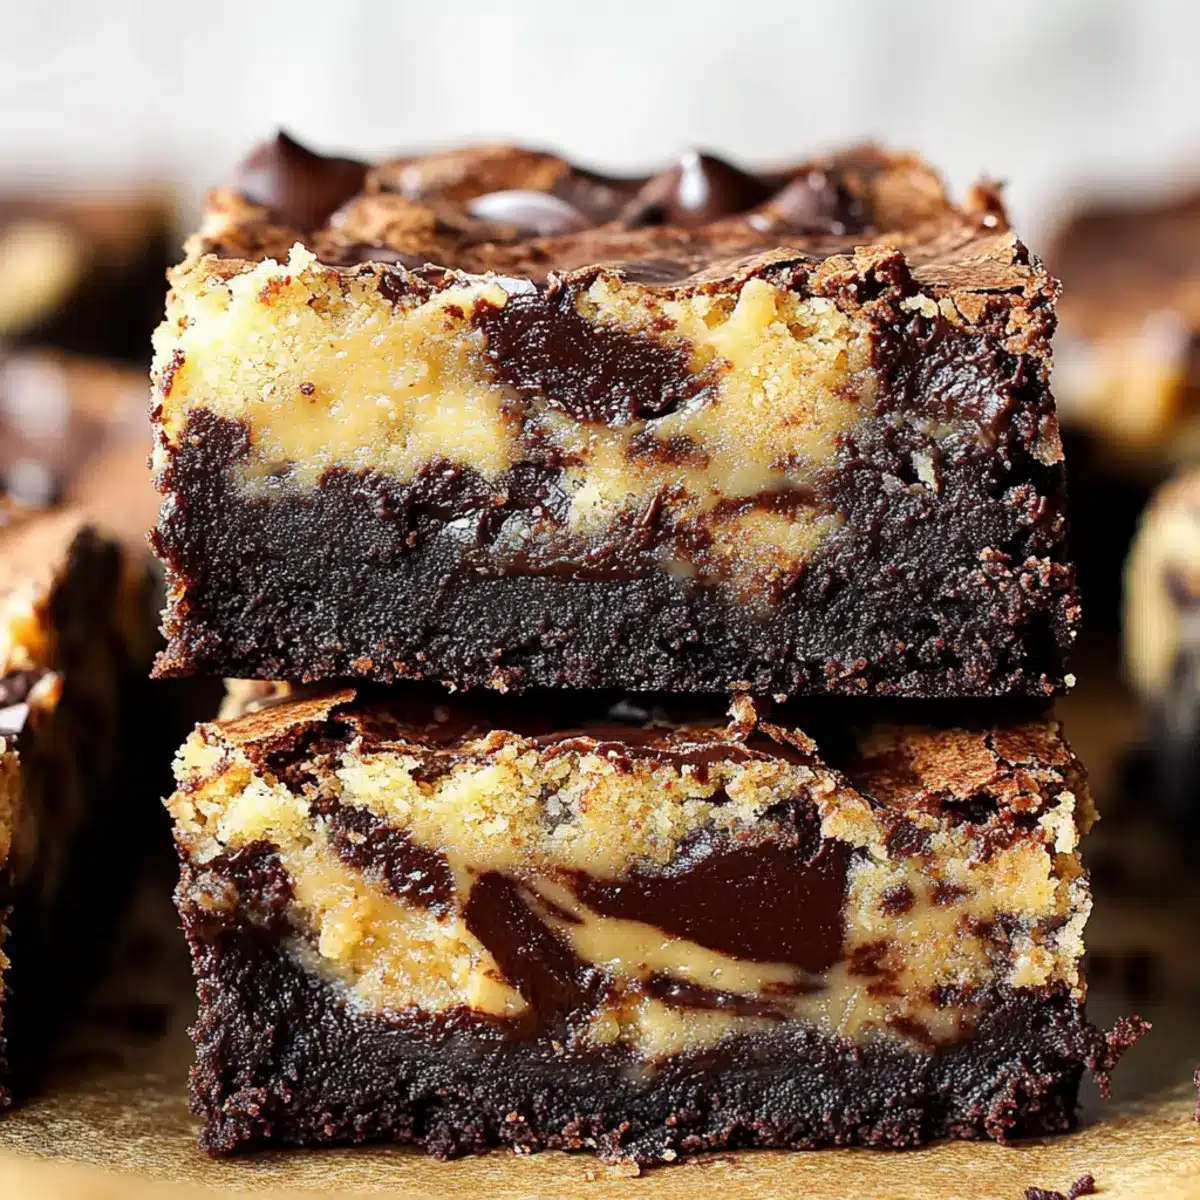
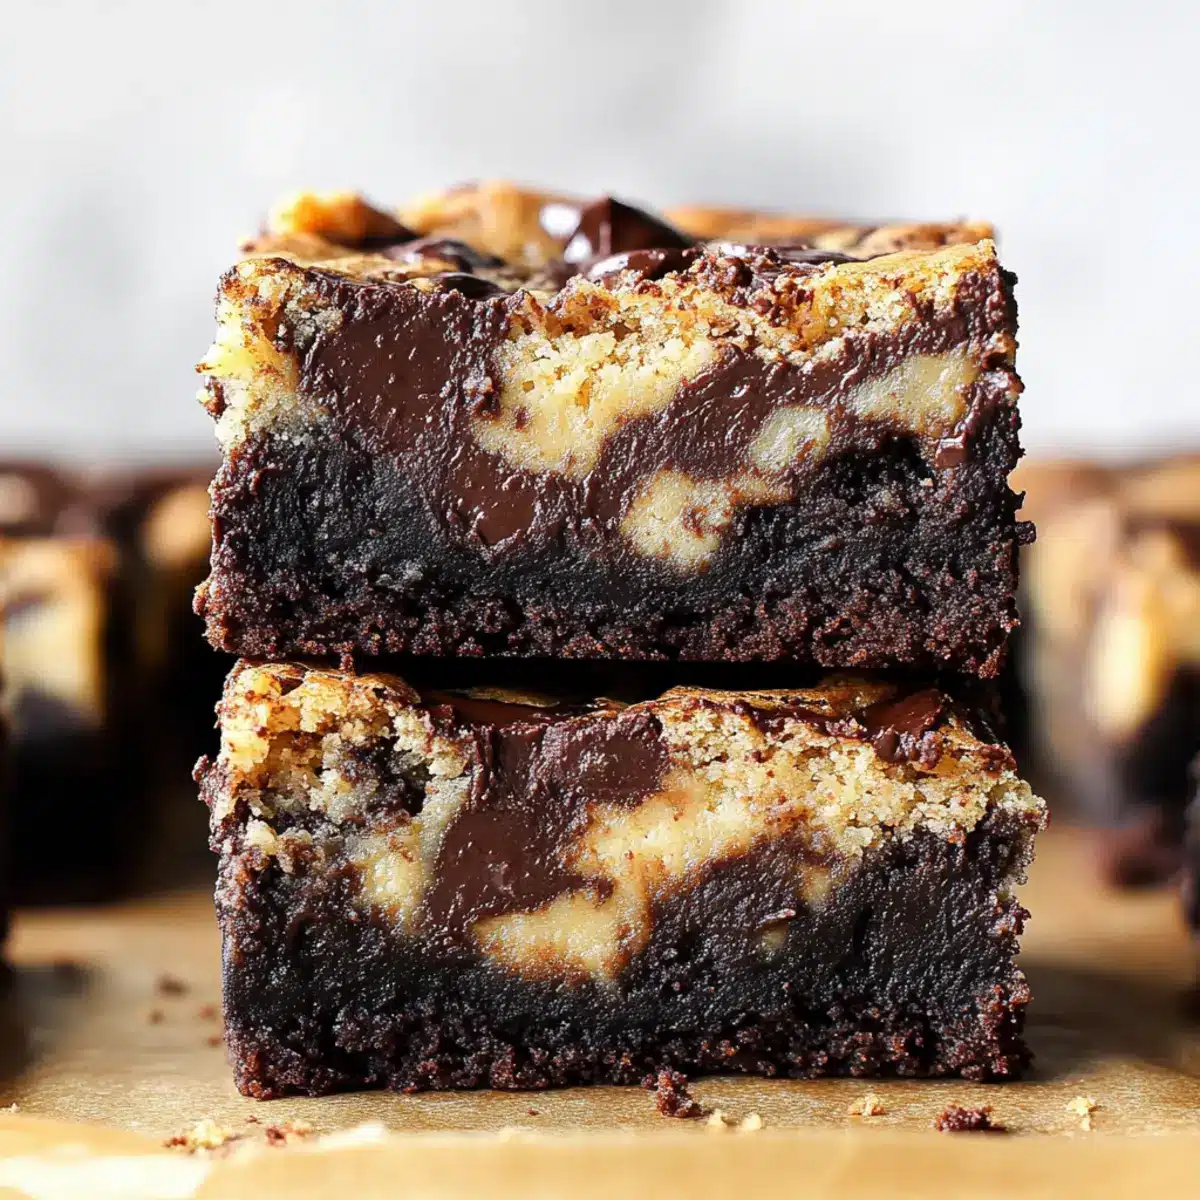
Rich, Fudgy Texture: These brownies boast a decadently moist and fudgy texture that will keep you craving more.
High-Protein Delight: With Greek yogurt in the mix, you get a protein boost in your dessert, making them a guilt-free indulgence.
Simple Preparation: Quick to whip up, they’re perfect for busy nights when a homemade treat is on your mind.
Versatile Ingredients: Feel free to adapt this recipe with flavors you love, whether it’s a nut butter swap or adding your favorite mix-ins like nuts or dried fruits.
Crowd-Pleasing Flavor: Perfect for gatherings, these brownies are sure to impress; pair them with a scoop of vanilla ice cream for an extra special touch.
Guilt-Free Indulgence: Indulging in these brownies is easier on your conscience, allowing you to satisfy your sweet tooth without straying from your health goals! Give these delicious Greek Yogurt Blondie Brownies a try, and you won’t be disappointed!
Greek Yogurt Blondie Brownies Ingredients
For the Batter
• Thick Greek Yogurt – Adds creaminess and moisture while boosting protein content. Substitute with unsweetened plain yogurt or dairy-free yogurt for a vegan option.
• Maple Syrup – Sweetener with a unique flavor. Can be replaced with honey or agave nectar, or a sugar-free alternative to lower carbs.
• Crunchy Peanut Butter – Provides texture and richness. Can be swapped with smooth peanut butter, almond butter, or sunflower seed butter for a nut-free version.
• Oat Flour – Main flour component, naturally gluten-free. Substitute with almond flour or another gluten-free flour if desired.
• Baking Powder – Leavening agent ensuring the brownies rise properly.
• Salt – Enhances flavor balance; use in moderation.
• Cocoa Powder – Offers chocolate flavor; Dutch-processed cocoa can enhance richness.
• Dark Chocolate, Chopped – Adds decadence and texture. Can be substituted with semi-sweet chocolate chips or cacao nibs.
For Storage
• Airtight Container – Store leftovers in an airtight container at room temperature for up to 3 days or in the refrigerator for 7 days.
These Greek Yogurt Blondie Brownies are just waiting to be made, showcasing delicious flavors and nutritious ingredients!
Step‑by‑Step Instructions for Greek Yogurt Blondie Brownies
Step 1: Preheat the Oven
Begin by preheating your oven to 350°F (or 320°F for a fan oven). While the oven heats, line an 8×8-inch square baking dish with parchment paper, allowing some overhang for easy removal later. This preparation will help your Greek Yogurt Blondie Brownies achieve a perfect, fudgy texture without sticking.
Step 2: Mix the Wet Ingredients
In a medium mixing bowl, combine 1 cup of thick Greek yogurt, 1/2 cup of maple syrup, and 1/2 cup of crunchy peanut butter. Use a whisk or spatula to mix until the mixture is smooth and creamy, with no lumps. This step will create a flavorful, protein-packed base for your brownies, enhancing their rich taste.
Step 3: Combine the Dry Ingredients
In another bowl, sift together 1 cup of oat flour, 1 teaspoon of baking powder, and 1/4 teaspoon of salt. Stir these dry ingredients until they are well blended. This ensures an even distribution of the leavening agent and salt, which is crucial for the right texture in your Greek Yogurt Blondie Brownies.
Step 4: Form the Batter
Gradually add the dry mixture to the wet ingredients, stirring gently until the ingredients are combined into a thick batter. If the batter feels too stiff, don’t hesitate to add a small splash of milk to achieve a smooth consistency. This rich batter will have the ideal texture for baking fudgy blondies.
Step 5: Create the Cocoa Mix
Separate approximately two-thirds of the blended batter and place it into a separate bowl. To this portion, add 1/4 cup of cocoa powder and a bit more Greek yogurt if necessary, mixing until fully combined. This chocolaty batter will create a beautiful contrast within your Greek Yogurt Blondie Brownies.
Step 6: Fold in the Chocolate
In the remaining one-third of the batter, gently fold in 1/2 cup of chopped dark chocolate, making sure to leave some for topping. This step adds delightful pockets of rich chocolate flavor throughout your brownies, elevating your dessert to a new level of decadence.
Step 7: Layer the Cocoa Batter
Spread the cocoa batter evenly across the bottom of the prepared baking dish, gently leveling it out with a spatula. This will serve as your brownie base and gives a beautiful foundation for the lighter batter, making each bite a luscious treat.
Step 8: Add the Light Batter and Swirl
Pour the lighter batter over the cocoa layer, spreading it evenly. Use a knife or a skewer to gently swirl the two batters together, creating a marbled effect. This visual appeal makes the Greek Yogurt Blondie Brownies not only taste amazing but also look enticing.
Step 9: Top and Bake
Sprinkle the reserved chopped chocolate on top of the batter for an extra indulgent touch. Place the baking dish into the preheated oven and bake for about 30 minutes. The edges should be set, while a toothpick inserted into the center comes out slightly moist, ensuring a fudgy texture.
Step 10: Cool and Slice
Once baked, remove the dish from the oven and allow it to cool completely at room temperature. Once fully cooled, lift the brownies out using the parchment paper and cut them into squares. This cooling process is essential for clean cuts and the ultimate fudgy experience of your Greek Yogurt Blondie Brownies.
Greek Yogurt Blondie Brownies Variations
Feel free to get creative and personalize your Greek Yogurt Blondie Brownies with these delightful variations!
-
Nut-Free: Substitute crunchy peanut butter with sunflower seed butter for a nut-free version that maintains that creamy richness.
This swap allows anyone with nut allergies to enjoy these fudgy treats without compromising on flavor. -
Dairy-Free Delight: Use coconut yogurt instead of Greek yogurt to create a creamy base that’s completely dairy-free.
This adaptation adds a subtle tropical flair to the brownies while keeping them high in protein. -
Sugar-Free Option: Replace maple syrup with sugar-free sweeteners like erythritol or monk fruit for a guilt-free treat.
This variation is perfect for those watching their sugar intake but still wanting to enjoy a sweet, fudgy dessert! -
Extra Crunch: Mix in some chopped walnuts or pecans into the batter for added texture and a delightful nutty flavor.
The crunchiness of the nuts complements the fudgy brownies beautifully—perfect for nut lovers! -
Chocolate Overload: For the ultimate chocolate experience, fold in dark chocolate chips instead of, or alongside, chopped dark chocolate.
Every bite will be a heavenly chocolate explosion that satisfies even the most intense cravings! -
Fruity Swirl: Add in a swirl of natural fruit puree, like strawberry or raspberry, before baking for a fruity twist.
This fruity addition not only enhances flavor but also adds beautiful color and vitamins to the brownies. -
Slightly Spicy: For a hint of warmth, incorporate a pinch of cayenne pepper or ground cinnamon into the batter.
This unexpected twist adds depth and can transform these brownies into a unique dessert experience. -
Custom Mix-ins: Don’t hesitate to experiment with mix-ins such as dried cranberries or cacao nibs for a delightful texture and taste.
It’s an easy way to customize flavors and make these Greek Yogurt Blondie Brownies truly your own!
For more delicious options, check out these delectable Gluten Free Brownies that cater to various dietary needs!
Expert Tips for Greek Yogurt Blondie Brownies
-
Thick Batter is Best: Ensure your batter is thick; if it feels too dry, a splash of milk can help achieve the right consistency for your Greek Yogurt Blondie Brownies.
-
Cool Before Slicing: Allow the brownies to cool completely before slicing for clean edges. This prevents them from crumbling and ensures each piece is a fudgy delight.
-
Proper Storage: Store leftovers in an airtight container at room temperature for up to 3 days or in the refrigerator for a week. Reheat briefly for a warm treat that feels freshly baked.
-
Experiment with Flavors: Feel free to swap ingredients like nut butters or flours based on your preferences. Variations not only enhance your brownies but also personalize them to your taste.
-
Resist the Urge to Overbake: Keep an eye on the baking time; overbaking can lead to dry brownies. For the best fudgy texture, a toothpick should come out slightly moist when done.
What to Serve with Fudgy Greek Yogurt Blondie Brownies
Elevate your dessert experience with delightful pairings that enhance every rich, fudgy bite of these brownies.
-
Vanilla Ice Cream: The creamy richness of vanilla ice cream complements the brownies’ fudgy texture, creating a heavenly contrast.
-
Fresh Berries: A burst of tartness from strawberries or raspberries balances the sweetness, bringing a fresh element to your plate.
-
Caramel Drizzle: Drizzling warm caramel sauce over the top adds indulgent sweetness and a luxurious touch to each slice.
-
Cold Milk: A classic pairing that never fails, a chilled glass of milk enhances the brownies’ decadence while providing a nostalgic comfort.
-
Peanut Butter Sauce: A dollop of peanut butter sauce on top deepens the nutty flavor profile and adds a delightful creamy texture.
-
Coffee: The rich, bold flavor of a good brew awakens the chocolate notes, making each bite even more satisfying.
Embrace your creative flair by exploring these pairings, and don’t hesitate to experiment with your own favorites!
How to Store and Freeze Greek Yogurt Blondie Brownies
Room Temperature: Store in an airtight container at room temperature for up to 3 days to maintain freshness and fudginess.
Fridge: For longer shelf life, keep the brownies in the refrigerator for up to 7 days. Separate layers with parchment paper to prevent sticking.
Freezer: Freeze individually wrapped brownies for up to 3 months. Thaw in the fridge or at room temperature, then enjoy a delightful treat any time!
Reheating: To enjoy them warm, microwave for 10-15 seconds. This revitalizes the gooey texture and brings out the flavors of these delicious Greek Yogurt Blondie Brownies.
Make Ahead Options
These Greek Yogurt Blondie Brownies are perfect for meal prep enthusiasts! You can mix the wet and dry ingredients separately and combine them up to 24 hours in advance, storing each in airtight containers in the refrigerator to maintain freshness. If you prefer, you can also prepare the entire brownie batter and refrigerate it; just remember to let it sit at room temperature for about 30 minutes before spreading it in the baking dish. Bake them fresh when ready, and you’ll have rich, fudgy brownies with minimal last-minute effort. With these make-ahead tips, you’ll save valuable time on busy weeknights while enjoying a delicious homemade treat!
Greek Yogurt Blondie Brownies Recipe FAQs
What type of Greek yogurt should I use?
Absolutely! For the best results, opt for full-fat, thick Greek yogurt, which adds creaminess and moisture while also boosting the protein content of your brownies. If you’re looking for a lower-fat option, fat-free or low-fat Greek yogurt works fine as well. For a vegan alternative, unsweetened dairy-free yogurt can be substituted without compromising taste.
How should I store my Greek Yogurt Blondie Brownies?
Very important! Store any leftovers in an airtight container at room temperature for up to 3 days for optimal freshness. If you want to enjoy them longer, place them in the refrigerator, where they can last up to 7 days. Just ensure they are well-covered to maintain their fudginess!
Can I freeze these blondies?
Yes, indeed! To freeze your Greek Yogurt Blondie Brownies, first cut them into squares and wrap each piece tightly in plastic wrap or aluminum foil. Place the wrapped brownies in an airtight freezer bag or container, and they can be frozen for up to 3 months. When you’re ready to enjoy, simply thaw at room temperature or pop them in the fridge overnight.
What if my brownie batter is too thick?
No worries! If your batter turns out too thick while mixing, don’t hesitate to add a splash of milk—just a tablespoon or two should do the trick! This will help achieve the desired fudgy consistency. Remember, the goal is to have a thick but smooth batter that will bake beautifully.
Are Greek Yogurt Blondie Brownies suitable for people with nut allergies?
Absolutely! You can modify the recipe to make it nut-free by using sunflower seed butter in place of peanut butter. This ensures that everyone can enjoy these brownies without concern. Always check labels if you’re preparing them for someone with allergies, as cross-contamination can sometimes occur.
Can I use a different sweetener instead of maple syrup?
Yes, you can! If you’re not a fan of maple syrup or want to lower the carbs, honey, agave nectar, or even a sugar-free option can work wonderfully. Just remember that each sweetener has its own flavor profile, which might slightly alter the final taste of your Greek Yogurt Blondie Brownies, so choose according to your preference!
Greek Yogurt Blondie Brownies: Fudgy, High-Protein Bliss
Ingredients
Equipment
Method
- Preheat your oven to 350°F (or 320°F for a fan oven) and line an 8x8-inch baking dish with parchment paper.
- In a medium mixing bowl, combine 1 cup of thick Greek yogurt, 1/2 cup of maple syrup, and 1/2 cup of crunchy peanut butter.
- In another bowl, sift together 1 cup of oat flour, 1 teaspoon of baking powder, and 1/4 teaspoon of salt.
- Gradually add the dry mixture to the wet ingredients, stirring gently until combined into a thick batter.
- Separate approximately two-thirds of the batter and mix in 1/4 cup of cocoa powder.
- Fold in 1/2 cup of chopped dark chocolate into the remaining batter.
- Spread the cocoa batter evenly in the prepared dish.
- Pour the lighter batter over the cocoa layer and gently swirl to create a marbled effect.
- Sprinkle reserved chopped chocolate on top and bake for about 30 minutes.
- Allow to cool completely before lifting out and cutting into squares.
Leave a Reply