
“Are you ready for the ultimate weeknight dinner solution? This Honey Garlic Chicken promises not only a feast for your taste buds but also the satisfaction of home cooking. With tender chicken enveloped in a sticky, glossy glaze of honey, garlic, and soy sauce, this dish combines sweet and savory in the most delightful way. Best of all, it can be whipped up in just 25 minutes, making it a quick and easy family favorite. Whether served over rice or alongside crisp vegetables, it’s the kind of meal that brings everyone to the table—minus the fast-food guilt. So, what creative twists will you add to make this your own? Let’s dive into the recipe!”
What makes Honey Garlic Chicken special?
Simplicity at Its Best: This straightforward recipe requires minimal ingredients and simple techniques, making it accessible for chefs of all skill levels.
Flavor Explosion: The mouthwatering combination of honey and garlic creates a beautifully balanced dish that is both sweet and savory, ensuring it becomes a household favorite.
Quick Preparation: Ready in just 25 minutes, this Honey Garlic Chicken is perfect for busy weeknights—no need for fast food when you can have home-cooked goodness in a snap!
Versatile Delight: You can easily adapt this dish by adding your favorite vegetables, or switch to gluten-free soy sauce for an inclusive option. Pair it with fluffy rice or roasted veggies for a complete meal!
Crowd-Pleasing: This recipe guarantees to impress friends and family alike—everyone will be asking for seconds! Don’t forget to try it with sides like Garlic Chicken Gnocchi for an exciting twist.
Honey Garlic Chicken Ingredients
• Get ready to create a scrumptious meal!
For the Chicken
- Chicken (thighs or breasts) – Choose thighs for juiciness or breasts for a leaner option; both work wonderfully!
- Salt and Pepper – Essential seasonings to enhance the flavors; adjust to your taste.
For the Glaze
- Honey – The star ingredient that brings sweetness and a shiny finish to the dish.
- Garlic (minced) – Infuses deep, aromatic flavors; the more, the merrier!
- Soy Sauce – Provides umami richness; switch to tamari for a gluten-free option.
- Olive Oil – Used for searing the chicken, promoting a lovely golden-brown crust.
- Ginger (optional) – Adds a hint of warmth and spice; feel free to skip if desired.
For Thickening (Optional)
- Cornstarch – Mix with water to thicken your glaze; it’s a simple way to make it stick!
For Garnish
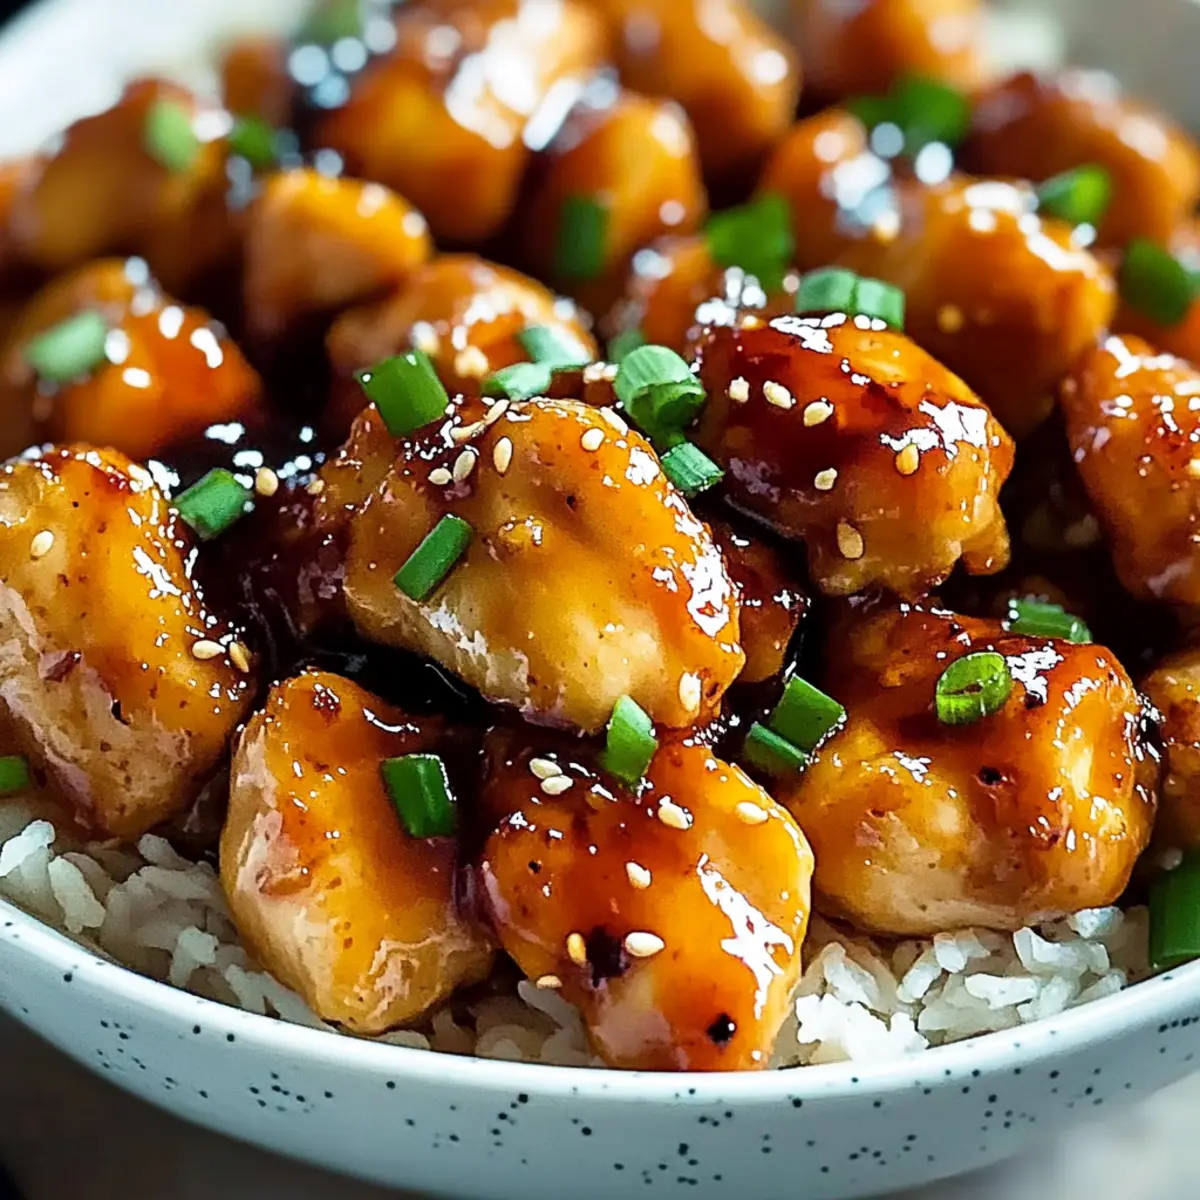
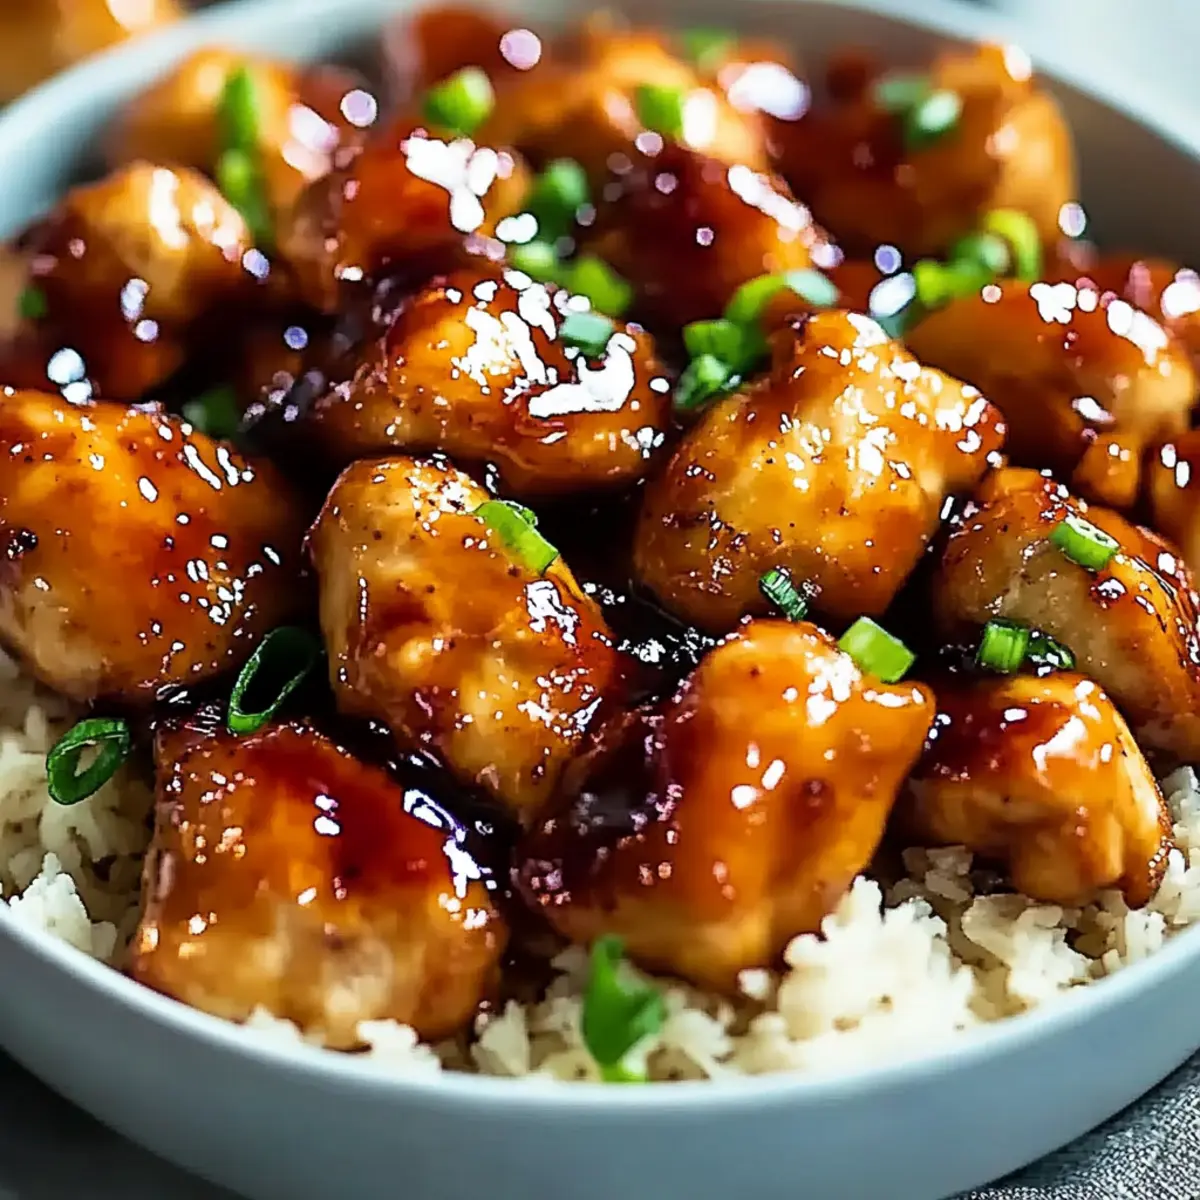
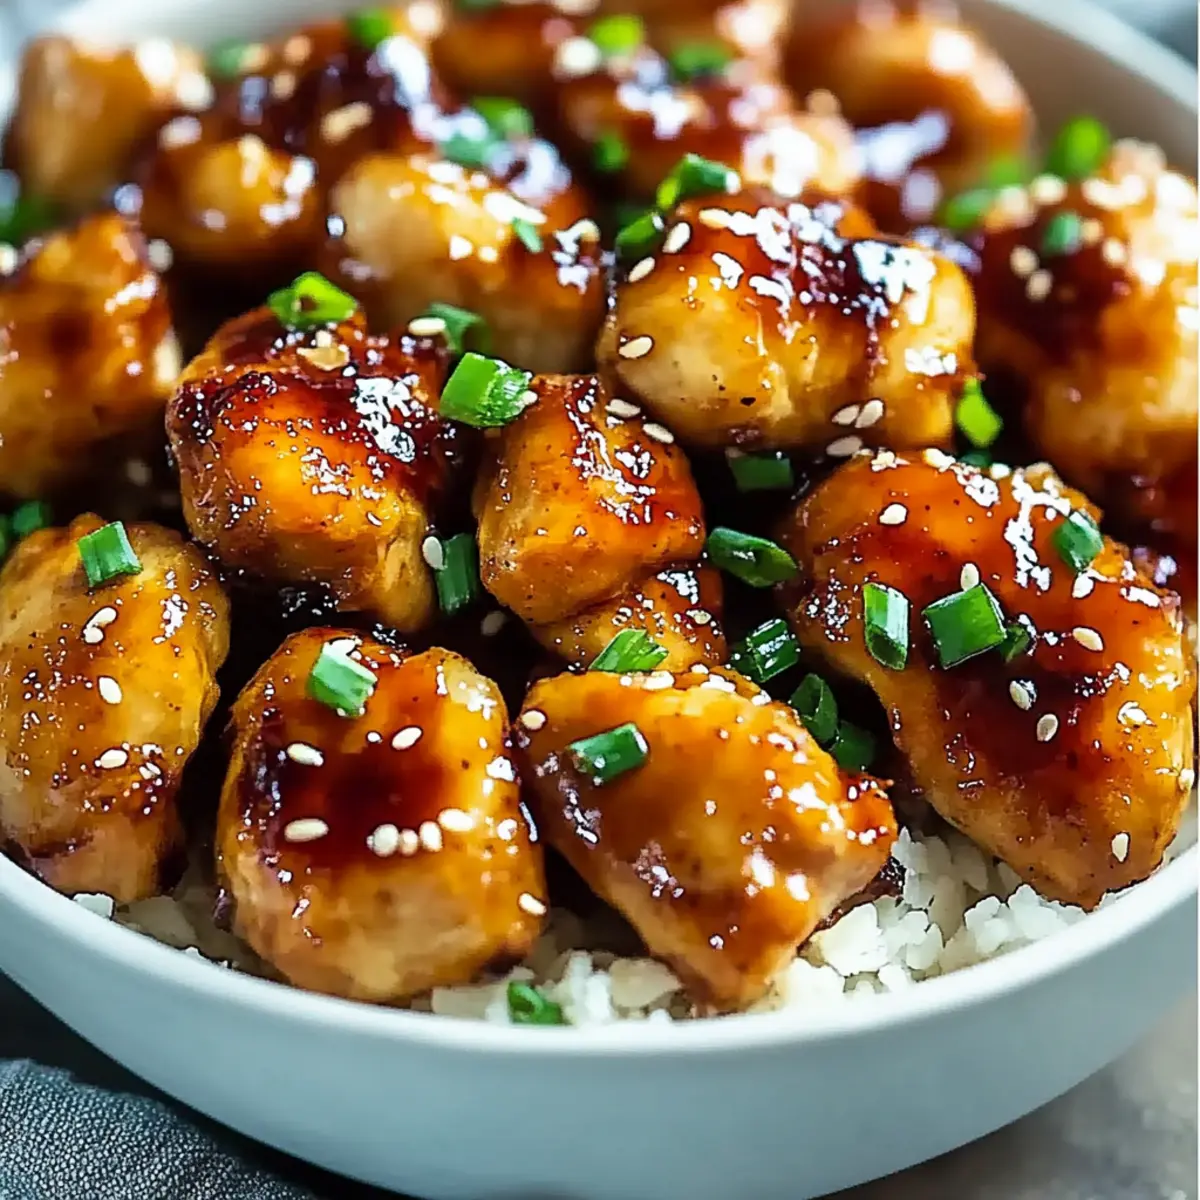
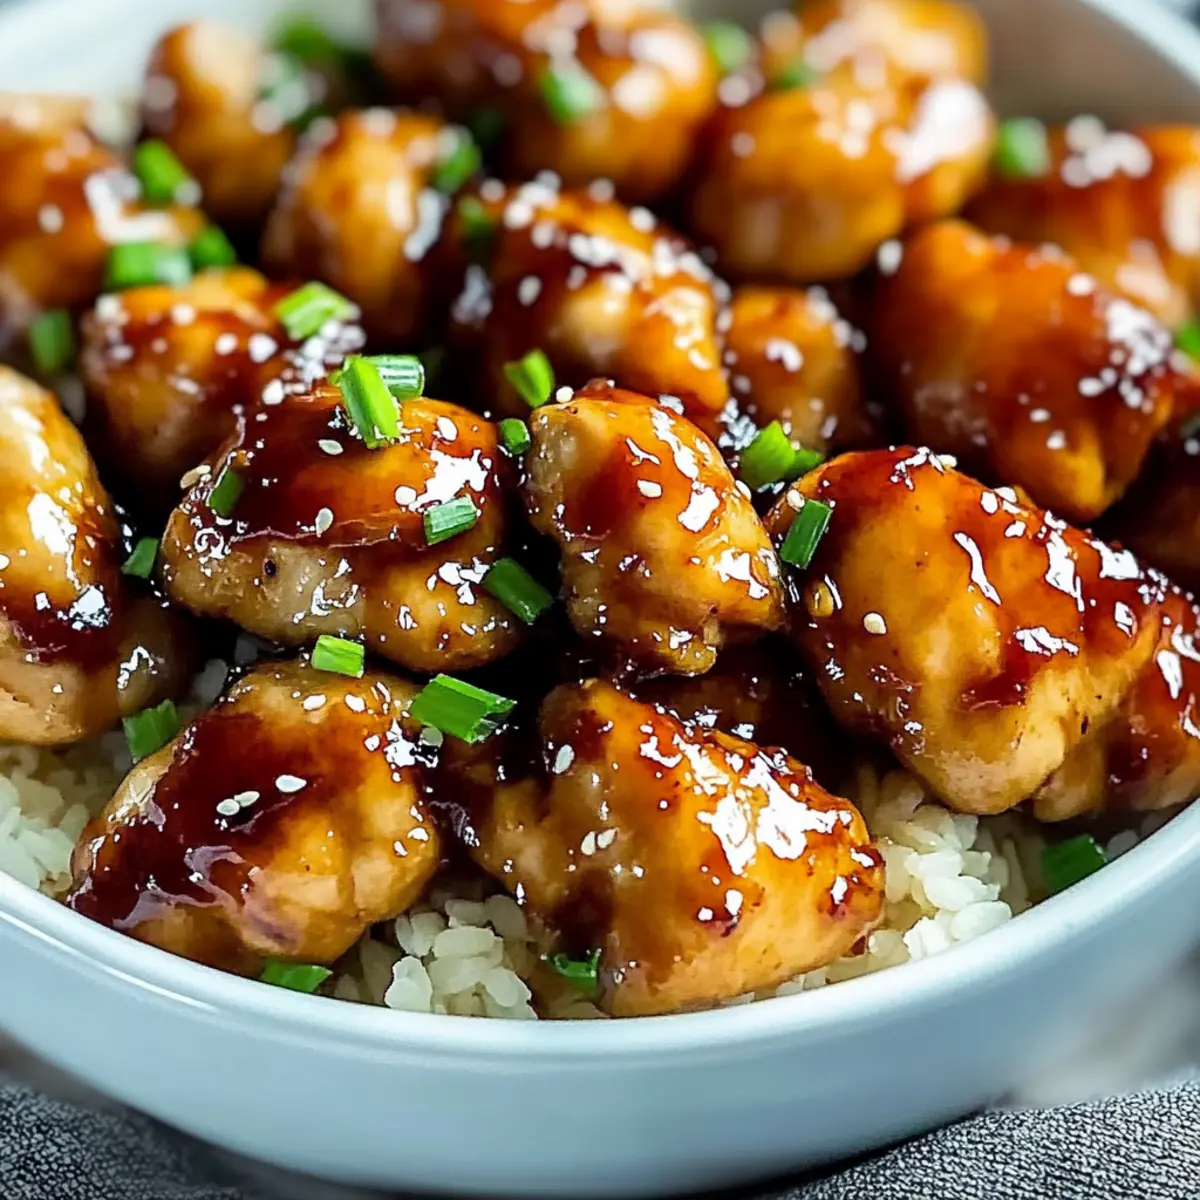
- Green Onions (optional) – Sprinkle on top for a pop of freshness and color.
With these ingredients, you’ll whip up a delicious Honey Garlic Chicken that will have your family coming back for more!
Step‑by‑Step Instructions for Honey Garlic Chicken
Step 1: Prepare Chicken
Start by rinsing and patting dry your chicken pieces—either thighs for juiciness or breasts for a leaner option. Season both sides generously with salt and pepper to enhance the flavor. Set aside while you get your pan ready for that delicious Honey Garlic Chicken.
Step 2: Sear Chicken
In a large skillet, heat 2 tablespoons of olive oil over medium heat until shimmering. Carefully place the seasoned chicken in the pan, leaving space between each piece to avoid overcrowding. Sear for about 5-7 minutes on each side or until golden brown and an internal temperature of 165°F (74°C) is achieved.
Step 3: Make Sauce
Meanwhile, in a mixing bowl, whisk together 1/2 cup of honey, 1/4 cup of soy sauce, and 4 cloves of minced garlic. If you like a hint of warmth, add 1 teaspoon of grated ginger. This luscious mixture will be the perfect glaze for your Honey Garlic Chicken.
Step 4: Glaze Chicken
Pour the prepared sauce evenly over the seared chicken in the skillet. Ensure that each piece is well-coated. Stir gently and allow the sauce to mingle with the chicken for a luscious glaze as it heats through, creating that scrumptious flavor profile we all love.
Step 5: Simmer
Reduce the heat to low and let the chicken simmer in the glaze for 10-15 minutes. This is when the magic happens—the sauce will thicken and cling to the chicken. Keep an eye on the color and aroma as it transforms into a glossy finish, signaling it’s nearly done.
Step 6: Serve
Once the chicken is cooked and beautifully glazed, take your skillet off the heat. For added freshness, garnish with thinly sliced green onions before serving. Serve your Honey Garlic Chicken over fluffy rice or alongside crisp vegetables for a delightful and balanced dinner.
What to Serve with Honey Garlic Chicken
Imagine a cozy family dinner filled with laughter, delicious aromas wafting through the kitchen as you enjoy an irresistible meal.
- Steamed Jasmine Rice: The perfect canvas to soak up the sticky honey glaze, imparting a fragrant aroma and delightful texture.
- Roasted Broccoli: Crisp-tender broccoli adds a fresh crunch and vibrant color, balancing out the dish’s sweetness—plus, it’s so good for you!
- Garlic Bread: This warm and buttery treat is ideal for mopping up every last bit of that luscious sauce, creating a truly satisfying experience.
- Asian Cucumber Salad: A refreshing and tangy salad that contrasts the rich flavors of the chicken, its cool crunch is simply irresistible.
- Miso Soup: This warm, savory broth is an excellent starter that pairs seamlessly with Honey Garlic Chicken, kick-starting the meal with umami goodness.
- Sweet Chili Sauce: Drizzle a bit over your serving for an extra kick, adding a delightful sweet-spicy contrast that’s sure to please everyone at the table.
- Mango Sticky Rice: For dessert, indulge in this traditional Thai treat; its sweetness complements the savory chicken beautifully, leaving you with a satisfying conclusion!
Storage Tips for Honey Garlic Chicken
- Fridge: Store leftover Honey Garlic Chicken in an airtight container for up to 3-4 days. This ensures freshness while retaining that delicious flavor.
- Freezer: You can freeze the chicken for up to 2 months. Place it in a freezer-safe bag, removing as much air as possible to prevent freezer burn.
- Reheating: To reheat, remember to thaw in the fridge overnight if frozen. Warm it in the microwave or on the stove over low heat until heated through for best results.
- Airtight Storage: Always ensure the container is sealed tightly to maintain quality and flavor, allowing you to enjoy that delightful honey-garlic glaze for another meal!
Expert Tips for Honey Garlic Chicken
- Perfect Temperature: Ensure your chicken reaches an internal temperature of 165°F (74°C) for safe eating and optimal juiciness.
- Avoid Overcrowding: Cook chicken in batches if necessary to prevent steaming; this ensures proper searing and a more flavorful crust.
- Thickening Tips: If the sauce feels too thin, mix 1 tablespoon of cornstarch with 2 tablespoons of water before adding to the glaze; this will create a stickier Honey Garlic Chicken.
- Taste Balance: Adjust honey and soy sauce according to your taste preference; if too sweet, increase soy sauce, or vice versa, for a personalized flavor.
- Prep Ahead: For a quicker dinner on busy nights, prepare the sauce in advance and store it in the refrigerator until you’re ready to cook.
Honey Garlic Chicken Variations
Feel free to let your creativity shine as you customize this delightful dish!
-
Dairy-Free: Substitute soy sauce with tamari for a gluten-free option that keeps the flavors intact.
-
Add Veggies: Toss in bell peppers, snap peas, or broccoli during the last 5 minutes of cooking for a colorful, nutritious twist. The vibrant veggies add texture and freshness, creating a well-rounded meal.
-
Spicy Kick: For those who love heat, add a teaspoon of red pepper flakes or fresh chili slices to the sauce. This fiery addition elevates the flavor profile and brings warmth to your dinner table.
-
Sweetener Alternatives: Experiment with agave syrup or maple syrup instead of honey for a unique taste. Each sweetener brings its own character, inviting new flavors into your Honey Garlic Chicken.
-
Slow Cooker Magic: Use a slow cooker to make this dish hands-free! Simply sear the chicken, pour the sauce over, and cook on low for 6-8 hours for tender, flavorful results. Pair it with sides like Herb Roasted Chicken for perfect dinner inspiration.
-
Ginger Boost: For a more pronounced ginger flavor, double the amount in the marinade. This will bring a delightful zing to the dish while enhancing the overall flavor balance.
-
Citrus Zest: Add the zest of one lime or lemon to the sauce for a refreshing brightness that cuts through the sweetness. It adds a zesty flair, making your dish more vibrant and lively.
-
Pineapple Addition: Toss in pineapple chunks during the last few minutes of cooking for a sweet and tangy contrast. The fruity flavor pairs perfectly with the glaze, creating a tropical experience at dinner!
Each variation allows you to keep the heart of the dish while tailoring it to your family’s tastebuds. Let me know how your own twist turned out!
Make Ahead Options
These Honey Garlic Chicken delights are perfect for busy cooks looking to save time during the week! You can prepare the sauce in advance and store it in the refrigerator for up to 3 days. Simply whisk together the honey, soy sauce, minced garlic, and ginger (if using) and refrigerate in an airtight container. You can also marinate the chicken with salt and pepper up to 24 hours ahead, ensuring maximum flavor. When you’re ready to serve, simply sear the marinated chicken, pour the prepared sauce over it, and simmer until cooked through. This way, you’ll enjoy the same delicious results with minimal effort during your busy weekdays!
Honey Garlic Chicken Recipe FAQs
What type of chicken is best for Honey Garlic Chicken?
Absolutely! While both chicken thighs and breasts work beautifully, I personally recommend using thighs for their juiciness and flavor. If you prefer a leaner option, opt for chicken breasts, but be aware that they will cook slightly faster.
How do I store leftover Honey Garlic Chicken?
You can easily store your leftover Honey Garlic Chicken in an airtight container in the fridge for up to 3-4 days. Just make sure it’s completely cooled before sealing the container to maintain freshness. When you’re ready to enjoy it again, simply reheat it on the stove or in the microwave.
Can I freeze Honey Garlic Chicken?
Very yes! To freeze, place the cooled Honey Garlic Chicken in a freezer-safe bag or container, making sure to remove as much air as possible to prevent freezer burn. It will last for up to 2 months. When you’re ready to use it, thaw it overnight in the fridge before reheating.
What should I do if my glaze is too thin?
No worries! If you find that your glaze isn’t thickening as you’d like, simply mix together 1 tablespoon of cornstarch with 2 tablespoons of cold water. Stir this mixture into your sauce during the simmering process, and you’ll achieve a beautifully thick glaze that clings to the chicken.
Are there any dietary considerations for Honey Garlic Chicken?
Definitely! If you’re looking for a gluten-free version, simply substitute regular soy sauce with tamari. Keep in mind that some people may have allergies to soy or gluten, so it’s always a good idea to check your ingredients. This dish can also be made without garlic if you’re accommodating a garlic allergy.
Can I add vegetables to my Honey Garlic Chicken?
The more the merrier! Adding vegetables like bell peppers, broccoli, or snap peas not only enhances the nutrition of the dish but also adds vibrant color and texture. Just toss them in during the last 5 minutes of simmering, and you’ll have a well-rounded, delicious meal!
Sticky Honey Garlic Chicken for an Irresistible Family Dinner
Ingredients
Equipment
Method
- Start by rinsing and patting dry your chicken pieces. Season with salt and pepper. Set aside.
- In a large skillet, heat olive oil over medium heat. Sear chicken for about 5-7 minutes on each side until golden brown and cooked through.
- In a bowl, whisk together honey, soy sauce, and minced garlic. Add ginger if desired.
- Pour the sauce over the seared chicken, ensuring each piece is well-coated.
- Reduce heat to low and let chicken simmer in glaze for 10-15 minutes until sauce thickens.
- Garnish with green onions before serving. Serve over rice or with vegetables.
Leave a Reply