
As I rummaged through my pantry one busy afternoon, I stumbled upon three simple ingredients that promised endless snacking possibilities: cereal, nut butter, and a touch of sweetness. This inspired me to whip up a batch of homemade cereal bars, a quick and healthy treat that checks all the boxes for a busy lifestyle! With just these three key items—plus plenty of room for customization—you can create chewy, satisfying snacks that dance with flavor, whether you prefer a rich Nutella swirl or a fruity twist with strawberries. Not only are these cereal bars a breeze to make, but they’re also the ideal way to sidestep fast food or store-bought snacks. Curious about how to elevate your breakfast or snack game in the simplest way? Let’s dive into this fun, delicious adventure!
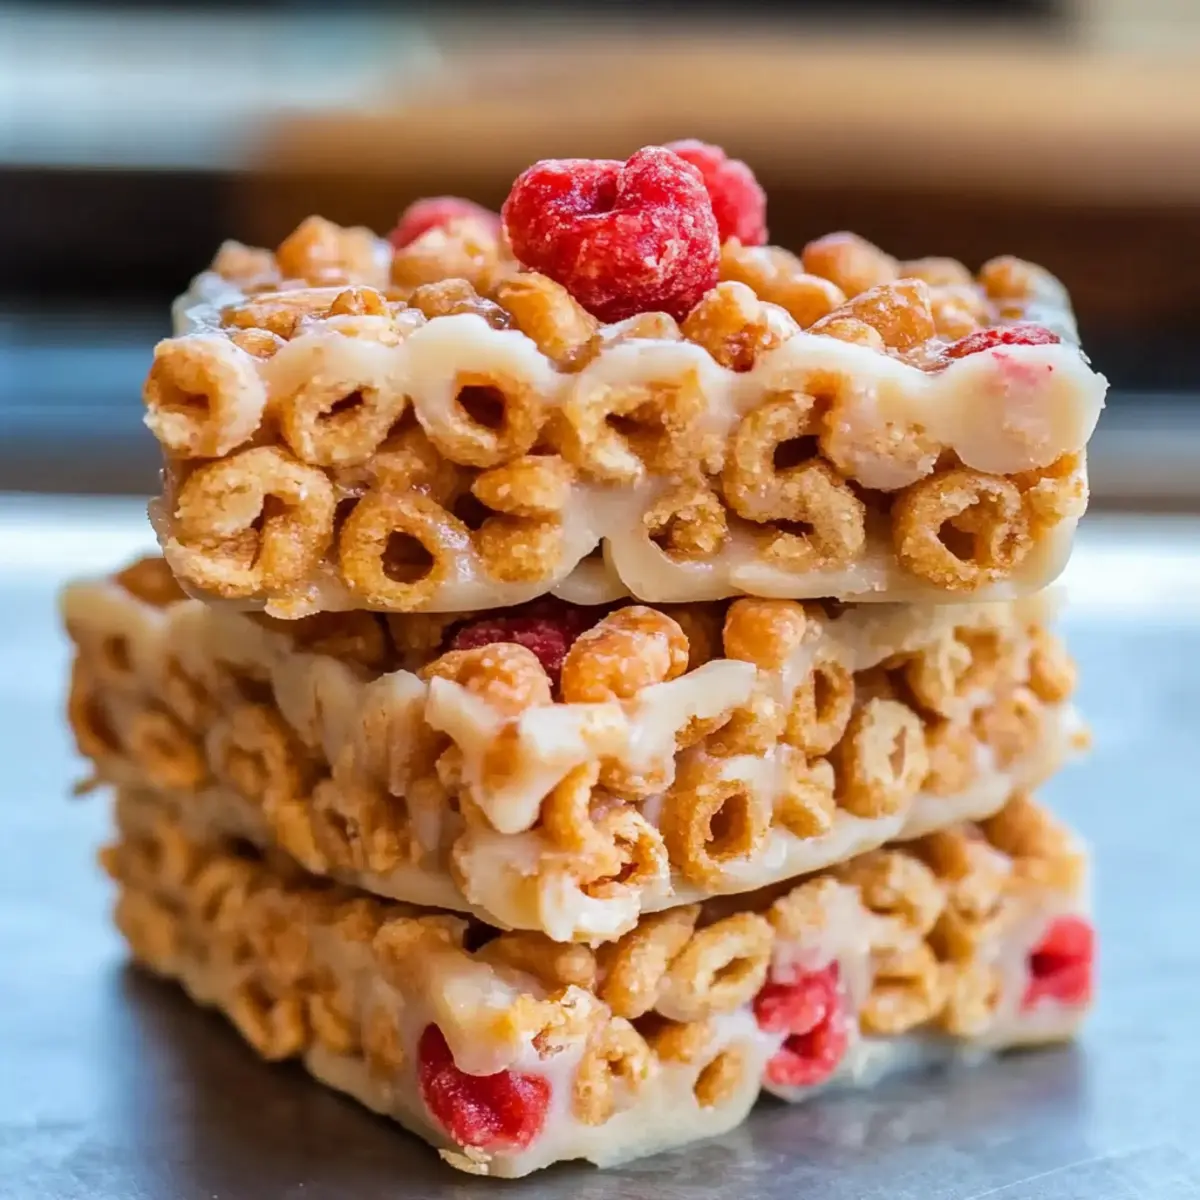
Why choose homemade cereal bars?
Convenience: These cereal bars are incredibly quick to whip up, making them ideal for busy weekdays when you need a nutritious snack on the go.
Customizable: With endless variations, you can easily tailor the flavors to your taste preferences—try chocolate, peanut butter, or even fruit-infused options! Just like the delightful Bake Peanut Bars, these bars can be made to suit any craving.
Healthy Ingredients: Made from wholesome ingredients, you control exactly what goes into these tasty treats, ensuring they’re both kid-friendly and diet-friendly.
Texture Bliss: Enjoy the perfect balance of chewy and crunchy textures, pleasing everyone in the family.
Kid-Approved: Fun to make and eat, these bars will surely become a family favorite, perfect for parties or after-school snacks!
Cereal Bars Ingredients
Unlock the secrets to delicious homemade cereal bars!
For the Base
- Cereal – Choose small flake cereals like Cheerios or Rice Krispies for the best structure and crunch; look for natural brands for vegan options.
- Nut Butter – Acts as a binder, providing creaminess; any nut or seed butter works, but for a nut-free alternative, try sunbutter.
- Liquid Sweetener – Adds essential sweetness and moisture; options include agave, honey, or brown rice syrup—stick with agave or rice syrup for vegan cereal bars.
Optional Add-Ins
- Salt – Use a pinch to enhance flavor to your desired taste.
- Protein Powder – Boosts nutritional content and helps keep you fueled; substitute based on dietary needs.
Feel free to mix and match your favorite flavors as you embrace the creativity of crafting this delectable homemade treat!
Step‑by‑Step Instructions for Homemade Cereal Bars
Step 1: Prep Pan
Begin by lining an 8-inch square baking pan with wax or parchment paper. This will help prevent your homemade cereal bars from sticking and make for easy removal later. Make sure the paper overhangs the edges slightly for easy lifting out when it’s time to cut the bars.
Step 2: Softening Nut Butter
If your nut butter is thick, gently warm it in the microwave for about 15-20 seconds. This will help it become easily stirrable and mix well with your other ingredients. Keep an eye on it to ensure it doesn’t overheat; you want a creamy texture that blends smoothly into your cereal mixture.
Step 3: Mix Ingredients
In a large mixing bowl, combine your chosen cereal, softened nut butter, and liquid sweetener. Stir vigorously until everything is well blended and coated. You can also add any optional ingredients, such as salt or protein powder, at this point. The mixture should be sticky and cohesive, forming a uniform treat base for your cereal bars.
Step 4: Transfer Mixture
Pour the cereal mixture into the prepared baking pan, spreading it evenly with a spatula. Make sure to get every last bit out of the bowl to avoid wasting any of your delicious mixture. The goal is to create a flat layer that will set into perfect bars, so ensure it’s uniform in thickness across the entire pan.
Step 5: Press Firmly
Place a second sheet of parchment paper over the mixture and press down firmly with your hands or a flat object to compact the ingredients. This step is crucial for ensuring your homemade cereal bars hold together nicely once set. Aim for a firm, compact layer; it should feel solid and not too loose.
Step 6: Chill
Refrigerate or place the pan in the freezer for at least 30 minutes. This is the essential step that helps your cereal bars firm up and hold their shape when cut. Check the mixture after this time; it should feel solid and no longer tacky to the touch, making it ready for slicing.
Step 7: Slice & Store
Once your homemade cereal bars are set, lift them out of the pan using the parchment overhang, and place them on a cutting board. Cut into squares or rectangles as desired. Store your delicious bars in an airtight container at room temperature for up to a week, or freeze for longer freshness.
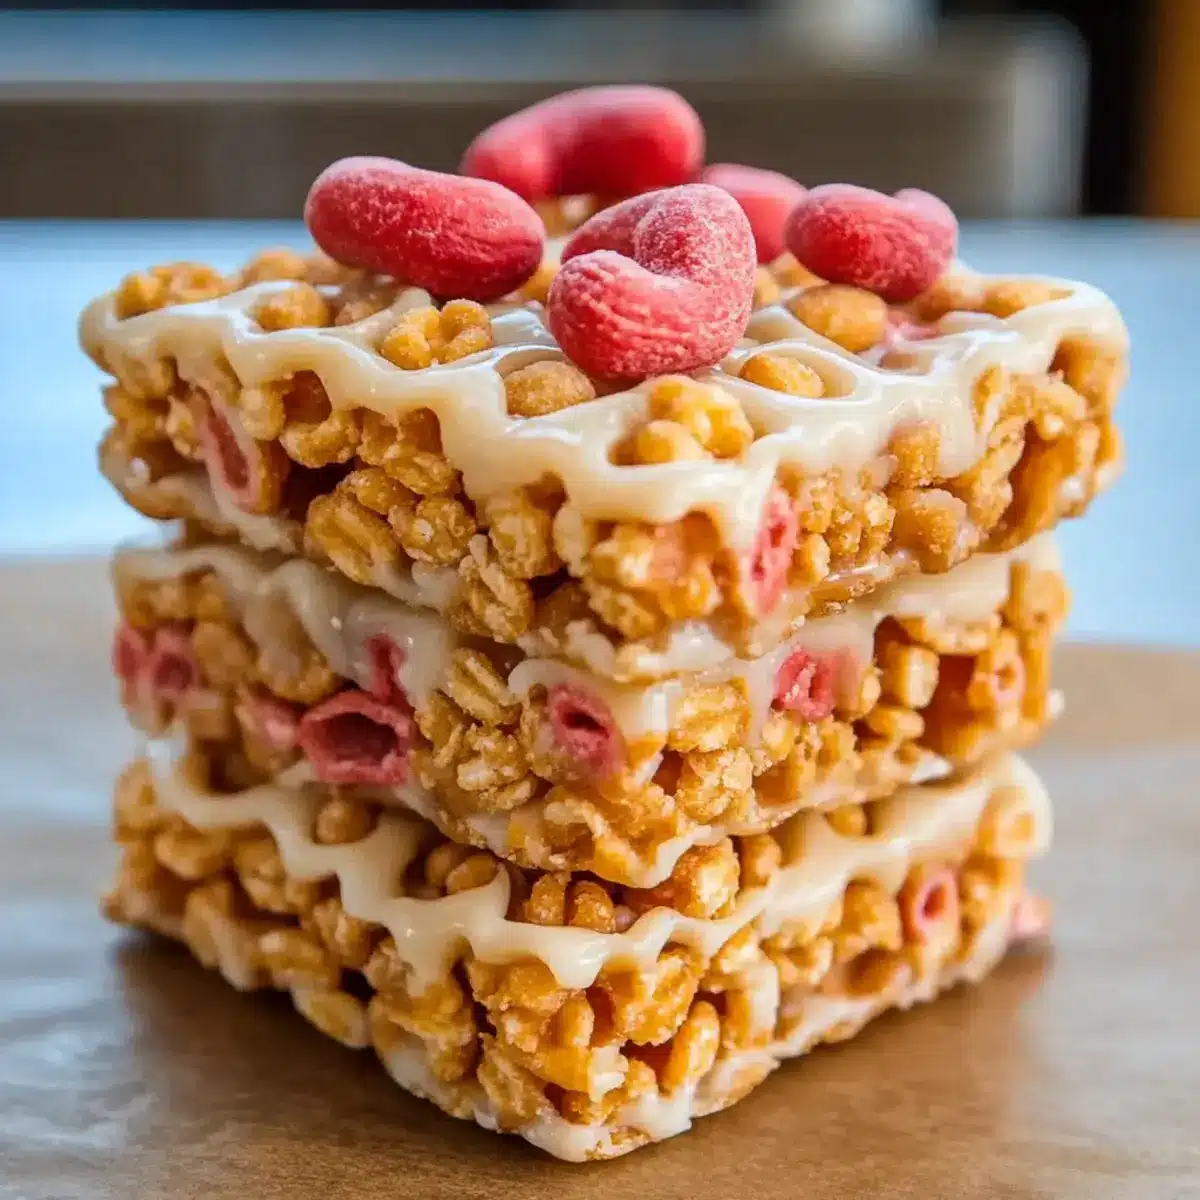
Expert Tips for Cereal Bars
-
Firm Pressing: Ensure you press the mixture down firmly when spreading it in the pan; this is key to preventing the bars from crumbling later.
-
Sweetener Adjustments: If using a thinned sweetener like maple syrup, slightly increase the nut butter to maintain the right consistency for your cereal bars.
-
Cereal Variety: Experiment with different cereals for varied textures and flavors; small flake options work best for that perfect chewiness.
-
Ingredient Check: Always check your nut butter and sweetener for added ingredients; some brands may contain additives that aren’t diet-friendly.
-
Storage Savvy: Store your cereal bars in an airtight container to keep them fresh; they can last up to a week at room temperature but freeze well for longer preservation.
Make Ahead Options
These homemade cereal bars are an absolute gem for busy home cooks looking to streamline their meal prep! You can prepare the base mixture and press it into the pan up to 24 hours in advance; simply store it in the refrigerator until you’re ready to chill and slice. To maintain quality, refrigerate them tightly wrapped or in an airtight container to prevent them from drying out. When you’re ready to serve or snack, just pull them out, cut into bars, and they’ll be just as delicious, chewy, and satisfying as if they were freshly made! This preparation method not only saves you time but ensures you always have a healthy option on hand.
What to Serve with 3-Ingredient Healthy Cereal Bars
These delightful treats are perfect for enhancing your breakfast or snack repertoire, inviting creativity and joy to your family meals.
- Greek Yogurt: A creamy, protein-packed partner, yogurt perfectly complements the chewy texture of the cereal bars, making for a balanced breakfast.
- Fresh Fruit Salad: Juicy fruits add a refreshing pop of flavor and sweetness, elevating your snack time experience while providing essential vitamins.
- Nutty Granola: Sprinkle some crunchy granola on top, adding delightful textures that make each bite even more satisfying and wholesome.
- Nut Butter Dippings: A side of your favorite nut butter can add richness and flavor, allowing for a customizable dipping experience your family will love.
- Smoothies: Pair these bars with a vibrant smoothie for a complete meal; the fruits and veggies make for a nutritious combo that’s both filling and delicious.
- Milk or Plant-Based Alternatives: Serve them with a chilled glass of milk or almond milk to wash it all down, enhancing the chewy goodness with a creamy sip.
- Coffee or Herbal Tea: For an indulgent touch, enjoy with a warm cup of coffee or herbal tea—perfect for adults looking for a comforting moment in the day.
- Homemade Trail Mix: A side of trail mix adds an extra crunch, complementing the chewy texture of the bars and offering a variety of flavors in one snack.
- Chocolate Drizzle: Drizzling a bit of melted chocolate over the top transforms these bars into a dessert-like treat, perfect for satisfying sweet tooth cravings while remaining relatively healthy!
Cereal Bars: Variations & Substitutions
Feel free to let your culinary creativity run wild with these delightful cereal bar variations! Each option tantalizes your taste buds and adds a unique twist to your homemade treat.
-
Chocolate Bars: Stir in cocoa powder and a splash of vanilla extract for a decadent chocolate experience. You can even dip them in melted chocolate for extra indulgence!
-
Nutella Snack Bars: Substitute your nut butter for Nutella to create a creamy, chocolatey delight. These bars will be an instant favorite for any chocolate lover, making snack time a true celebration of flavors.
-
Fruit-Enhanced Bars: Toss in freeze-dried strawberries or your favorite dried fruits to elevate the flavor profile. This variation brings a burst of sweetness, making each bite a fruity delight that kids will adore.
-
Marshmallow Bars: For a chewy texture, mix in mini marshmallows. These bars will not only taste amazing but also bring a delightful texture that kids and adults will love alike.
-
Coconut Bliss: Add shredded coconut to the mixture for a tropical twist. The coconut adds a subtle sweetness and delightful chewiness, giving your bars an exotic flair.
-
Spiced Apple Bars: Incorporate cinnamon and chopped dried apples for a warm, comforting flavor that brings the essence of autumn to your snacks. Perfect for cozy evenings with a warm beverage!
-
Protein-Packed Bars: Mix in your favorite protein powder to boost these cereal bars’ nutritional content. It’s an easy way to fuel your day without sacrificing taste.
-
Savory Twist: For a unique savory version, try adding a sprinkle of garlic powder and some finely chopped nuts. These savory bars can be a great snack option if you’re in the mood for something different.
With these variations, you’ll never have a dull moment in the kitchen! Don’t forget to explore delicious recipes like Bake Peanut Bars to discover even more scrumptious snack ideas. Enjoy the journey of crafting your perfect cereal bars!
How to Store and Freeze Cereal Bars
Room Temperature: Store cereal bars in an airtight container at room temperature for up to 1 week to maintain freshness, ensuring they remain chewy and delightful.
Fridge: For extended freshness, refrigerate your cereal bars in an airtight container where they will last up to 2 weeks, making them readily available for healthy snacking.
Freezer: Freeze cereal bars for up to 3 months. Wrap them individually in plastic wrap or foil, then place in a freezer bag for easy grab-and-go options later.
Reheating: If desired, simply thaw your cereal bars in the fridge overnight or let them sit at room temperature for a bit before enjoying a chewy, nutritious snack!
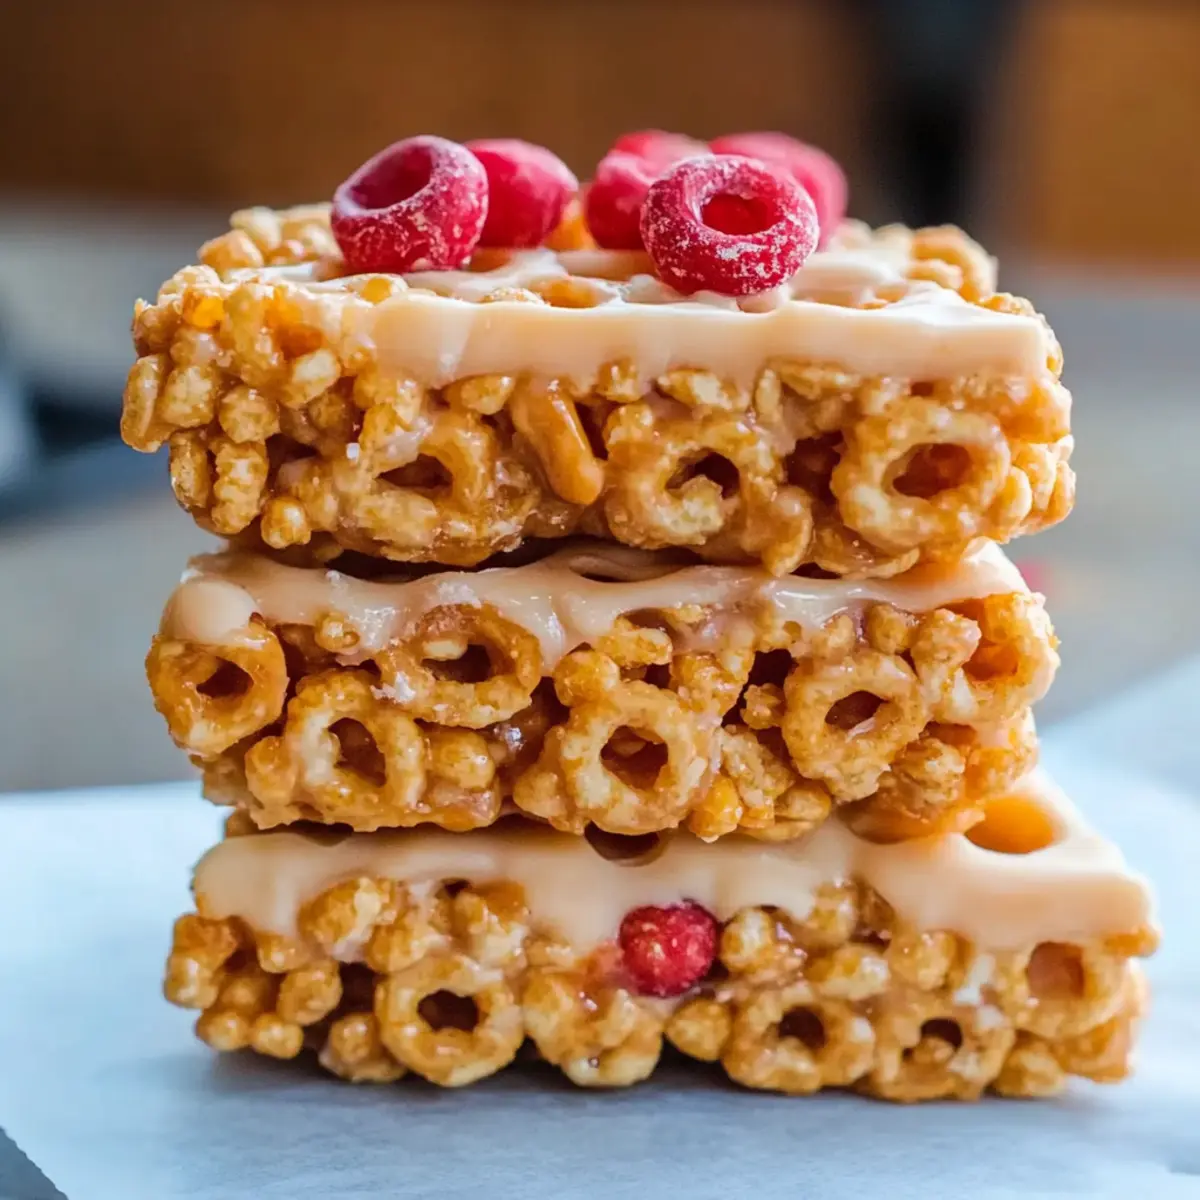
Homemade Cereal Bars Recipe FAQs
How do I choose the right cereal for my cereal bars?
Absolutely! For the best structure and crunch, opt for small flake cereals like Cheerios or Rice Krispies. Look for natural brands to ensure they’re vegan-friendly. Stay away from cereals with added sugars or artificial ingredients for a healthier treat.
What is the best way to store my cereal bars?
You can store your cereal bars in an airtight container at room temperature for up to 1 week. For longer storage, keep them in the fridge where they’ll last about 2 weeks. If you prefer to freeze them, wrap each bar individually in plastic wrap or foil, and store them in a freezer bag for up to 3 months. Just remember to let them thaw at room temperature before enjoying!
Can I freeze the cereal bars? If so, how?
Very! Freezing your cereal bars is an excellent way to preserve their freshness. To do so, wrap each bar tightly in plastic wrap or aluminum foil to prevent freezer burn, and place them in a zip-top freezer bag. This method allows you to enjoy a quick snack at any time. When you’re ready to eat, simply thaw them in the fridge overnight or let them sit at room temperature for about 30 minutes.
What should I do if my bars crumble when cut?
If your cereal bars are crumbling, it likely means they weren’t pressed down firmly enough before chilling. Next time, make sure to press the mixture down using a flat object or your hands to compact it tightly in the pan. If they still crumble, you can try adding a bit more nut butter or sweetener in the mixture to help bind them better.
Are there any allergy considerations when making these cereal bars?
Indeed! When making cereal bars, it’s essential to consider allergies. If nut allergies are a concern, switch out nut butter for sunbutter or another seed-based option. Additionally, always check your cereal and sweeteners for potential allergens or additives that could affect dietary needs.
Can I customize the flavors in my cereal bars?
The more the merrier! Feel free to get creative with your cereal bar creations. You can add ingredients like cocoa powder, dried fruits, such as cranberries or apricots, or even mix in spices like cinnamon for an extra flavor kick. The possibilities are truly endless, so tailor them to your taste preferences!
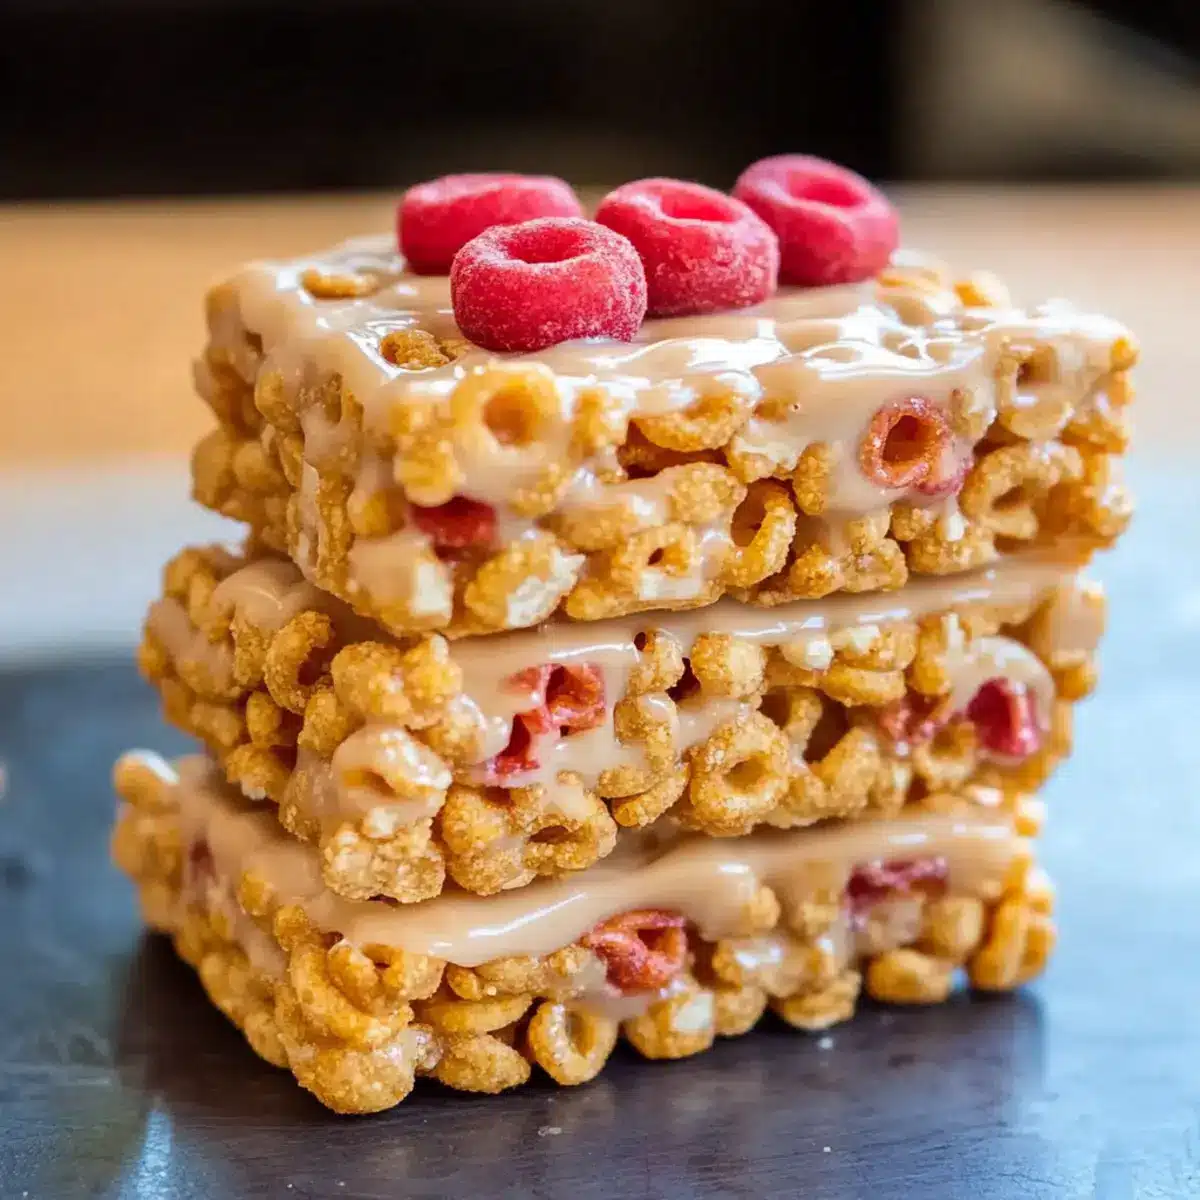
Homemade Cereal Bars: Easy, Chewy, and Totally Customizable
Ingredients
Equipment
Method
- Begin by lining an 8-inch square baking pan with wax or parchment paper.
- If your nut butter is thick, gently warm it in the microwave for about 15-20 seconds.
- In a large mixing bowl, combine your chosen cereal, softened nut butter, and liquid sweetener. Stir until well blended.
- Pour the cereal mixture into the prepared baking pan, spreading it evenly.
- Place a second sheet of parchment paper over the mixture and press down firmly to compact the ingredients.
- Refrigerate or place the pan in the freezer for at least 30 minutes to firm up.
- Once set, lift them out using the parchment overhang and cut into squares or rectangles.
Leave a Reply