
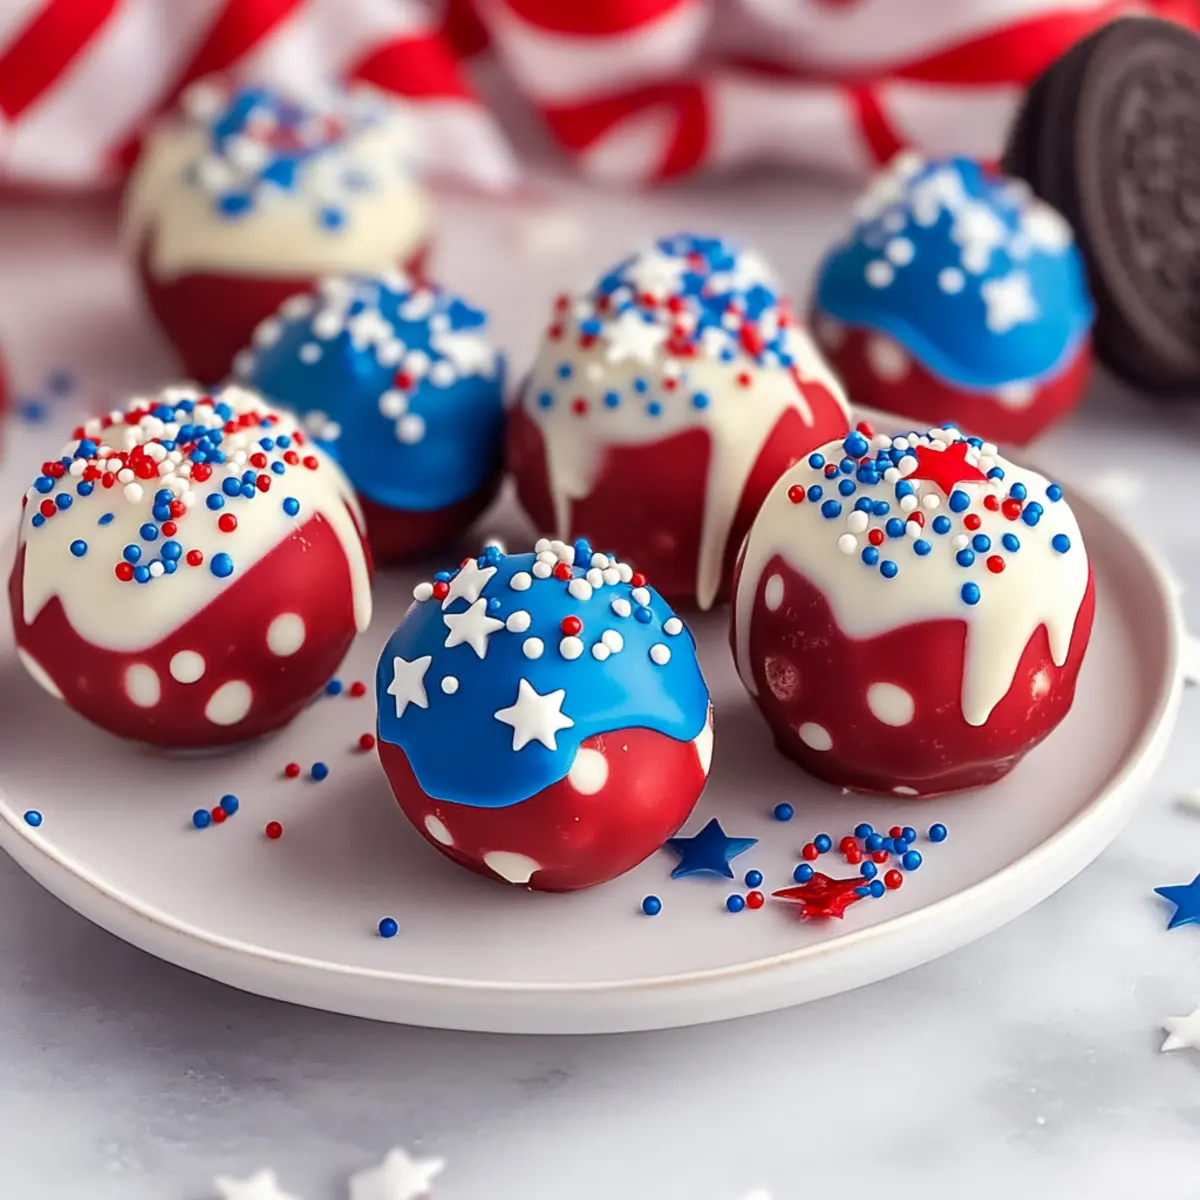
As the warm summer sun begins to set, the excitement of bright fireworks and summertime gatherings stirs something special within me. This year, I’m bringing a festive twist to our 4th of July celebration with my delicious 4th of July Oreo Cream Cheese Balls. These no-bake treats are not just a fun addition to the dessert table, but they’re also super easy to prepare and completely customizable. Whether you’re hosting a barbecue or attending a potluck, these vibrant bites will resonate with everyone, turning heads and satisfying sweet cravings. Plus, their creamy texture paired with a pop of color makes them a delightful centerpiece for your patriotic festivities! What unique flavors will you dare to try in your own versions?
Why Make 4th of July Oreo Balls?
Festive Fun: These no-bake treats are not only charming but also easy to whip up, making them an ideal choice for busy summer days.
Customizable: Change up the flavor by using different Oreo cookies or colored candy melts to suit your theme perfectly.
Crowd-Pleaser: Their vibrant colors and rich flavors will have your guests coming back for more, making them a hit at parties.
Quick and Easy: With just a few simple steps, you can have these delicious bites ready to dazzle your friends and family.
Perfect Pairing: Serve them alongside your favorite festive dishes like Bacon Cream Cheese or Honey Pepper Cheese for a wonderful dessert spread!
4th of July Oreo Cream Cheese Balls Ingredients
For the Creamy Filling
• Oreo Cookies – The main component providing the chocolate flavor; feel free to substitute with any chocolate sandwich cookie.
• Cream Cheese (8 oz) – This essential ingredient binds the mixture and adds a rich creaminess; ensure it’s softened for easy blending.
For the Coating
• Red Candy Melts (12 oz) – Adds a vibrant coating perfect for the patriotic theme; can also be replaced with blue candy melts for more options.
• Blue Candy Melts (12 oz) – Another fun coating choice; substitute with white chocolate if desired for a different look.
• White Chocolate Chips (1/3 cup) – Perfect for drizzling on top for a sweet finish; any white chocolate can be used.
For the Toppings
• White Star Confetti / Red/Blue Sprinkles – These optional toppings enhance the presentation and add extra festive cheer to your 4th of July Oreo Cream Cheese Balls.
Step‑by‑Step Instructions for 4th of July Oreo Cream Cheese Balls
Step 1: Prep Trays
Begin by lining two baking trays with parchment paper. This will prevent the 4th of July Oreo Cream Cheese Balls from sticking, making for an easy cleanup. Ensure the trays are flat and stable, ready to hold the delicious treats while they chill.
Step 2: Crush Oreos
Using a food processor, pulse the Oreo cookies into fine crumbs for about 30 seconds to a minute. If you don’t have a processor, simply place the cookies in a sealed bag and crush them with a rolling pin. The finer the crumbs, the smoother your filling will be, making it easier to mix with the cream cheese.
Step 3: Mix Cream Cheese
In a medium bowl, beat the softened cream cheese with an electric mixer until it’s smooth and creamy, about 2-3 minutes. The creamy texture is key, as it binds the Oreo crumbs together, creating a delicious filling for your 4th of July Oreo Cream Cheese Balls.
Step 4: Combine Mixtures
Gently fold the crushed Oreo crumbs into the blended cream cheese until thoroughly incorporated. Use a spatula to ensure no dry crumbs remain, creating a cohesive mixture. The filling should be thick yet easy to scoop, perfect for forming into delightful balls.
Step 5: Form Balls
Scoop out about 1.5 inches of the mixture and roll it between your hands to form smooth balls. Place these on the lined trays, ensuring they’re evenly spaced. Aim for a uniform size for the best presentation and ease of dipping later on, as it contributes to the overall appeal of your patriotic treats.
Step 6: Chill
Refrigerate the trays for at least 2 hours to firm up the Oreo cream cheese balls. If you’re short on time, you can also freeze them for 15-20 minutes. Chilling helps the balls maintain their shape during the coating process, ensuring they don’t collapse when dipped in melted candy.
Step 7: Melt Coatings
Melt the blue candy melts using a double boiler or in a microwave-safe bowl, heating in 30-second intervals and stirring until smooth. This vibrant coating adds a festive flair to your 4th of July Oreo Cream Cheese Balls. Ensure the mixture is warm but not too hot to avoid burning.
Step 8: Dip in Blue Coating
Carefully dip each chilled ball into the melted blue candy, ensuring they are completely covered. Tap off any excess coating and immediately sprinkle with white star confetti or your choice of festive toppings. This step enhances the appearance while the coating is still wet for a colorful finish.
Step 9: Repeat with Red Coating
Retrieve the second tray from the fridge and repeat the melting process for the red candy melts. Dip the remaining balls as you did with the blue coating, tapping off excess. The combination of red and blue will make a stunning display for your holiday gathering.
Step 10: Drizzle White Chocolate
Melt the white chocolate chips in a microwave-safe bowl, stirring until completely melted. Drizzle the melted chocolate over the red-coated truffles using a fork, creating a beautiful contrast. After drizzling, refrigerate the completed Oreo cream cheese balls for another 10 minutes to allow the chocolate to set.
Step 11: Store
Once set, keep the 4th of July Oreo Cream Cheese Balls refrigerated until you’re ready to serve. They can be stored in an airtight container for up to 2 weeks. This ensures they stay fresh and delicious, ready for any summer celebration!

Make Ahead Options
These 4th of July Oreo Cream Cheese Balls are absolutely perfect for meal prep, allowing you to enjoy more time with family and friends during the festivities! You can mix the Oreo and cream cheese filling up to 24 hours in advance; just shape the balls and store them in an airtight container in the refrigerator. To maintain their freshness, refrigerate the truffles until you’re ready to dip them in the colored coatings, which can be done just before serving. Simply follow the dipping and drizzling steps outlined in the recipe, and you’ll present these delicious, vibrant treats that are just as delightful as if freshly made! This approach saves you time on the big day, leaving you with more opportunity to celebrate.
4th of July Oreo Cream Cheese Balls Variations
Get ready to put your personal touch on these sweet treats with delightful twists and turns!
-
Golden Oreos: Swap regular Oreos for golden ones to create a delightful red, white, and gold combination. This sweet twist adds a unique flavor and color that’s equally festive.
-
Flavored Cream Cheese: Mix in flavored cream cheese, like strawberry or chocolate hazelnut, for a deliciously different creamy center. It elevates your truffles with a surprise in every bite!
-
Colorful Candy Melts: Instead of sticking to traditional red and blue, experiment with different colored candy melts to match your celebration theme. Think pastel for spring gatherings—imagination is your only limit!
-
Nutty Crunch: Incorporate chopped nuts or crushed pretzels into your Oreo mixture for a delightful crunchy texture. This adds a satisfying contrast to the creamy filling that everyone will love.
-
Spicy Kick: For those who like it hot, add a pinch of cayenne pepper or chili powder to your cream cheese mixture. It creates a surprising spicy-sweet contrast that’s sure to spark conversations at your next gathering.
-
Marshmallow Fluff: Mix in marshmallow fluff for an extra layer of sweetness and creaminess. It gives your cream cheese balls a deliciously gooey texture that’s irresistibly good!
-
Drizzle Variations: Why stick to white chocolate for drizzling? Try milk chocolate or even a dark chocolate drizzle for a rich, decadent upgrade that will wow your guests.
-
Patriotic Themes: Create a layered effect by coating half in blue and half in red; this not only looks stunning but can also be a fun surprise for your guests as they dig in!
Try layering these ideas with your upcoming gatherings, or check out tasty pairing suggestions like Bacon Egg Cheese for a savory balance or a sweet finish with Cheese Danish Path. Your creativity is the secret ingredient to making these festive delights even more memorable!
Expert Tips for 4th of July Oreo Cream Cheese Balls
- Crushing Oreos: Use a food processor for uniform crumbs, ensuring a smooth filling. If not, seal Oreos in a bag and crush gently to avoid mess.
- Cream Cheese Temperature: Let the cream cheese sit at room temperature until softened; this makes mixing with crumbs easier and ensures a creamy texture.
- Chill Time: Don’t skip the chilling! Cool the truffles adequately to help them retain their shape during the coating process.
- Dipping Technique: Use a fork or toothpick to dip the balls into melted candy; this allows for an even coat and easy handling.
- Experiment Freely: Try out various flavored Oreos, like mint or peanut butter, for unique twists on your 4th of July Oreo Cream Cheese Balls!
Storage Tips for 4th of July Oreo Cream Cheese Balls
-
Fridge: Store your 4th of July Oreo Cream Cheese Balls in an airtight container in the fridge for up to 2 weeks. This keeps them fresh while the flavors continue to blend beautifully.
-
Freezer: If you want to save them for later, you can freeze these treats for up to 3 months. Layer them between parchment paper in a freezer-safe container to prevent sticking.
-
Reheating: Since these balls are served cold, there’s no need for reheating. Enjoy them straight from the fridge or freezer for the best flavor and texture.
-
Serving: Allow frozen truffles to thaw in the fridge for a few hours before serving. This will ensure they maintain their creamy texture and delightful taste.
What to Serve with 4th of July Oreo Cream Cheese Balls
Elevate your Independence Day celebration with delightful pairings that complement the rich, festive flavors of these no-bake treats.
-
Patriotic Fruit Skewers: Fresh strawberries, blueberries, and banana slices create a vibrant, healthy contrast, balancing the sweet creaminess of the truffles.
-
Vanilla Ice Cream: A scoop of creamy vanilla ice cream is perfect for a classic pairing; it cools the palate and enhances the chocolatey goodness.
-
Sparkling Lemonade: Refreshing and effervescent, this drink adds a zesty note to your dessert table while keeping guests hydrated on a warm summer day.
-
Cheese and Charcuterie Board: A mix of sharp cheeses and cured meats offers a savory counterpoint, making for an exciting and balanced spread.
-
Grilled Peaches with Honey: This dessert brings a warm, caramelized flavor that contrasts beautifully with chilled Oreo cream cheese balls, elevating your dessert experience.
-
Customizable Milkshakes: Blend ice cream with milk and add mix-ins inspired by your favorite flavors; they can mirror the vibrant colors of your truffles for added fun.
4th of July Oreo Cream Cheese Balls Recipe FAQs
What kind of Oreos should I use for the 4th of July Oreo Cream Cheese Balls?
Absolutely! While classic Oreos work beautifully, feel free to experiment with various Oreo flavors such as golden Oreos or even seasonal ones like red velvet. Each option adds a unique twist to your treats that can align with your festive theme.
How should I store the 4th of July Oreo Cream Cheese Balls?
I recommend storing your Oreo cream cheese balls in an airtight container in the refrigerator, where they’ll stay fresh for up to 2 weeks. If you have leftovers, they can be frozen for up to 3 months—just layer them between parchment paper to prevent sticking!
Can I freeze the 4th of July Oreo Cream Cheese Balls?
Very! To freeze, place the chilled balls in a single layer on a baking tray until firm, then transfer them to a freezer-safe container with parchment paper in between layers. When ready to enjoy, let them thaw in the fridge for a few hours; they’ll retain their flavors and creamy texture.
What if my cream cheese mixture is too runny?
If you find your mixture too runny, don’t worry! Simply add a little more crushed Oreo crumbs until it reaches a thicker, scoopable consistency. Ensure your cream cheese is well softened to help blend smoothly, and remember to chill the mixture before rolling into balls to help solidify.
Are there any dietary considerations I should be aware of for the 4th of July Oreo Cream Cheese Balls?
Absolutely! Be mindful of any allergies to dairy, as the cream cheese and chocolate components contain milk. For a vegan option, you can use dairy-free cream cheese and find suitable plant-based alternative cookies. Just check the packaging to ensure they align with your dietary needs or restrictions.
What toppings can I use for the 4th of July Oreo Cream Cheese Balls?
The more the merrier! You can enhance your 4th of July Oreo Cream Cheese Balls with various toppings like colorful sprinkles, shredded coconut, or even chopped nuts for extra texture. Get creative with your decorations to make them a true showstopper at your summer gathering.
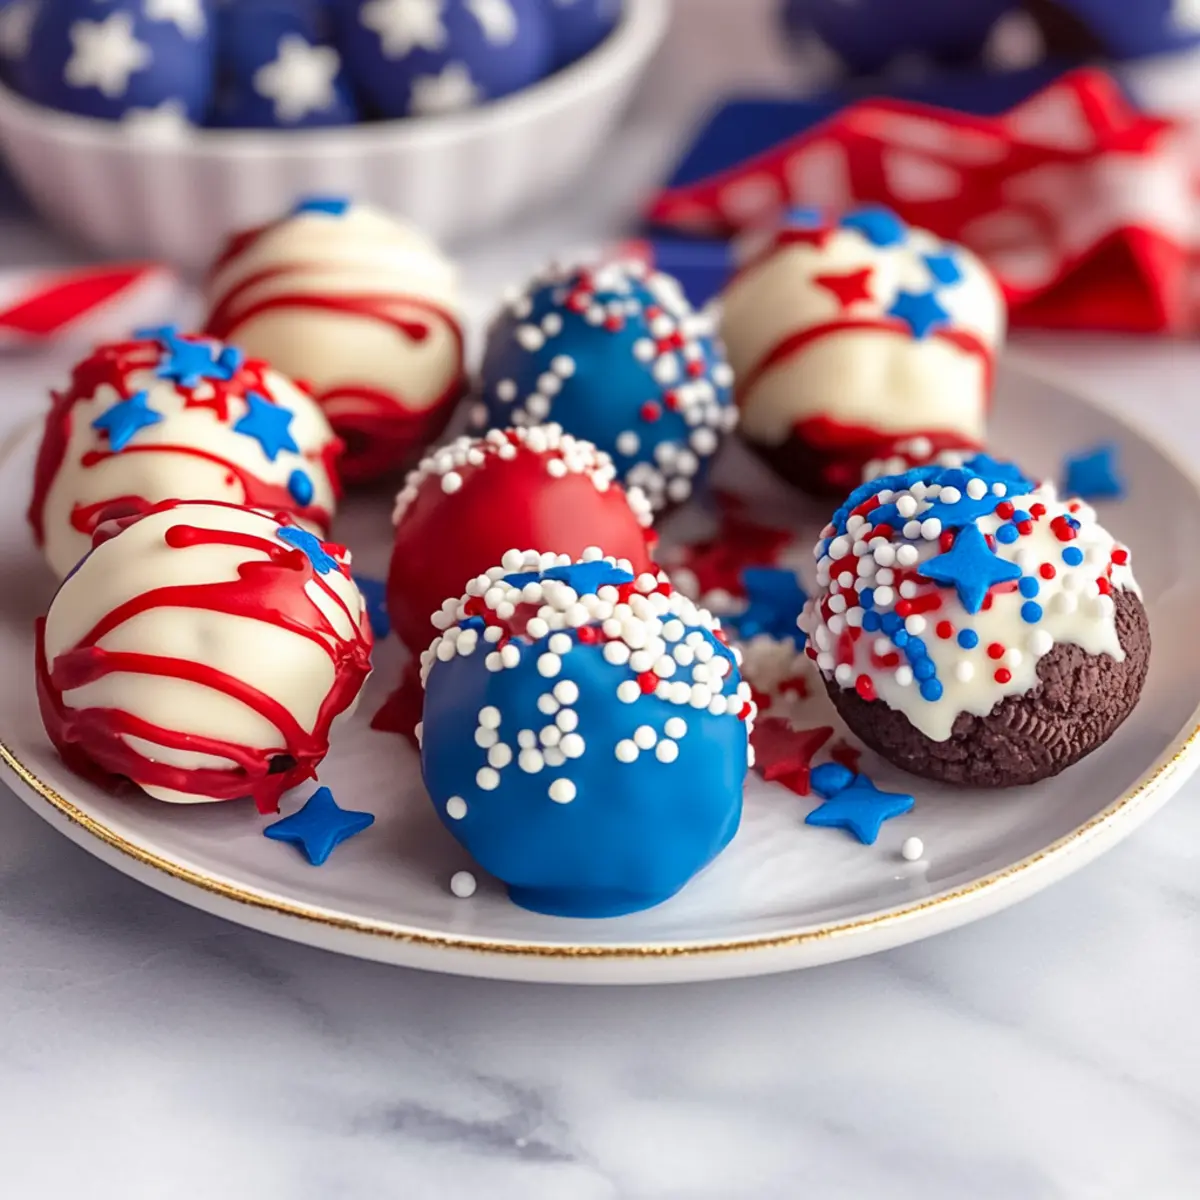
Festive 4th of July Oreo Cream Cheese Balls to Impress Your Guests
Ingredients
Equipment
Method
- Begin by lining two baking trays with parchment paper to prevent sticking.
- Using a food processor, pulse the Oreo cookies into fine crumbs for about 30 seconds to a minute.
- In a medium bowl, beat the softened cream cheese with an electric mixer until smooth and creamy, about 2-3 minutes.
- Gently fold the crushed Oreo crumbs into the blended cream cheese until thoroughly incorporated.
- Scoop out about 1.5 inches of the mixture and roll it between your hands to form smooth balls.
- Refrigerate the trays for at least 2 hours to firm up the Oreo cream cheese balls.
- Melt the blue candy melts using a double boiler or microwave in 30-second intervals until smooth.
- Carefully dip each chilled ball into the melted blue candy, ensuring they are completely covered.
- Retrieve the second tray and repeat the melting process for the red candy melts, dipping the remaining balls.
- Melt the white chocolate chips and drizzle over the red-coated truffles using a fork.
- Once set, keep the 4th of July Oreo Cream Cheese Balls refrigerated until serving.
Leave a Reply