
As I opened the refrigerator, a colorful array of fresh vegetables caught my eye, and an idea sparked. Why not create something lively, fun, and utterly delicious? Enter these Customizable No-Bake Sushi Cups! Perfect as a light appetizer or a healthy snack, these little delights combine creamy avocado, crisp veggies, and a zingy spicy mayo that you can adjust to your taste. One of the best perks? They’re incredibly quick to whip up, and you can personalize each cup with your favorite ingredients, making them a hit with family and friends alike. Plus, they’re a great way to bring a taste of sushi home without the hassle of rolling. Ready to dive into a world of flavor and fun? Let’s get started!
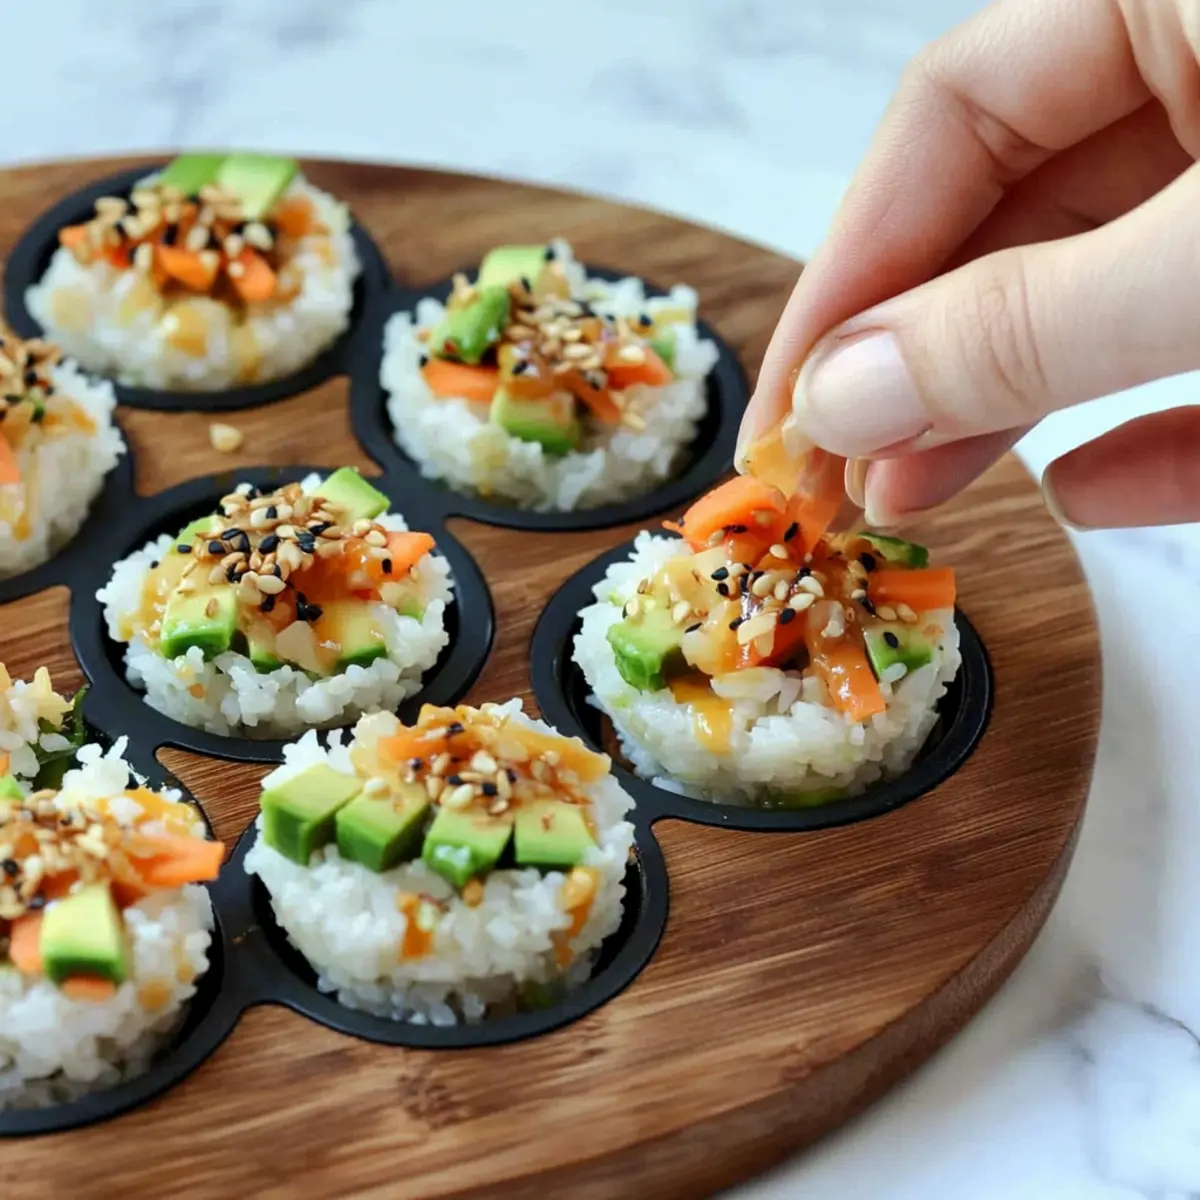
What makes these sushi cups irresistible?
Customizable, you have the freedom to tailor each sushi cup to your taste — mix and match your favorite veggies and sauces. No-Bake means you can whip them up quickly without turning on the oven, perfect for warm days or when time is tight. Healthy Snack packed with fresh ingredients, these cups are a guilt-free indulgence that everyone will love. Versatile enough to serve at gatherings, as a fun lunch, or an elegant appetizer, they’re easy to prepare in advance. Check out my Breakfast Granola Cups for another quick, healthy recipe the whole family can enjoy! Flavorful combinations abound, making each bite a delightful burst of freshness that’s bound to impress!
Sushi Cups Ingredients
• Perfect for creating your own no-bake sushi cups!
For the Rice Base
- Sushi rice – Provides the base structure and texture; rinse well before cooking to remove excess starch.
- Water – Hydrates the sushi rice for cooking; use the correct rice-to-water ratio for fluffy rice.
For the Filling
- Finely chopped veggies (e.g., carrots, cucumber, bell peppers, or sprouts) – Adds freshness and crunch; choose any raw veggies for versatility.
- Steamed mukimame (shelled edamame) – Contributes protein and a subtle nutty flavor; substitute with regular edamame pods if needed.
- Diced avocado – Introduces creaminess to the cups; substitute with guacamole for an added flavor kick.
For the Sauce
- Sauce of your choice (soy sauce, tamari, or coconut aminos) – Enhances overall taste; choose a gluten-free option if needed.
- Mayonnaise – Serves as the base for the spicy mayo; use vegan mayo for a plant-based version.
- Sriracha sauce – Adds a spicy kick; adjust the amount based on preference for heat.
- Honey – Balances the spiciness of Sriracha; maple syrup can be used as an alternative for vegan options.
- Sesame oil – Imparts a rich, nutty flavor; use toasted sesame oil for enhanced flavor.
For Garnish
- Black sesame seeds – Garnish for visual appeal and texture; substitutable with regular sesame seeds if desired.
Step‑by‑Step Instructions for Sushi Cups
Step 1: Rice Preparation
In a medium pot, combine 1 cup of rinsed sushi rice with 1 ¼ cups of water. Bring it to a boil over medium-high heat; once boiling, reduce the heat to low, cover, and simmer for about 20 minutes until the rice is cooked and all the water is absorbed. The rice should appear fluffy and slightly sticky when done.
Step 2: Chill Rice
Remove the pot from heat and let the rice cool slightly for about 10 minutes. Meanwhile, prepare a silicone muffin tin or greased regular muffin tin. Press about 2 heaping tablespoons of the cooked sushi rice into each cup to form a solid base. Refrigerate for 20 minutes to allow the rice to set firmly.
Step 3: Veggie Mixture
While the rice cools, take a mixing bowl and add your finely chopped veggies, steamed mukimame, and diced avocado. Pour in your chosen sauce, such as soy or tamari, and mix gently until everything is well incorporated. The colors of the veggies should shine, creating a vibrant filling for your sushi cups.
Step 4: Mayo Preparation
In a separate bowl, whisk together mayonnaise, Sriracha sauce, honey, and sesame oil until smooth and creamy. Adjust the Sriracha based on your preferred spice level; it should harmonize with the mayonnaise. This spicy mayo will add a delightful kick to your sushi cups, enhancing their flavor profile.
Step 5: Assemble Cups
Once the rice cups have chilled and set, remove them from the refrigerator. Carefully spoon the veggie mixture into each rice cup, filling them generously. Drizzle a dollop of the spicy mayo over the top of each filled cup. Finally, sprinkle some black sesame seeds as a garnish for a lovely touch of texture and appeal before serving.
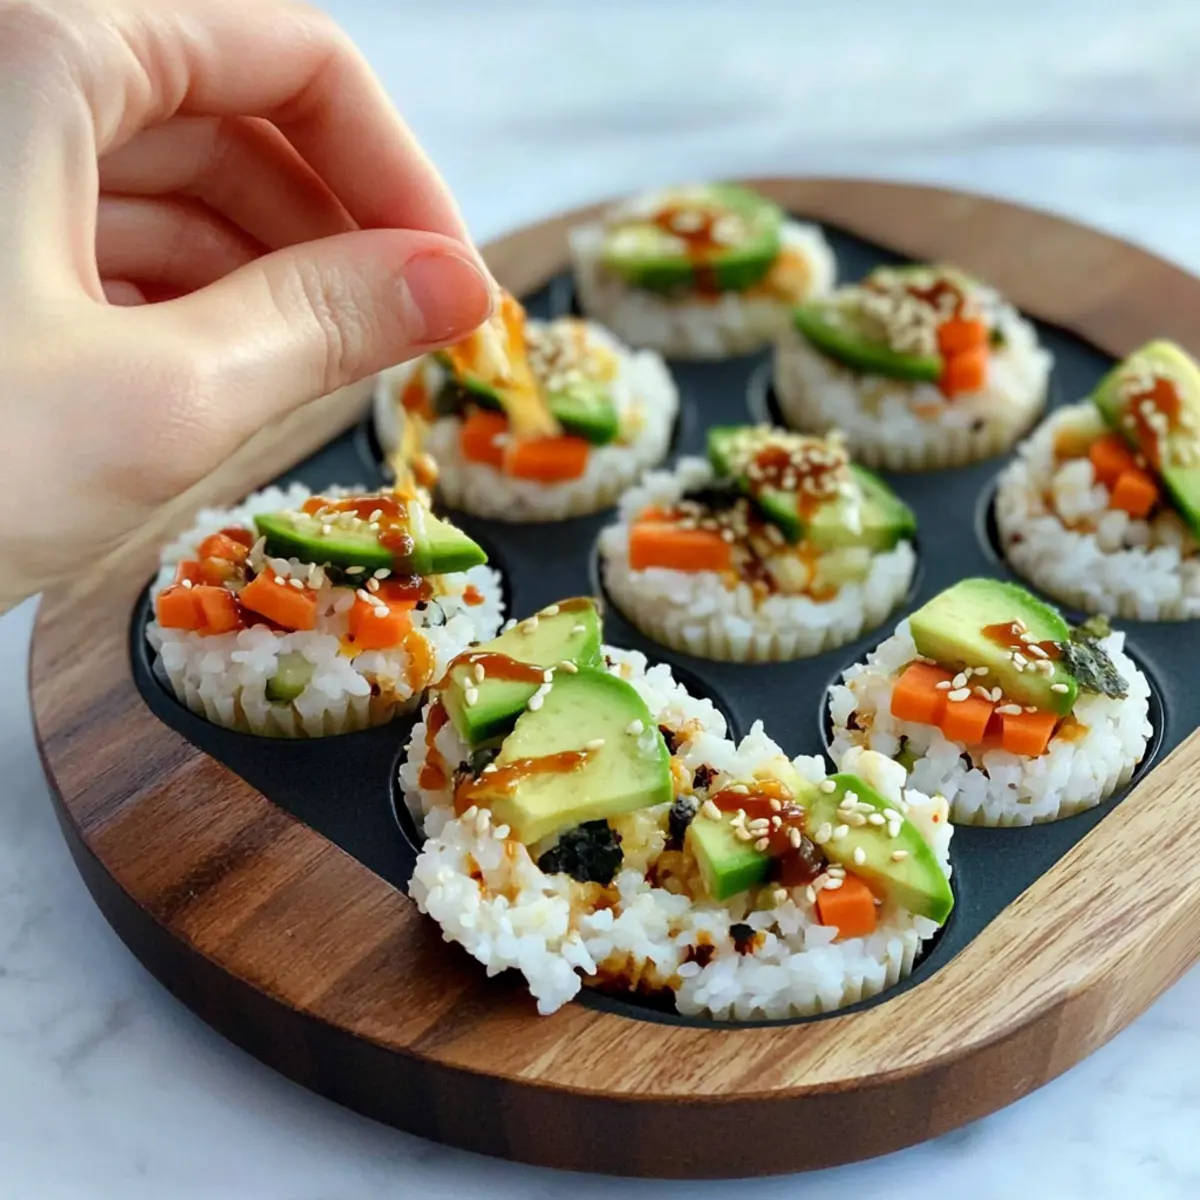
Sushi Cups: Customizable Delight
Dive into a world of flavor and creativity with these sushi cups, designed for your unique tastes and preferences!
-
Quinoa Base: Swap sushi rice for quinoa for a nutritious twist that’s packed with protein and flavor.
-
Veggie Boost: Add finely sliced bell peppers, radishes, or even roasted beets for extra color and crunch. The more, the merrier!
-
Protein Power: Toss in cooked shrimp, grilled chicken, or marinated tofu for a heartier filling. Your taste buds will thank you.
-
Sauce Adventure: Try a zingy teriyaki sauce or creamy peanut sauce instead of traditional mayo for a fun flavor change. Think outside the box!
-
Spice it Up: Kick up the heat with jalapeños or chili paste if you want to feel the fire. Spice lovers will adore this option.
-
Crunchy Texture: Sprinkle crushed nori chips or toasted sesame seeds on top for an exciting crunch. It’s all about layers!
-
Fresh Herbs: Add fresh cilantro or mint to the filling for a burst of freshness and fragrance. An herb garden on your plate!
-
Vegan Friendly: Use a plant-based mayo, coconut yogurt, and agave for a vegan-friendly version that doesn’t compromise on taste. Delicious for everyone!
For another scrumptious and wholesome recipe, be sure to check out my Breakfast Granola Cups. They’re easy to make and perfect for busy mornings or snacking any time! Enjoy your sushi cups and let your creativity shine!
How to Store and Freeze Sushi Cups
- Fridge: Store any leftover sushi cups in an airtight container for up to 2 days. The rice may harden beyond this timeframe, so enjoy them fresh for the best taste.
- Freezer: While not recommended for optimal texture, you can freeze assembled sushi cups in a single layer on a cookie sheet. Once frozen, transfer to a ziplock bag for up to 1 month.
- Reheating: If you freeze them, thaw the sushi cups overnight in the fridge before serving. Enjoy cold for the best experience, but you can lightly microwave them for a few seconds if you prefer a warm treat.
- Make-Ahead: Prepped sushi cups can be made up to 24 hours in advance, making them perfect for events. Just store in an airtight container, ensuring freshness when you’re ready to serve!
What to Serve with Sushi Cups
These vibrant bites become even more delightful when paired with complementary sides and drinks.
- Crispy Spring Rolls: Their crunchy exterior and light fillings create a wonderful contrast to the soft sushi cups, adding delightful texture to your meal.
- Edamame Pods: Steamed and lightly salted, these protein-packed pods are a fun, healthy snack that enhances the overall Japanese theme of your meal.
- Cucumber Salad: A refreshing, zesty cucumber salad can bring a crisp, tangy element to balance the creamy sushi cups, perfect for invigorating your palate.
- Miso Soup: A warm bowl of miso soup can round out your meal beautifully, with its savory depth complementing the fresh flavors of the sushi cups.
- Sake or Green Tea: Serve alongside traditional Japanese sake or a soothing cup of green tea for a delightful pairing that enhances the sushi experience.
- Fruit Sorbet: As a light and refreshing dessert, sorbet in mango or yuzu flavors contrasts the sushi cups and cleanses the palate after your meal.
Enjoy mixing and matching these additions to create a beautifully curated spread that will impress family and friends alike!
Make Ahead Options
These Customizable No-Bake Sushi Cups are perfect for meal prep enthusiasts looking to save time during busy weeknights! You can prepare the sushi rice and form the cups up to 24 hours in advance, storing them in an airtight container in the refrigerator to maintain their shape and freshness. Additionally, chop your veggies and mix the filling ingredients ahead of time, keeping everything in separate containers for convenience. When it’s time to serve, simply fill the chilled rice cups with your veggie mixture and drizzle with the spicy mayo just before enjoying. This strategy ensures your sushi cups are just as delicious and enjoyable, without the last-minute rush!
Expert Tips for Sushi Cups
-
Rice Rinse: Always rinse the sushi rice thoroughly before cooking to remove excess starch—this ensures a fluffy and non-sticky base for your sushi cups.
-
Chill Properly: Allow the rice cups to chill adequately in the refrigerator. This step helps them hold their shape when serving and enhances texture.
-
Customization: Feel free to mix up the vegetables and sauces according to your taste. Using the freshest ingredients will elevate the overall flavor of your sushi cups.
-
Spice Control: Adjust the amount of Sriracha in your spicy mayo to match your heat preference. It’s easier to add spice than to take it away!
-
Make-Ahead: These sushi cups can be prepared a day ahead. Just store them in an airtight container in the fridge, but enjoy them within two days for the best flavor and texture.
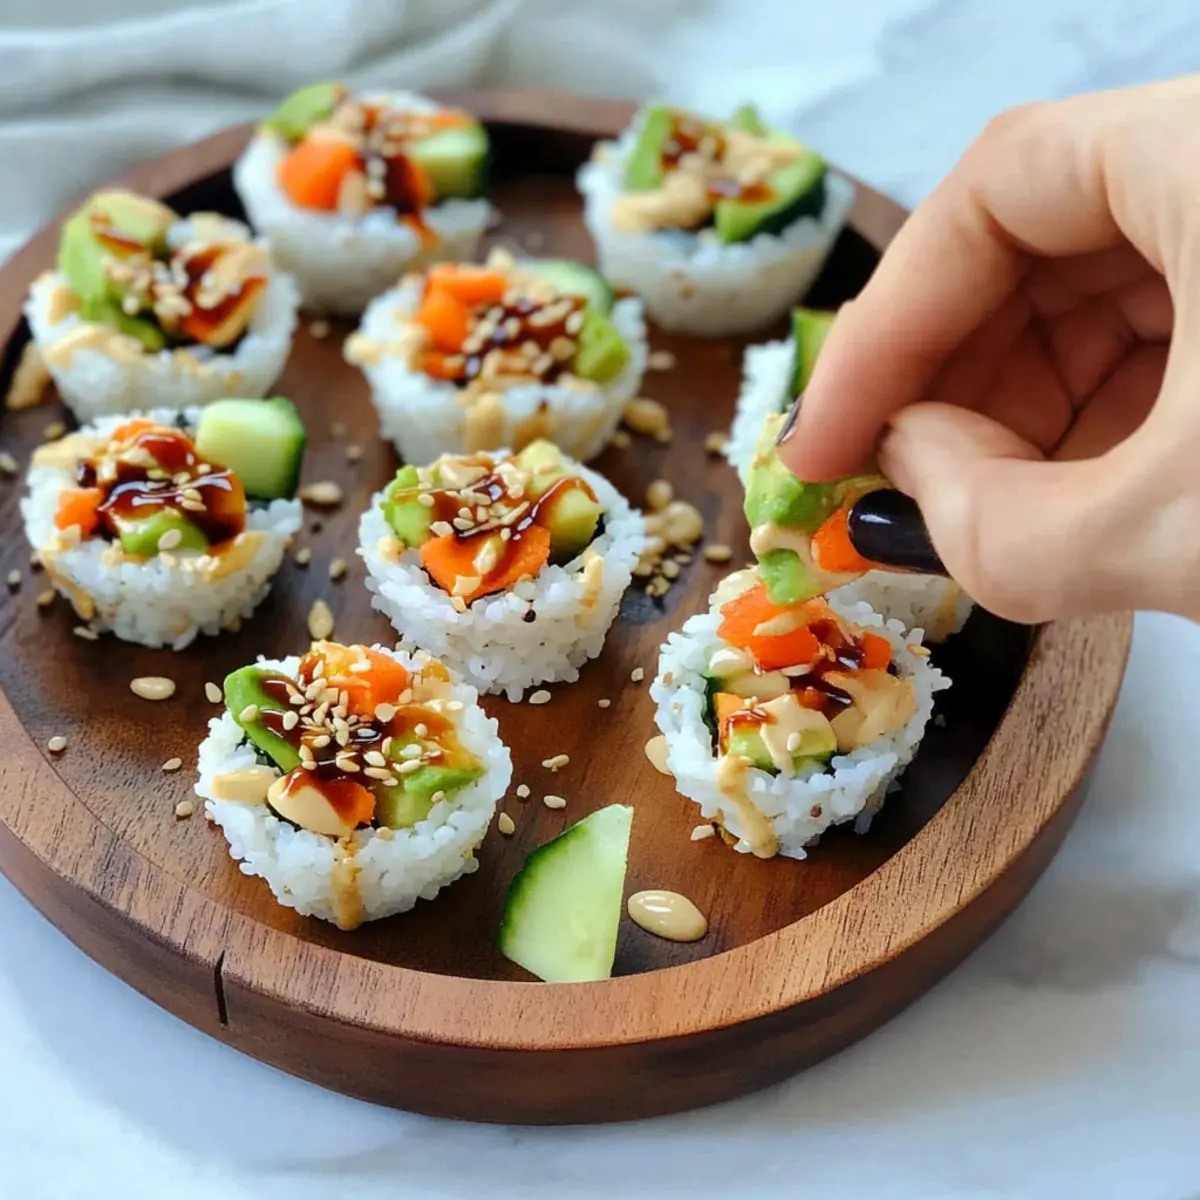
Sushi Cups Recipe FAQs
How do I choose ripe vegetables for my sushi cups?
Absolutely! When selecting vegetables, look for bright colors and a firm texture. Cucumbers should be crisp, bell peppers should have a smooth skin without blemishes, and carrots should be vibrant without dark spots. Freshness is key to ensuring a delicious flavor in your sushi cups!
What is the best way to store leftover sushi cups?
Very! Store any leftover sushi cups in an airtight container in the refrigerator for up to 2 days. For optimal freshness, I recommend consuming them within this timeframe, as the rice may harden if stored for longer periods.
Can I freeze sushi cups? If so, how?
Sure! While freezing isn’t the best option for texture, it’s possible. To freeze, arrange the assembled sushi cups in a single layer on a cookie sheet. Once frozen solid, transfer them to a ziplock bag and store for up to 1 month. Thaw overnight in the refrigerator before serving and enjoy cold, or lightly microwave for a few seconds if you prefer them warm!
What should I do if my rice doesn’t hold its shape?
No worries! If your rice is crumbly, ensure that you’ve rinsed it properly before cooking and that it is packed tightly in the muffin tin cups. The rice should be fluffy yet sticky enough to mold. If it’s still not holding, try using a little extra water when cooking, and make sure the rice cools sufficiently before assembling your cups.
Are these sushi cups suitable for people with allergies?
Absolutely! You can create these sushi cups with various ingredients to cater to dietary needs. For gluten-free options, use tamari or coconut aminos instead of soy sauce. If there are any concerns about allergens like mayonnaise, opt for vegan mayo or other dairy-free alternatives. Always double-check ingredient labels to ensure safety for anyone with allergies.
Can I make sushi cups ahead of time?
Very much so! You can prepare the sushi cups up to 24 hours in advance. Just assemble them and store in an airtight container in the refrigerator. This makes them a fantastic option for gatherings or busy schedules, allowing you to enjoy fresh and delicious sushi cups anytime!
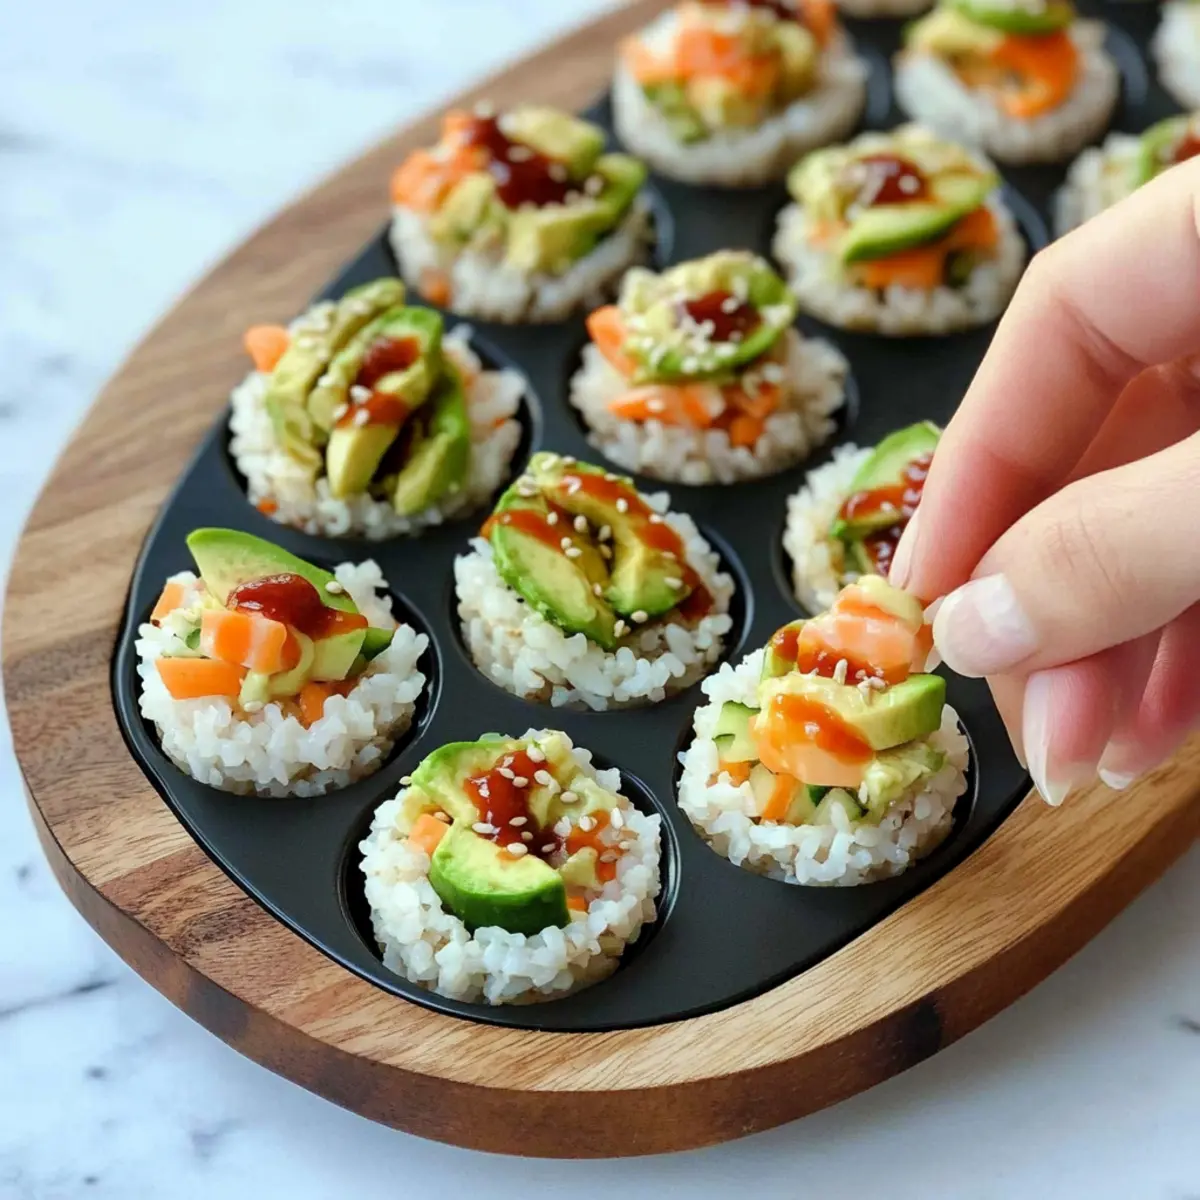
Deliciously Customizable Sushi Cups for Healthy Snacking
Ingredients
Equipment
Method
- In a medium pot, combine sushi rice with water. Bring to a boil, then reduce heat and simmer for about 20 minutes until water is absorbed.
- Remove from heat and let rice cool for about 10 minutes. Press into muffin tin and refrigerate for 20 minutes to set.
- Mix chopped veggies, steamed mukimame, diced avocado, and your chosen sauce in a bowl until combined.
- Whisk mayo, Sriracha, honey, and sesame oil in a separate bowl until smooth. Adjust spice level as needed.
- Spoon veggie mixture into rice cups, drizzle with spicy mayo, and sprinkle with sesame seeds before serving.
Leave a Reply