
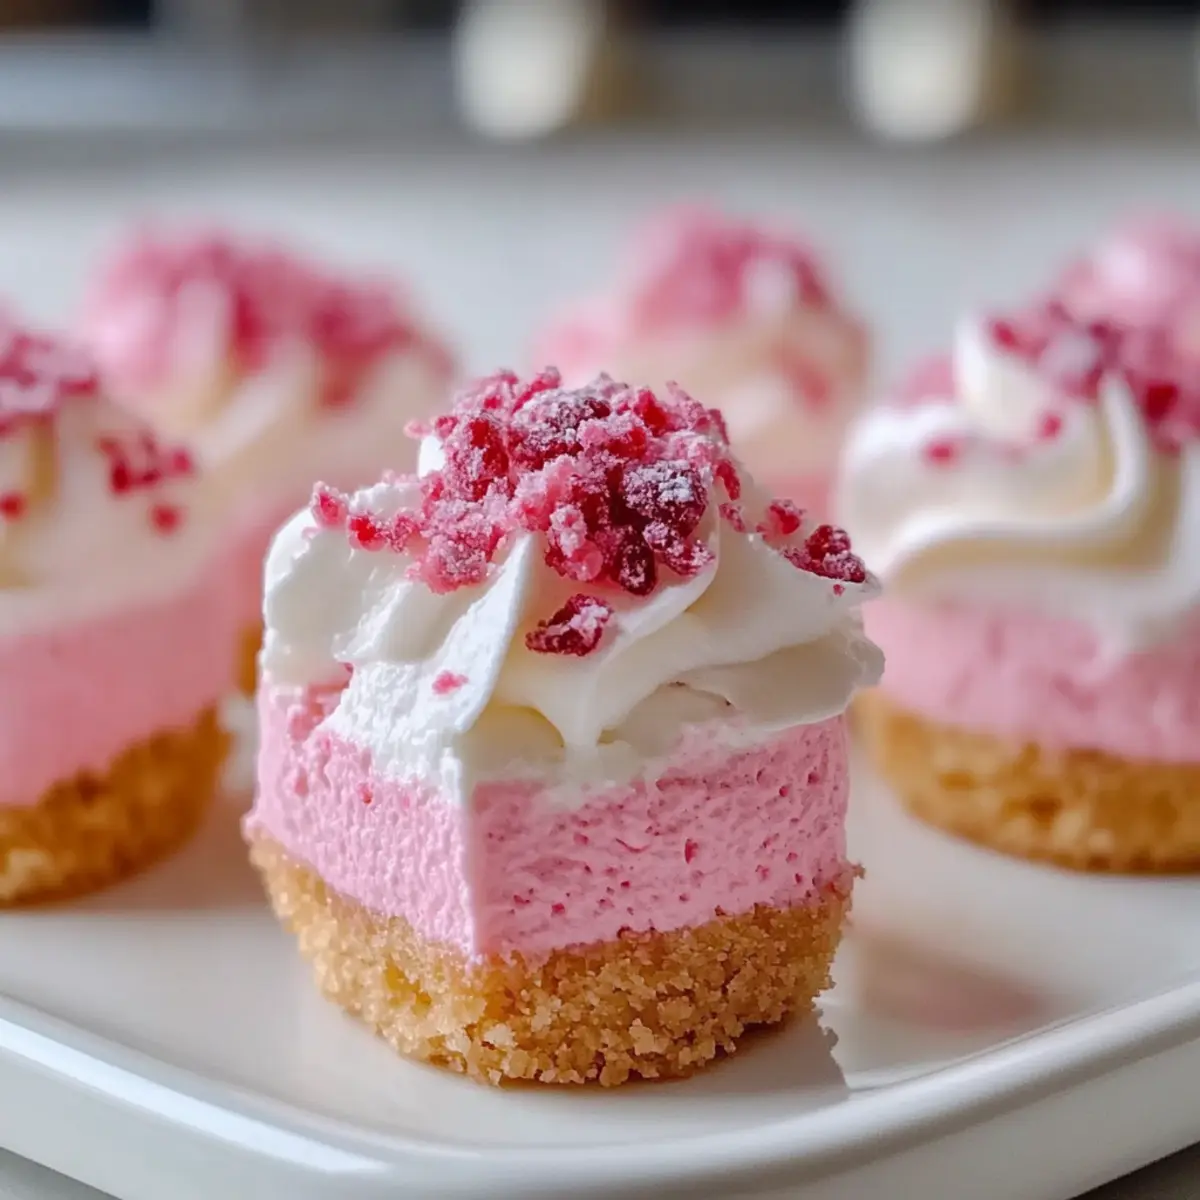
There’s something magical about discovering the perfect no-bake dessert, and these No-Bake Pink Velvet Cheesecake Bites are exactly that! These delightful treats boast a creamy texture that melts in your mouth, effortlessly blending the richness of cream cheese with a playful hint of vanilla. Not only are they incredibly easy to whip up, but they also add a splash of color to your dessert table, making them a stunning centerpiece for any gathering. Plus, with a quick prep time and the flexibility to customize flavors, they’re a sure crowd-pleaser for both kids and adults alike. Ready to dive into a dessert that combines elegance with simplicity? Let’s get started!
Why are these cheesecake bites unforgettable?
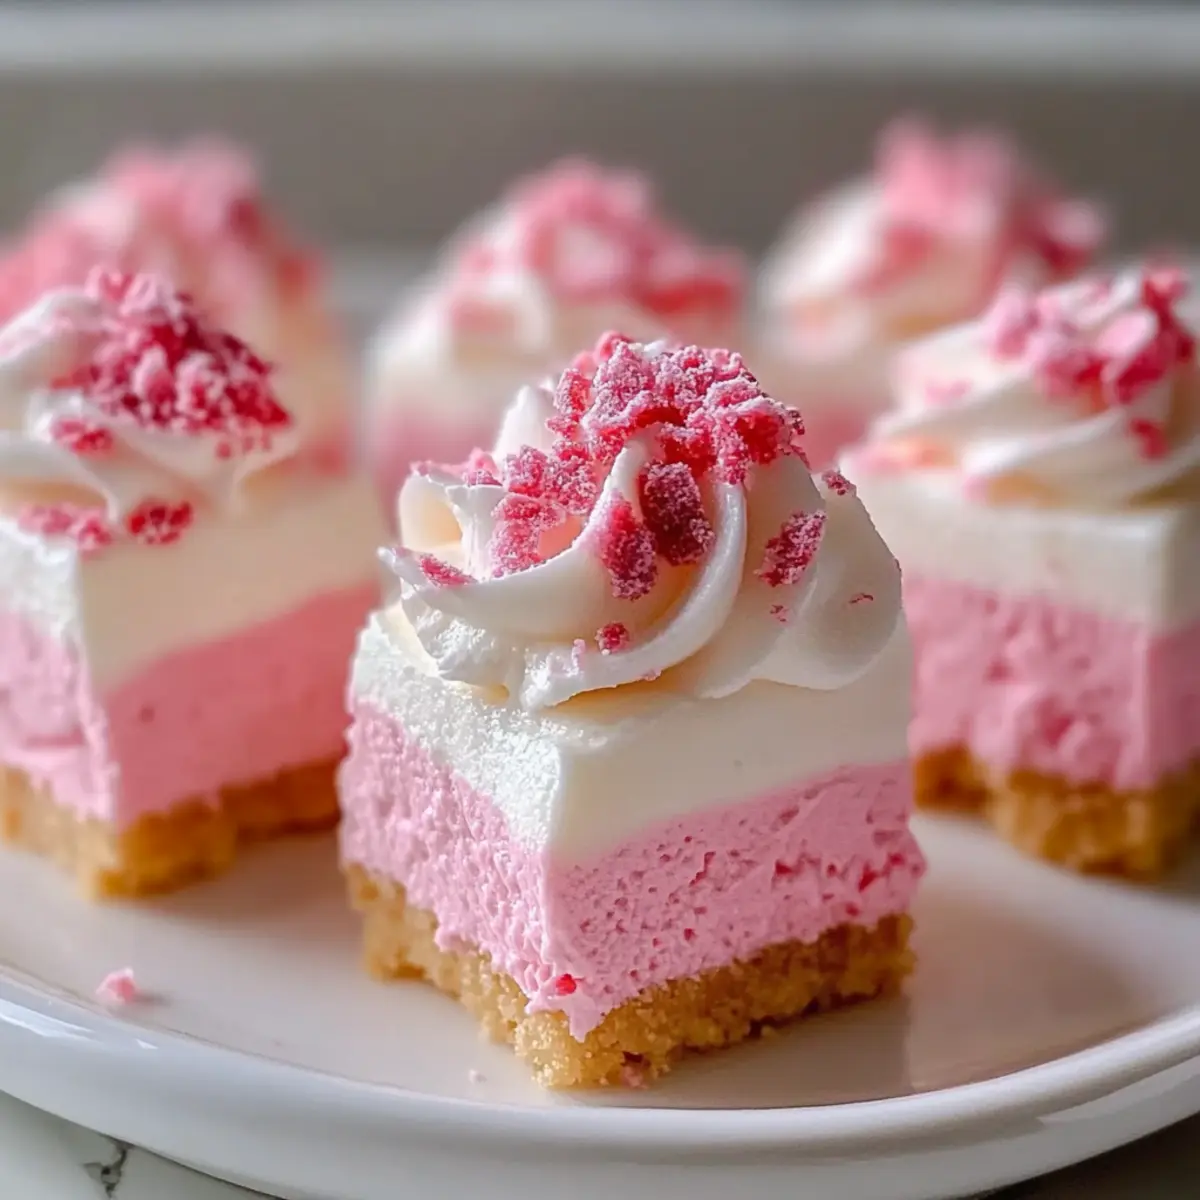
Indulgent Creaminess: The No-Bake Pink Velvet Cheesecake Bites are a textural delight, blending a rich cream cheese base with a luscious whipped cream for smooth bites that melt in your mouth.
Effortless Preparation: With simple, no-bake steps, these treats require minimal time, making them perfect for both novice cooks and seasoned chefs alike.
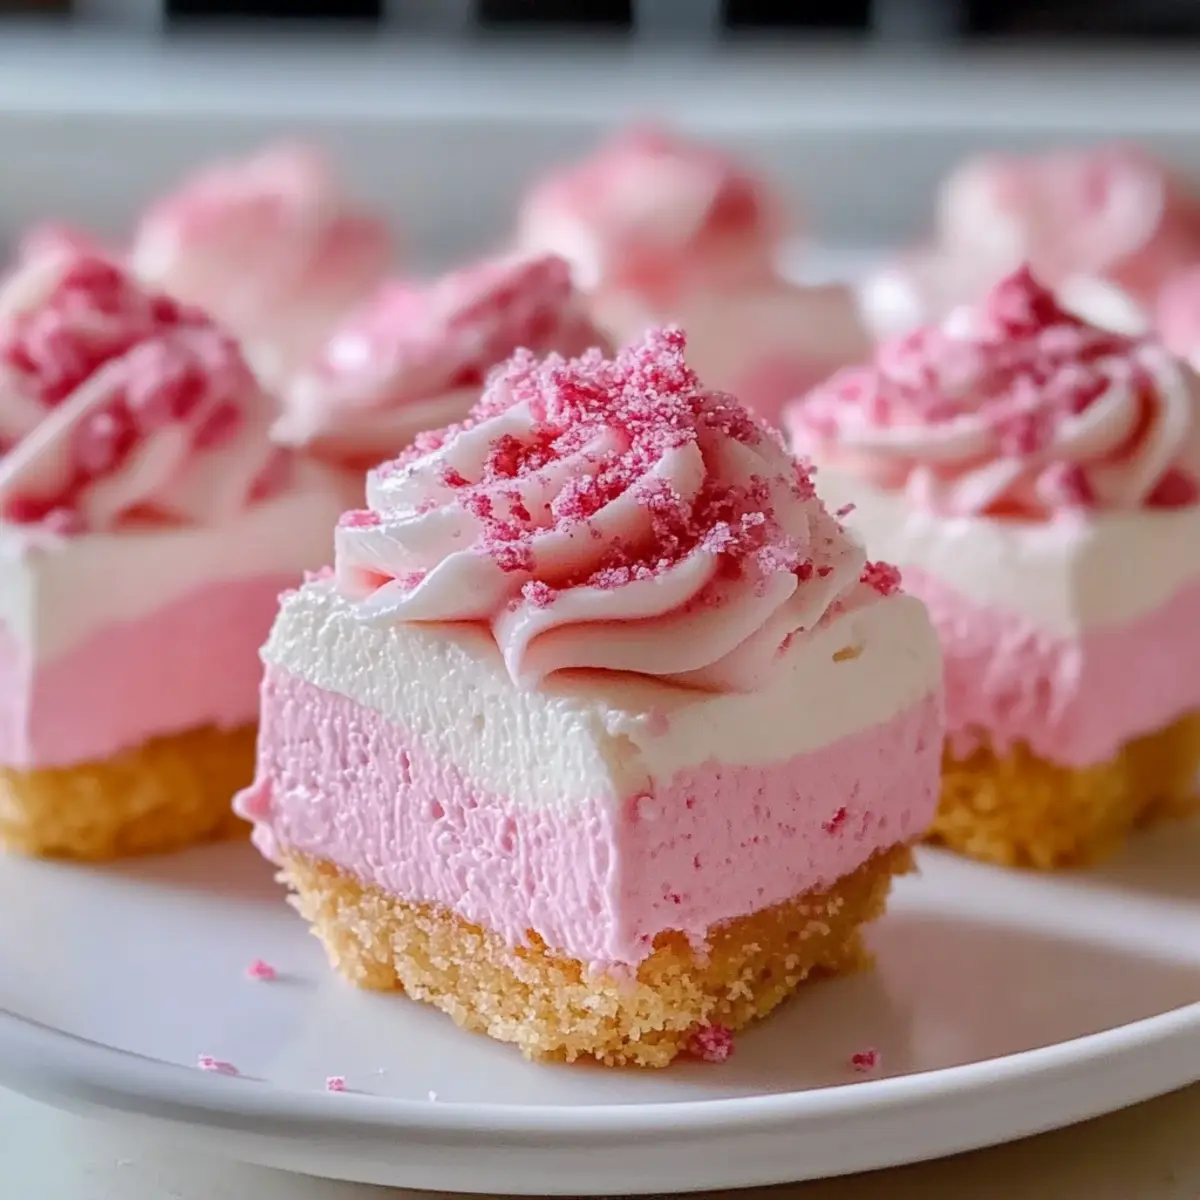
Visually Stunning: Their vibrant pink color makes every serving a feast for the eyes, sure to dazzle guests at any event, from birthday parties to holiday celebrations.
Endless Customization: Feel free to experiment! Whether you choose a chocolate crust for a richer flavor or add a citrus twist with lemon zest, these bites can easily match your creative flair. Check out our Cinnamon Roll Bites for more dessert ideas!
Make-Ahead Convenience: Perfect for busy schedules, whip these up a day in advance and store them in the fridge for effortless, elegant desserts ready when you need them.
No-Bake Pink Velvet Cheesecake Bites Ingredients
For the Cheesecake Filling
• Cream Cheese – Main ingredient providing a rich, creamy texture; for a lighter version, use low-fat cream cheese.
• Sugar – Sweetens the cheesecake filling; can be substituted with powdered sugar for smoother incorporation.
• Vanilla Extract – Adds depth to the flavor; use pure vanilla extract for the best results.
• Heavy Cream – Whipped to create a light, airy texture, but you can use whipped topping for an even lighter alternative.
• Pink Food Coloring – Enhances the visual appeal; adjust the quantity based on your desired shade.
For the Crust
• Graham Cracker Crust – Provides structure and a delightful crunch; consider using a gluten-free crust for dietary needs.
These No-Bake Pink Velvet Cheesecake Bites are not just easy to make; they’re bound to be a colorful highlight of your next gathering!
Step‑by‑Step Instructions for No-Bake Pink Velvet Cheesecake Bites
Step 1: Prepare the Crust
Begin by crushing your graham crackers into fine crumbs, then melt butter in a microwave-safe bowl. Combine the crumbs and melted butter in a mixing bowl until well-coated. Press this mixture firmly into the bottom of a lined baking dish, creating an even layer. Chill in the refrigerator for about 20 minutes while you prepare the creamy cheesecake filling.
Step 2: Make the Cheesecake Filling
In a large mixing bowl, beat room temperature cream cheese and sugar together using an electric mixer. Mix on medium speed until the mixture is smooth and creamy, which should take about 2-3 minutes. Add in pure vanilla extract, and continue to blend until fully incorporated, enhancing the flavor of your No-Bake Pink Velvet Cheesecake Bites.
Step 3: Whip the Cream
In a separate chilled bowl, whip heavy cream using an electric mixer on high speed until soft peaks form, about 3-5 minutes. Be cautious not to over-whip, as you want it light and fluffy. Once done, gently fold the whipped cream into the cream cheese mixture using a spatula, mixing until no white streaks remain for a perfectly smooth filling.
Step 4: Color the Mixture
To achieve that stunning pink hue for your No-Bake Pink Velvet Cheesecake Bites, gradually add pink food coloring into the cheesecake filling. Mix gently until the desired shade is reached, but be careful not to over-mix, ensuring a consistent color throughout while maintaining the light texture you’ve created.
Step 5: Combine
Once your mixture is beautifully colored, spread the cheesecake filling evenly over the chilled graham cracker crust. Use a spatula to smooth the top for an appealing finish. Make sure you cover the entire crust so every bite is bursting with that creamy goodness the No-Bake Pink Velvet Cheesecake Bites promise.
Step 6: Chill
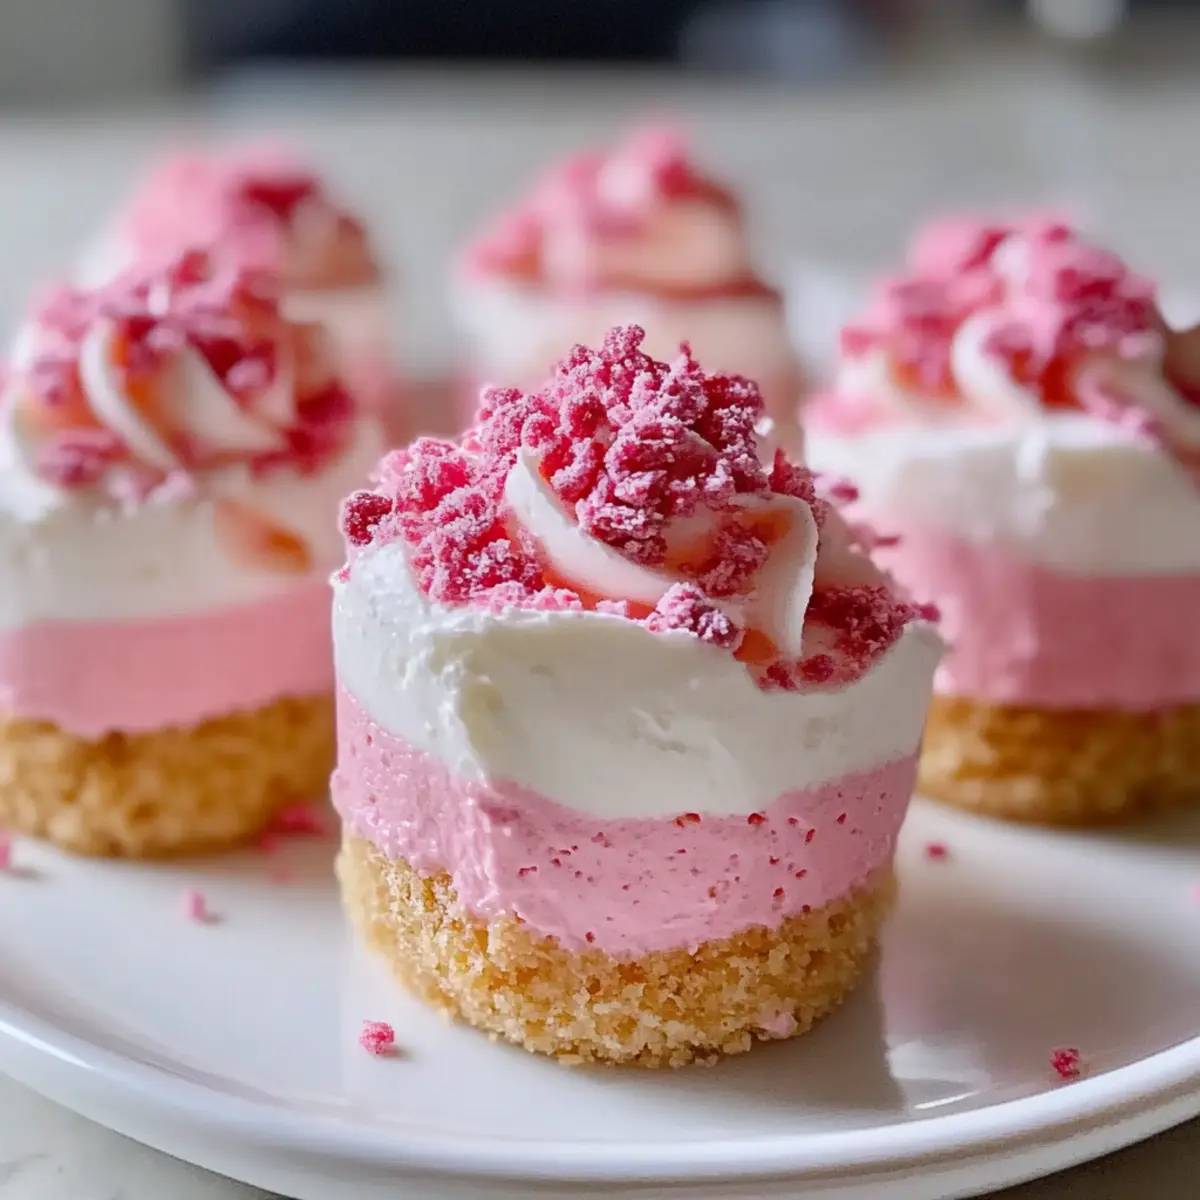
Cover the baking dish with plastic wrap and refrigerate the cheesecake bites for at least 4 hours, or until fully set. This chilling time allows the flavors to meld and the texture to firm up. Once ready, they will have a moussy consistency, making them easy to cut into perfect bite-sized pieces.
Step 7: Serve and Enjoy
After chilling, remove the baking dish from the refrigerator and cut the cheesecake into bite-sized squares. For a decorative touch, consider drizzling chocolate or caramel sauce on top or adding fresh berries. These No-Bake Pink Velvet Cheesecake Bites are now ready to be served and shared at your next celebration!
Make Ahead Options
These No-Bake Pink Velvet Cheesecake Bites are perfect for busy home cooks looking to simplify meal planning! You can prepare the crust and the cheesecake filling up to 24 hours in advance. To do this, simply follow the first five steps of the recipe, then cover and refrigerate the filling until you’re ready to assemble. If prepared ahead, chill the bites for the recommended 4 hours before serving to ensure they have that ideal moussy texture. To maintain their delightful flavor and texture, store them in an airtight container in the refrigerator for up to 3 days. When ready to serve, cut them into bite-sized pieces and add your favorite toppings for a stunning presentation!
Expert Tips for No-Bake Pink Velvet Cheesecake Bites
-
Room Temperature Cream Cheese: Ensure your cream cheese is at room temperature for smoother blending—this prevents lumps and achieves a creamy filling.
-
Gentle Whipping: Be careful not to over-whip the heavy cream; soft peaks are ideal. Over-whipping can lead to a grainy texture in your cheesecake bites.
-
Chilling Time Is Key: Allow ample chilling time in the refrigerator. This step is essential for the No-Bake Pink Velvet Cheesecake Bites to set properly and develop flavors.
-
Color Gradually: When adding pink food coloring, do so gradually. Mix gently until you reach your desired shade to maintain the lightness and fluffiness of the filling.
-
Cutting for Presentation: Use a sharp knife to cut the cheesecake bites after chilling, wiping the blade between cuts for clean-looking edges and a more professional presentation.
What to Serve with No-Bake Pink Velvet Cheesecake Bites
Fresh, colorful pairings will elevate these creamy bites into a delightful spread that’s perfect for any occasion.
-
Fresh Berries: Juicy strawberries, raspberries, or blueberries add a refreshing burst of flavor that beautifully complements the sweetness of the cheesecake. Their vibrant colors look great alongside the pink bites!
-
Chocolate Drizzle: A rich, silky chocolate drizzle provides a decadent contrast to the creamy bites. It not only enhances the taste but also adds an elegant touch to your presentation.
-
Zesty Citrus Salad: A light salad of citrus fruits like oranges and grapefruits balances the rich dessert. The refreshing tang cuts through the creaminess, making each bite feel lighter.
-
Mint-Infused Iced Tea: This lightly sweetened drink brings a cool, soothing element to your dessert table. The refreshing mint works marvelously with the creamy flavor of the cheesecake bites.
-
Vanilla Ice Cream: A scoop of creamy vanilla ice cream creates a dreamy pairing with our No-Bake Pink Velvet Cheesecake Bites. It adds a delightful cold contrast, perfect for warm gatherings.
-
Chocolate-Dipped Pretzels: The crunchy, salty pretzels dipped in chocolate offer a sweet-savory balance that takes the dessert experience to a new level. They’re a fun and playful addition perfect for parties.
-
Decadent Caramel Sauce: Drizzling warm caramel over the cheesecake bites adds a sweet, buttery richness. The luscious sauce complements the tangy filling beautifully, creating a flavor explosion with each bite.
-
Lavender Lemonade: This floral and refreshing drink pairs exceptionally with the sweet bites, providing a light and aromatic finish to your gathering. It’s the perfect thirst-quencher alongside desserts.
No-Bake Pink Velvet Cheesecake Bites Variations
Feel free to explore these delightful twists on the classic recipe and make it your own!
-
Citrus Burst: Add lemon zest or orange juice to the filling for a refreshing fruity flavor that brightens each bite.
A sprinkle of zest not only elevates the taste but also brings a lively color contrast that enhances presentation. -
Chocolate Lovers: Swap the graham cracker crust for a chocolate cookie crust to indulge chocolate cravings.
This alternative transforms your cheesecake into a decadent dessert, perfect for those who can’t resist chocolate. -
Vegan Delight: Use vegan cream cheese and whipped coconut cream for an entirely dairy-free version.
This makes it accessible for those following a plant-based diet without compromising the glorious taste. -
Nutty Crunch: Fold in crushed nuts or mix in a layer of toasted coconut for added texture and flavor variations.
The delightful crunch will surprise your guests and provide a delightful contrast to the creamy filling. -
Berry Bliss: Top the cheesecake bites with a mix of fresh crushed berries before serving for a tart and sweet finish.
This not only enhances the flavors but adds an elegant touch to your dessert spread, making it even more appealing. -
Spiced Up: Infuse warmth with a dash of cinnamon or nutmeg in the cheesecake filling for a cozy twist.
The aromatic spices can evoke feelings of nostalgia, making these bites perfect for holiday gatherings. -
Caramel Drizzle: Drizzle with homemade caramel sauce before serving for a rich and indulgent touch.
This sweet addition elevates the overall experience, enticing those with a sweet tooth to savor every bite. -
Personalize with Toppings: Experiment with different toppings like whipped cream, chocolate shavings, or sprinkles to make these bites festive!
The sky’s the limit here; whether it’s for a birthday or a simple family gathering, the personal touch shines through.
For more inspiration, check out our delicious Parmesan Mozzarella Bites to complement your dessert table with savory goodness!
How to Store and Freeze No-Bake Pink Velvet Cheesecake Bites
Fridge: Keep your No-Bake Pink Velvet Cheesecake Bites in an airtight container in the refrigerator for up to 5 days. This will help preserve their creamy texture and delightful flavor.
Freezer: For long-term storage, freeze the cheesecake bites in a single layer on a baking sheet until solid, then transfer them to an airtight container. They can be stored in the freezer for up to 3 months.
Thawing: To enjoy frozen bites, simply transfer them to the fridge for several hours to thaw before serving. This will ensure they maintain their delicious creaminess.
Reheating: There’s no need to reheat these cheesecake bites, as they are best enjoyed chilled straight from the fridge or after thawing from the freezer.
No-Bake Pink Velvet Cheesecake Bites Recipe FAQs
What type of cream cheese should I use?
I recommend using full-fat cream cheese for the richest flavor and smoothest texture. You can opt for low-fat cream cheese as a lighter alternative, but be aware that it may slightly alter the creaminess of your No-Bake Pink Velvet Cheesecake Bites.
How should I store the cheesecake bites?
Store your No-Bake Pink Velvet Cheesecake Bites in an airtight container in the refrigerator for up to 5 days. Keeping them airtight helps maintain their creamy texture and delightful flavor. If you’ve made them in advance, you can prepare the cheesecake bites a day before your gathering for added convenience.
Can I freeze these cheesecake bites?
Absolutely! To freeze your No-Bake Pink Velvet Cheesecake Bites, place them on a baking sheet in a single layer and freeze until solid. Then, transfer them to an airtight container or a freezer-safe bag. They can be stored in the freezer for up to 3 months. Just remember to thaw them in the fridge for several hours before serving!
How do I fix a grainy texture in my cheesecake filling?
If your cheesecake mixture turns out grainy, it’s usually due to the cream cheese not being at room temperature. To avoid this, ensure the cream cheese is softened before mixing. If you find yourself in this situation already, whip the filling a bit more until it’s smooth. Just be careful not to over-whip as that can lead to a different texture!
Can I make these cheesecake bites dairy-free?
Yes, you can substitute the cream cheese with vegan cream cheese to make these No-Bake Pink Velvet Cheesecake Bites dairy-free. Just ensure that your other ingredients, like the whipped cream, are also dairy-free. This way, you can enjoy a delightful dessert without sacrificing taste!
How can I enhance the visual appeal of my cheesecake bites?
For an extra touch of beauty, consider drizzling melted chocolate or caramel sauce on top before serving. You can also sprinkle crushed berries or edible glitter for a festive garnish. Your No-Bake Pink Velvet Cheesecake Bites will not only taste amazing but look stunning as well!
No-Bake Pink Velvet Cheesecake Bites for Sweet Celebrations
Ingredients
Equipment
Method
- Prepare the Crust: Crush graham crackers into fine crumbs, melt butter, and combine with crumbs. Press into a lined baking dish and chill for 20 minutes.
- Make the Cheesecake Filling: Beat cream cheese and sugar in a bowl until smooth. Add vanilla extract and blend well.
- Whip the Cream: In a separate bowl, whip heavy cream until soft peaks form. Fold into the cream cheese mixture gently.
- Color the Mixture: Gradually add pink food coloring to the cheesecake filling until the desired shade is achieved.
- Combine: Spread the cheesecake filling evenly over the chilled crust, smoothing the top.
- Chill: Cover with plastic wrap and refrigerate for at least 4 hours until set.
- Serve and Enjoy: Cut into bite-sized squares and optionally drizzle with chocolate or caramel or add fresh berries.
Leave a Reply