
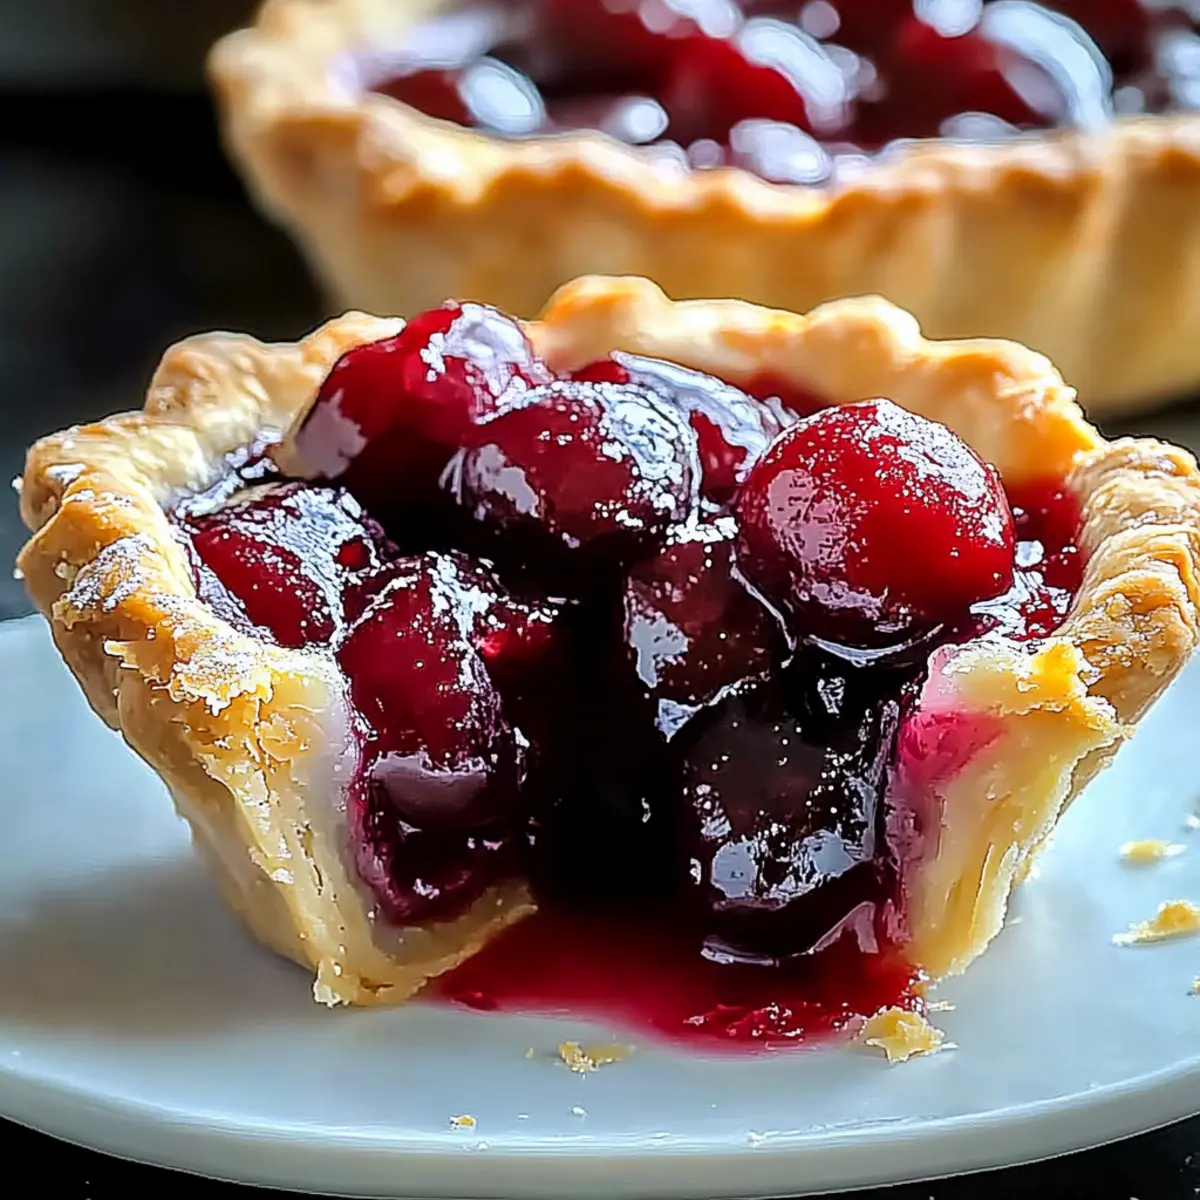
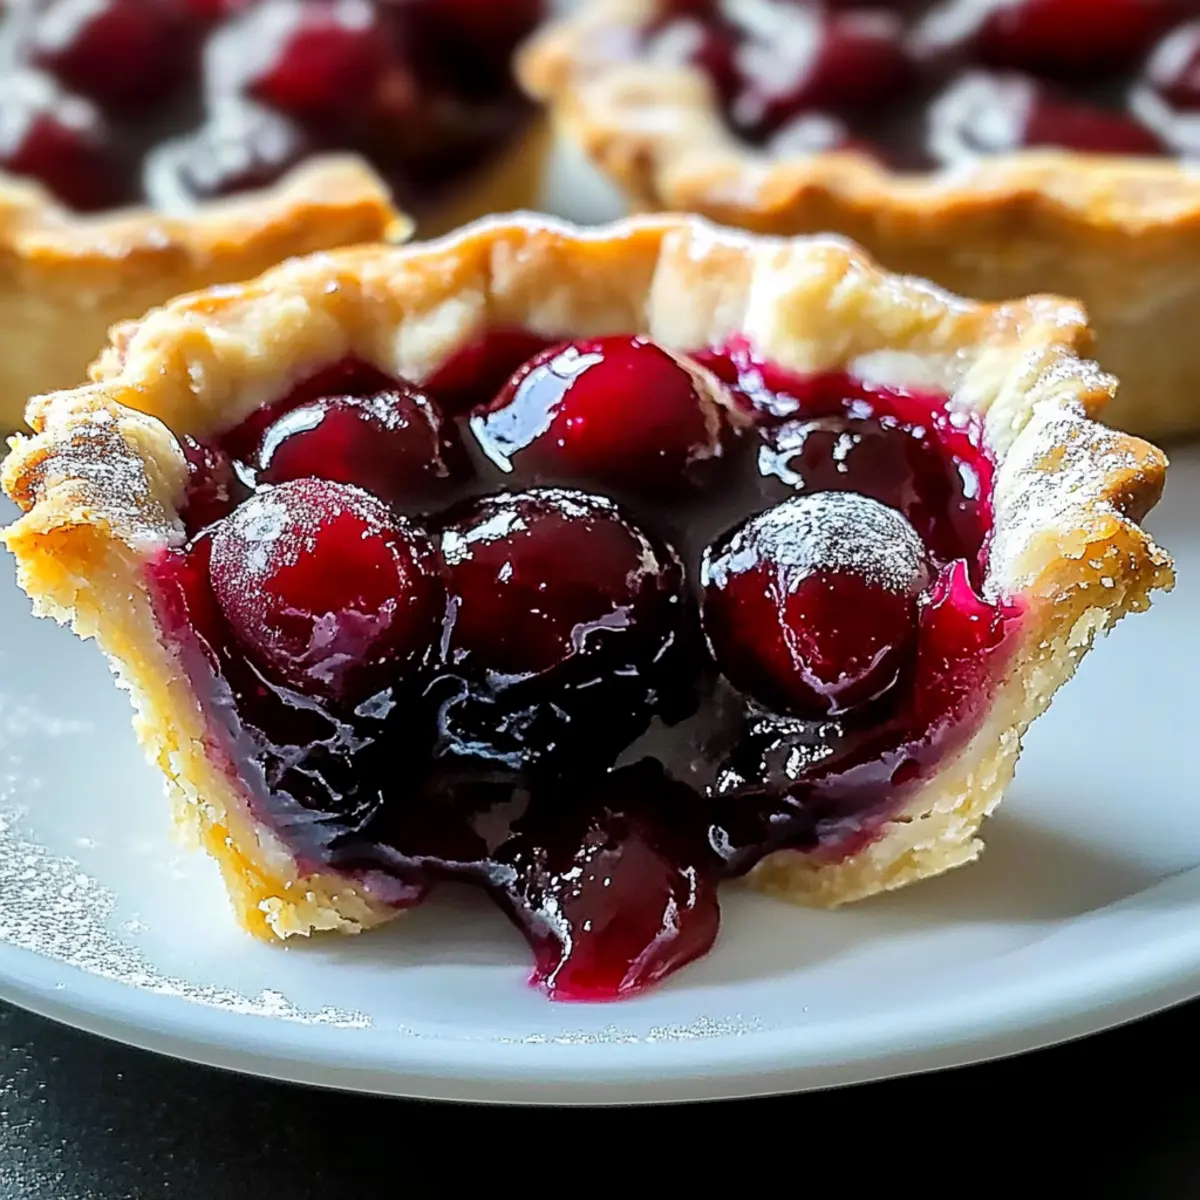
As I was rummaging through my kitchen on a sunny afternoon, a sweet memory hit me like a gentle breeze: the irresistible aroma of freshly baked Mini Cherry Pies filled my childhood home. These charming little pastries bring together a golden, flaky crust and a vibrant cherry filling, creating the kind of dessert that instantly lights up any table. The best part? This easy dessert can be prepped in just about an hour using only four ingredients, making it a perfect project for both seasoned chefs and curious beginners. Whether you’re planning a delightful picnic or simply craving a scrumptious treat to enjoy at home, these mini pies will be a hit. Plus, they offer endless possibilities with different fruit fillings, from blueberry to chocolate-cherry! Are you ready to uncover the joy of these delightful 4-ingredient treats?

Why Are Mini Cherry Pies So Irresistible?
Simplicity is Key: With just four ingredients, these mini pies come together effortlessly, making them perfect for busy days. Flaky Crust Perfection: The buttery crust offers a delightful crunch that pairs beautifully with the sweet filling. Versatile Variations: Feel free to swap out the cherry for blueberry or peach, inviting creativity into your kitchen. Portable Treat: These small bites are easy to pack, making them ideal for picnics or lunchboxes. Crowd-Pleaser: Whether it’s a family gathering or a simple dessert at home, they never fail to impress! You might also enjoy making Delightful Mini Pineapple or Smores Hand Pies for more delightful desserts to share.
Mini Cherry Pie Ingredients
• Simple yet Satisfying: Gather these ingredients to whip up your Mini Cherry Pies.
For the Crust
- Pie Crust – 1 package (2 9-inch); ready-made crust makes this recipe quick and hassle-free; homemade dough is also an option for extra flair.
For the Filling
- Cherry Pie Filling – 2 cups; provides a burst of sweetness and vibrant color to each pie; canned or homemade can be used.
For the Finish
- Egg White – 1, slightly beaten; creates a golden, glossy finish on the crust.
- Sugar (for sprinkling) – adds sparkle and extra sweetness to the crust’s surface.
Enjoy making these delightful Mini Cherry Pies, and don’t forget to explore different fruit fillings to create your own sweet variations!
Step‑by‑Step Instructions for Mini Cherry Pies
Step 1: Preheat the Oven
Begin by preheating your oven to 350°F (175°C). While the oven warms, grease a muffin tin lightly with cooking spray or butter to ensure easy removal of your Mini Cherry Pies later on. This step is crucial for achieving that beautifully golden crust you desire.
Step 2: Cut the Crust
Roll out the store-bought pie crust on a floured surface, ensuring it’s pliable and easy to work with. Use a 3 ½–4-inch round cutter to cut circles from the dough. If you need more circles, repeat the process with the second pie crust until you have enough for all your muffin cups.
Step 3: Shape the Crusts
Take each dough circle and gently press it into the greased muffin cups, molding them to fit snugly. Make sure the edges of the crusts overlap slightly to form a sturdy barrier for the cherry filling. This is where your Mini Cherry Pies will develop their delightful form.
Step 4: Fill the Crusts
Spoon the cherry pie filling into each of the prepared crusts, filling them about two-thirds full. This allows space for the filling to bubble and rise as they bake, ensuring each bite is deliciously bursting with flavor. Be careful not to overfill, as this could lead to a mess!
Step 5: Add Lattice Topping (Optional)
If you’d like a decorative touch, use any leftover dough to create a lattice topping. Roll out the remaining crust, cut it into thin strips, then weave them over the filled pies. After that, press the edges firmly to seal any gaps, creating both an appealing design and an extra layer of buttery goodness.
Step 6: Brush and Sprinkle
With a slightly beaten egg white, brush the tops of each Mini Cherry Pie, giving them a glossy finish after baking. Follow this by sprinkling a pinch of sugar over each pie to add a lovely sparkle and a touch of sweetness. This visual cue is what makes your tasty treats truly irresistible.
Step 7: Bake the Pies
Carefully transfer the muffin tin to your preheated oven and bake for 25–30 minutes. Keep an eye on them; you’re looking for a golden-brown crust and bubbly filling to signal that your Mini Cherry Pies are ready. Let the delicious aroma fill your kitchen.
Step 8: Cool and Remove
Once baked to perfection, remove the muffin tin from the oven and allow the pies to cool in the tin for about 15–20 minutes. This cooling time will make them easier to handle. Carefully run a knife around the edges, then gently lift each Mini Cherry Pie out to cool completely on a wire rack before serving.

Make Ahead Options
These Mini Cherry Pies are perfect for meal prep, allowing you to enjoy their delightful taste with minimal last-minute effort! You can prepare the crusts and fill them with cherry pie filling up to 24 hours in advance. Simply assemble the pies in the muffin tin, then cover and refrigerate them until you’re ready to bake. This ensures the crust remains flaky and the filling stays fresh. When you’re ready to serve, brush with egg white, sprinkle with sugar, and bake them as directed. This method not only saves time but also keeps the pies just as delicious as if made fresh!
Expert Tips for Mini Cherry Pies
• Keep Dough Cool: If the dough becomes sticky while working, chill it briefly to make it easier to handle.
• Prevent Soggy Bottoms: Sprinkle a little flour or sugar in the crust before adding the filling to absorb excess moisture.
• Check Doneness: Look for a golden crust and bubbling filling to ensure your Mini Cherry Pies are fully cooked and delicious.
• Versatility Matters: Don’t hesitate to swap in other fruit fillings like blueberry or peach for exciting variations.
• Serve With Style: Consider serving warm with a scoop of vanilla ice cream or a dollop of whipped cream for an extra treat!
How to Store and Freeze Mini Cherry Pies
Refrigeration: Store any leftover Mini Cherry Pies in an airtight container in the fridge for up to 3 days. This keeps them fresh and flavorful, ready for your next indulgent snack.
Freezing: Baked pies can be frozen for up to 1 month. Allow them to cool completely, then wrap each pie individually in plastic wrap before placing them in a freezer bag.
Thawing: When you’re ready to enjoy a frozen Mini Cherry Pie, simply thaw it in the refrigerator overnight.
Reheating: For a warm treat, reheat in the oven at 350°F (175°C) for about 10-15 minutes until warm and crisp.
Mini Cherry Pie Variations & Substitutions
Delight in the fun of customizing your Mini Cherry Pies with these delicious twists that will tantalize your taste buds!
-
Blueberry Bliss: Substitute cherry filling for blueberry pie filling for a sweet twist on the classic. The juicy blueberries create an equally irresistible flavor profile.
-
Peachy Keen: Use peach pie filling and sprinkle some cinnamon on top. This vibrant combination brings a fragrant warmth, perfect for summer gatherings.
-
Chocolate-Cherry Combo: Add chocolate chips to your cherry filling before baking. The melt-in-your-mouth chocolate adds a rich layer of indulgence to each bite.
-
Nutty Crunch: Incorporate crushed nuts like almonds or pecans into the filling for a satisfying crunch. This addition brings texture to the soft, fruity sweetness.
-
Dairy-Free Delight: Swap egg wash with almond milk or dairy-free milk for a lovely shine and keep the recipe plant-based. It’s an easy way to cater to special dietary needs without sacrificing flavor!
-
Meringue Topping: Whip up a quick meringue using egg whites and sugar for a fluffy topping. This light and sweet addition will surprise your guests and take the pies to the next level.
-
Spicy Kick: For those who love a little heat, add a pinch of cayenne pepper to the filling. The unexpected spice pairs surprisingly well with the sweetness of the fruit.
-
Fruit Medley: Combine different fruit fillings like cherry and raspberry for a delightful medley of flavors. This variation allows you to explore a burst of tastes in every pie.
Feel free to experiment with these variations and create personal favorites! While you’re at it, you might want to try out some more lovely treats like Protein Pancake Sausage to keep your dessert game exciting!
What to Serve with Mini Cherry Pies
Treat your guests to a delightful spread that perfectly complements these charming, fruity bites.
-
Whipped Cream: A light and airy topping that adds creaminess and balances the sweet tartness of the cherry filling.
-
Vanilla Ice Cream: The classic pair, its richness melts beautifully over the warm pies, creating an indulgent dessert experience.
-
Fresh Berries: Serve alongside a medley of raspberries or blueberries for an added burst of freshness, brightening your dessert plate.
-
Lemonade: A refreshing drink to cut through the sweetness, its tartness creates a perfect contrast to the rich mini pies.
-
Coffee: Enjoy a steaming cup of coffee alongside these desserts; its bold flavor enhances the sweetness of the cherry filling.
-
Cheese Platter: Include a variety of mild cheeses, such as cream cheese or brie; their creamy texture pairs delightfully with the flaky crust.
Elevate your dessert table, and watch as these lovely Mini Cherry Pies become the star attractions!
Mini Cherry Pies Recipe FAQs
What type of cherries should I use for the filling?
Absolutely! You can use either fresh or canned cherries for your filling. If you opt for fresh cherries, make sure they’re ripe with a bright red color and no dark spots. If you’re using canned cherries, look for ones packed in juice rather than syrup for a fresher taste. The key is to have sweet, juicy cherries that will create that delightful burst of flavor in your Mini Cherry Pies!
How should I store leftover Mini Cherry Pies?
Very good question! Store any leftover Mini Cherry Pies in an airtight container in the fridge for up to 3 days. This keeps them fresh and delicious for your next treat. If you really want them to stay crisp, you can also place a paper towel in the container; this will help absorb moisture and maintain that flaky crust!
Can I freeze Mini Cherry Pies?
Absolutely! These baked pies can be frozen for up to 1 month. Make sure to let them cool completely after baking. To freeze, wrap each pie individually in plastic wrap and then place them in a freezer bag or airtight container. This protects them from freezer burn. To enjoy later, simply thaw in the refrigerator overnight and reheat in the oven at 350°F (175°C) for about 10-15 minutes.
What if my crust is too sticky to work with?
If your dough becomes sticky while rolling out, don’t worry! Just sprinkle a little flour on your work surface and on the dough itself. If it remains too sticky, chill the dough in the fridge for about 15 minutes. This will help firm it up, making it easy to shape and cut while ensuring your Mini Cherry Pies will have that delicious, flaky texture when baked.
Can Mini Cherry Pies be made in advance for an event?
Yes! You can make Mini Cherry Pies a day in advance. Once baked and cooled, store them in an airtight container in the refrigerator. If you want to serve them warm, simply reheat them in the oven at 350°F (175°C) for about 10-15 minutes just before your guests arrive. They’ll be just as delightful as when they were freshly made!
Are there any dietary considerations for these Mini Cherry Pies?
If you or your guests have dietary concerns, it’s good to know that these Mini Cherry Pies can be easily adapted. For those with gluten sensitivities, look for gluten-free pie crusts available at most grocery stores. As for allergies, be cautious with fillings that might contain allergens and consider using fruit fillings that suit everyone’s dietary needs. Feel free to swap ingredients as needed for a crowd-pleasing dessert!
Mini Cherry Pies: Sweet Flaky Bites You'll Adore
Ingredients
Equipment
Method
- Preheat your oven to 350°F (175°C) and grease a muffin tin.
- Roll out the pie crust and cut circles using a 3 ½–4-inch round cutter.
- Press each dough circle into the greased muffin cups, ensuring they fit snugly.
- Spoon the cherry pie filling into each crust, filling about two-thirds full.
- Create a lattice topping with any leftover dough, if desired.
- Brush the tops with beaten egg white and sprinkle sugar over each pie.
- Bake for 25–30 minutes until golden brown and bubbly.
- Cool in the tin for 15–20 minutes, then remove and cool completely before serving.
Leave a Reply