
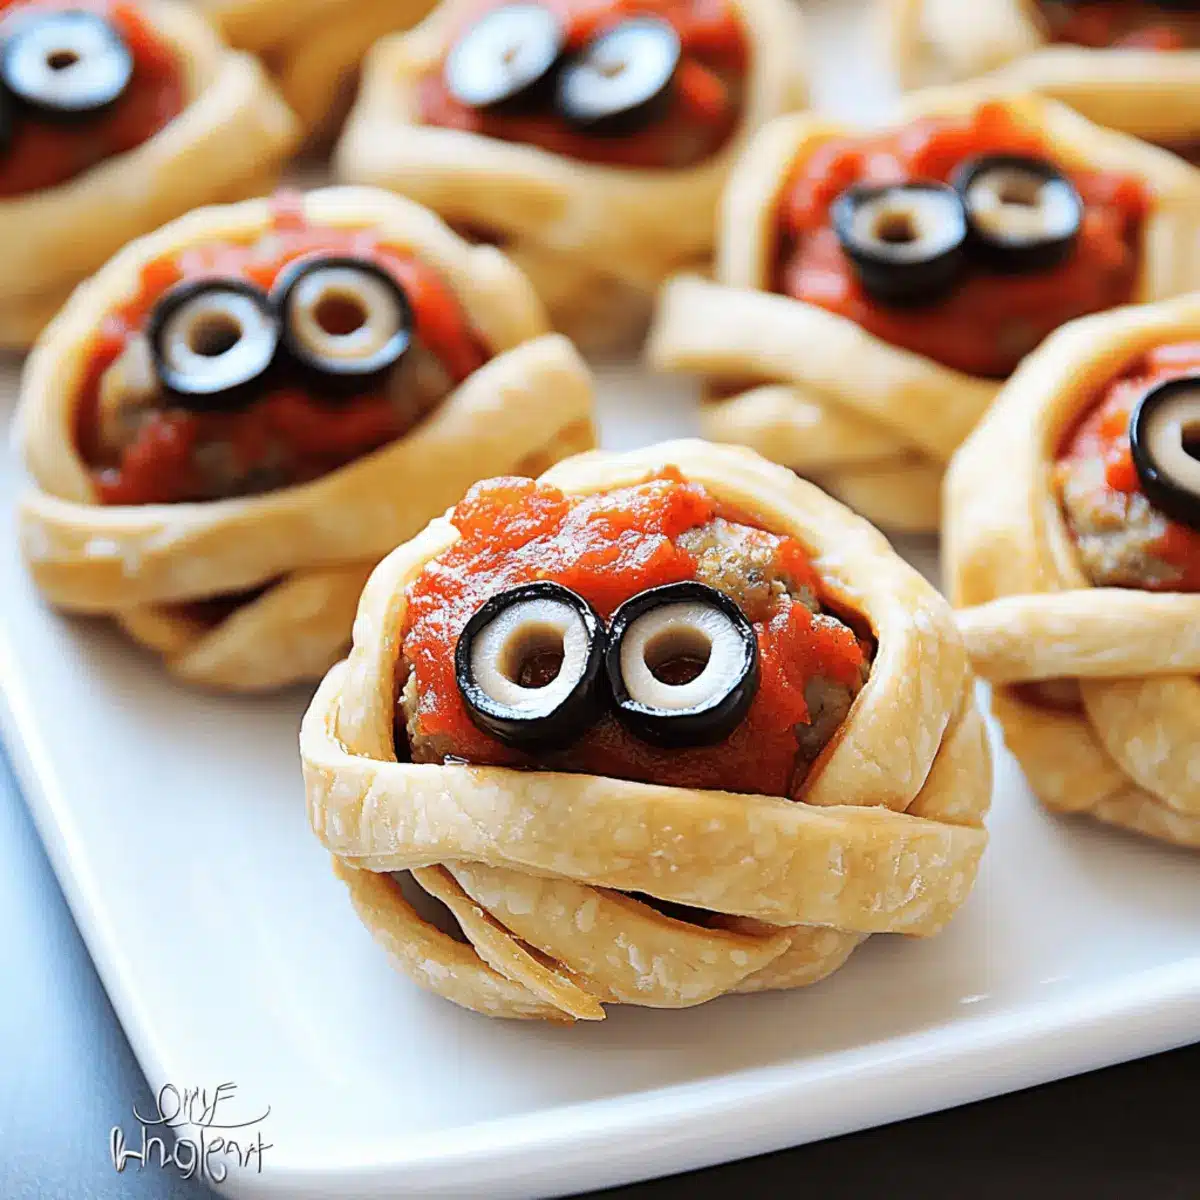
As I stood in my kitchen, the aroma of spices wafted through the air, igniting a festive spirit just in time for Halloween. This year, I’m excited to whip up a batch of Meatball Mummies—an irresistible finger food that’s as fun to make as it is to devour! With just a few simple ingredients like crescent dough and frozen meatballs, this quick recipe brings a touch of whimsy to your Halloween gatherings. Not only are these spooky little bites a crowd-pleaser, but they’re also a delightful way to stray from ordinary appetizers. Perfect for parties or family gatherings, these Meatball Mummies will add both flavor and a playful twist to your Halloween spread. Curious to see just how easy and fun they are to create? Let’s get started!
Why You’ll Love These Meatball Mummies
Whimsical Fun: These Meatball Mummies add a playful twist to your Halloween feast, making them perfect for impressing guests of all ages.
Quick to Prepare: With minimal prep time and only a few ingredients, they fit perfectly into your busy schedule.
Flavorful Combination: The savory meatballs paired with the flaky crescent dough create a delightful taste sensation that will have everyone coming back for more.
Versatile Dipping Options: Serve them with marinara, ranch, or your favorite sauce for extra flavor, making this dish endlessly adaptable.
Perfect for Gatherings: Whether it’s a Halloween party or a family dinner, these spooky bites are sure to be a hit! Discover more fun Halloween Food ideas on our blog!
Meatball Mummies Ingredients
For the Dough
- Crescent Roll Sheet – Provides a flaky, golden exterior; substitute with puff pastry if desired for extra flakiness.
For the Filling
- Frozen Meatballs – The base protein of the dish, offering convenience; opt for homemade or vegetarian meatballs to explore healthier options.
For the Eyes
- Sliced Olives – Used to create “eyes” on the mummies, adding both saltiness and charm; black olives can serve as a hearty substitute.
For Dipping
- Marinara Sauce – Serves as a flavorful dipping sauce that complements the meatballs perfectly; feel free to use your favorite store-bought or homemade version for an extra touch.
Step‑by‑Step Instructions for Meatball Mummies
Step 1: Preheat and Prepare
Begin by preheating your oven to 350ºF (175ºC) and lining a baking sheet with parchment paper. This creates a non-stick surface for your Meatball Mummies, ensuring they come out easily after baking. While the oven heats up, gather all your ingredients and equipment, including a sharp knife for cutting the crescent dough.
Step 2: Roll and Cut Dough
Unroll the crescent roll sheet on a clean, flat surface, pressing any seams together to create one cohesive sheet. Using your sharp knife, slice the dough into thin strips, approximately ¼ inch wide. These strips will be used to wrap around the meatballs, so aim for uniformity to ensure even cooking and a neat appearance.
Step 3: Wrap the Meatballs
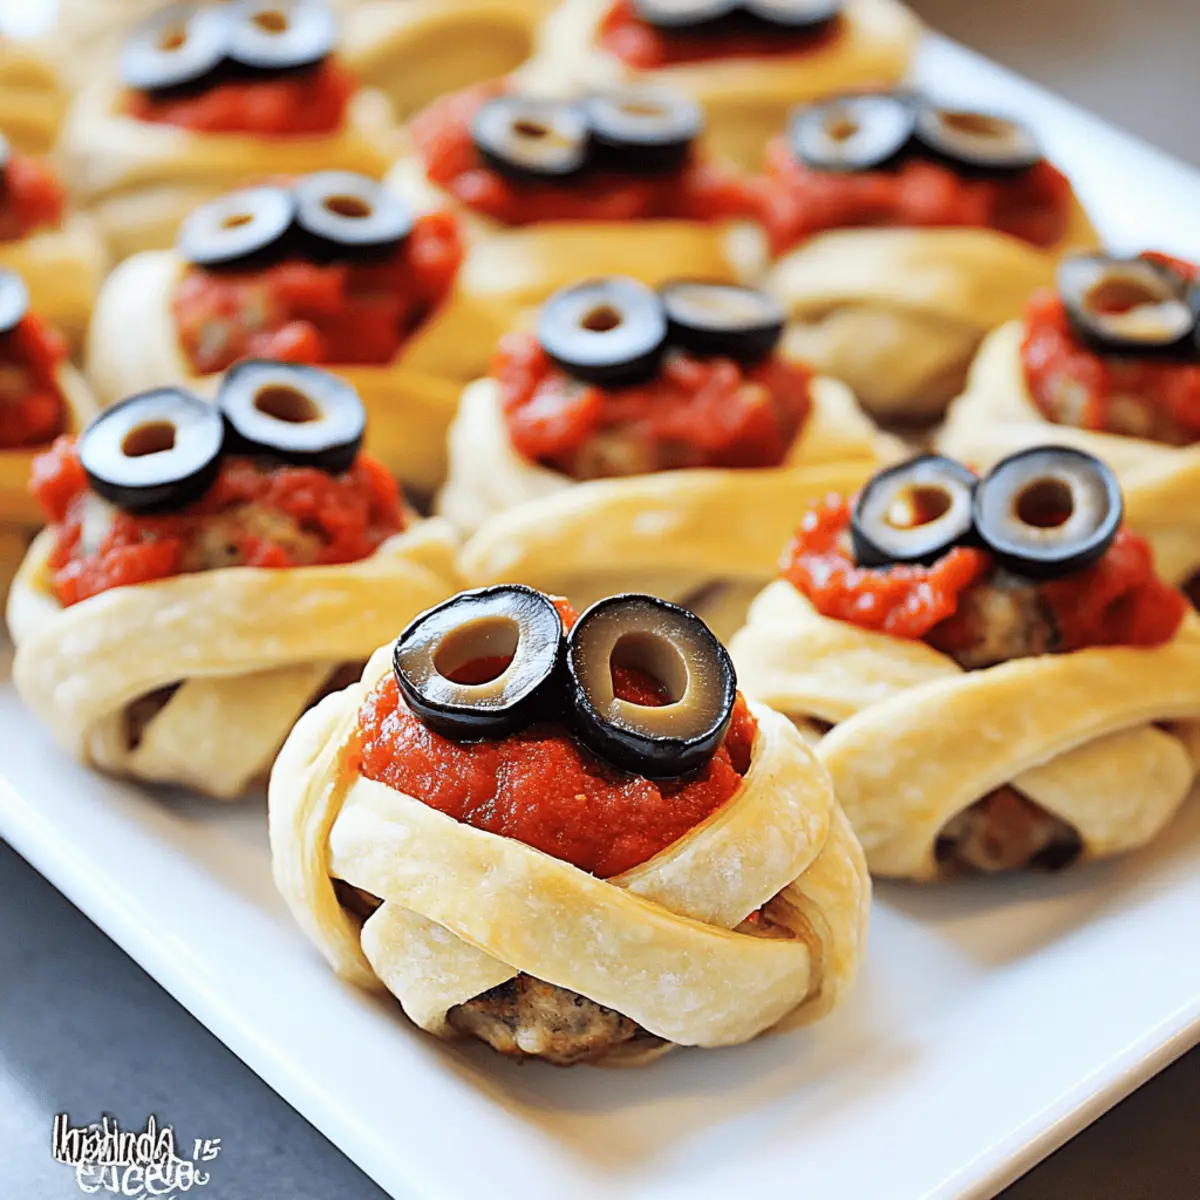
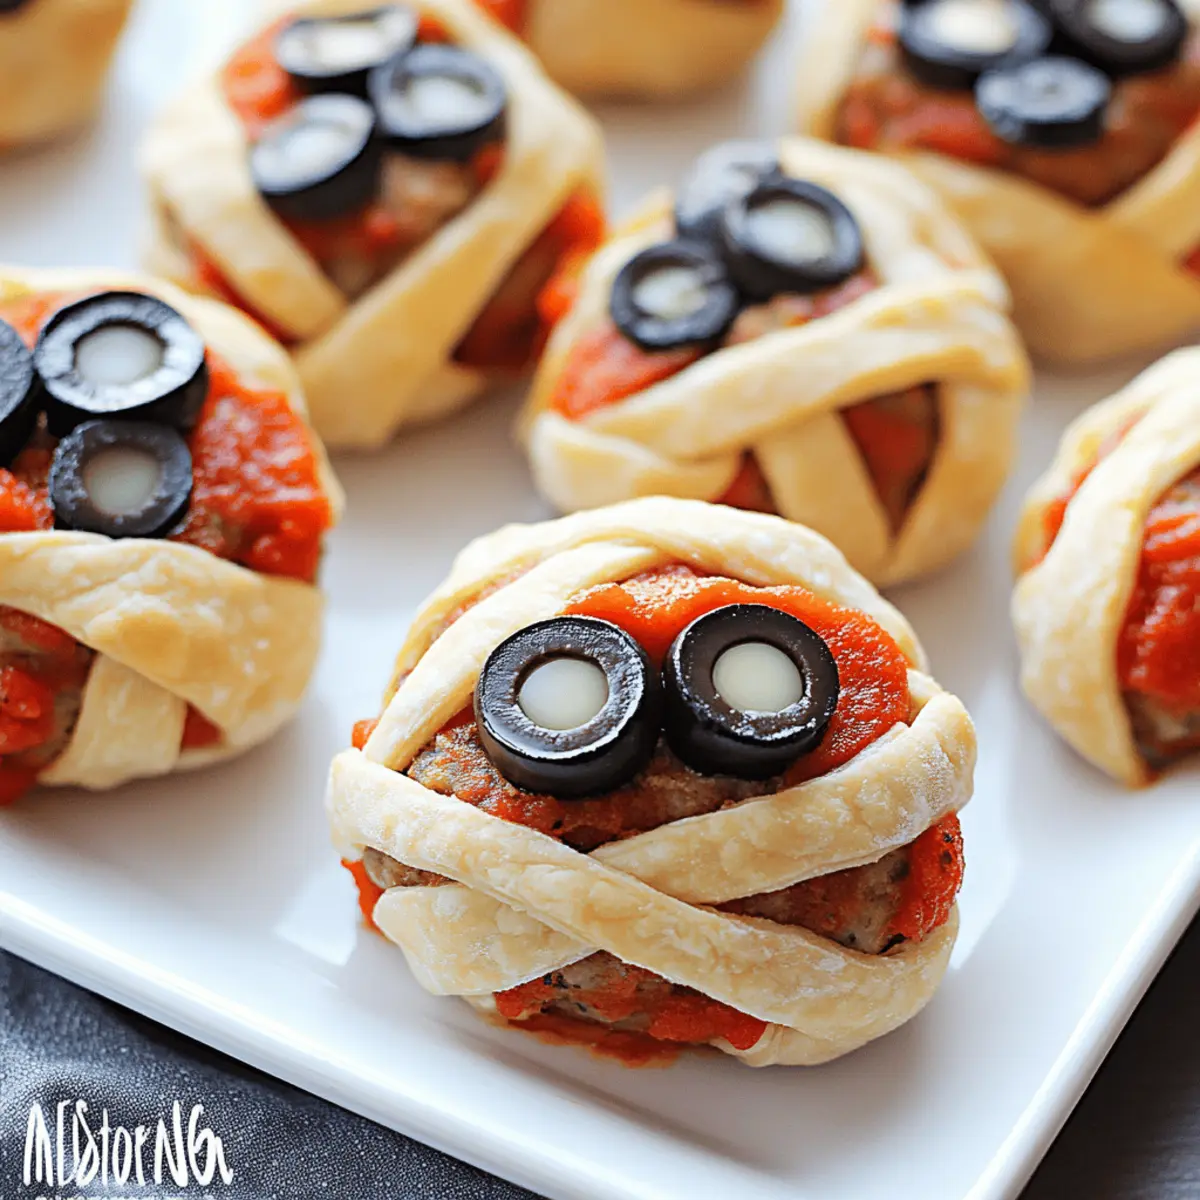
Take a frozen meatball and carefully wrap it in the crescent strips, starting from one end and spiraling down to the other, leaving a small section uncovered for the “head.” Repeat this process with the remaining meatballs, arranging the wrapped meatballs on the prepared baking sheet, with enough space between each to allow for expansion.
Step 4: Create Mummy Eyes
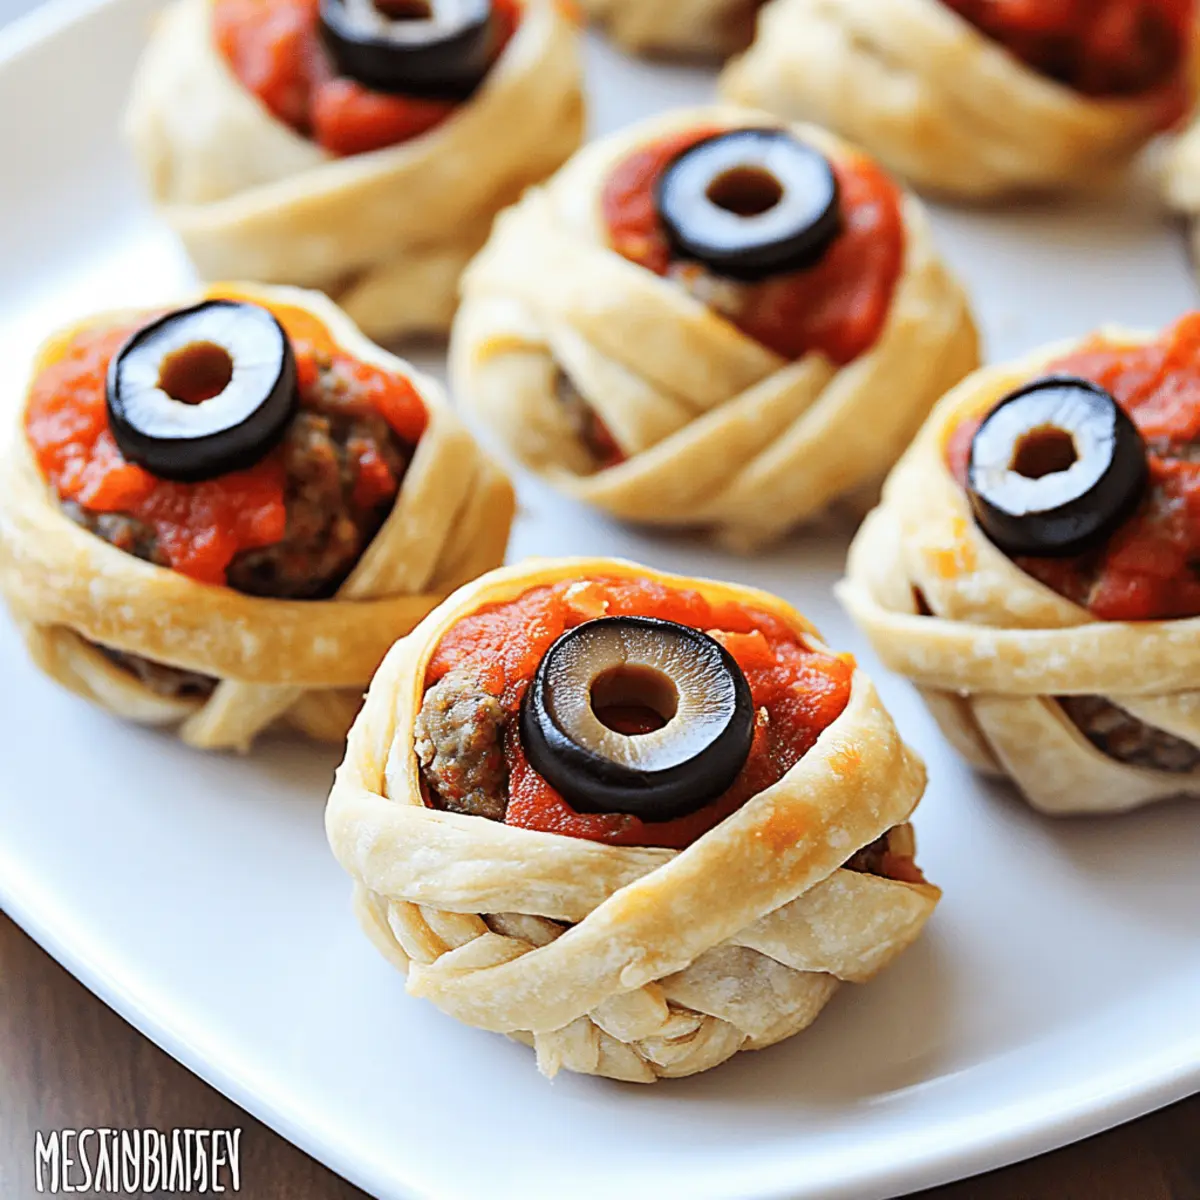
Using a small spoon or knife, apply a bit of marinara sauce on the uncovered section at the top of each meatball to act as “glue” for the olive slices. Gently press a slice of olive onto the sauce to create the eyes of your Meatball Mummies. This playful touch adds character and enhances the spooky look of your appetizer.
Step 5: Bake to Perfection
Place the baking sheet in the preheated oven and bake the Meatball Mummies for 15-20 minutes. Keep an eye on them, and remove them from the oven once the dough is a beautiful golden brown and the meatballs are heated through. The delightful aroma will fill your kitchen, indicating they’re ready to be served.
Step 6: Serve with Dipping Sauce
Once baked, remove the Meatball Mummies from the oven and allow them to cool slightly on the baking sheet for a few minutes. Serve these fun Halloween appetizers warm, alongside a small bowl of marinara sauce for dipping. The combination of flaky dough and savory meatballs will make them a hit at your Halloween gathering!
What to Serve with Easy Meatball Mummies
As Halloween approaches, it’s time to create a charming spread that entertains the taste buds and captures the spirit of the season.
-
Crispy Sweet Potato Fries: These add a crispy contrast, with a hint of sweetness that balances the savory meatballs perfectly.
-
Savory Pumpkin Soup: Its creamy texture and seasonal flavors create a warm counterpart, ideal for dipping those adorable mummies.
-
Fresh Garden Salad: A light and crunchy salad complements the hearty meatballs, providing a fresh burst of flavors with each bite.
-
Garlic Breadsticks: A warm and comforting addition that pairs beautifully with marinara sauce, enhancing the overall dining experience.
-
Roasted Vegetables: Brightly colored roasted veggies add nutrients and taste, making your Halloween feast not just fun, but wholesome as well.
-
Spooky Halloween Punch: A refreshing beverage, perhaps with a hint of citrus, can enliven the atmosphere of your gathering, enhancing the playful theme.
Adding these delightful accompaniments transforms your Meatball Mummies from a simple treat into a festive Halloween feast that all ages will enjoy!
Make Ahead Options
These Meatball Mummies are perfect for meal prep enthusiasts looking to save time during the Halloween hustle! You can assemble the entire dish up to 24 hours in advance—simply wrap the meatballs in crescent dough and place them on a baking sheet. Cover them tightly with plastic wrap and refrigerate to maintain freshness. When you’re ready to impress your guests, just pop them in the oven straight from the fridge, adding an extra minute or two to the baking time. This ensures that they remain just as delicious while allowing you to enjoy the festivities without stress.
How to Store and Freeze Meatball Mummies
Fridge: Store leftover Meatball Mummies in an airtight container in the refrigerator for up to 3 days, ensuring they stay fresh and ready to enjoy.
Freezer: For longer storage, freeze assembled Meatball Mummies before baking. Place them on a baking sheet in a single layer until frozen, then transfer to a freezer-safe bag for up to 2 months.
Reheating: When ready to enjoy, bake the frozen Meatball Mummies at 350ºF (175ºC) for 20-25 minutes, or until heated through, allowing the dough to crisp up nicely.
Make-Ahead Tips: You can prepare the Meatball Mummies in advance and keep them covered in the fridge for a few hours before baking, saving valuable time on party day.
Expert Tips for Meatball Mummies
-
Dough Strips: Make sure to cut the crescent dough strips evenly to ensure a uniform wrap around the meatballs, which will help them cook evenly.
-
Avoid Overbaking: Keep an eye on the Meatball Mummies as they bake. Overbaking can dry out the meatballs, so check for doneness around 15 minutes.
-
Cheesy Twist: For extra flavor, place a small piece of cheese inside each meatball before wrapping. It adds a gooey surprise when you take a bite!
-
Olive Alternatives: If olives aren’t your thing, consider using small pieces of bell pepper or even cherry tomatoes for an alternative eye that adds a pop of color.
-
Prep Ahead: If you’re short on time, feel free to prepare the Meatball Mummies a few hours in advance and keep them covered in the refrigerator. Just bake them right before serving!
-
Fun Presentation: Arrange the Meatball Mummies on a platter with a drizzle of marinara sauce for a festive display that enhances their spooky appeal.
Meatball Mummies Variations & Substitutions
Feel free to let your creativity shine by customizing your Meatball Mummies with these fun ideas!
-
BBQ Chicken: Swap out Italian meatballs for barbecue chicken meatballs for a sweet and smoky twist.
Imagine the contrasting flavors of tangy barbecue sauce complementing the flaky crescent dough. -
Pesto Flavor: Spread a little pesto on the dough strips before wrapping the meatballs for a fresh, herbal essence.
This adds a delightful zing that pairs wonderfully with the savory meatball. -
Veggie Delight: Use vegetarian meatballs instead for a lighter option that everyone can enjoy, regardless of their diet.
You’ll find that these meatballs still pack a delicious punch, ensuring no one misses the meat! -
Cheesy Center: Insert a small piece of cheese inside each meatball before wrapping for a melty surprise.
With each bite, the creamy texture brings an extra layer of flavor to this spooky treat! -
Olive Alternatives: If olives aren’t your favorite, try small pieces of bell pepper or cherry tomatoes for decorative eyes.
These colorful alternatives not only look great but also offer a different taste experience. -
Spicy Kick: For those who like it hot, add diced jalapeños or crushed red pepper flakes to your meatball mix.
This will give your Meatball Mummies a fiery flair that spice lovers will adore! -
Herb Infusion: Mix in fresh herbs, like chopped parsley or basil, into your meatball mixture for an aromatic boost.
It adds freshness that complements the savory elements beautifully. -
Sweet & Savory: Glaze the meatballs with a honey mustard mixture before wrapping for a sweet contrast to the savory flavors.
This unexpected taste will delight your guests and linger in their memories long after the party!
Curious for more twisting ideas? Check out our delightful assortment of Halloween Food to get even more inspiration for your spooky buffet!
Meatball Mummies Recipe FAQs
What type of meatballs should I use?
Absolutely! You can use frozen meatballs for convenience, but homemade or vegetarian meatballs can add a personal touch and cater to specific dietary preferences. If you’re looking for a healthier option, I often use lean turkey or chicken meatballs!
How long can I store leftover Meatball Mummies?
To store, place leftover Meatball Mummies in an airtight container in the refrigerator, where they will stay fresh for up to 3 days. Just heat them up in the oven to regain that delightful crispiness before serving.
Can I freeze Meatball Mummies?
Yes, you can! To freeze, assemble the Meatball Mummies but do not bake them. Lay them on a baking sheet in a single layer and freeze until solid. Then, transfer them to a freezer-safe bag and freeze for up to 2 months. When you’re ready to enjoy them, just bake from frozen at 350ºF (175ºC) for about 20-25 minutes until heated through and crisp.
What if the crescent dough rips while wrapping?
Very easily fixed! If your crescent dough rips, don’t worry—just patch it up with a small piece of dough and continue wrapping. Making sure to cover the meatball completely is key; it will still bake up wonderfully!
Are there any allergy considerations to keep in mind?
Definitely! Since this recipe includes crescent rolls, olives, and potentially marinara sauce, check for gluten or nut allergies among your guests. For a gluten-free version, try using gluten-free dough brands or skip the dough entirely and serve the meatballs on their own!
Spooktacular Meatball Mummies for a Fun Halloween Feast
Ingredients
Equipment
Method
- Preheat your oven to 350ºF (175ºC) and line a baking sheet with parchment paper.
- Unroll the crescent roll sheet and press any seams together. Slice the dough into thin strips, about ¼ inch wide.
- Wrap a frozen meatball in the crescent strips, leaving a small section uncovered for the head. Arrange on the baking sheet with space between each.
- Apply marinara sauce on the uncovered section of each meatball and press an olive slice to create the eyes.
- Bake in the preheated oven for 15-20 minutes until golden brown and meatballs are heated through.
- Allow them to cool slightly before serving with marinara sauce for dipping.
Leave a Reply