
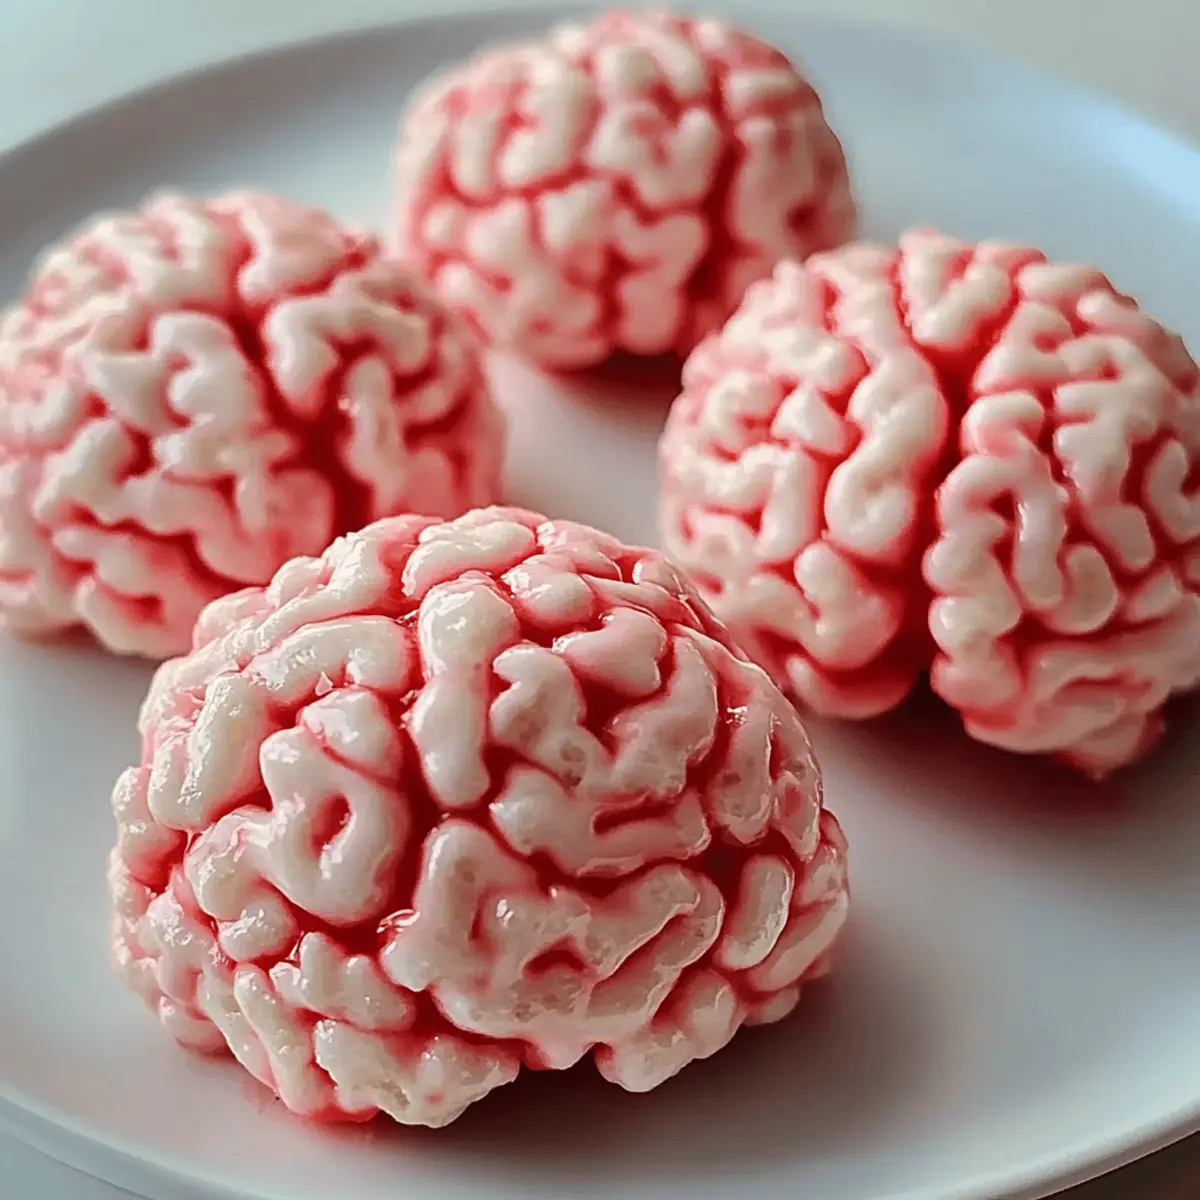
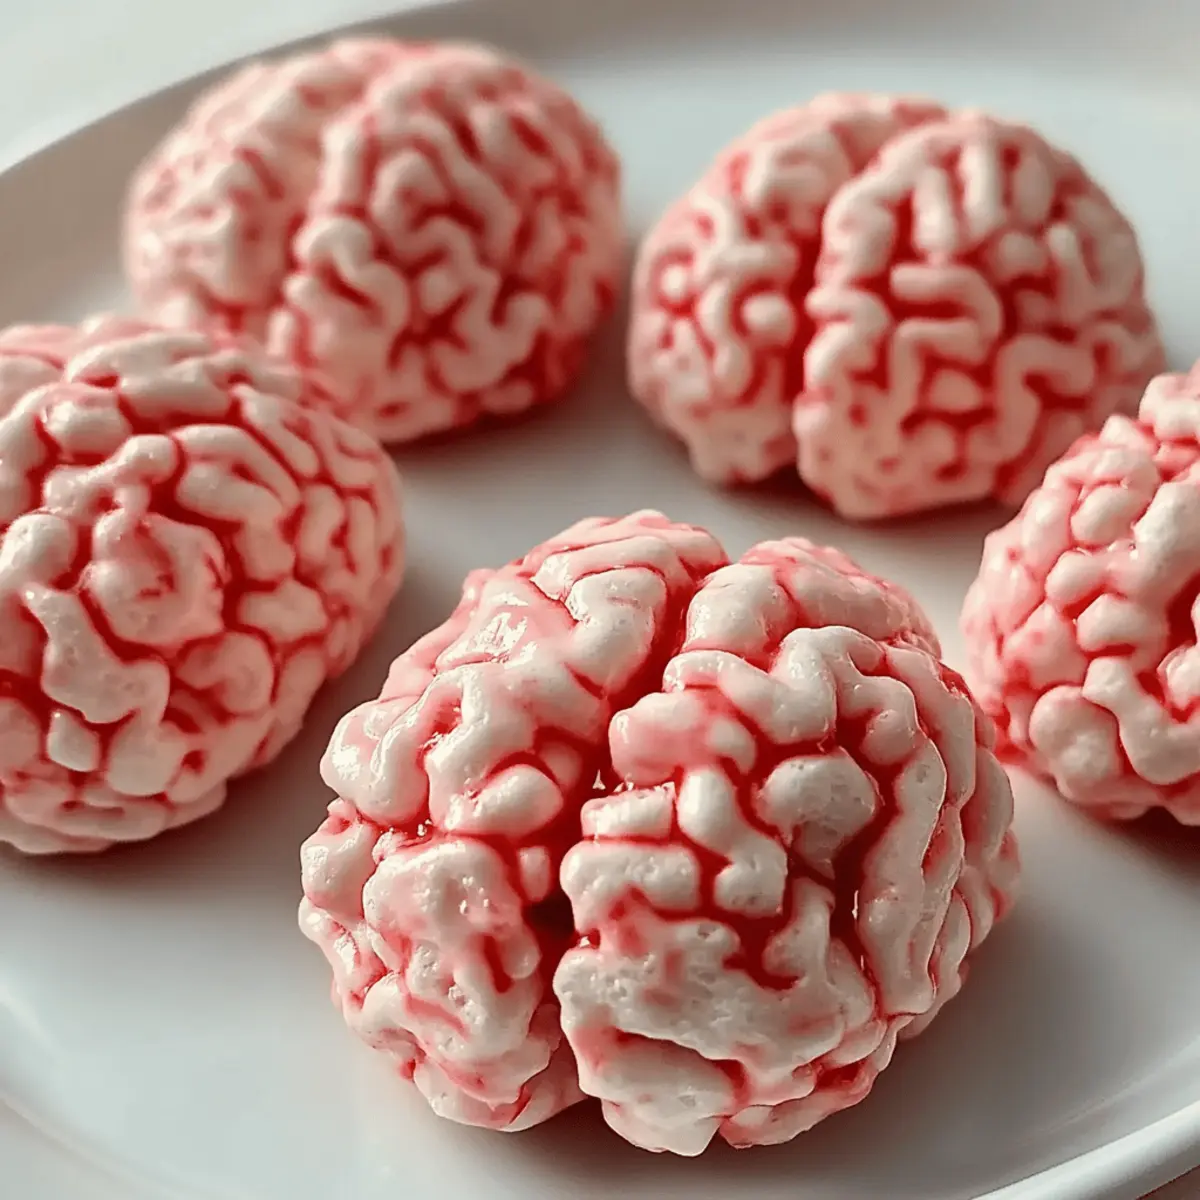
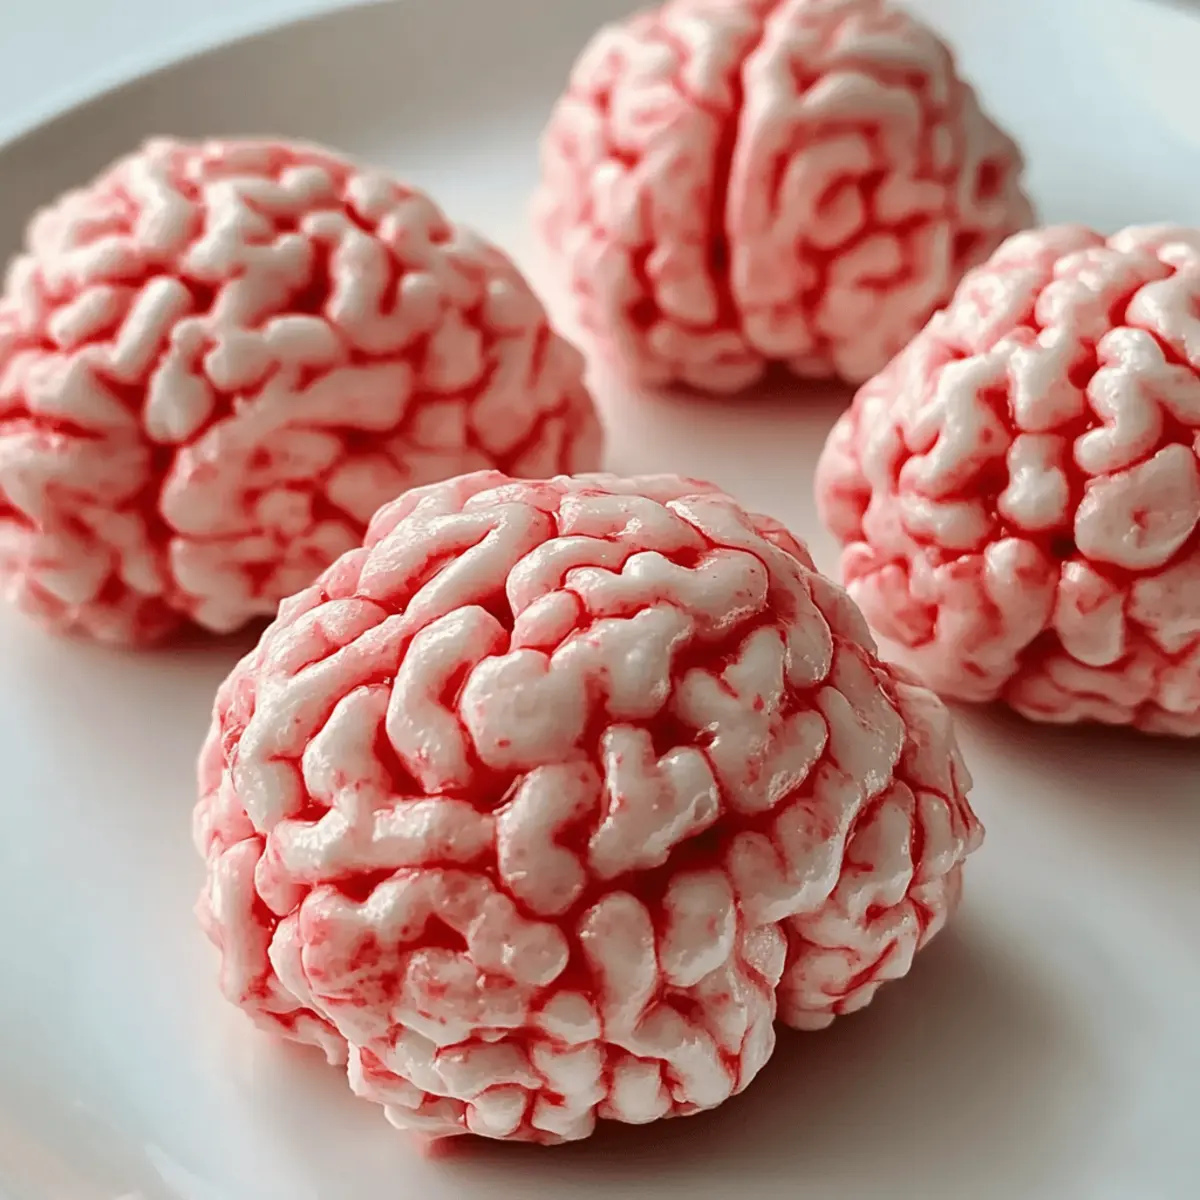
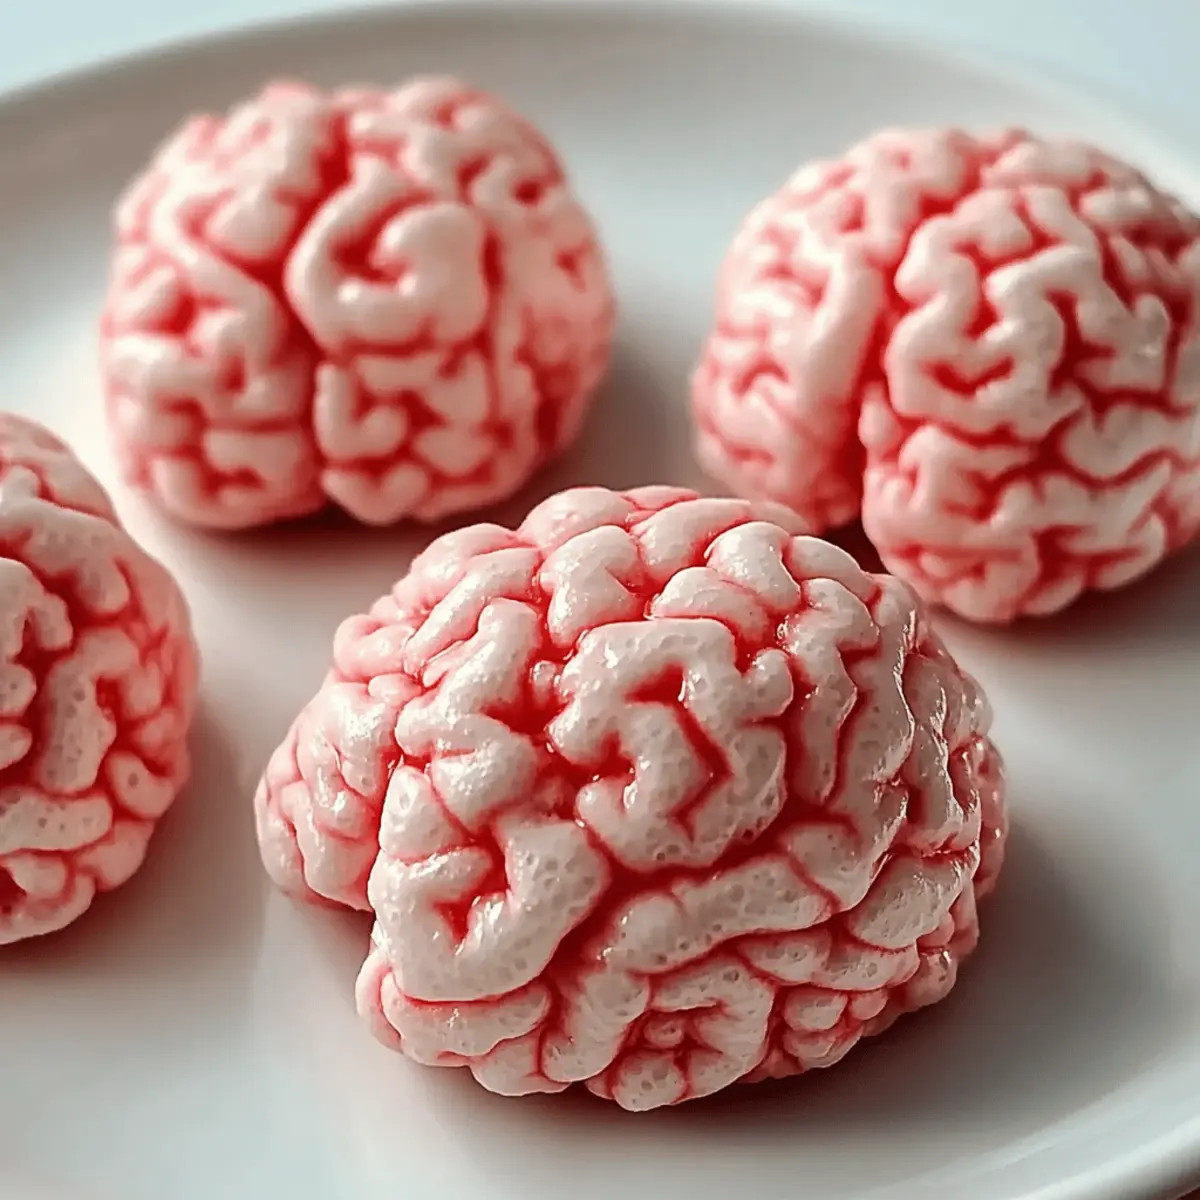
As I sifted through my pantry, a wave of inspiration hit me—Halloween is right around the corner! That’s when I decided to whip up these Creepy Homemade Marshmallow Rice Krispies Brains. Perfect for spooking your guests, this no-bake treat is a breeze to make, allowing you to spend more time enjoying the festivities and less time in the kitchen. The chewy texture and delightful sweetness evoke the classic Rice Krispies treat, but with a fun, frightful twist that will leave everyone grinning. Plus, they’re quick to prepare, making them an ideal addition to your Halloween dessert table without the stress. Could anything be better than combining creativity with simplicity in such a deliciously gory way? Let’s dive into this eerie recipe that’s sure to be a hit at your next Halloween gathering!
Why Are Marshmallow Rice Krispies Brains Perfect?
Ultimate Halloween treat: These creepy treats come together with just a few pantry staples and minimal effort, making them perfect for busy festivities.
Irresistibly spooky looks: Their gory, brain-like appearance will have everyone talking and snapping photos at your Halloween party.
Quick and easy to make: No baking required! This recipe allows you to whip them up in no time, so you can enjoy your celebration stress-free.
Fun for the whole family: Kids will love getting involved in shaping the “brains,” making it a perfect activity for family bonding.
For more deliciously easy ideas, consider pairing these with Chinese Fried Rice for a complete feast or adding some Butter Shrimp Rice as a savory contrast to all that sweetness.
Marshmallow Rice Krispies Halloween Brains Ingredients
For the Treats
- Plain Marshmallows – The sweet, fluffy base that gives these treats their signature flavor and structure.
- Puffed Rice Cereal (e.g., Rice Krispies) – Provides the delightful crunch; feel free to use any brand of puffed rice cereal.
- Unsalted Butter – Adds a rich creaminess; if you only have salted butter, skip the additional salt.
- Salt – Enhances the overall flavor; omit if you’re using salted butter.
For the Color
- Red Food Coloring – Adds a fun, spooky effect to the marshmallow mixture; use only a few drops for the best results without affecting texture.
Enjoy crafting these delightful Marshmallow Rice Krispies Halloween Brains, and let your creativity run wild!
Step‑by‑Step Instructions for Creepy Homemade Marshmallow Rice Krispies Brains
Step 1: Prepare the Double Boiler
Start by filling a small pot with 1/2 cup of water and bring it to a gentle boil over medium-high heat. While the water heats, place a heatproof bowl on top of the pot, ensuring it doesn’t touch the water. This setup will create a double boiler, perfect for melting ingredients slowly and evenly for the Marshmallow Rice Krispies Halloween Brains.
Step 2: Melt the Marshmallows and Butter
Once the water is boiling, carefully add 4 tablespoons of unsalted butter and 10 ounces of plain marshmallows into the heatproof bowl. Stirring constantly with a whisk, make sure the mixture melts smoothly, which should take about 2-4 minutes. Keep an eye on it; you want a silky consistency without burning, setting the stage for your ghoulish treats.
Step 3: Mix in the Salt and Food Coloring
When the marshmallows and butter have melted completely, remove the bowl from the heat. Whisk in a pinch of salt, along with a few drops of red food coloring, until thoroughly combined. This not only enhances the flavor but also gives the mixture an eerie, bloody hue, perfect for your Marshmallow Rice Krispies Halloween Brains.
Step 4: Combine with Puffed Rice Cereal
In a large mixing bowl, pour in 6 cups of puffed rice cereal. Carefully drizzle the melted marshmallow mixture over the cereal, ensuring every bit is coated. Using a spatula, gently fold the mixture together. You’ll know it’s ready when you see no dry cereal, and the entire mix has a sticky yet cohesive texture.
Step 5: Shape the Brains
Lightly grease your hands with cooking spray or butter to avoid sticking. Scoop up portions of the mixture and shape them into oval brain shapes, making sure to create an exaggerated texture. Press gently and use a butter knife to carve in the classic brain-like indentations. Work quickly, as the mixture sets fast once it cools.
Step 6: Add Finishing Touches
For an extra spooky effect, dip a toothpick into red food coloring and carefully draw veins on the surface of each brain. This fun detail will heighten the creepiness factor of your Marshmallow Rice Krispies Halloween Brains, making them even more exciting for your Halloween festivities and photo ops.
Step 7: Store for Freshness
Finally, arrange your finished brains on a platter or store them in an airtight container lined with parchment paper. This will keep them fresh for up to a week. Ideally, let them rest at room temperature for a short while before serving to allow their perfect texture to shine through at your Halloween celebration.
What to Serve with Creepy Homemade Marshmallow Rice Krispies Brains
Bring your Halloween celebrations to life with an array of spooktacular accompaniments that will delight both the young and the young at heart.
- Chocolate Pudding Cups: These creamy, rich cups provide a smooth contrast to the chewy texture of the marshmallow treats. Top them with gummy worms for added fun!
- Cupcakes with Orange Frosting: Vibrant and festive, these sweet cupcakes add a pop of color and sweetness to your Halloween spread. They’ll have guests diving in for more!
- Caramel Apple Slices: Crisp and juicy apple slices drizzled with warm caramel offer a refreshing and tart balance to the sweetness of your Marshmallow Rice Krispies Halloween Brains.
- Spooky Fruit Skewers: Assemble fun fruit skewers featuring grapes, strawberries, and melon balls. This adds a healthy element to your dessert table while keeping it festive!
- Ghostly Meringue Cookies: Light and airy, these cookies can be shaped like little ghosts to complement the Halloween theme, adding a playful touch to your treats.
- Witches’ Brew Punch: A vibrant green punch with floating gummy eyeballs (or other creepy candy) will quench thirsts and add a lively drink option to your Halloween feast.
With these delightful suggestions, your Halloween gathering will be a go-to event that no one will forget!
Expert Tips for Marshmallow Rice Krispies Halloween Brains
- Low Heat Matters: Keeping the heat low while melting marshmallows prevents toughness. Stir constantly to ensure a smooth, easy-to-work-with mixture.
- Work Quickly: The marshmallow mixture thickens fast, so shape the brains promptly to avoid frustration and achieve the best results.
- Prevent Stickiness: Lightly greasing your hands or tools with butter or cooking spray helps to easily shape the mixture without it sticking too much.
- Adjust Color Carefully: Use red food coloring sparingly; too much can affect the texture and flavor, so gradually add until you achieve the desired “bloody” look.
- Get Creative: Don’t hesitate to personalize your Marshmallow Rice Krispies Halloween Brains by adding unique touches like sprinkles or chocolate drizzle for added fun!
Make Ahead Options
These Creepy Homemade Marshmallow Rice Krispies Halloween Brains are perfect for meal prep! You can prepare the marshmallow mixture up to 24 hours in advance and store it in an airtight container in the refrigerator. When you’re ready to assemble your treats, simply reheat the mixture gently in the microwave (15-20 seconds) to soften it before combining with the puffed rice cereal. Additionally, you can shape the brains and refrigerate them for up to 3 days; just be sure to layer them with parchment paper to maintain their quality. When it’s time to serve, feel free to add the finishing touches, like drawing veins with food coloring, right before unveiling this spooky delight at your Halloween gathering!
Marshmallow Rice Krispies Halloween Brains Variations
Feel free to let your imagination run wild and customize these spooky treats to match your unique taste!
- Red Sugar: Sprinkle with red sugar before serving for an added sparkle and gore. It enhances the visual appeal, making them even more tempting!
- Shaped Treats: Use different molds to create a variety of spooky shapes, such as skulls or pumpkins, transforming your treats into a terrifying assortment.
- Mini Chocolate Chips: Incorporate mini chocolate chips or candies into the mixture for a delightful surprise inside each brain bite. The contrasting flavors will please both kids and adults alike.
- Peanut Butter Twist: Add a couple of tablespoons of creamy peanut butter to the melted marshmallow mixture, creating a nutty flavor that elevates the classic recipe.
- Coconut Flakes: Mix in some toasted coconut flakes for a chewy texture and a hint of tropical flavor; they visually resemble creepy brain matter as well!
- Spicy Kick: Dare to add a pinch of cayenne pepper or chili powder to the marshmallow mixture for a surprising heat that contrasts beautifully with the sweetness.
- Chocolate Drizzle: Drizzle melted chocolate over the finished brains for an elegant touch while enhancing the dessert with rich flavors.
- Decorate with Veins: For creative flair, use edible glitter or gel food coloring to add veins and decorations, enhancing the eerie aesthetic!
Whether you’re serving them at a party or just for family fun, don’t forget to complement these eerie delights with some delicious Butter Shrimp Rice or even a savory batch of Chinese Fried Rice to balance the sweetness. Enjoy the creative process and the deliciously spooky results!
How to Store and Freeze Marshmallow Rice Krispies Halloween Brains
Airtight Container: Store your creepy treats in an airtight container at room temperature, where they’ll stay fresh for up to one week. Layer with parchment paper for extra protection.
Room Temperature: These Marshmallow Rice Krispies Halloween Brains are best enjoyed at room temperature, keeping their delightful chewy texture intact.
Make Ahead: For optimal freshness, prepare your spooky treats up to three days before your Halloween gathering, allowing you to focus on other festivities.
Freezing: If you need to freeze them, wrap each brain in plastic wrap and place them in a freezer-safe bag. They can be frozen for up to two months, but make sure to thaw them at room temperature before serving.
Marshmallow Rice Krispies Halloween Brains Recipe FAQs
What type of marshmallows should I use?
Absolutely use plain marshmallows! Regular-sized marshmallows melt smoothly and create the best texture for your Marshmallow Rice Krispies Halloween Brains. Avoid flavored or colored options as they can interfere with the final product.
How should I store the finished treats?
To keep your Marshmallow Rice Krispies Halloween Brains fresh, store them in an airtight container at room temperature. They’ll maintain their delightful texture for up to one week. I often layer them with parchment paper to prevent sticking.
Can I freeze the Marshmallow Rice Krispies Halloween Brains?
Yes, you can! To freeze, wrap each brain individually in plastic wrap and place them in a freezer-safe bag. They can be frozen for up to two months. When you’re ready to enjoy, just thaw them at room temperature for a soft and chewy treat.
What do I do if the marshmallow mixture gets too thick to work with?
If your marshmallow mixture becomes too thick, don’t worry! Simply return the bowl to the heat for a minute or two over low heat, stirring constantly until it loosens up again. Just be careful not to overheat it, as that can lead to tougher treats.
Are there any dietary considerations I should keep in mind?
Indeed! If you’re making these treats for kids or guests with dietary restrictions, be sure to check for allergies. Common allergens include dairy (from the butter) and cross-contamination in cereals. You can also consider using vegan marshmallows and butter substitutes for a more inclusive treat!
Can I make these treats in advance?
Yes! I recommend preparing your Marshmallow Rice Krispies Halloween Brains up to three days ahead of your party. They will stay fresh, and this prep time helps you relax and enjoy the festivities without being rushed.
Creepy Marshmallow Rice Krispies Halloween Brains You Must Try
Ingredients
Equipment
Method
- Step 1: Prepare the Double Boiler: Fill a small pot with 1/2 cup of water and bring to a gentle boil. Place a heatproof bowl on top, ensuring it doesn’t touch the water.
- Step 2: Melt the Marshmallows and Butter: Add the butter and marshmallows into the bowl. Stir constantly with a whisk until melted, about 2-4 minutes.
- Step 3: Mix in the Salt and Food Coloring: Remove from heat and whisk in salt and red food coloring until combined.
- Step 4: Combine with Puffed Rice Cereal: In a mixing bowl, add the puffed rice cereal and drizzle the melted mixture over it. Fold until coated.
- Step 5: Shape the Brains: Grease hands and shape portions into oval brain shapes, creating an exaggerated texture.
- Step 6: Add Finishing Touches: Dip a toothpick in red food coloring and draw veins on each brain.
- Step 7: Store for Freshness: Arrange on a platter or store in an airtight container lined with parchment paper.
Leave a Reply