
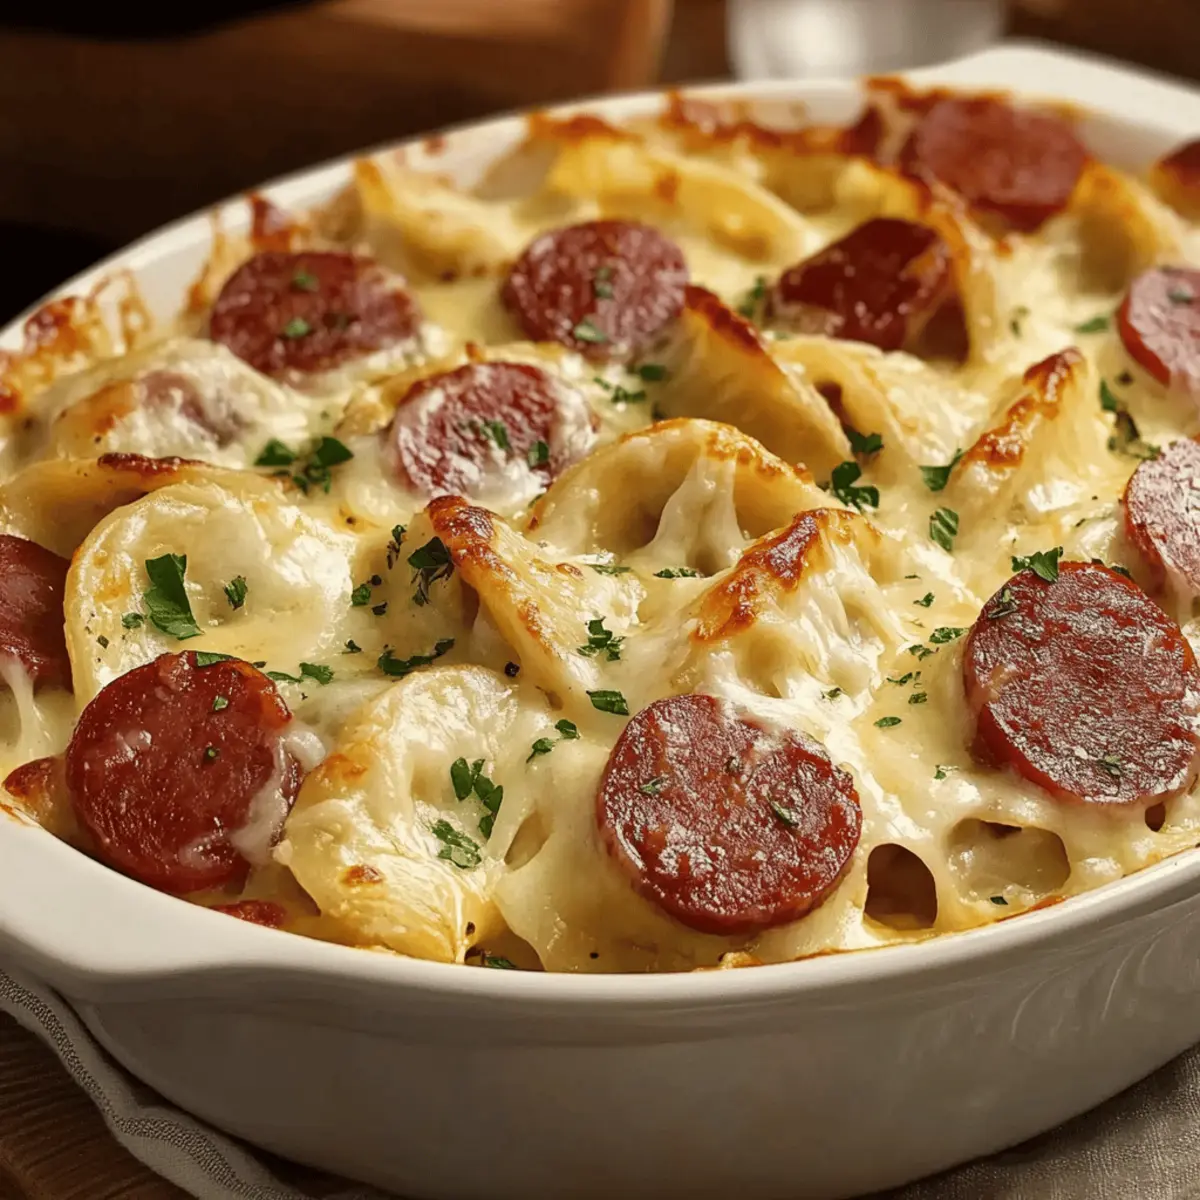
As I pulled the bubbling dish from the oven, the warm, inviting aroma of smoky kielbasa and creamy pierogies filled my kitchen, instantly transporting me to a cozy family gathering. This Cheesy Kielbasa and Pierogi Bake is the ultimate comfort food, combining hearty Eastern European flavors into an effortless one-dish meal that everyone will adore. Perfect for those busy weeknight dinners or casual get-togethers, this budget-friendly casserole is not only simple to prepare but also offers adaptable options for various dietary preferences. Imagine sinking your fork into layers of cheesy goodness, with each bite promising a delightful mix of textures. Ready to discover how to whip up this crowd-pleaser in no time? Let’s dive into the delicious details!

Why is this Kielbasa Bake a Must-Try?
Simplicity at Its Best: This casserole requires minimal effort yet delivers maximum flavor, making it a perfect choice for busy nights.
Budget-Friendly Delight: Packed with affordable ingredients, it’s a meal that won’t break the bank, perfect for family dinners.
Crowd-Pleasing Flavor: Smoky kielbasa meets creamy pierogies, creating a hearty dish that everyone will enjoy at gatherings.
Versatile Options: Easily adapt the recipe to suit dietary needs—try swapping kielbasa for sautéed mushrooms for a vegetarian twist or low-fat alternatives for a lighter meal.
One-Dish Wonder: Cuts down on cleanup time, allowing you to enjoy more moments at the dinner table! Tasty serving suggestions, like a crisp side salad, make this dish both satisfying and refreshing.
Kielbasa and Pierogi Bake Ingredients
-
For the Casserole
-
Cheesy Pierogies – Provide creaminess and texture; frozen pierogies can be used for convenience.
-
Kielbasa – Adds a smoky, savory flavor; consider using reduced-sodium kielbasa for a healthier option.
-
Cream Cheese – Creates a rich, tangy sauce; substitute with low-fat cream cheese for a lighter version.
-
Sour Cream – Contributes tanginess and creaminess to the dish; Greek yogurt can be used as a healthier alternative.
-
Onions – Provide a subtle sweetness and depth; use shallots or leeks for a different flavor profile.
-
For the Topping
-
Cheddar Cheese – Adds a creamy, salty topping; try smoked gouda or blue cheese for a flavor twist.
-
Fresh Parsley (for garnish) – Offers a pop of color and freshness.
Step‑by‑Step Instructions for Kielbasa and Pierogi Bake
Step 1: Preheat the Oven
Begin by preheating your oven to 350°F (175°C). This step is crucial to ensure your Kielbasa and Pierogi Bake cooks evenly and thoroughly. While the oven warms up, gather your ingredients and have your baking dish ready, so you can assemble everything seamlessly.
Step 2: Brown the Kielbasa
In a large skillet over medium heat, add sliced kielbasa and cook for about 5-7 minutes, stirring frequently, until it develops a nice golden-brown crust. This not only enhances the flavor but also adds a crispy texture to your casserole. Once browned, transfer the kielbasa to a plate and set aside.
Step 3: Sauté the Onions
In the same skillet, add diced onions and sauté for 4-5 minutes until they become soft and caramelized. Stir occasionally to ensure they don’t burn while developing their natural sweetness. This fragrant base adds depth to your Kielbasa and Pierogi Bake that you’ll love.
Step 4: Prepare the Creamy Sauce
In a mixing bowl, combine cream cheese, sour cream, and your favorite seasonings. Stir this mixture until it’s smooth and creamy, which takes about 2-3 minutes. This rich sauce will envelop the pierogies, ensuring every bite of your bake is flavorful and satisfying.
Step 5: Assemble the Casserole
In a 9×13-inch baking dish, start layering your Kielbasa and Pierogi Bake. Begin with a layer of frozen pierogies followed by the browned kielbasa and sautéed onions. Pour the creamy sauce evenly over the top, ensuring all ingredients are well coated for optimal flavor.
Step 6: Top with Cheese
Sprinkle a generous amount of shredded cheddar cheese over the assembled dish. This cheesy topping will melt beautifully as it bakes, creating a delightful golden-brown crust. Make sure each part of the casserole is covered to enhance the melted goodness throughout.
Step 7: Bake the Casserole
Cover your baking dish with aluminum foil and place it in the preheated oven. Bake for about 25-30 minutes, allowing the flavors to meld and the dish to heat through completely. After this time, remove the foil and broil for an additional 2-3 minutes until the cheese is bubbly and golden, giving your Kielbasa and Pierogi Bake that oven-fresh brilliance.
Step 8: Garnish and Serve
Once your casserole is perfectly baked, take it out of the oven and let it sit for a few minutes. Before serving, garnish with fresh parsley for a pop of color and added freshness. This final touch will elevate the presentation and entice your guests to dive into this comforting dish right away.

Expert Tips for Kielbasa and Pierogi Bake
-
Avoid Sogginess: Make sure not to overcrowd the pierogies in the baking dish, allowing them to bake evenly and stay fluffy in your Kielbasa and Pierogi Bake.
-
Quality Brown: Browning the kielbasa until slightly crispy adds a depth of flavor; don’t rush this step for the best taste.
-
For Crispier Cheese: Remove the foil during the last few minutes of baking. A brief broil will help achieve that desired bubbly and golden cheese topping on your casserole.
-
Check for Doneness: Monitor the bake’s thickness and doneness towards the end of cooking. Every oven is unique, so adjust your baking time accordingly.
-
Experiment with Toppings: Don’t hesitate to swap out cheeses! Using different types like smoked gouda or feta can elevate your Kielbasa and Pierogi Bake and cater to your family’s taste preferences.
Kielbasa and Pierogi Bake Variations
Feel free to mix things up and make this dish your own by exploring these delightful variations!
-
Vegetarian Version: Substitute kielbasa with meat-free sausage or sautéed mushrooms for a delicious plant-based option. The earthy flavor of the mushrooms will add depth without sacrificing the heartiness of the dish.
-
Add Vegetables: Fold in chopped spinach, vibrant bell peppers, or tender steamed broccoli to sneak in some greens. This not only boosts nutrition, but it also gives a lovely color contrast to your bake.
-
Spicy Option: Crank up the heat using spicy kielbasa or adding crushed red pepper flakes. A touch of spice can transform the entire dish, making it a favorite for those who enjoy a kick in their comfort food.
-
Different Cheeses: Experiment with Monterey Jack, feta, or even a sharp cheddar. Each cheese has its unique melting quality and flavor profile that can change the overall taste experience.
-
Creamy Alternatives: Replace regular sour cream with Greek yogurt for a tangy twist or use a dairy-free alternative like cashew cream for a vegan version. This keeps the bake creamy while catering to various dietary needs.
-
Herb Infusion: Add fresh herbs like thyme or dill to the creamy sauce for an aromatic flavor boost. A little herbaceous note can elevate the entire dish and make it feel even more gourmet.
-
Mini Versions: Create individual servings by using small ramekins or baking dishes. This is perfect for gatherings and allows guests to customize their toppings, making for a fun and interactive meal.
Consider pairing this comfort food masterpiece with a crisp green salad or some roasted vegetables, like in their own right, they make a wonderful complement to the creamy, savory flavors of the Kielbasa and Pierogi Bake. For another delicious twist, check out my Spinach and Ricotta Stuffed Shells, or for something sweet after dinner, make some Peanut Butter Chocolate Oat Bars!
How to Store and Freeze Kielbasa and Pierogi Bake
- Fridge: Store leftovers in an airtight container for up to 4 days. Ensure it’s completely cooled before sealing to maintain freshness.
- Freezer: For longer storage, portion the Kielbasa and Pierogi Bake into airtight containers or freezer bags, and freeze for up to 3 months.
- Reheating: Thaw in the fridge overnight before reheating. Use the microwave or oven to warm the casserole, covering it with foil to retain moisture and prevent drying out.
- Room Temperature: Avoid leaving the dish out for more than 2 hours to ensure food safety.
Make Ahead Options
These Kielbasa and Pierogi Bake are perfect for meal prep enthusiasts! You can assemble the entire casserole up to 24 hours in advance, layering the frozen pierogies, browned kielbasa, sautéed onions, and creamy sauce as described. Cover the baking dish tightly with plastic wrap or foil to prevent drying out. When you’re ready to serve, simply remove the wrap and bake it straight from the refrigerator, adding an extra 5-10 minutes to the baking time for thorough heating. This method keeps the dish just as delicious while saving you valuable time on busy weeknights, ensuring a comforting meal is always within reach!
What to Serve with Cheesy Kielbasa and Pierogi Bake
Imagine a warm gathering around the dinner table, complementing a delightful dish that brings everyone together—a true feast for the senses!
-
Crisp Green Salad: The fresh crunch balances the richness of the casserole, making each bite a refreshing experience.
-
Roasted Vegetables: Caramelized carrots, zucchini, and bell peppers add a colorful contrast, enhancing your meal with vibrant flavors.
-
Garlic Bread: Soft, buttery garlic bread serves as a delicious vessel for scooping up melty cheese and saucy goodness.
-
Sauerkraut: This tangy side offers a zesty bite and connects beautifully with the savory notes of smoky kielbasa—perfect for an authentic touch.
-
Apple Sauce: The sweet and tart notes play off the richness of the bake, adding a nostalgic element that families adore.
-
Crisp White Wine: A chilled glass of Sauvignon Blanc or Pinot Grigio will enhance the dish’s flavors while keeping the meal feeling light and festive.
-
Chocolate Chip Cookies: End the meal on a sweet note with warm cookies, providing a familiar comfort that sweetens the occasion even more.
Kielbasa and Pierogi Bake Recipe FAQs
How do I choose the best pierogies for this bake?
Absolutely! Opt for high-quality frozen pierogies made with real ingredients. Check the packaging for no artificial preservatives. If you’re feeling adventurous, making them from scratch can add a personal touch, but let’s keep it simple for now—there are many delicious brands available that will work perfectly for this bake!
How should I store leftovers from my Kielbasa and Pierogi Bake?
For optimal freshness, store any leftovers in an airtight container in the refrigerator for up to 4 days. Make sure the dish has cooled completely before sealing it up. When you’re ready to enjoy it again, simply reheat in the microwave or oven until warmed through.
Can I freeze my Kielbasa and Pierogi Bake?
Definitely! To freeze, portion the baked casserole into airtight containers or freezer bags, ensuring you label them with the date. It can be frozen for up to 3 months. When you’re ready to reheat, thaw it in the fridge overnight. Then, warm it up in the oven, covering it with foil to prevent drying out.
What if my dish turns out too dry or too soggy?
Very! If your Kielbasa and Pierogi Bake is dry, it may have cooked too long, or it could benefit from a splash of milk or broth mixed into the creamy sauce before baking. To avoid sogginess, make sure not to overcrowd the pierogies in the baking dish. Giving space between each allows them to bake properly and maintain a great texture.
Are there any dietary considerations for this recipe?
Absolutely! If you’re cooking for those with dietary restrictions, you can create a vegetarian version by replacing kielbasa with meat-free sausage or sautéed mushrooms. Use Greek yogurt instead of sour cream for a healthier option, and check for gluten-free pierogies if needed. Always tailor to fit your family’s preferences!
How long should I bake my Kielbasa and Pierogi Bake?
The general guideline is to bake covered at 350°F (175°C) for about 25-30 minutes. After that, remove the foil and broil for an additional 2-3 minutes to achieve that scrumptious golden cheese topping! Keep an eye on it towards the end, as all ovens may cook a bit differently, adjusting your time as necessary.
Comforting Kielbasa and Pierogi Bake for Easy Family Dinners
Ingredients
Equipment
Method
- Preheat your oven to 350°F (175°C).
- In a large skillet over medium heat, add sliced kielbasa and cook for about 5-7 minutes, stirring frequently.
- In the same skillet, add diced onions and sauté for 4-5 minutes until soft and caramelized.
- In a mixing bowl, combine cream cheese, sour cream, and seasonings until smooth.
- In a 9x13-inch baking dish, layer frozen pierogies, browned kielbasa, and sautéed onions. Pour the creamy sauce evenly over the top.
- Sprinkle shredded cheddar cheese over the dish.
- Cover with aluminum foil and bake for 25-30 minutes. Remove foil and broil for an additional 2-3 minutes.
- Allow to cool for a few minutes and garnish with fresh parsley before serving.
Leave a Reply