
As I rummaged through my pantry one afternoon, a delightful crunch caught my attention—those forgotten corn flakes waiting for a revival! That’s when I decided it was time to recreate a healthier version of a classic favorite: Healthy Homemade Butterfingers. Featuring just five wholesome ingredients, this recipe is not only gluten-free and dairy-free but also naturally sweetened with honey or maple syrup. Say goodbye to guilt and hello to wholesome snacking! Perfect for a quick treat or an indulgent dessert, these bars bring satisfying crunch and rich chocolatey goodness, all while being easy to whip up. Ready to unearth your inner candy chef? Let’s dive into this simple yet scrumptious recipe!
Why are Homemade Butterfingers Irresistible?
Simple, quick preparation means you can whip these up in no time! Healthy, crafted with gluten-free and dairy-free ingredients, everyone can enjoy them without the guilt. Naturally sweetened with wholesome honey or maple syrup, you can satisfy your sweet tooth the right way. Crowd-pleaser accepted by kids and adults alike, they’re perfect for snack time or as a dessert! Looking for a heartier treat? Try them alongside a refreshing beverage or with a side of fruit, similar to my delicious Chicken Caesar Sandwich.Versatile enough to swap out the nut butter or add toppings, you can make each batch uniquely yours!
Homemade Butterfingers Ingredients
For the Filling
• Peanut Butter – Provides a creamy base and binds the ingredients together; opt for natural for the healthiest option.
• Maple Syrup or Honey – Acts as a naturally sweetened alternative to refined sugars; choose maple syrup for a vegan-friendly option.
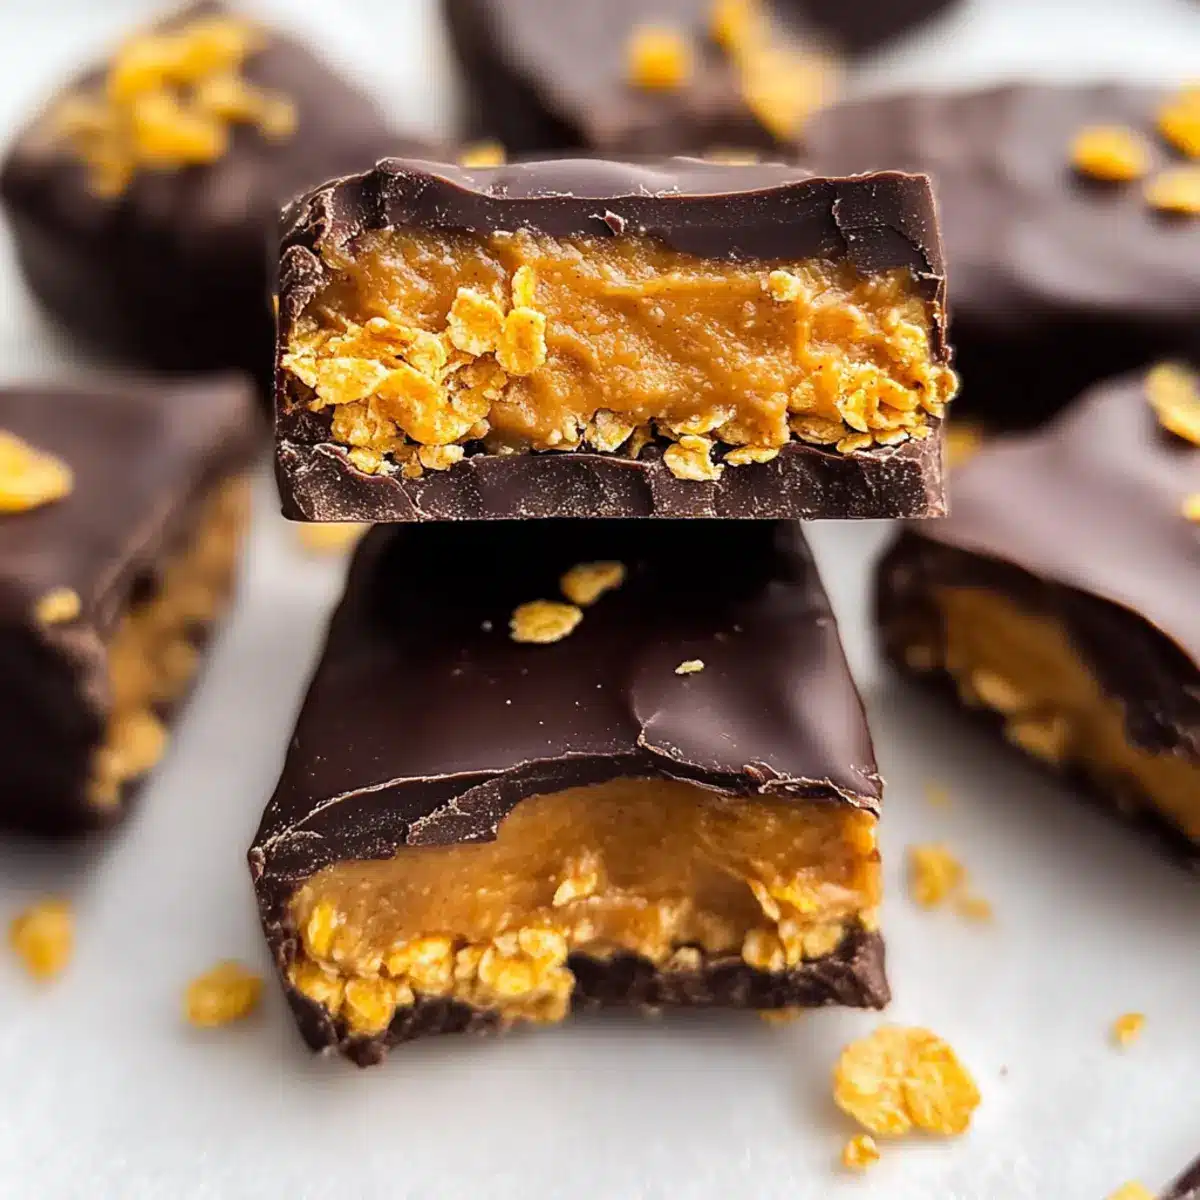
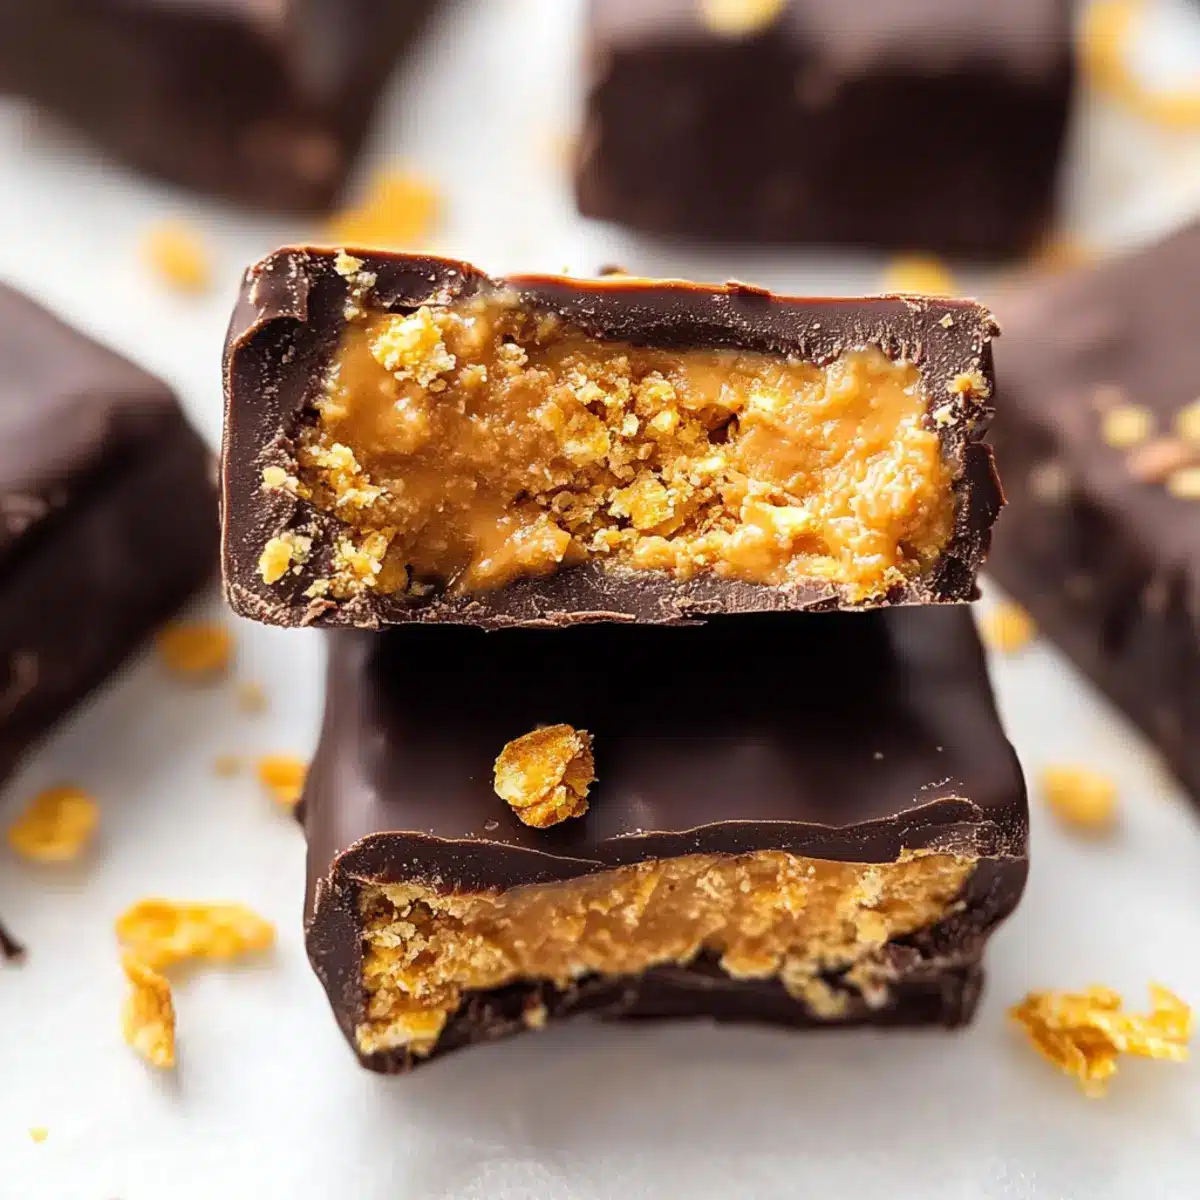
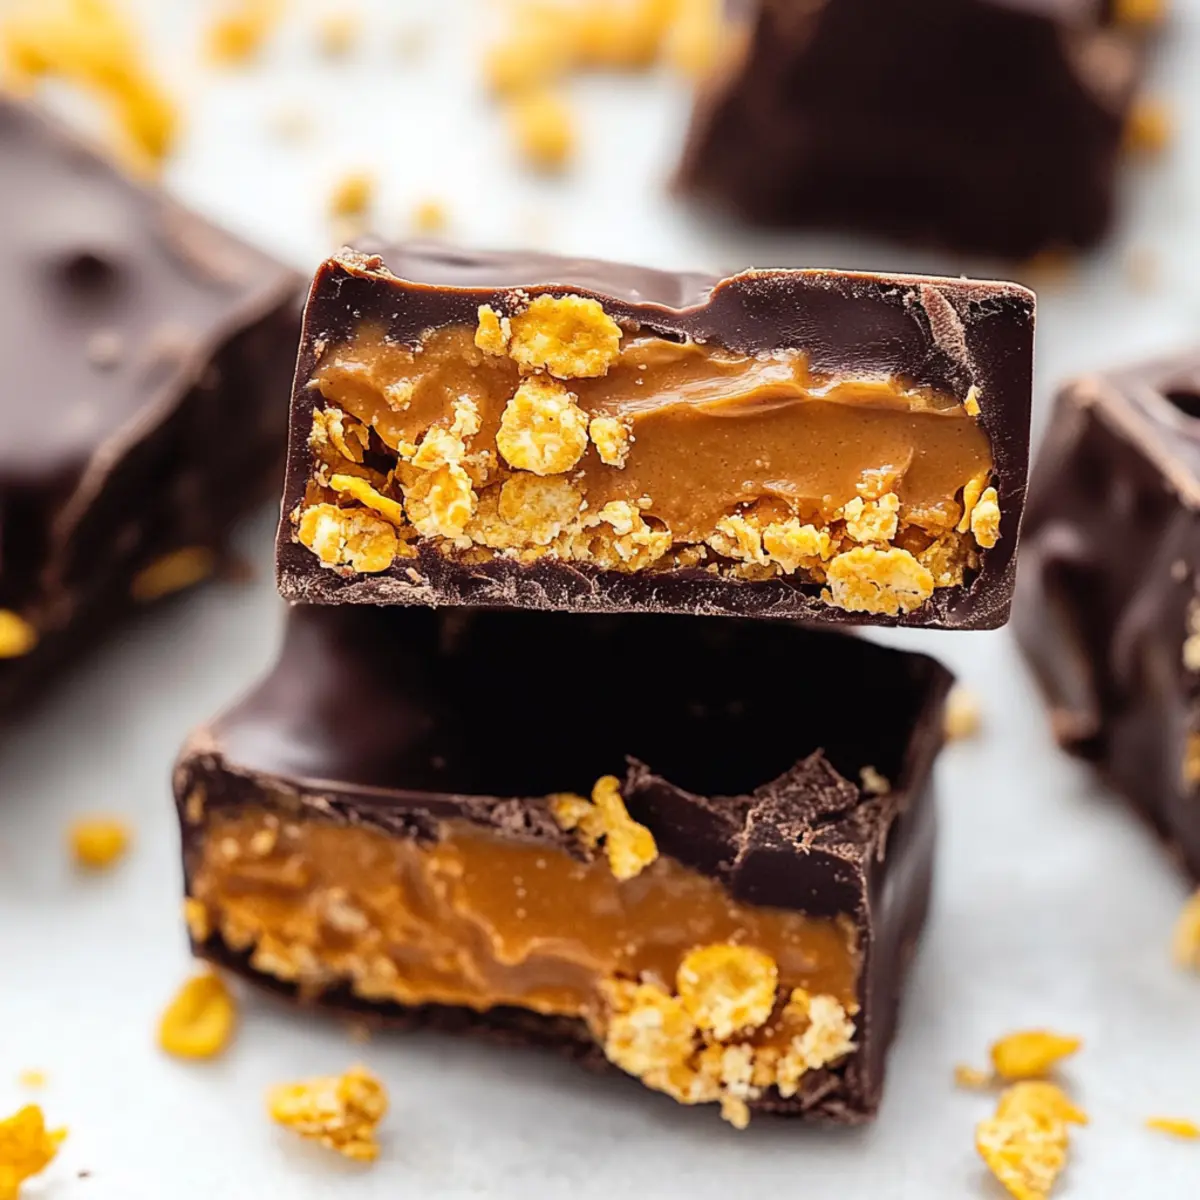
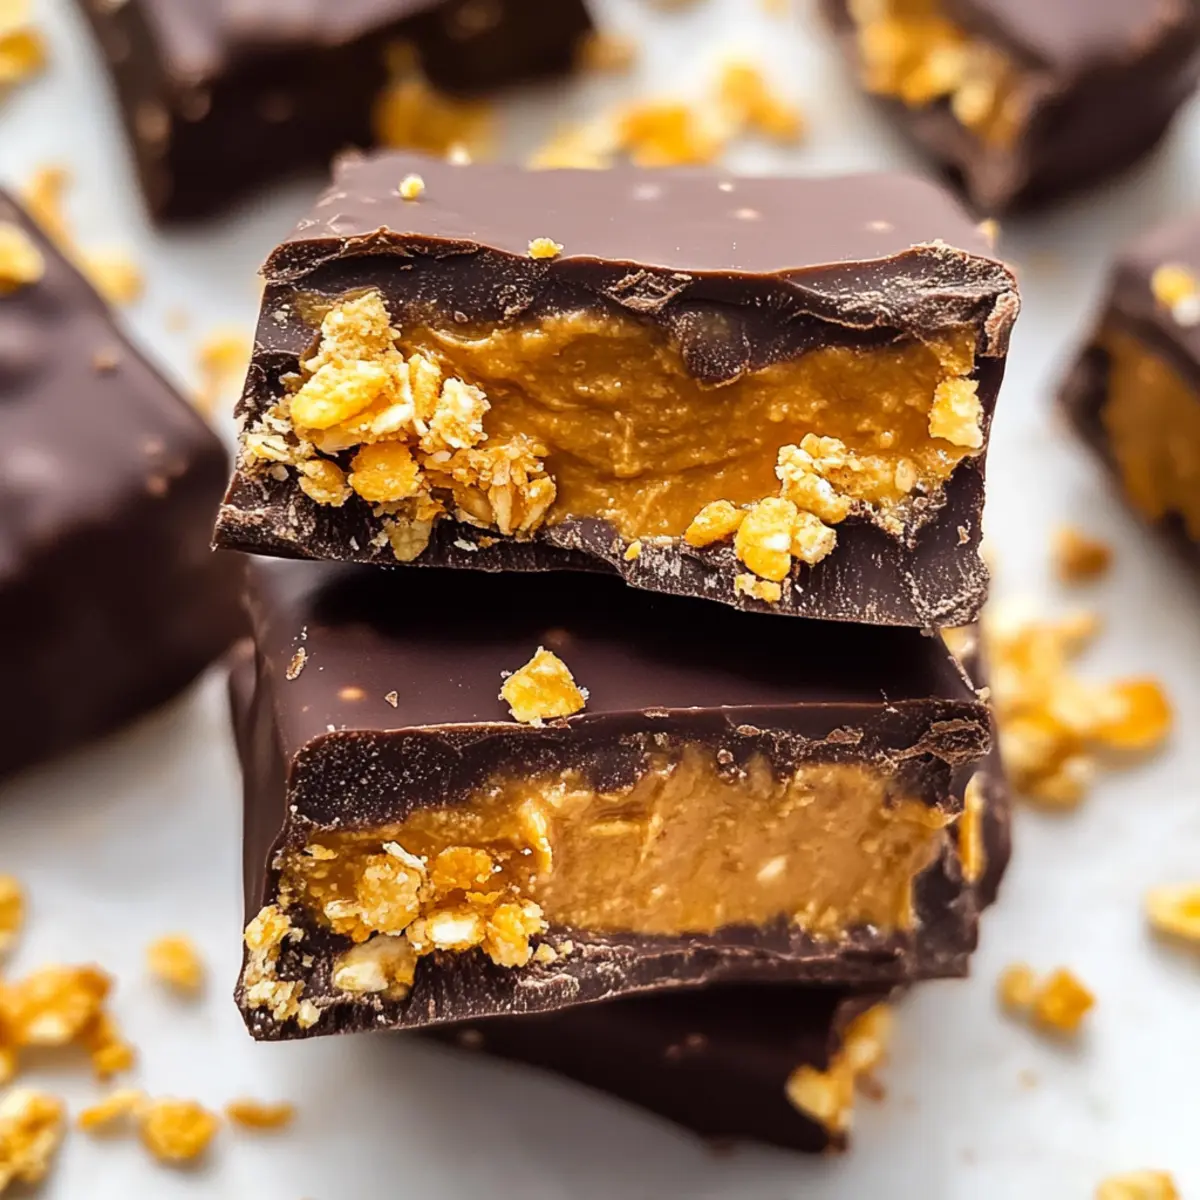
• Corn Flakes – Offers a delightful crunch and makes the bars sturdy; ensure they’re gluten-free to meet dietary restrictions.
For the Chocolate Coating
• Chocolate Chips – Used for a decadent coating, providing a rich flavor; select dairy-free chocolate chips for a healthier choice.
• Coconut Oil – Helps the chocolate melt smoothly and adds a hint of coconut flavor; can be replaced with any neutral oil if desired.
Get ready to craft these delightful homemade butterfingers that everyone will love!
Step-by-Step Instructions for Healthy Homemade Butterfingers
Step 1: Crush the Corn Flakes
Begin by placing the corn flakes into a large zip-top bag. Use a rolling pin or your hands to crush the flakes until they reach a fine consistency, similar to bread crumbs. This should take about 2–3 minutes of steady work. The smaller pieces will provide that signature crunchy texture in your Healthy Homemade Butterfingers.
Step 2: Mix Peanut Butter and Sweetener
In a large mixing bowl, combine the creamy peanut butter with your choice of maple syrup or honey. Using a spatula, mix them thoroughly until the mixture becomes smooth and well-blended—it should take about 1–2 minutes. This step is crucial as it ensures that your filling is flavorful and cohesive, setting the foundation for your butterfingers.
Step 3: Combine Ingredients
Next, add the crushed corn flakes to the peanut butter mixture. Stir gently but thoroughly until all the corn flakes are coated in the sticky mixture. This will create a firm and cohesive blend, taking around 2–3 minutes to reach the desired consistency. Ensure there are no dry spots, as each bite of your Healthy Homemade Butterfingers should be bursting with flavor.
Step 4: Press Into a Pan
Line a loaf pan with parchment paper for easy removal, then transfer the mixture to the pan. Using your hands or a spatula, firmly press the mixture down into the pan to create an even layer, approximately 1 inch thick. This process should take around 3 minutes. Place the pan in the freezer for at least 1 hour to set and firm up the bars before cutting.
Step 5: Cut Into Bars
Once set, carefully lift the mixture out of the pan using the parchment paper, and place it on a cutting board. Use a sharp knife to cut the mixture into 12 even bars. Take your time to ensure clean edges, which will make for beautiful Healthy Homemade Butterfingers that are easy to coat in chocolate.
Step 6: Melt Chocolate and Coconut Oil
In a small, microwave-safe bowl, combine the chocolate chips and coconut oil. Microwave the mixture in 30-second intervals, stirring in between, until it’s completely melted and smooth—this should take about 1–2 minutes. A smooth chocolate coating is vital for a delicious finish to your Healthy Homemade Butterfingers.
Step 7: Coat the Bars
Carefully dip each bar into the melted chocolate, using a fork for easy handling and coating. Gently tap the fork on the edge of the bowl to allow excess chocolate to drip off. Place the coated bars on a parchment-lined plate, ensuring they don’t touch each other. This process may take around 5–7 minutes, but the chocolaty result is worth the effort!
Step 8: Harden the Chocolate
Once all bars are coated, place the plate in the freezer for an additional 10 minutes. This short time will allow the chocolate to harden perfectly, creating a delightful shell around your Healthy Homemade Butterfingers. Keep an eye on it; you want the chocolate to be firm but velvety.
Step 9: Store or Serve
After the chocolate has set, your Healthy Homemade Butterfingers are ready to enjoy! You can eat them immediately or store them in an airtight container in the freezer for up to 3 months. These bars will maintain their crunch and flavor, making them a perfect grab-and-go snack for whenever those sweet cravings strike!
Tips for the Best Homemade Butterfingers
• Crush Corn Flakes Well: Ensure the corn flakes are finely crushed to achieve that perfect crunchy texture; larger pieces may lead to uneven bars.
• Freeze for Firmness: Freezing your filled mixture for at least one hour is essential as it helps the bars hold their shape during cutting and coating.
• Reheat Chocolate as Needed: If your chocolate coating isn’t smooth, gently reheat it in the microwave, stirring until creamy; this prevents clumping and ensures an even dip.
• Use Quality Ingredients: Choose natural peanut butter and high-quality chocolate chips to enhance flavor; this makes your Healthy Homemade Butterfingers truly standout.
• Experiment with Sweeteners: If you prefer a different sweetness level, adjust the amount of maple syrup or honey to suit your taste while keeping it healthy.
What to Serve with Healthy Homemade Butterfingers?
Imagine a delightful afternoon, where sweet cravings are met with fragrant delights and refreshing sips that’ll make your taste buds dance!
- Fresh Fruit Salad: The juicy burst of seasonal fruits adds a refreshing balance to the rich, chocolatey sweetness of the butterfingers. It’s a colorful, healthy complement!
- Creamy Greek Yogurt: A dollop of tangy yogurt provides a smooth contrast, while adding protein and probiotics for a wholesome snack experience. Perfect for dipping or spreading!
- Nutty Granola: This crunchy, wholesome blend adds delightful texture and a hint of nutty flavor, making for a satisfying treat that enhances the butterfingers’ crunchy allure.
- Chocolate Almond Milk: Silky and rich, this drink adds a luxurious touch to your dessert experience while being a nutty companion to the chocolate richness of the bars.
- Nut Butter Dip: Pair the butterfingers with a small dish of almond or cashew butter for a creamy element. The combination of flavors is simply out of this world!
- Sesame Snap Cookies: These light, crispy treats add a delightful crunch and a subtle sweetness, echoing the flavors of the butterfingers while ensuring a fun texture contrast.
- Spiced Chai Tea: A warm cup of chai brings aromatic spices that nicely balance the sweetness of the butterfingers. It’s a cozy pairing that’s inviting any time of day!
- Dairy-Free Ice Cream: When your sweet tooth is high, a scoop of coconut or almond-based ice cream brings an extra layer of indulgence to your homemade chocolate bars!
Homemade Butterfingers Variations You’ll Love
Feel free to get creative with these Healthy Homemade Butterfingers—each variation is a delightful twist waiting for you!
-
Nut Butter Fantasy: Swap peanut butter for almond or cashew butter for a unique taste. Each nut butter brings its flavor, ensuring a rich, creamy base for your bars.
-
Grain-Free Delight: Use crushed nuts or seeds instead of corn flakes for a higher protein content. The texture will be different, but the deliciousness will still shine through!
-
Sweetener Switch: Opt for agave syrup if you’re looking for a lower-glycemic sweetener. It offers a similar sweetness without the insulin spike.
-
Topping Party: After dipping, sprinkle with shredded coconut or pumpkin seeds for added crunch and a pop of flavor. It’s all about turning those bars into a little edible art!
-
Flavorful Add-ins: Mix in spices like cinnamon or a touch of vanilla extract to elevate the flavor profile. Not only do they enhance the taste, but they also add an aromatic experience.
-
Choco-Lover’s Upgrade: Use dark chocolate for a more intense chocolate flavor and a wealth of antioxidants. You might find this upgrade gives the bars a decadent edge!
-
Lower-Carb Version: For a keto-friendly twist, replace honey or maple syrup with a keto sweetener, and use sugar-free chocolate chips. Enjoy guilt-free indulgence without sacrificing flavor.
By considering these variations, your Healthy Homemade Butterfingers will never get boring! Plus, if you’re looking for more inspiration for tasty treats, check out my Chicken Caesar Sandwich or explore other delicious ideas. Happy experimenting!
How to Store and Freeze Healthy Homemade Butterfingers
Fridge: Store your Healthy Homemade Butterfingers in an airtight container in the refrigerator for up to 1 week. This keeps them fresh while maintaining their delightful crunch.
Freezer: For longer storage, freeze the bars in an airtight container or freezer bag for up to 3 months. Just ensure they’re fully covered to prevent freezer burn.
Thawing: When you’re ready to enjoy a bar, simply take it out of the freezer and let it sit at room temperature for about 10–15 minutes to soften slightly before indulging.
Layering: For optimal storage, place parchment paper between layers of bars to prevent sticking and make it easy to grab just one when cravings hit!
Make Ahead Options
These Healthy Homemade Butterfingers are perfect for meal prep enthusiasts! You can easily prepare the filling and press it into the pan up to 24 hours in advance. Simply follow the first three steps of the recipe, and then cover the loaf pan tightly with plastic wrap in the refrigerator. When you’re ready to finish, take the mixture out to cut into bars and proceed with melting the chocolate for coating. To maintain the delicious crunch, ensure that the bars are stored in an airtight container in the freezer after coating, where they will keep well for up to 3 months. This way, you can enjoy these guilt-free treats whenever sweet cravings strike, without spending extra time in the kitchen!
Healthy Homemade Butterfingers Recipe FAQs
What type of peanut butter should I use for the filling?
I recommend using natural peanut butter, as it’s richer and healthier. Be sure to check the label—many commercial brands contain added sugars and oils that can compromise the health benefits of your Healthy Homemade Butterfingers.
How should I store my homemade butterfingers?
Store the butterfingers in an airtight container in the refrigerator for up to 1 week. For longer storage, freeze them in a container or freezer bag for up to 3 months. Don’t forget to layer parchment paper between bars to prevent sticking!
Can I freeze Healthy Homemade Butterfingers, and if so, how?
Absolutely! To freeze your Healthy Homemade Butterfingers, first cut them into bars and arrange them in a single layer on a parchment-lined plate. Place the plate in the freezer for about an hour until they are firm, then transfer them to an airtight container or freezer bag. They’ll stay fresh for up to 3 months!
What should I do if the chocolate coating is clumpy?
If your chocolate coating isn’t smooth, don’t worry! Simply reheat the bowl in the microwave in 15-second intervals, giving it a stir each time until the chocolate reaches a smooth, velvety consistency. This should take just a minute or two, so keep an eye on it to avoid burning.
Are there any allergy considerations for this recipe?
Yes, since this recipe uses peanut butter, it is not suitable for those with nut allergies. However, you can easily substitute almond butter or sunbutter for a nut-free alternative. Also, ensure that the chocolate chips you choose are dairy-free if needed.
Healthy Homemade Butterfingers You'll Love – Guilt-Free Goodness
Ingredients
Equipment
Method
- Crush the corn flakes until they reach a fine consistency, similar to bread crumbs, which should take about 2–3 minutes.
- In a large mixing bowl, mix peanut butter and your choice of maple syrup or honey until smooth, about 1–2 minutes.
- Add the crushed corn flakes to the peanut butter mixture and stir gently until all are coated, around 2–3 minutes.
- Line a loaf pan with parchment paper, transfer the mixture, and press it down to create a layer approximately 1 inch thick. Freeze for at least 1 hour.
- Cut the mixture into 12 even bars with a sharp knife.
- Melt chocolate chips and coconut oil in a microwave-safe bowl, stirring every 30 seconds until smooth, about 1–2 minutes.
- Dip each bar into the melted chocolate and place them on a parchment-lined plate without touching each other.
- Place the coated bars in the freezer for an additional 10 minutes to harden the chocolate.
- Enjoy immediately or store in an airtight container in the freezer for up to 3 months.
Leave a Reply