
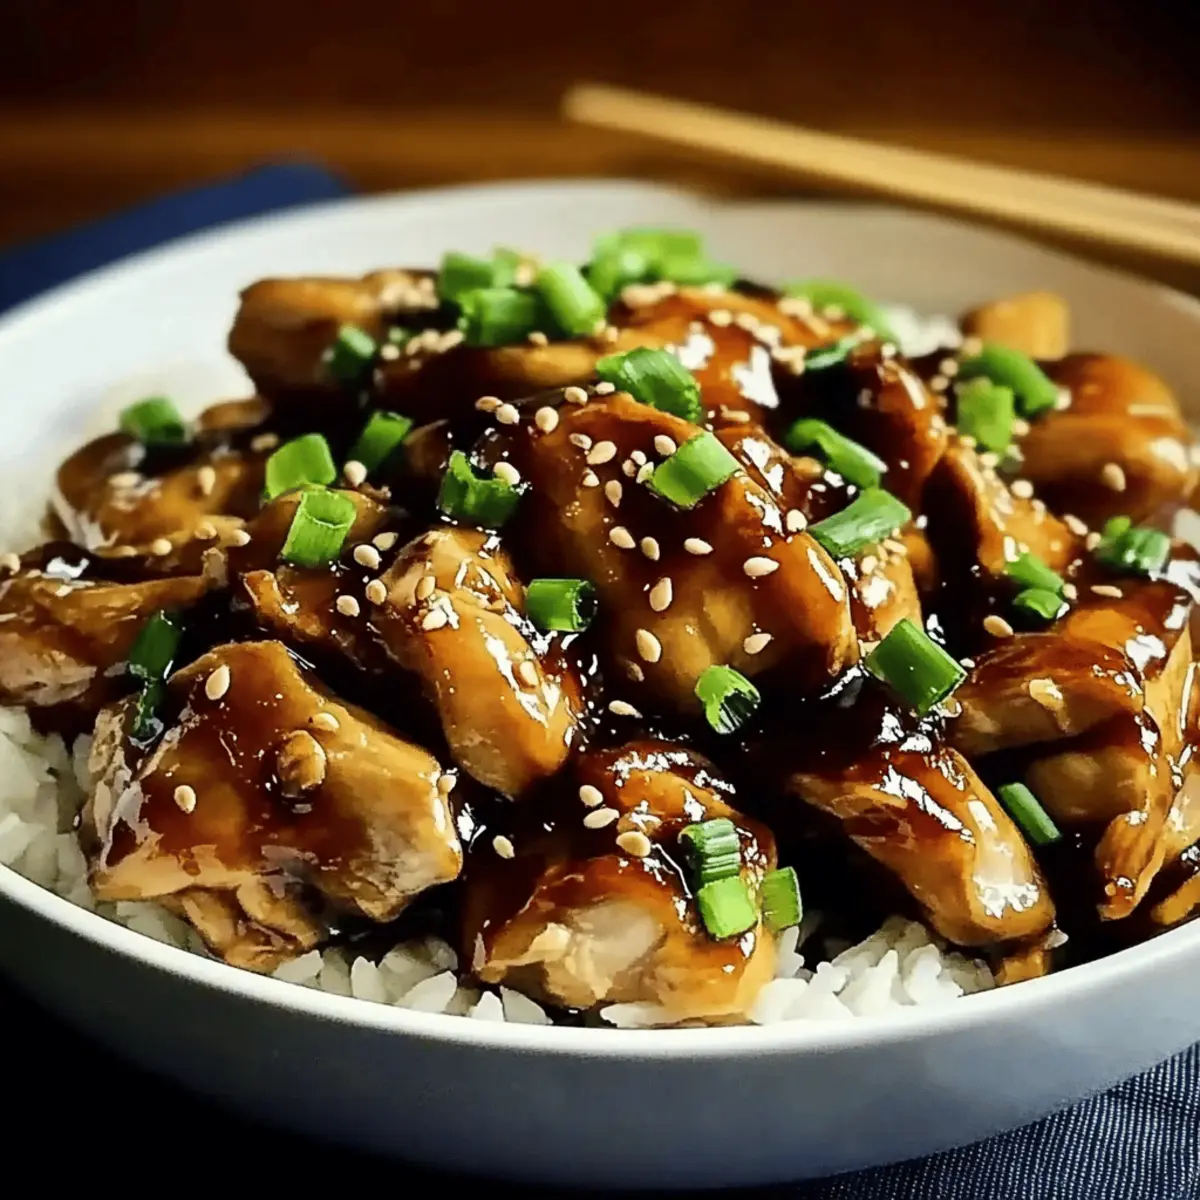
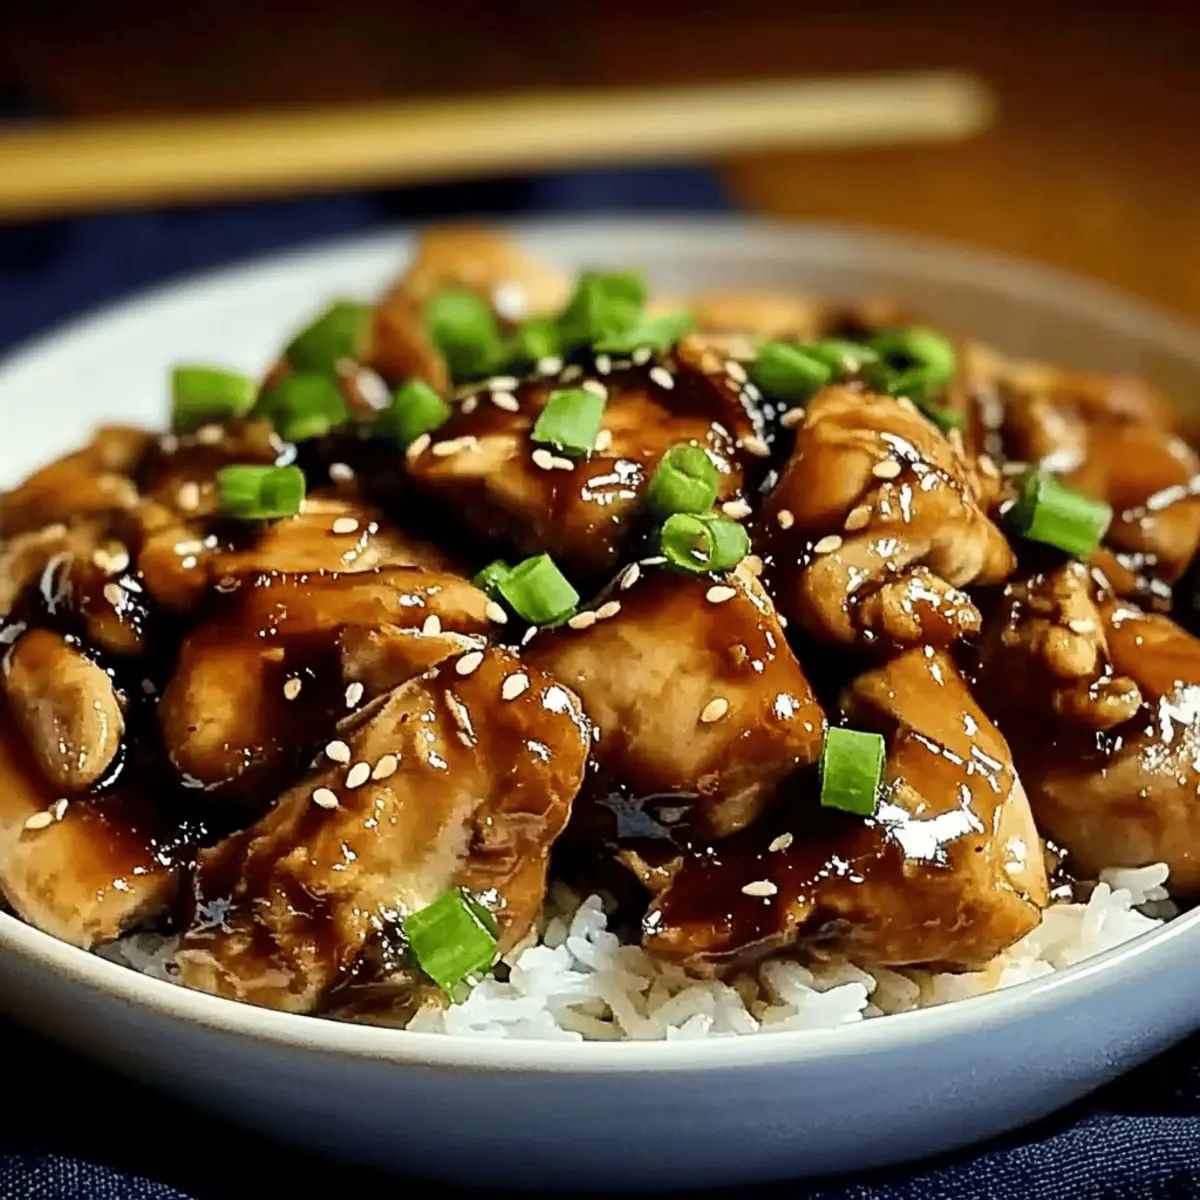
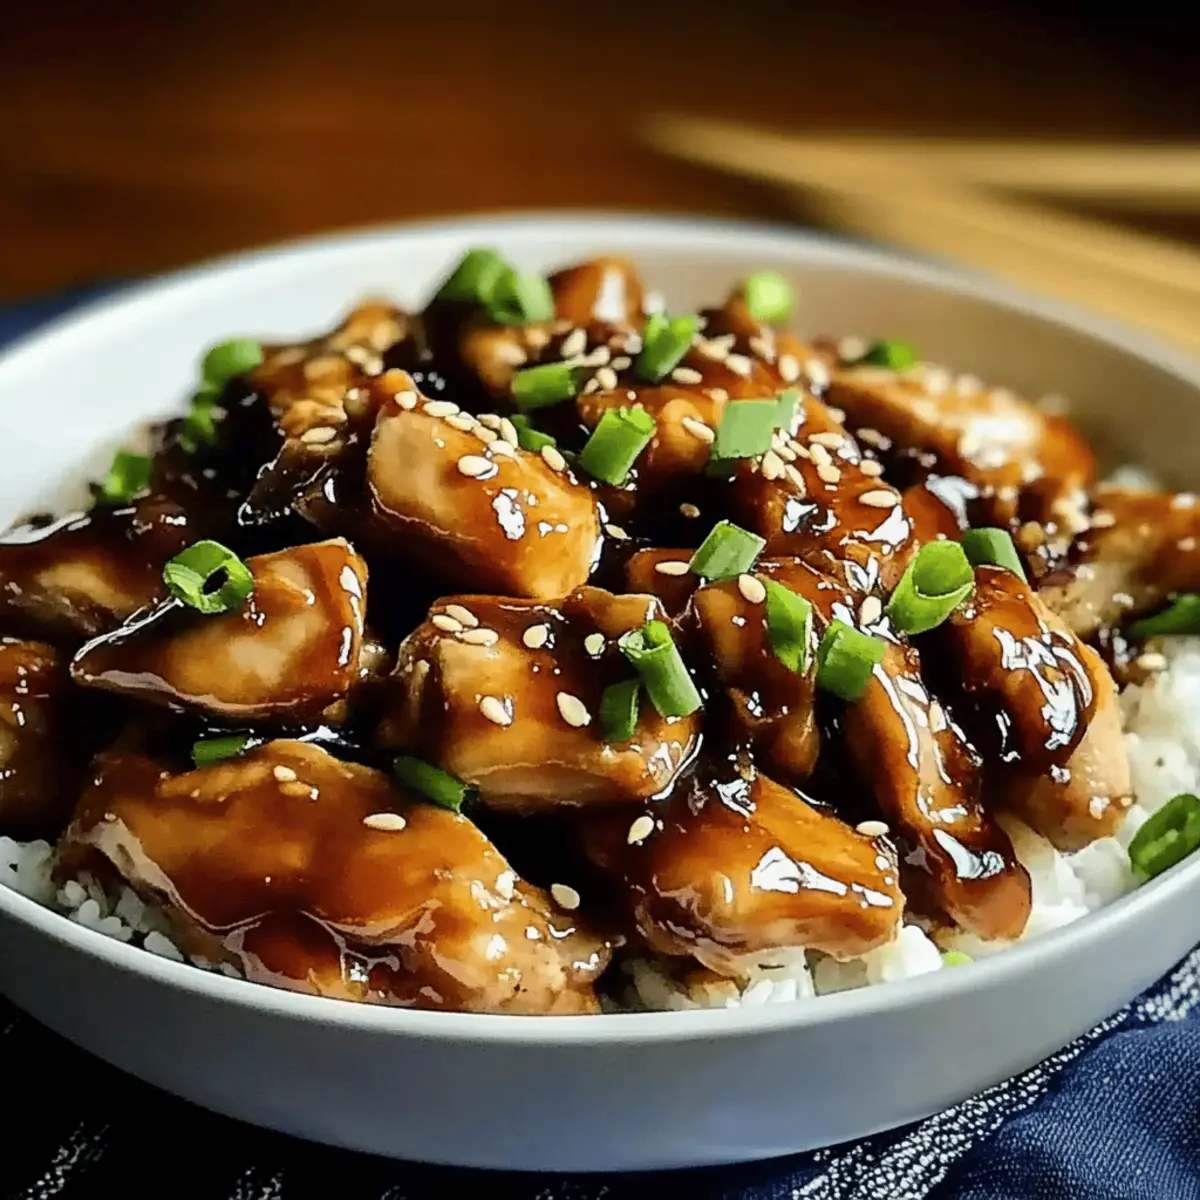
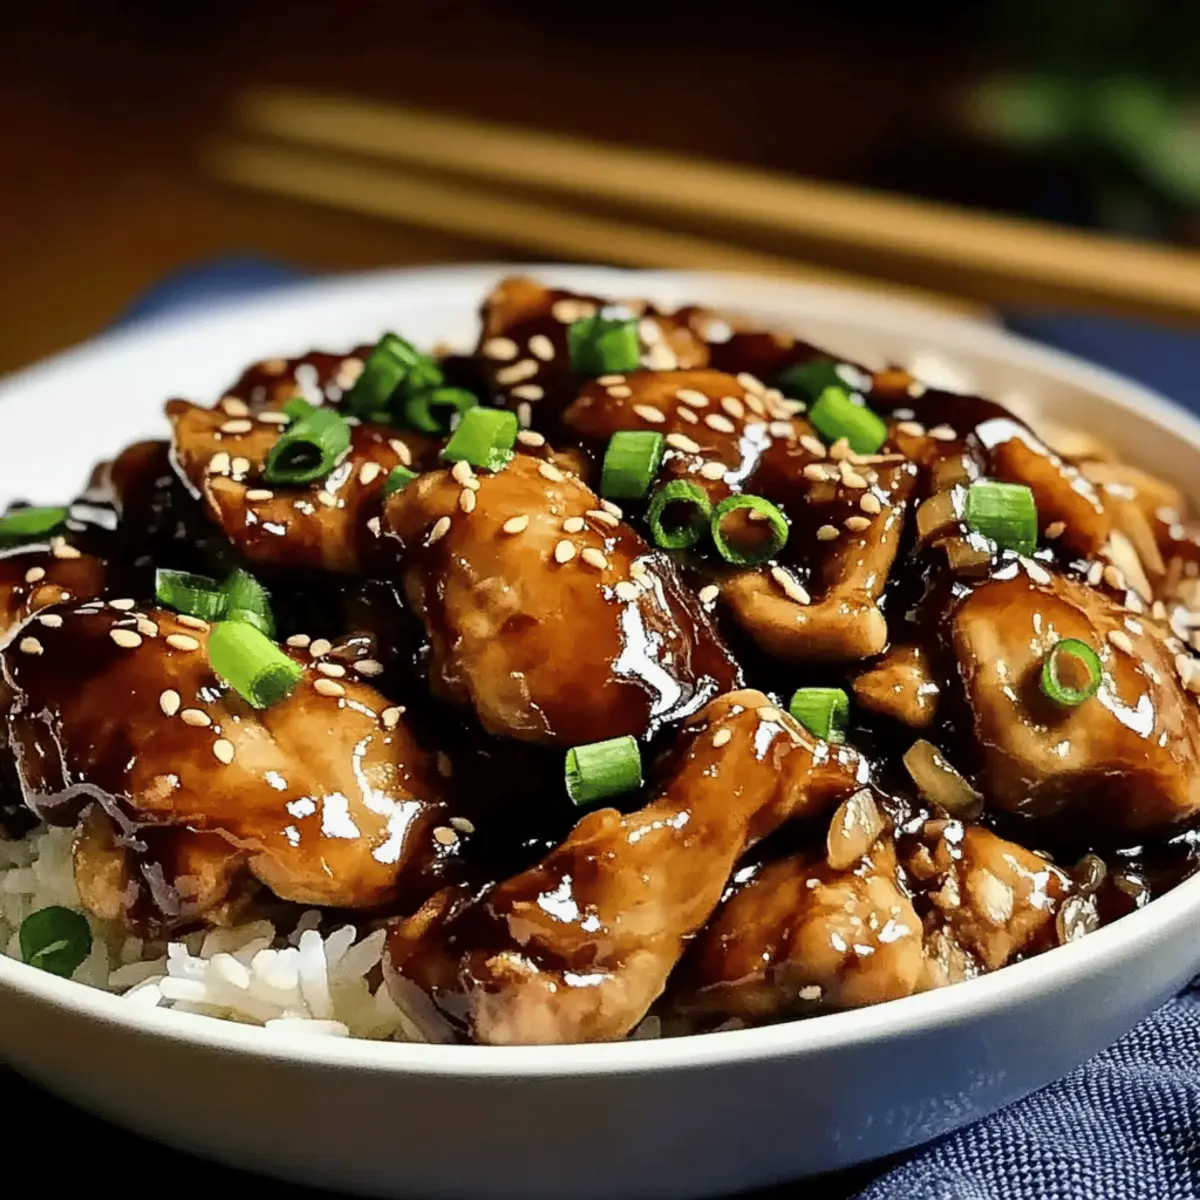
As the aroma of sizzling garlic and ginger fills my kitchen, I can’t help but feel a rush of excitement whenever I whip up my Quick and Easy Hoisin Chicken. This dish is the ultimate solution for those bustling weeknights when you crave something delicious yet simple to prepare. With its perfect blend of sweet and savory notes, this Chinese-inspired recipe uses everyday pantry staples to create a mouthwatering meal that can be on your table in just 30 minutes. Whether you decide to serve it over fluffy rice, toss it with noodles, or roll it up in crisp lettuce wraps for a low-carb option, this versatile recipe is sure to impress your family and friends. Are you ready to take your taste buds on a flavorful adventure? Let’s dive in!
Why is Hoisin Chicken a Dinner Winner?
Simplicity: This recipe is ideal for busy weeknights, coming together in just 30 minutes!
Flavor Explosion: The sweet and savory glaze, made from hoisin and soy sauce, delivers an irresistible taste that will have everyone asking for seconds.
Versatile Serving Options: Enjoy it over rice, noodles, or in refreshing lettuce wraps, making it adaptable for any dietary preference.
Pantry Staples: Made with everyday ingredients, you likely already have everything on hand.
Crowd-Pleaser: Perfect for family dinners or entertaining guests, this dish guarantees smiles all around!
For those interested in a healthier twist, consider using skinless chicken breast or even tofu for a vegetarian version.
Hoisin Chicken Ingredients
For the Chicken
• Chicken thighs or breast – 1 ½ lbs, boneless, skinless; thighs offer juiciness, while breast is leaner.
For the Sauce
• Hoisin sauce – ¼ cup; this key ingredient creates the sweet-savory glaze that defines Hoisin Chicken.
• Soy sauce – 2 tbsp; enhances umami flavor—opt for low-sodium for a healthier version.
• Honey or brown sugar – 1 tbsp; adds balance against saltiness. Adjust to your sweetness preference.
• Rice vinegar – 1 tbsp; brings acidity and brightness to the sauce.
• Sesame oil – 1 tsp; enhances flavor with a nutty taste—use it sparingly due to its strong profile.
• Garlic – 3 cloves, minced; fresh garlic is ideal for the best flavor.
• Fresh ginger – 1 tsp, grated; adds warmth and zest—opt for fresh for optimal effects.
• Red pepper flakes – ½ tsp (optional); adjust for desired spice level.
For Cooking
• Olive or sesame oil – 1 tbsp; use olive oil for a neutral flavor, or sesame oil for a nutty aroma.
• Salt – ½ tsp; enhances overall dish flavor; adjust according to taste.
• Black pepper – ¼ tsp; a fundamental seasoning for depth.
For Garnish
• Chopped green onions – 2 tbsp; provides freshness and a pop of color.
• Sesame seeds – 1 tsp; add crunch to your finished dish.
• Steamed rice or veggies – for serving, making the meal complete.
Step‑by‑Step Instructions for Hoisin Chickens
Step 1: Prep Chicken
Begin by cutting 1 ½ lbs of boneless, skinless chicken thighs or breast into bite-sized pieces. Season the chicken pieces with ½ tsp of salt and ¼ tsp of black pepper, ensuring an even coating. Set the seasoned chicken aside while you prepare the delicious sauce that will bring the flavors of your Hoisin Chickens to life.
Step 2: Make Sauce
In a medium mixing bowl, whisk together ¼ cup of hoisin sauce, 2 tbsp of soy sauce, 1 tbsp of honey or brown sugar, 1 tbsp of rice vinegar, and 1 tsp of sesame oil. If you like a bit of heat, add ½ tsp of red pepper flakes to the mix. The combination should create a glossy, rich sauce that will envelop the chicken perfectly.
Step 3: Cook Aromatics
Heat 1 tbsp of olive or sesame oil in a large skillet over medium-high heat. Once the oil shimmers, add 3 minced garlic cloves and 1 tsp of grated fresh ginger to the pan. Sauté for about 30 seconds, or until the garlic is fragrant and lightly golden, being careful not to burn it—this aromatic base is essential for your savory Hoisin Chickens.
Step 4: Cook Chicken
Add the seasoned chicken pieces to the skillet, spreading them out for even cooking. Cook for 5-6 minutes, stirring occasionally. You want the chicken to be nicely browned and cooked through, reaching an internal temperature of 165°F. The sizzling sound and golden color will signal that your chicken is ready for the luscious sauce.
Step 5: Add Sauce
Once the chicken is cooked, pour the prepared sauce over the chicken in the skillet. Gently toss everything together to ensure each piece is coated in that delightful hoisin mixture. Allow the sauce to simmer for 2-3 minutes, letting it thicken slightly and caramelize over the chicken, creating the perfect glaze for your Hoisin Chickens.
Step 6: Serve
Remove the skillet from heat and garnish your Hoisin Chickens with 2 tbsp of chopped green onions and 1 tsp of sesame seeds for an extra crunch. Serve over steamed rice, tossed with stir-fried vegetables, or wrapped in crisp lettuce for a tasty low-carb option. Enjoy the rich flavors you’ve created!
How to Store and Freeze Hoisin Chicken
Fridge: Store leftovers in an airtight container for up to 4 days. Allow the chicken to cool before sealing to maintain its quality.
Freezer: For longer storage, freeze Hoisin Chicken in an airtight container for up to 3 months. Thaw in the refrigerator overnight before reheating.
Reheating: Reheat in a skillet over medium heat until warmed through, adding a splash of water or broth to prevent drying out the chicken.
Room Temperature: Avoid leaving Hoisin Chicken at room temperature for more than 2 hours to ensure food safety.
Hoisin Chickens Variations & Substitutions
Invite your culinary creativity and make this Hoisin Chicken recipe your own with these fun and delicious variations.
-
Healthier Option: Swap skinless chicken breast for thighs to create a lighter, leaner dish without sacrificing flavor.
-
Low-Carb Delight: Serve Hoisin Chicken in crisp lettuce wraps or over cauliflower rice instead of traditional rice for a satisfying low-carb meal.
-
Vegetarian Choice: Replace chicken with tofu or tempeh, marinating them in the same sauce for a tasty vegetarian twist. This is a great way to enjoy the same rich flavors while keeping things plant-based.
-
Baking Alternative: Try baking the chicken at 400°F for 20-25 minutes instead of sautéing for an easier cleanup and a different texture.
-
Grilled Version: For a smoky flavor, marinate chicken pieces and grill them over medium heat. The char from the grill adds a delightful twist to this dish.
-
Spice It Up: Add additional heat with sliced fresh chili peppers or increase the amount of red pepper flakes. Customize the spice level to your taste for an extra kick!
-
Sweetness Surprise: Substitute honey with maple syrup or agave nectar for a unique sweetness that complements the hoisin sauce.
-
Add Veggies: Toss in some vibrant bell peppers, snap peas, or broccoli during the last few minutes of cooking for added color, nutrition, and crunch. You might even want to check out stir-fried vegetables to pair perfectly with your Hoisin Chicken.
Mix and match these variations to create the perfect Hoisin Chicken that suits your taste and style!
Make Ahead Options
These Hoisin Chickens are perfect for meal prep enthusiasts! You can slice the chicken and marinate it in the hoisin and soy sauce mixture up to 24 hours in advance, allowing the flavors to really penetrate the meat. Additionally, you can prep the garlic and ginger, storing them in an airtight container in the fridge for up to 3 days. When you’re ready to cook, simply sauté the aromatics, add the marinated chicken, and finish with the sauce, cooking for about 8-10 minutes until everything is beautifully glazed. This method not only saves time on busy weeknights but also ensures your Hoisin Chicken is just as delicious as if it were freshly made!
Helpful Tricks for Hoisin Chicken
-
Marinate for Flavor: Marinate your chicken in the hoisin sauce for 15-30 minutes before cooking. This will deepen the flavor and ensure each bite is bursting with deliciousness.
-
Master the Heat: Use medium-high heat when cooking the chicken to achieve that lovely caramelization. If the heat is too low, you risk drying out the chicken.
-
Adjust Thickness: If you prefer a thicker sauce, allow it to simmer for a bit longer. For a lighter sauce, you can add a splash of water or broth to achieve your desired consistency.
-
Watch the Garlic: Be careful not to burn the garlic when sautéing; it can turn bitter. Remove it from the heat as soon as it becomes fragrant for the best results.
-
Store Wisely: For perfectly preserved leftovers of your Hoisin Chicken, place them in an airtight container and refrigerate. They will be good for up to 4 days—just reheat gently to retain flavor.
What to Serve with Quick and Easy Hoisin Chicken
The magic of a well-rounded meal lies in the delightful accompaniments that elevate every dish to new heights.
-
Steamed Jasmine Rice:
This fragrant and fluffy rice soaks up the sticky hoisin glaze beautifully, balancing the dish with a soft and comforting texture. -
Sautéed Broccoli Florets:
These vibrant green beauties add a crisp, fresh contrast to the saucy chicken, enhancing both nutrition and color on your plate. -
Crispy Lettuce Wraps:
Serve Hoisin Chicken in crisp lettuce leaves for a fun, low-carb option. The crunch of the lettuce brings a refreshing element to each bite. -
Chilled Asian Cucumber Salad:
The cool, tangy flavors from this salad cleanse the palate, balancing the sweetness of the chicken for a perfect harmony of tastes. -
Sesame Noodles:
Tossed in a light sesame oil dressing, these noodles make a delicious bed for your chicken, offering a satisfying chew and additional nuttiness. -
Mango Chutney:
Adding a touch of sweetness, this chutney complements the savory chicken while providing a tropical twist that is simply irresistible. -
Iced Green Tea:
A refreshing unsweetened green tea helps cleanse the palate and harmonizes with the dish while underscoring the meal’s Asian influence. -
Chocolate Mousse:
End your dinner on a sweet note with a rich chocolate mousse. Its light, airy texture contrasts nicely with the savory chicken, creating a delightful finish.
Hoisin Chicken Recipe FAQs
What kind of chicken is best for Hoisin Chicken?
Absolutely! I recommend using boneless, skinless chicken thighs for a juicier bite, while chicken breast is a leaner, healthier option. Regardless of your choice, ensure to slice the chicken into bite-sized pieces for even cooking.
How should I store leftover Hoisin Chicken?
I typically store leftovers in an airtight container and keep them in the refrigerator for up to 4 days. Let the chicken cool completely before sealing—this helps maintain its quality and flavor.
Can I freeze Hoisin Chicken?
Yes, you can definitely freeze Hoisin Chicken! Just place it in an airtight container or freezer bag, and it will stay good for up to 3 months. When you’re ready to enjoy it again, simply thaw it in the refrigerator overnight before reheating.
What should I do if the sauce is too thick?
If you find the sauce has become too thick, don’t fret! Simply add a splash of water or broth to the skillet while reheating. Stir well to combine, and heat over medium until you reach your desired consistency.
Is Hoisin Chicken safe for my pet?
It’s a good question! While humans can enjoy Hoisin Chicken, ingredients like soy sauce and garlic should be avoided for pets. Always consult your veterinarian before sharing any human food with your furry friends to keep them safe.
Savory Hoisin Chickens: Quick, Sticky, and Oh-So-Delicious
Ingredients
Equipment
Method
- Cut 1 ½ lbs of boneless, skinless chicken into bite-sized pieces. Season with ½ tsp salt and ¼ tsp black pepper.
- In a mixing bowl, whisk together hoisin sauce, soy sauce, honey or brown sugar, rice vinegar, and sesame oil. Optional: add red pepper flakes.
- Heat oil in a large skillet over medium-high heat. Add minced garlic and grated ginger, sauté for about 30 seconds until fragrant.
- Add seasoned chicken to the skillet, cook for 5-6 minutes until browned and internal temperature reaches 165°F.
- Pour the prepared sauce over chicken, toss to coat, and simmer for 2-3 minutes until sauce thickens.
- Garnish with chopped green onions and sesame seeds. Serve over rice, with vegetables, or in lettuce wraps.
Leave a Reply