
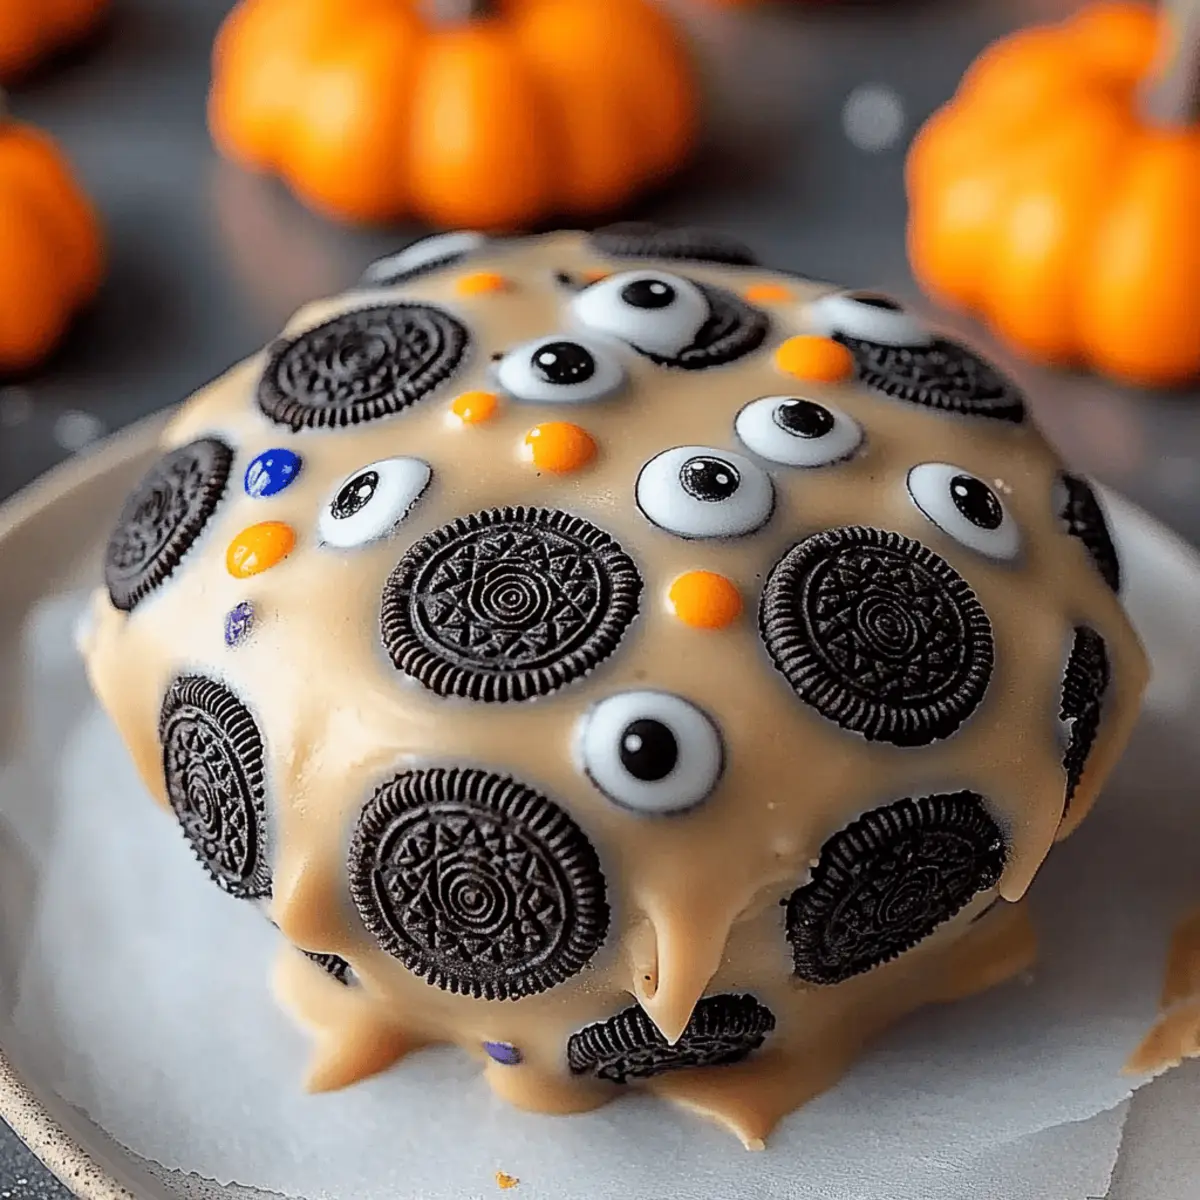
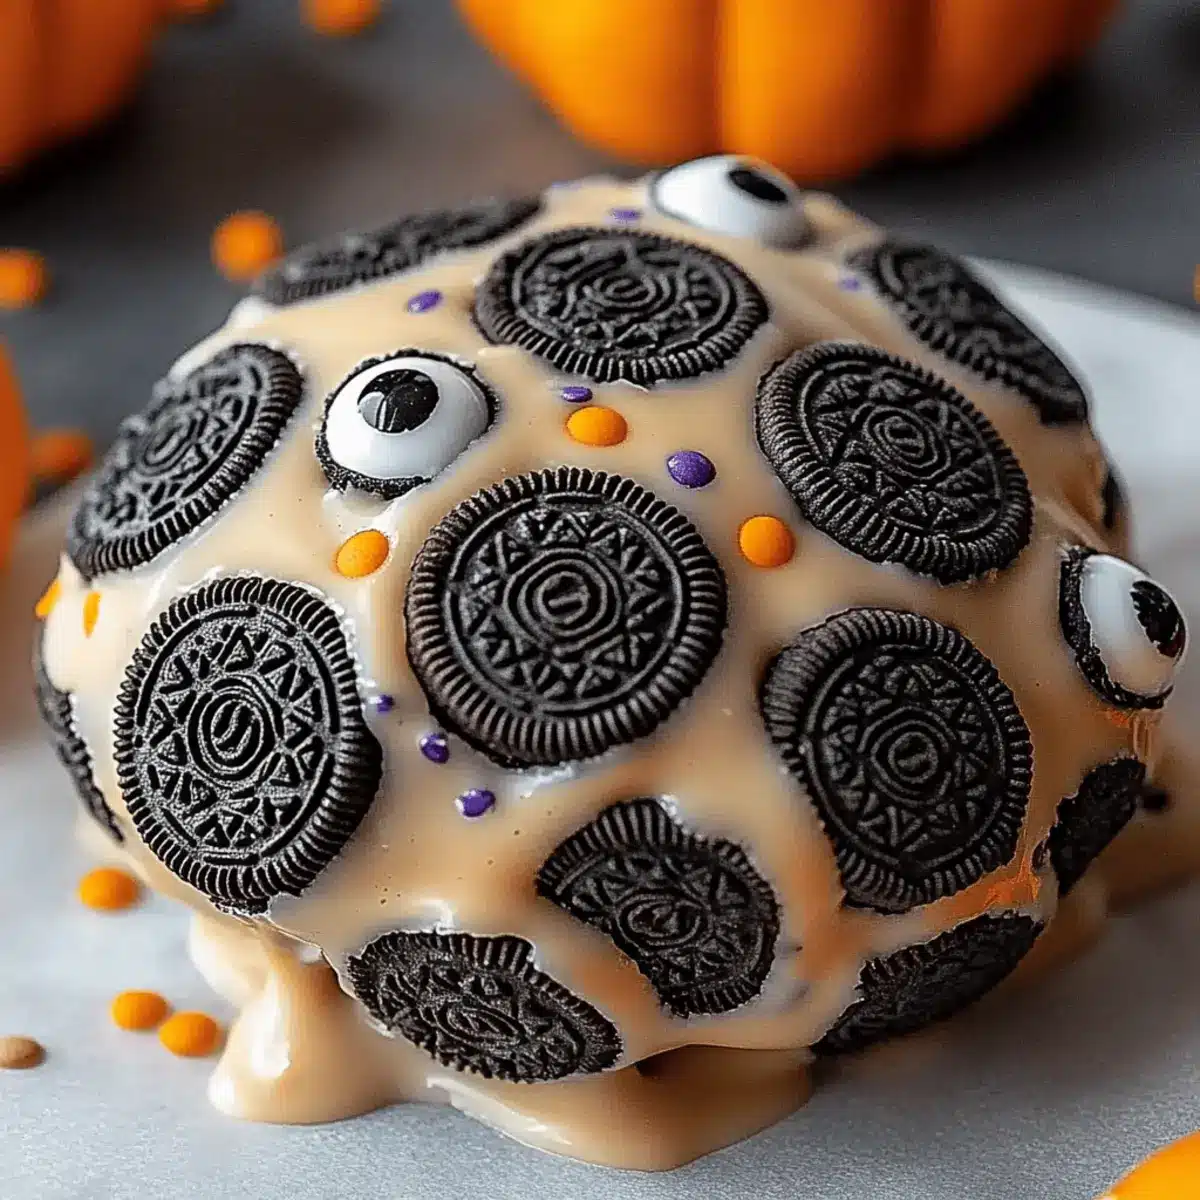
As the leaves begin to turn and the air snaps with chill, a festive buzz fills the atmosphere—it’s Halloween season! One of my favorite ways to celebrate this spooktacular time is with these delightful Halloween Oreo Treats. These fun cookies combine the beloved Oreo crunch with smooth, vibrant chocolate, making them the perfect centerpiece for parties or cozy family gatherings. Not only are these treats easy to whip up, but they also spark creativity that kids and adults alike will enjoy, leading to sweet memories with every bite. Curious about how to make your Halloween extra festive this year? Let’s dive in and create some monster magic together!
Why Are Halloween Oreos a Must-Make?
Irresistible Appeal: These Halloween Oreo Treats are visually stunning and perfect for any celebration. Simple Preparation: The straightforward steps mean you don’t need to be a pro in the kitchen to impress your guests. Endless Variations: With options like flavored Oreos and unique toppings, you can customize these treats to suit any taste. Family Fun: Making these together is an excellent way to bond with kids, similar to creating homemade treats like our popular Breakfast Granola Cups. Perfect for Sharing: They make delightful gifts in treat bags, ensuring everyone can enjoy a little festive sweetness!
Halloween Oreo Treats Ingredients
• Get ready for spooky fun!
-
For the Cookies
-
Oreo Cookies – The classic base brings a beloved crunch and flavor to your Halloween Oreo treats.
-
For the Coating
-
White Chocolate Melts – Create a smooth, delicious layer; opt for melts that are designed for easy melting without scorching.
-
Food Coloring – Use gel coloring for vivid hues; it keeps your chocolate smooth while adding festive flair.
-
For Decoration
-
Candy Eyes – These fun toppings add personality; they turn your treats into playful monsters!
-
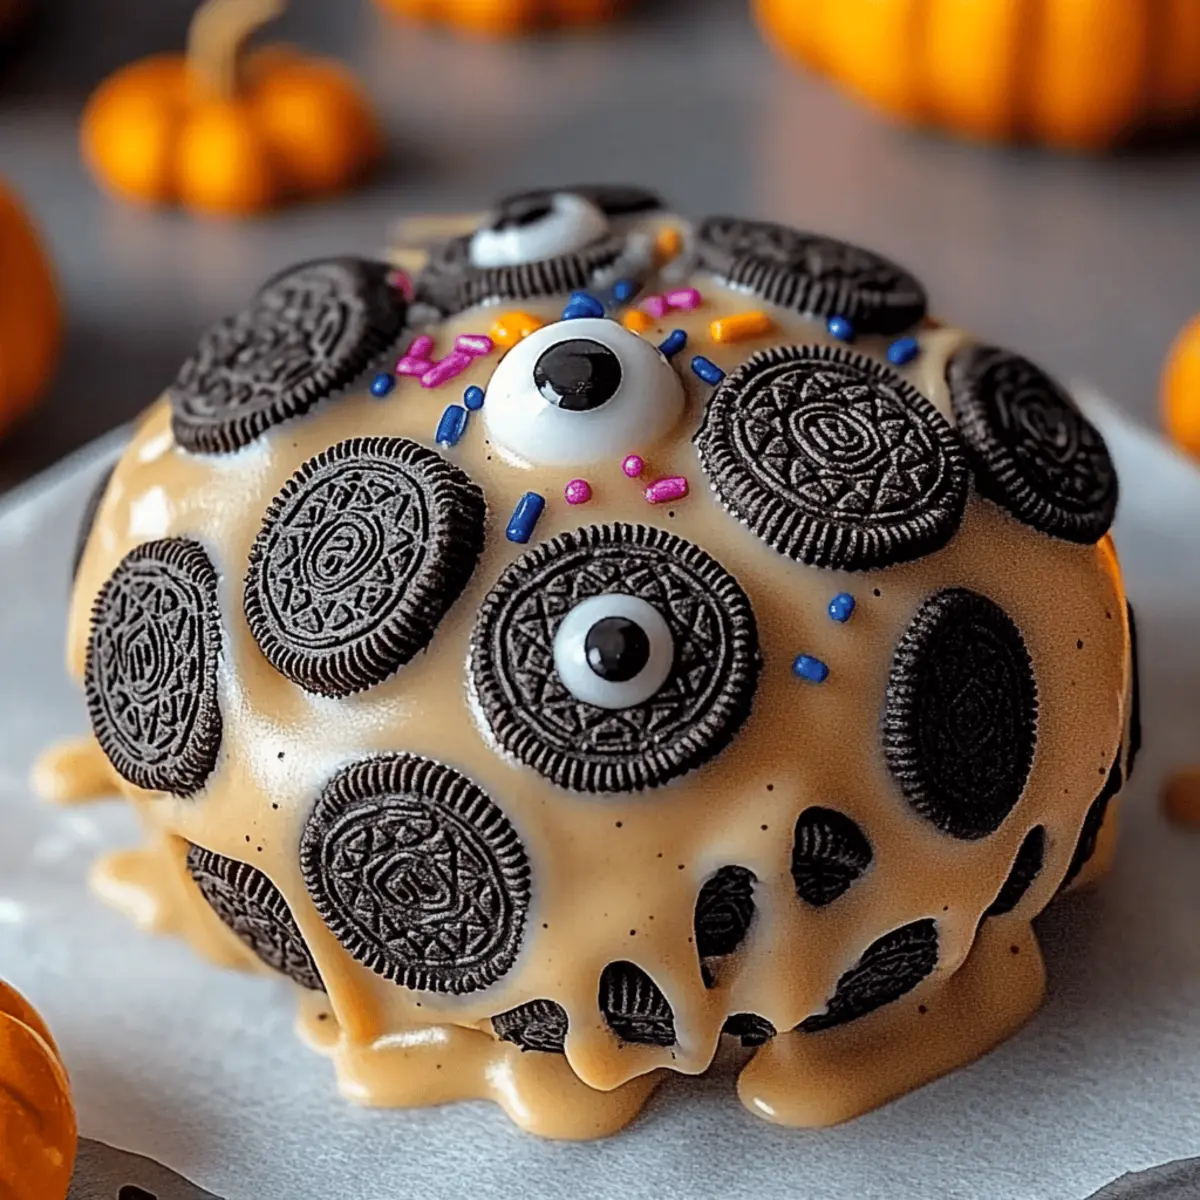
Sprinkles – Choose a mix of colors to create an eye-catching presentation; a sprinkle of choice can enhance the festive look.
With these delicious Halloween Oreo treat ingredients, you’re on your way to crafting delightful goodies that are sure to enchant your celebration!
Step‑by‑Step Instructions for Halloween Oreo Treats
Step 1: Prepare Your Station
Begin by gathering all your ingredients for the Halloween Oreo Treats. Line a large baking sheet with parchment paper to prevent sticking and make cleanup a breeze. Ensure you have a microwave-safe bowl ready for melting the chocolate and keep some utensils, like a fork and spatula, within reach to help with dipping and decorating.
Step 2: Melt the Chocolate
In your microwave-safe bowl, place the white chocolate melts and microwave them in 30-second intervals. Stir the chocolate gently after each round until it becomes completely smooth and glossy, which should take about 1–2 minutes total. Be cautious not to overheat, as this can cause the chocolate to seize and lose that beautiful, silky texture you want for your coating.
Step 3: Add Color
Once the chocolate is melted, divide it into smaller bowls if you wish to create different colors. Gradually mix in gel food coloring, starting with a small amount until you achieve the vibrant shades you desire for your Halloween Oreo Treats. Stir well to ensure the color is fully integrated, as you want a uniform appearance for each coated cookie.
Step 4: Dip the Oreos
Take an Oreo cookie and carefully dip it into the melted chocolate, using a fork to ensure each side is fully coated. Allow any excess chocolate to drip back into the bowl before transferring the coated Oreo to the prepared baking sheet. Repeat this process with all the cookies, ensuring they are lined up neatly, ready for decoration.
Step 5: Decorate
While the chocolate coating is still wet, let your creative side shine by adding candy eyes and sprinkles to each Oreo. Arrange the candy eyes to give them character, and sprinkle a colorful mix over the top for that festive flair. Be quick, as the chocolate will start to set, making it harder for decorations to stick later on.
Step 6: Set to Cool
Once all your Halloween Oreo Treats are decorated, allow them to set at room temperature for about 15 minutes, or pop them into the refrigerator to speed up the hardening process. You’ll know they’re ready when the chocolate coating has transformed into a firm shell, perfectly sealing in the delicious Oreo crunch.
Step 7: Serve
After the cookies have fully cooled and set, gently transfer them to a festive platter for serving. You can also pack them into treat bags for parties or share them with friends and family as delightful gifts. Your Halloween Oreo Treats are now ready to add some fun and sweetness to the celebrations!
Storage Tips for Halloween Oreo Treats
-
Room Temperature: Keep your decorated Halloween Oreo treats in an airtight container at room temperature for up to one week to maintain their delightful freshness and crunch.
-
Fridge: If you prefer to store them in the fridge, place the treats in a sealed container to prevent them from absorbing moisture and odors; they’ll last for about two weeks this way.
-
Freezer: For longer storage, freeze the Halloween Oreo treats by placing them in a single layer in a freezer-safe container. They can be stored for up to three months; just thaw them at room temperature before serving.
-
Reheating: It’s not necessary to reheat these treats. Instead, simply enjoy them cold or at room temperature to savor their rich flavors and textures.
Expert Tips for Halloween Oreo Treats
-
Chocolate Melting Method: Always melt chocolate slowly in short intervals, stirring gently to avoid scorching. This ensures a smooth finish for your Halloween Oreo treats.
-
Colorful Coating: When using multiple food colors, divide the melted chocolate into small bowls beforehand to keep colors vibrant and prevent muddiness.
-
Decorating Timing: Add your candy eyes and sprinkles while the chocolate is still wet. Waiting too long could lead to decorations not adhering properly.
-
Storage Solution: To maintain freshness, keep decorated cookies in an airtight container at room temperature for up to a week. This will help preserve their delightful crunch.
-
Add a Sparkle: Consider using edible glitter or colored nonpareils as an extra decorative touch for your Halloween Oreo treats, making them even more enticing!
What to Serve with Spooky Halloween Oreos?
Elevate your Halloween festivities with scrumptious sides and treats that perfectly complement these delightful Oreos.
-
Creamy Pumpkin Soup: A warm, velvety soup with autumn spices brings a cozy contrast to sweet Halloween treats. It’s a heartwarming addition to your spooky table!
-
Candy Corn Cupcakes: These playful sweet treats mirror the festive colors of Halloween Oreos, offering a delightful burst of vanilla flavor with each bite.
-
Spooky Cheese Plate: Pair with an assortment of festive cheeses and crackers, creating a savory counterpoint to the sweetness of the Oreos. Add some sliced grapes or apple wedges for fresh elements!
-
Witch’s Brew Punch: Pour up a refreshing, bubbly drink with green sherbet and lemon-lime soda, adding gummy worms and spooky ice cubes to keep the spirit alive.
-
Chocolate-Dipped Fruit: Balance out the richness by serving strawberries or bananas dipped in chocolate. Their natural sweetness enhances the chocolatey goodness of the Oreos.
-
Ghostly Meringues: These airy confections will charm your guests! Their lightness pairs beautifully with the rich texture of Halloween Oreos, creating a delightful contrast.
-
Cinnamon Sugar Tortilla Chips: Crunchy, sweet, and just a tad savory, these chips are perfect for dipping into pumpkin spice or chocolate dipping sauces. They add a lovely texture variation!
-
Festive Hot Chocolate: Serve a cup of rich hot cocoa topped with whipped cream and sprinkles for a comforting drink that pairs wonderfully with the crunchy cookies.
Create a Halloween spread that unites sweetness, warmth, and creativity, making your gathering unforgettable!
Make Ahead Options
These Halloween Oreo Treats are perfect for busy home cooks looking to save time during the festive season! You can prepare the coated Oreos up to 3 days in advance. Simply decorate and dip your Oreo cookies in melted chocolate, then allow them to set completely. Once hardened, store the cookies in an airtight container at room temperature to keep them fresh and tasty. When you’re ready to serve, there’s no need to stress; simply present your spooky creations or package them into treat bags. With a little planning, you’ll have delicious Halloween treats that are just as festive and delightful, ready to charm your guests!
Halloween Oreo Treats Variations & Substitutions
Let your creativity flow as you customize your Halloween Oreo Treats, enhancing flavors and personalizing the fun!
-
Flavored Oreos: Swap in peanut butter or pumpkin spice Oreos for a seasonal twist. The unique flavors create a delectable surprise that will delight your taste buds.
-
Chocolate Options: Instead of white chocolate, try milk or dark chocolate for coating. Each option offers its own distinctive taste, turning your treats into a chocoholic’s dream!
-
Themed Sprinkles: Use Halloween-shaped sprinkles or colored nonpareils to amp up the festive spirit. Just a sprinkle can add a touch of magic to each cookie, making them irresistibly cute.
-
Nutty Crunch: Incorporate crushed nuts like almonds or hazelnuts into the coating for added texture. The crunch will complement the smooth chocolate beautifully, making each bite more satisfying.
-
Spicy Kick: Add a pinch of cayenne pepper to your chocolate for a surprising hint of heat. The contrast between sweet and spicy will intrigue your guests, leaving them wanting more!
-
Decorative Drizzle: Drizzle contrasting colors of chocolate over your coated cookies for a stunning final touch. This simple step elevates the appearance and makes your treats look professionally made.
-
Candy Variations: Substitute candy eyes with mini marshmallows or gummy candies for different characters. Each choice brings a new fun element to your festive treats.
-
Flavor Extracts: Enhance the chocolate with a few drops of vanilla or peppermint extract for a burst of flavor. The subtle twist can transform your Halloween Oreo Treats into something completely unique.
With these variations, you’ll have so many ways to enjoy your spooky creations. Why not explore recipes like our delightful Breakfast Granola Cups or mix up the flavors with some homemade, flavored options? Happy baking!

Halloween Oreo Treats Recipe FAQs
What type of Oreo cookies should I use for the Halloween Oreos?
Absolutely! Traditional Oreo cookies are perfect for this recipe, as their classic chocolate wafer crunch complements the rich chocolate coating beautifully. However, you can also get creative and swap them for flavored variants like peanut butter or pumpkin spice cream-filled Oreos for a fun twist!
How do I store Halloween Oreo treats?
To keep your decorated Halloween Oreo treats fresh, store them in an airtight container at room temperature for up to one week. If you prefer to refrigerate them, they’ll last about two weeks, but be sure to use a sealed container to avoid moisture. Enjoy them cold or at room temperature for the best flavor!
Can I freeze Halloween Oreo treats?
Yes, you can absolutely freeze your Halloween Oreo treats! Place them in a single layer in a freezer-safe container lined with parchment paper. They can be stored for up to three months. When you’re ready to enjoy them, simply thaw at room temperature for a few minutes—they’ll taste just as delightful as when they were freshly made!
What if my chocolate coating isn’t smooth?
If your chocolate coating is not smooth, it might be due to overheating or using chocolate that is not suitable for melting. To remedy this, melt the chocolate slowly in 30-second intervals, stirring gently after each time. If your chocolate has seized, try adding a small amount of coconut oil to it and reheating carefully until it regains a smoother texture.
Are there any allergy considerations for Halloween Oreo treats?
Very! When making Halloween Oreo treats, be mindful of allergies, especially if you’re sharing them. Oreos do contain wheat, and the chocolate melts may contain dairy, so check ingredient labels. For a dairy-free option, look for dairy-free Chocolate Melts or consider using dark chocolate that is dairy-free. Always inform guests of potential allergens to keep celebrations safe and enjoyable!
How long does it take for the chocolate coating to harden?
Let your cookies set at room temperature for about 15 minutes, or you can refrigerate them to speed up the process. They’re ready when the chocolate coating has formed a firm shell, perfectly sealing in the Oreo crunch. Just be careful not to let them sit too long in the fridge, as it can cause the cookies to become too hard!
Get ready to enjoy these delightful Halloween Oreo treats, and don’t forget to share the spooky fun with your family and friends!
Delightful Halloween Oreo Treats to Enchant Your Celebration
Ingredients
Equipment
Method
- Gather all ingredients and line a baking sheet with parchment paper.
- Melt white chocolate melts in a microwave-safe bowl in 30-second intervals.
- Divide melted chocolate and mix in gel food coloring as desired.
- Dip Oreo cookies in the melted chocolate and place them on the prepared baking sheet.
- Add candy eyes and sprinkles to each coated Oreo while the chocolate is still wet.
- Allow the treats to set at room temperature for about 15 minutes.
- Transfer the cooled treats to a festive platter or pack them into treat bags.
Leave a Reply