
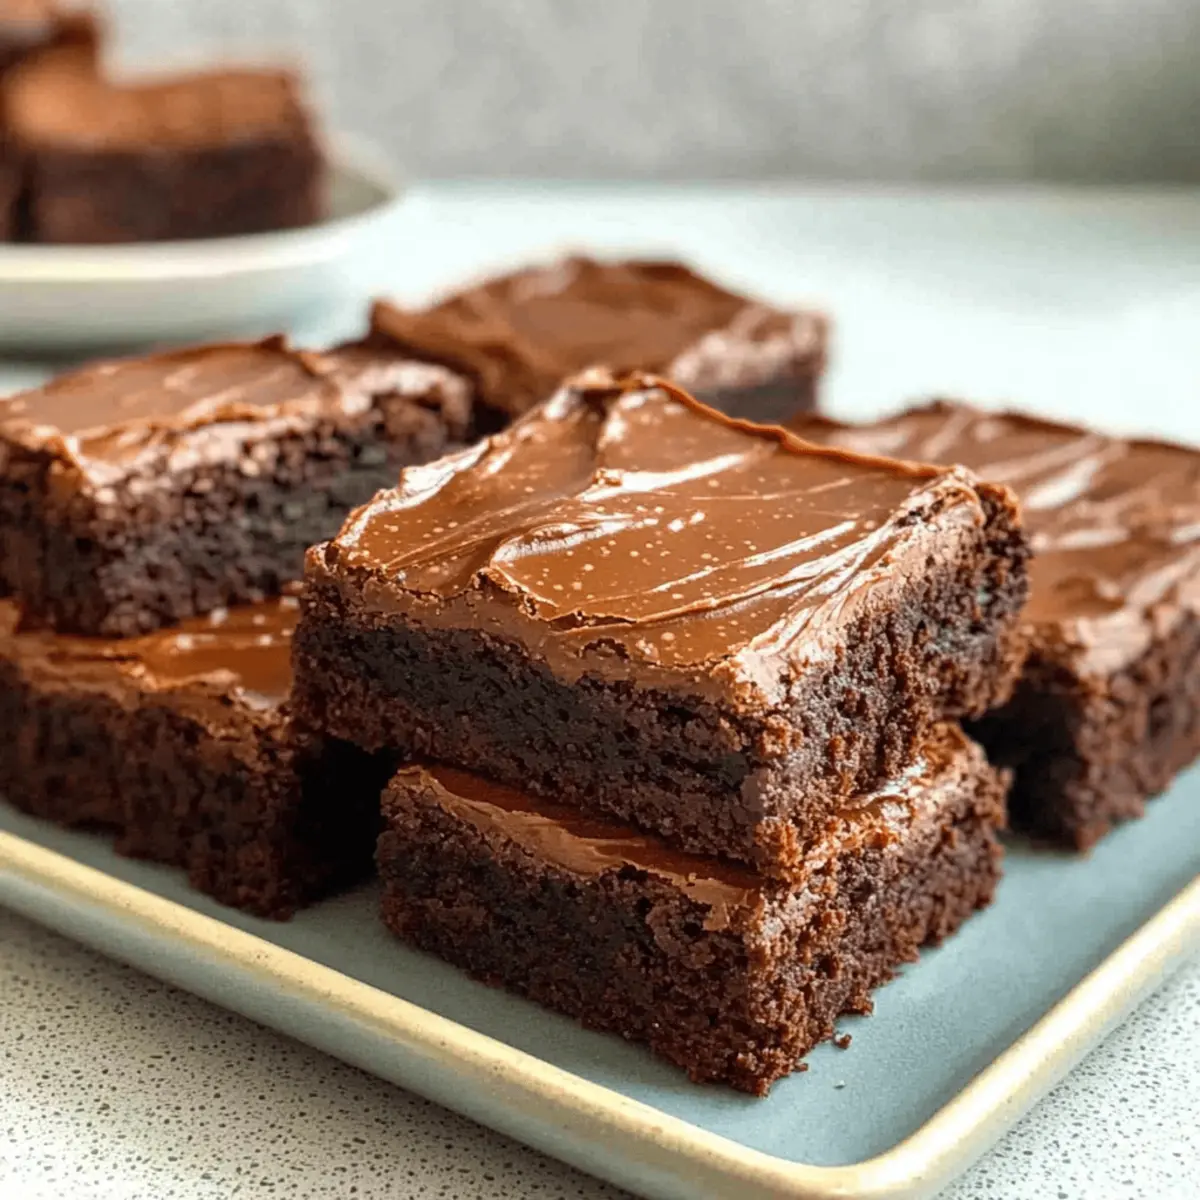
As I stood in my kitchen, the scent of melted chocolate and butter wafted through the air, instantly transporting me back to childhood memories of indulging in Little Debbie brownies. These Gluten-Free Little Debbie Brownies capture that nostalgic delight without the gluten, proving that dietary restrictions don’t mean sacrificing flavor or fun. With their rich, fudgy texture and velvety chocolate fudge frosting, they are not just a treat; they are a comforting hug wrapped in sweetness. Plus, this simple recipe comes together in no time—perfect for when cravings strike! Whether you’re a seasoned baker or just starting out, these brownies promise to deliver a slice of bliss that everyone can enjoy. Curious how to whip up this deliciousness in your own kitchen? Let’s dive into the recipe!
Why are these brownies so irresistible?
Nostalgia at its peak: These Gluten-Free Little Debbie Brownies transport you back to your childhood with every bite.
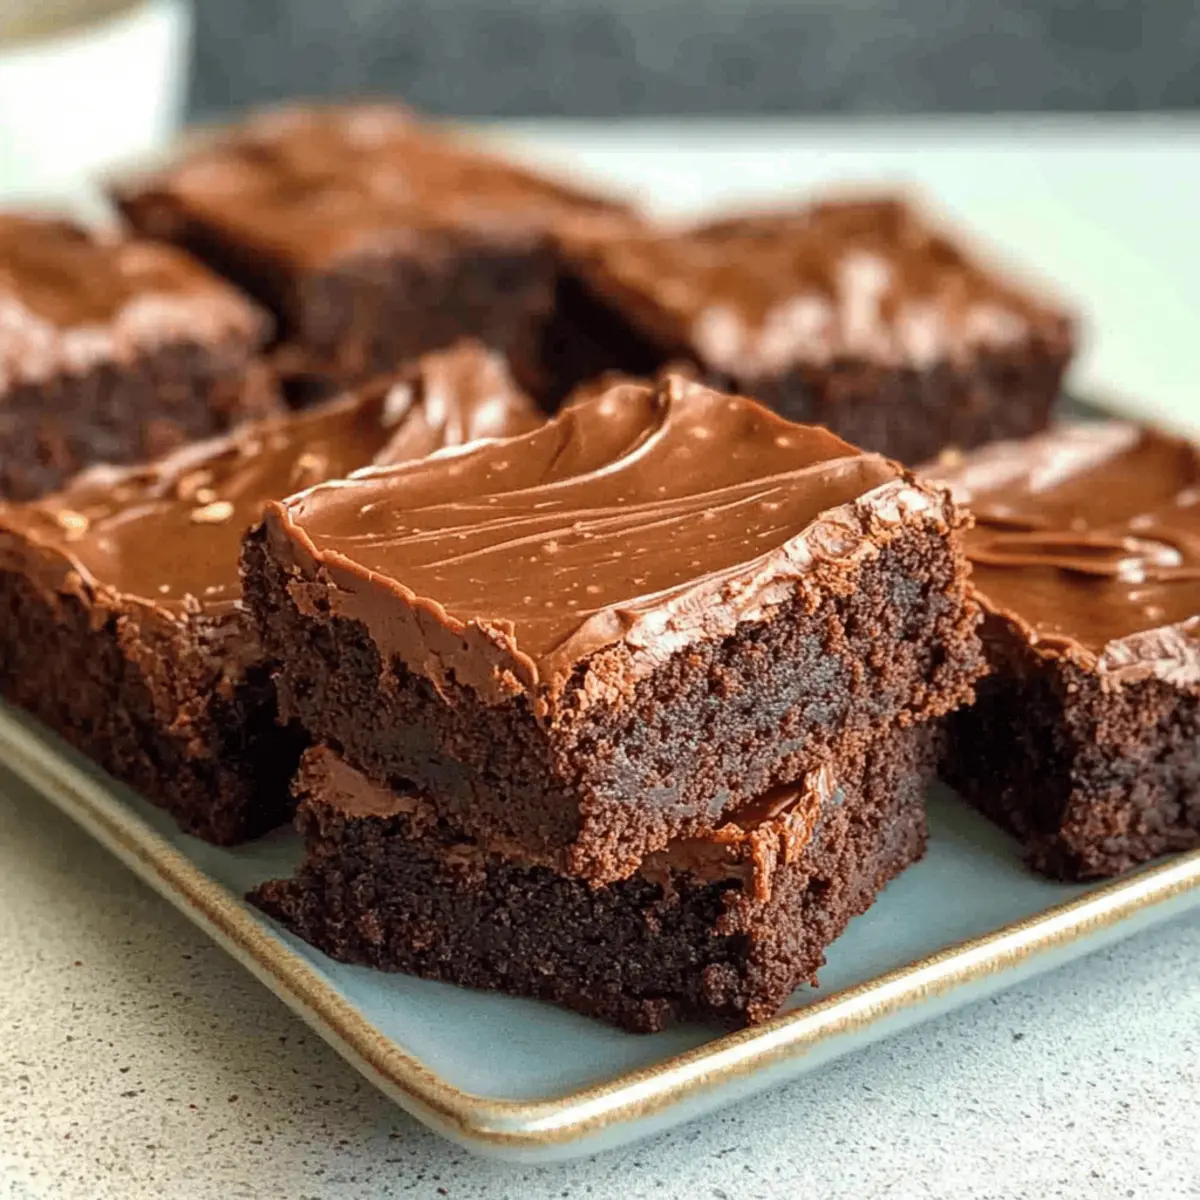
Fudgy texture like no other: The rich, gooey consistency mimics the original, ensuring you won’t miss the gluten.
Easy preparation means quick satisfaction: With just a handful of ingredients, you can whip these up in no time!
Crowd pleaser guaranteed: Perfect for gatherings, they’ll have everyone asking for seconds—or thirds!
Versatile delight: Whether you enjoy them plain or topped with ice cream, the options are endless. Dive into this delicious homemade treat today!
Gluten-Free Little Debbie Brownies Ingredients
• Whipping up these delightful brownies is a breeze with the right ingredients!
For the Brownies
- Gluten-Free All-Purpose Flour – Provides essential structure; use a blend with xanthan gum for optimal texture.
- Cocoa Powder – Adds that deep chocolate flavor; unsweetened cocoa is best for richness.
- Granulated Sugar – Sweetens and balances bitterness; don’t skimp!
- Brown Sugar – Keeps the brownies moist and adds a caramel-like flavor.
- Butter – Brings richness to the mix; substitute with vegan butter for a dairy-free version.
- Eggs – Essential for structure; can replace with a flax egg if you’re going vegan.
- Buttermilk – Adds moisture and a delightful tang; regular milk with lemon juice works too.
- Vanilla Extract – Enhances overall flavor; pure extract earns you extra points in deliciousness.
- Chocolate Chips (optional) – For chewy bites of extra chocolate; feel free to swap in nuts if you prefer!
Now that you have everything you need, get ready to bake some mouthwatering Gluten-Free Little Debbie Brownies that will truly wow your taste buds!
Step‑by‑Step Instructions for Gluten-Free Little Debbie Brownies
Step 1: Preheat the Oven
Begin by preheating your oven to 350°F (175°C). While the oven heats up, take an 8×8-inch baking pan and grease it with butter or cooking spray. This ensures that your Gluten-Free Little Debbie Brownies will release easily once baked, creating a lovely, clean edge.
Step 2: Combine Dry Ingredients
In a large mixing bowl, combine the gluten-free all-purpose flour, cocoa powder, granulated sugar, and brown sugar. Whisk these dry ingredients together until evenly blended, ensuring there are no lumps. This dry mixture sets the foundation for your rich brownie batter, so take your time to mix thoroughly.
Step 3: Prepare the Wet Mixture
Melt the butter in a microwave-safe bowl or on the stovetop, then let it cool slightly. In another bowl, combine the melted butter with eggs, buttermilk, and vanilla extract. Whisk them together until smooth and well blended. This luscious wet mixture will bring moisture and richness to your Gluten-Free Little Debbie Brownies.
Step 4: Mix Wet and Dry Ingredients
Pour the wet mixture into the bowl with the dry ingredients. Stir gently with a spatula or wooden spoon until just combined, being careful not to overmix. If you’d like, fold in chocolate chips for added texture and flavor. This step creates the delectable brownie batter that will soon transform into a sweet treat.
Step 5: Bake the Brownies
Spread the batter evenly into the prepared baking pan, using a spatula to smooth the top if needed. Place the pan in your preheated oven and bake for 25-30 minutes. Check for doneness by inserting a toothpick in the center; it should come out with a few moist crumbs. This ensures your brownies will be perfectly fudgy!
Step 6: Cool the Brownies
Once baked, remove the brownies from the oven and allow them to cool in the pan for about 10-15 minutes. Then transfer them to a wire rack to cool completely. This step is essential as it allows the brownies to set, making them easier to cut and frost later with your favorite chocolate fudge icing.
Gluten-Free Little Debbie Brownies Variations
Feel free to customize these brownies to suit your cravings and dietary needs!
- Nutty Delight: Add ½ cup of chopped walnuts or pecans to the batter for an added crunch that elevates every bite. These brownies transform into a nutty treat that pairs beautifully with chocolate!
- Vegan Version: Substitute the eggs with a flax egg (1 tablespoon of ground flaxseed mixed with 3 tablespoons of water) to create a scrumptious vegan treat. It won’t compromise on the fudgy goodness either!
- Extra Chocolate: For those who crave more chocolate, swap in chocolate chunks for the chips to make these brownies even richer. The melty chocolate pieces create pockets of gooey sweetness!
- Minty Fresh: Add ½ teaspoon of peppermint extract to the batter for a refreshing twist that brings a delightful coolness to your brownies. Pair with a scoop of vanilla ice cream for an unforgettable dessert.
- Spicy Kick: Stir in a pinch of cayenne pepper or chili powder for an unexpected heat that contrasts nicely with the sweetness. This daring twist will make your taste buds dance!
- Frosting Variations: Experiment with different frostings—try a cream cheese or peanut butter frosting for a unique flavor profile. These variations can turn your classic brownies into something truly special.
- Fruit Medley: Mix in ½ cup of dried cherries or raspberries for a fruity surprise. The tangy sweetness balances perfectly with the rich chocolate, creating a lovely symphony of flavors!
- Coconut Bliss: Add shredded coconut to the batter for a tropical twist—a wonderful way to add texture and subtle sweetness! It creates a distinct profile that sets these brownies apart.
Embrace your creativity and enjoy making these Gluten-Free Little Debbie Brownies your own culinary masterpiece!
Expert Tips for Gluten-Free Little Debbie Brownies
- Watch the Time: Check brownies at 25 minutes to prevent overbaking; gooey, fudgy brownies are best!
- Measure Wisely: Use a kitchen scale for accurate measurements of gluten-free flour to avoid density issues.
- Mix Gently: Don’t overmix once you combine wet and dry ingredients; this keeps your brownies tender and soft.
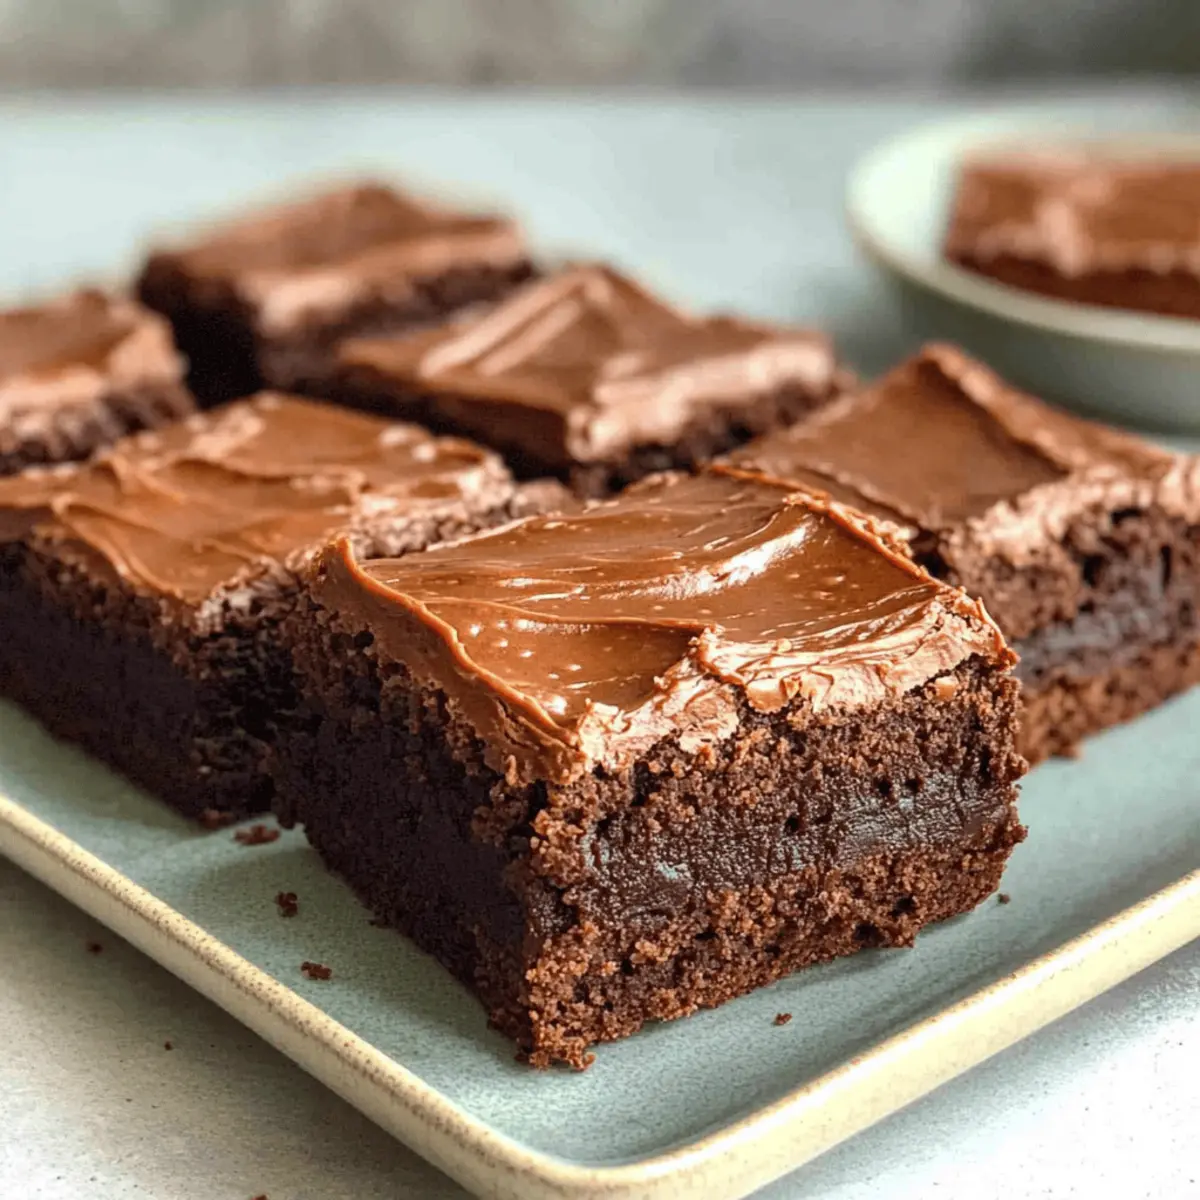
- Cool Completely: Allow brownies to cool fully before frosting; this prevents the icing from melting into the batter.
- Frosting Thickness: If your chocolate fudge frosting is too thick, add a splash of milk to reach the ideal consistency.
Feel confident in your baking with these tips for creating the perfect Gluten-Free Little Debbie Brownies!
Make Ahead Options
These Gluten-Free Little Debbie Brownies are perfect for meal prep enthusiasts! You can prepare the batter up to 24 hours in advance by mixing the dry ingredients and storing them in an airtight container. Then, refrigerate the prepared wet mixture (butter, eggs, buttermilk, and vanilla) separately. To maintain quality, keep the wet ingredients covered to prevent drying out. When you’re ready to bake, simply combine the wet and dry ingredients, pour into the baking pan, and follow the usual baking instructions. This way, you’ll have warm, fudgy brownies ready in no time, making busy weeknights feel like a treat!
What to Serve with Gluten-Free Little Debbie Brownies
Elevate your dessert experience with delightful pairings that complement the rich and fudgy flavors of these heavenly brownies.
- Vanilla Ice Cream: The creamy, cold scoop perfectly contrasts the warm, fudgy brownies, creating a blissful taste sensation.
- Fresh Berries: Bright strawberries or raspberries add a touch of tartness that beautifully balances the rich chocolate sweetness. A sprinkle of powdered sugar on top enhances the presentation and taste!
- Chocolate Sauce: Drizzle warm chocolate sauce over the brownies for an indulgent touch that’s extra dreamy and decadent.
- Whipped Cream: Light and fluffy, homemade whipped cream adds a luscious texture that melts delightfully with the brownie’s fudgy nature.
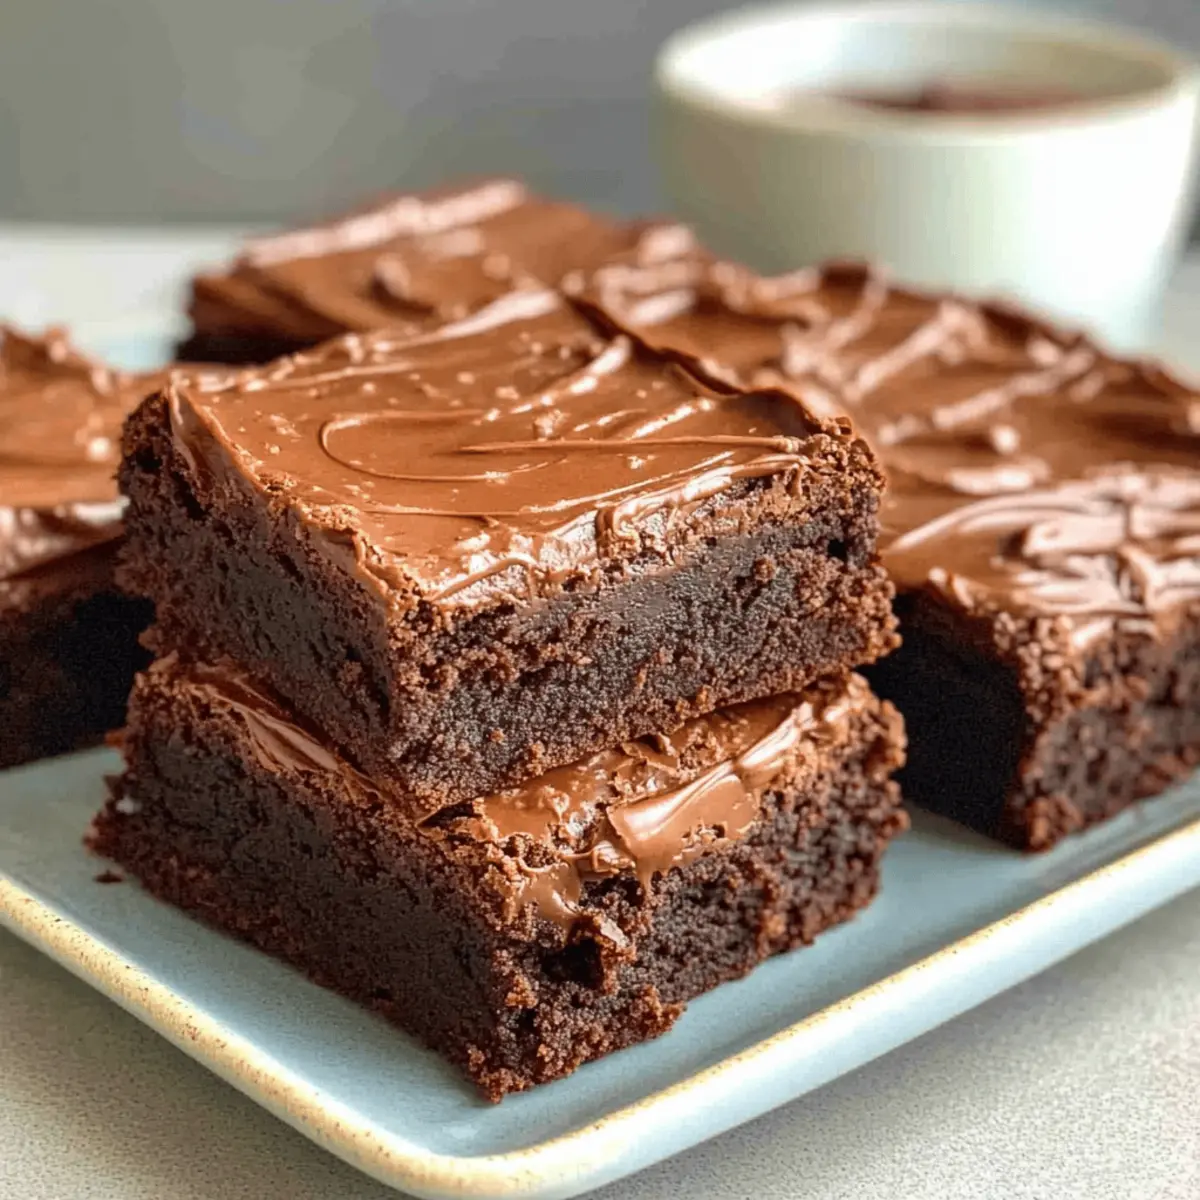
- Coffee or Espresso: The rich, bold flavors of coffee enhance chocolate notes while providing a cozy opportunity to savor each bite slowly.
- Warm Milk: A comforting glass of warm milk brings back childhood memories of enjoying sweets, perfect for dipping!
- Caramel Sauce: Drizzle some sweet caramel over the top for added flavor complexity, giving a lovely contrast to the chocolate.
- Nutty Trail Mix: A crunchy mix can provide a delightful textural contrast; consider adding roasted nuts or toasted coconut for a fun twist!
- Milkshake: Blend chocolate or vanilla ice cream with milk to create a thick shake that echoes the brownies’ flavor while being refreshingly delightful.
Storage Tips for Gluten-Free Little Debbie Brownies
Room Temperature: Store brownies in an airtight container at room temperature for up to 3 days to maintain their fudgy texture and flavor.
Fridge: For extended freshness, refrigerate your brownies for up to 1 week. Just ensure they are tightly wrapped to prevent drying out.
Freezer: Freeze brownies by wrapping them individually in plastic wrap and placing them in a freezer-safe bag. They can be stored for up to 2 months.
Reheating: To enjoy the brownies warm, reheat in the microwave for about 10-15 seconds. The rich, chocolatey flavor of these Gluten-Free Little Debbie Brownies will be just as delightful!
Gluten-Free Little Debbie Brownies Recipe FAQs
How can I choose the right gluten-free flour for this recipe?
Absolutely! For best results, I recommend using a gluten-free all-purpose flour blend that includes xanthan gum. This addition helps replicate the stretchy texture of gluten. Brands like Bob’s Red Mill or King Arthur Flour offer great options that perform well in baked goods.
How should I store my brownies for maximum freshness?
To keep your Gluten-Free Little Debbie Brownies fresh, store them in an airtight container at room temperature for up to 3 days. For longer shelf life, you can refrigerate them for up to 1 week. Just ensure they’re well-wrapped to prevent them from drying out.
Can I freeze the brownies, and if so, how?
Absolutely! You can freeze your brownies for up to 2 months. Here’s how: wrap each brownie individually in plastic wrap and then place them in a freezer-safe bag. When you’re ready to enjoy them, thaw them in the fridge overnight or microwave them on low for about 10-15 seconds for a warm treat!
What if my brownies are too dry or crumbly?
If you find your brownies have turned out dry or crumbly, it might be due to overbaking. Always check for doneness around the 25-minute mark. For future bakes, try measuring flour more accurately; using a kitchen scale can help. If they do happen to be dry, serve them warm with a scoop of ice cream to add moisture!
Are there any allergy considerations for this recipe?
Definitely! Make sure to use certified gluten-free ingredients if you or someone you’re serving has celiac disease or gluten sensitivity. For dairy-free options, simply substitute the butter with vegan butter and use almond or soy milk in place of buttermilk. This way, everyone can safely enjoy this nostalgic treat!
Can I make these brownies egg-free?
Yes! To make the brownies egg-free, you can substitute each egg with a flax egg by mixing 1 tablespoon of ground flaxseed with 3 tablespoons of water. Allow it to sit for about 5 minutes until it becomes gelatinous before adding it to your wet ingredients. This is a great way to maintain the texture of your gluten-free brownies!
Nostalgic Gluten-Free Little Debbie Brownies That Wow!
Ingredients
Equipment
Method
- Preheat your oven to 350°F (175°C) and grease an 8x8-inch baking pan.
- In a large bowl, combine gluten-free flour, cocoa powder, granulated sugar, and brown sugar. Whisk until evenly blended.
- Melt the butter and let it cool. In another bowl, mix melted butter with eggs, buttermilk, and vanilla. Whisk until smooth.
- Pour the wet mixture into the dry ingredients. Stir gently until combined, folding in chocolate chips if desired.
- Spread the batter in the prepared baking pan and bake for 25-30 minutes; check doneness with a toothpick.
- Allow the brownies to cool in the pan for 10-15 minutes, then transfer to a wire rack to cool completely.
Leave a Reply