
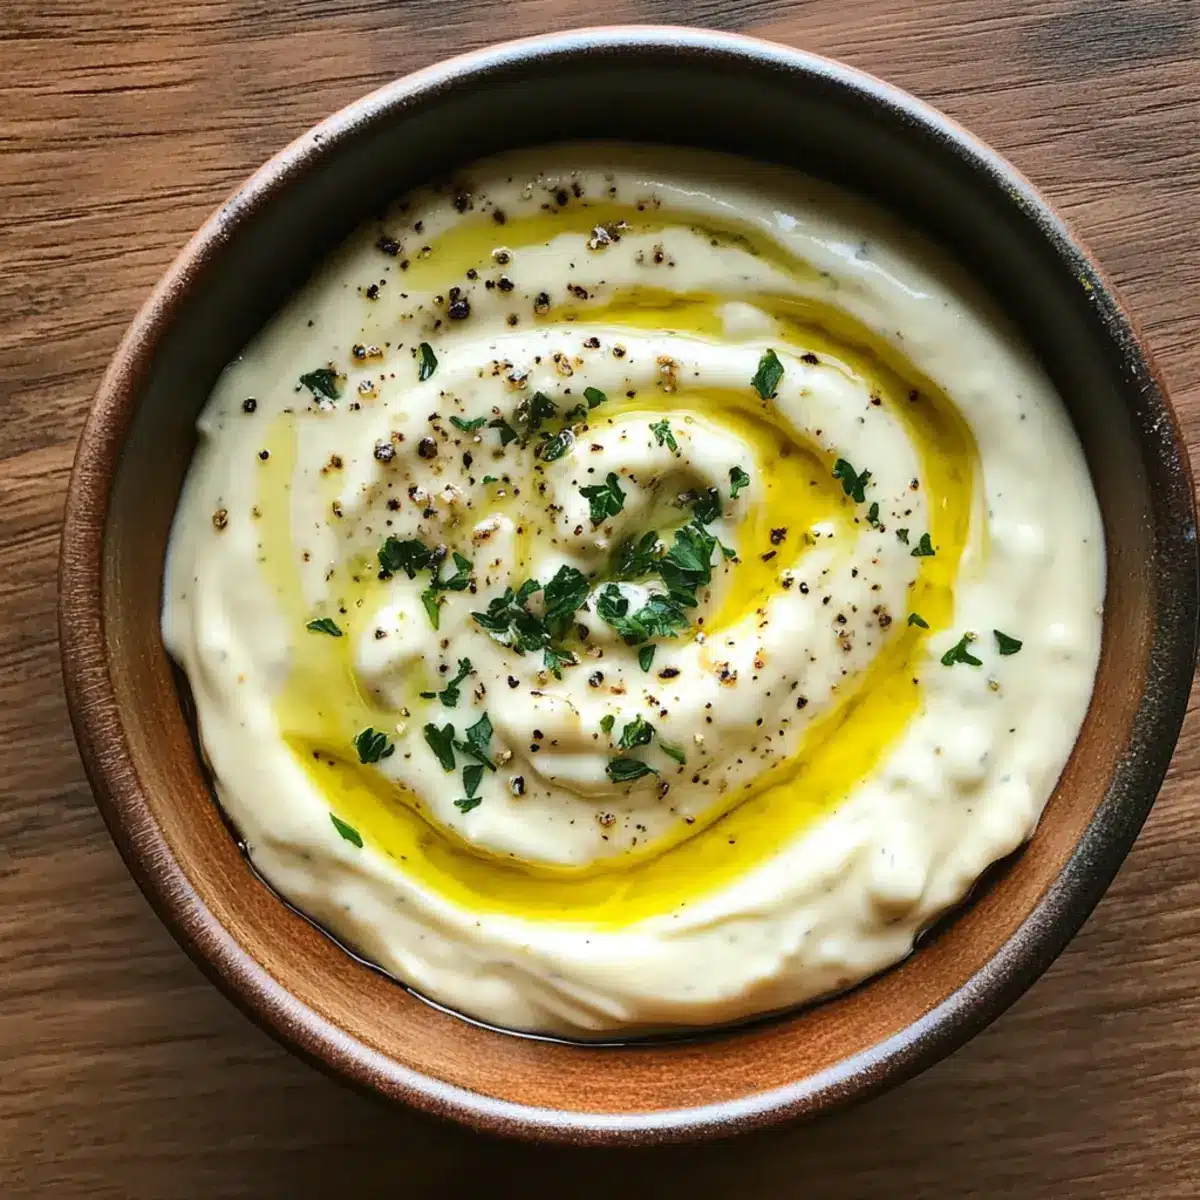
As I whisk the creamy mixture of mayo and fresh garlic, the aroma fills my kitchen, instantly transporting me to my favorite bistro where the garlic aioli flows as freely as the conversations. This Quick & Creamy Garlic Aioli is more than just a condiment; it’s a secret weapon for elevating everyday dishes. With just six simple ingredients and minimal chilling time, it transforms simple fries and sandwiches into gourmet delights. Perfect for quick meals or sharing with friends, this sauce not only saves you from fast food woes but adds a homemade touch to your table that’s hard to resist. Ready to swap store-bought for something special? Let’s dive into the recipe!
Why Is Garlic Aioli a Must-Try?
Irresistible flavor: This Garlic Aioli is packed with a rich, creamy taste that’s sure to elevate any dish! Versatile use: Perfect for dipping crispy fries, slathering on sandwiches, or brightening up grilled meats. Quick preparation: With just six ingredients and minimal effort, you’ll whip this up in no time. Fresh ingredients: Using freshly grated garlic and lemon juice ensures incredible flavor that supermarket versions can’t match! For more delicious garlic-inspired recipes, check out my Garlic Butter Steak or Garlic Chicken Gnocchi Skillet. This aioli is not just a condiment; it’s the tasty addition your meals have been missing!
Garlic Aioli Ingredients
- For the Aioli
- Mayonnaise – The creamy base that provides a rich texture; opt for high-quality brands like Hellman’s for the best result.
- Garlic – Fresh and grated is a must for maximum flavor; avoid substitutes as they can’t replicate the authentic taste.
- Fresh Lemon Juice – Adds a zesty tang; always choose freshly squeezed for the brightest flavor.
- Salt – Essential for enhancing all the natural flavors; feel free to adjust to your taste.
- Sugar – Balances the flavors and adds a touch of sweetness; can be left out if you prefer less sweetness.
- Ground Black Pepper – Provides a gentle kick; adjust to your heat preference, or substitute with cayenne for extra spice.
- Garlic Powder – Offers an added layer of garlic flavor; ensure it’s fresh for the best results.
This Garlic Aioli will become your go-to sauce, perfect for adding a delicious homemade touch to your meals!
Step‑by‑Step Instructions for Garlic Aioli
Step 1: Combine Ingredients
In a medium bowl, add 1 cup of high-quality mayonnaise, 2 cloves of freshly grated garlic, 1 tablespoon of freshly squeezed lemon juice, a pinch of salt, a teaspoon of sugar, and ¼ teaspoon of ground black pepper. For an extra layer of flavor, add ¼ teaspoon of garlic powder. Stir gently to mix all the ingredients together, creating a smooth base for your delicious garlic aioli.
Step 2: Whisk Until Smooth
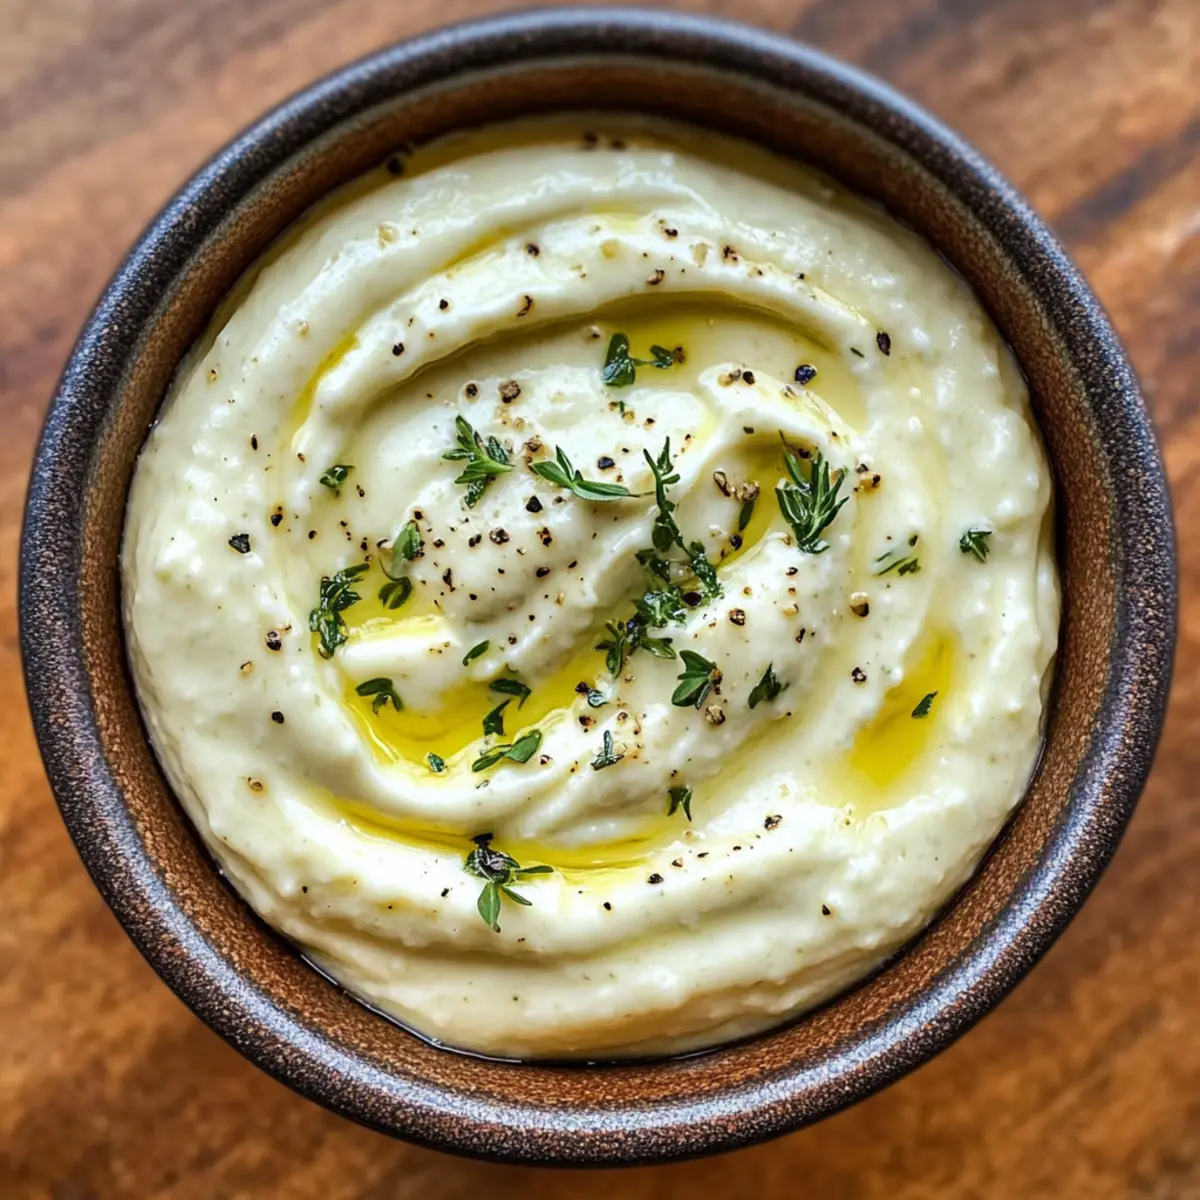
Using a whisk, blend the mixture vigorously for about 30 seconds until all ingredients are completely incorporated and the aioli is creamy and smooth. The consistency should be thick enough to coat the back of a spoon. This is essential for that perfect garlic aioli that will elevate your snacks and sandwiches.
Step 3: Chill to Meld Flavors
Cover the bowl with plastic wrap and refrigerate the garlic aioli for at least 15 minutes. This chilling time allows the flavors to meld beautifully, enhancing the aioli’s taste. You’ll know it’s ready when the garlic aroma fills your kitchen, promising a rich and flavorful condiment that’s perfect for dipping.
Step 4: Serve and Enjoy
After chilling, remove the garlic aioli from the refrigerator and give it a good stir to ensure everything is well mixed again. Serve it either chilled or at room temperature alongside crispy fries, onion rings, or as a luscious spread for sandwiches. Your homemade garlic aioli is ready to impress!
Garlic Aioli Variations & Substitutions
Customize your Garlic Aioli to match your taste buds or dietary preferences with these delightful twists that will make your kitchen adventures even more enjoyable!
-
Spicier Kick: Add a pinch of cayenne pepper for a fiery twist. This will amp up the heat without overpowering the garlic flavor, giving your aioli an exciting southern kick!
-
Greek Yogurt Swirl: Substitute half the mayonnaise with Greek yogurt for a tangy and creamy twist. Not only does it lighten the dish, but it also introduces a refreshing zing perfect for summer BBQs!
-
Fresh Herb Bliss: Blend in some freshly chopped dill or basil to create a vibrant herb aioli. Each bite bursts with freshness, making it a delightful pairing for grilled chicken or seafood.
-
Zesty Citrus Change: Incorporate lime juice instead of lemon for a unique lime twist. This brightens the flavor profile, making it an excellent companion for fish tacos or grilled vegetables.
-
Roasted Garlic: For a sweeter, more mellow flavor, use roasted garlic instead of raw. Roast the garlic cloves at 400°F until they’re soft and caramelized; this gives your aioli a depth of flavor that’s simply irresistible!
-
Smoky Flavor: Add a dash of smoked paprika to lend your aioli an earthy, smoky quality. This pairing works wonders with crispy potatoes or grilled meats, transforming everyday meals into gourmet experiences.
-
Nutty Surprise: Blend in some toasted sesame oil for a rich, nutty undertone. It’s a fantastic accompaniment to Asian-inspired dishes and adds an exotic flair to your garlic aioli.
-
Dark & Bold: Try mixing in some soy sauce or Worcestershire sauce for a umami punch. This savory touch makes for a deliciously unique aioli that pairs perfectly with burgers or as a dip for vegetables.
Feel free to explore these variations and let your creativity shine when making your Garlic Aioli. And if you’re looking for more delicious recipes, don’t miss my Garlic Butter Shrimp or Cheesy Garlic Bread. Happy cooking!
What to Serve with Quick & Creamy Garlic Aioli
Imagine a vibrant meal brimming with crispy textures and burst-of-flavor elements that turn every bite into a celebration!
-
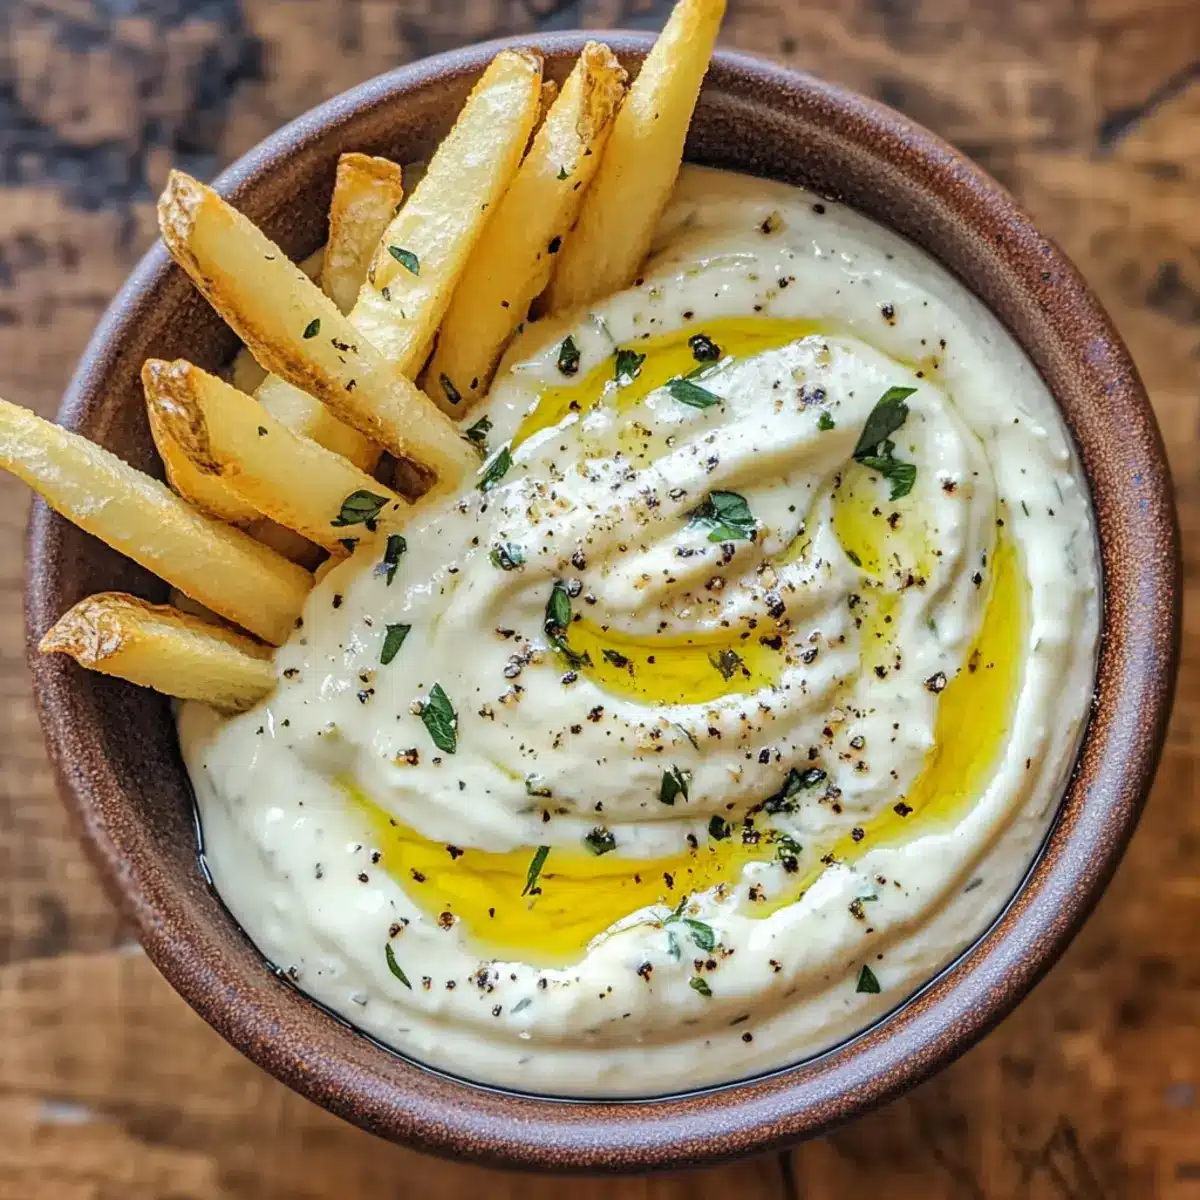
Crispy French Fries: The classic pairing! Their salty crunch perfectly complements the rich, creamy textures of garlic aioli, creating an irresistible duo.
-
Savory Onion Rings: These golden, crispy rings bring a delightful sweetness that pairs beautifully with the garlicky tang of the aioli, enhancing your snacking experience.
-
Grilled Vegetables: Charred zucchini and bell peppers add a smoky depth, while the aioli’s creaminess enhances the veggies’ natural sweetness—making each bite a delight.
-
Fresh Garden Salad: Crisp greens and juicy tomatoes bring a refreshing contrast to the rich garlic aioli, making for a balanced and satisfying meal.
-
Roasted Chicken: The aioli’s tangy flavor elevates simple roasted chicken, creating a gourmet touch that enhances each succulent bite.
-
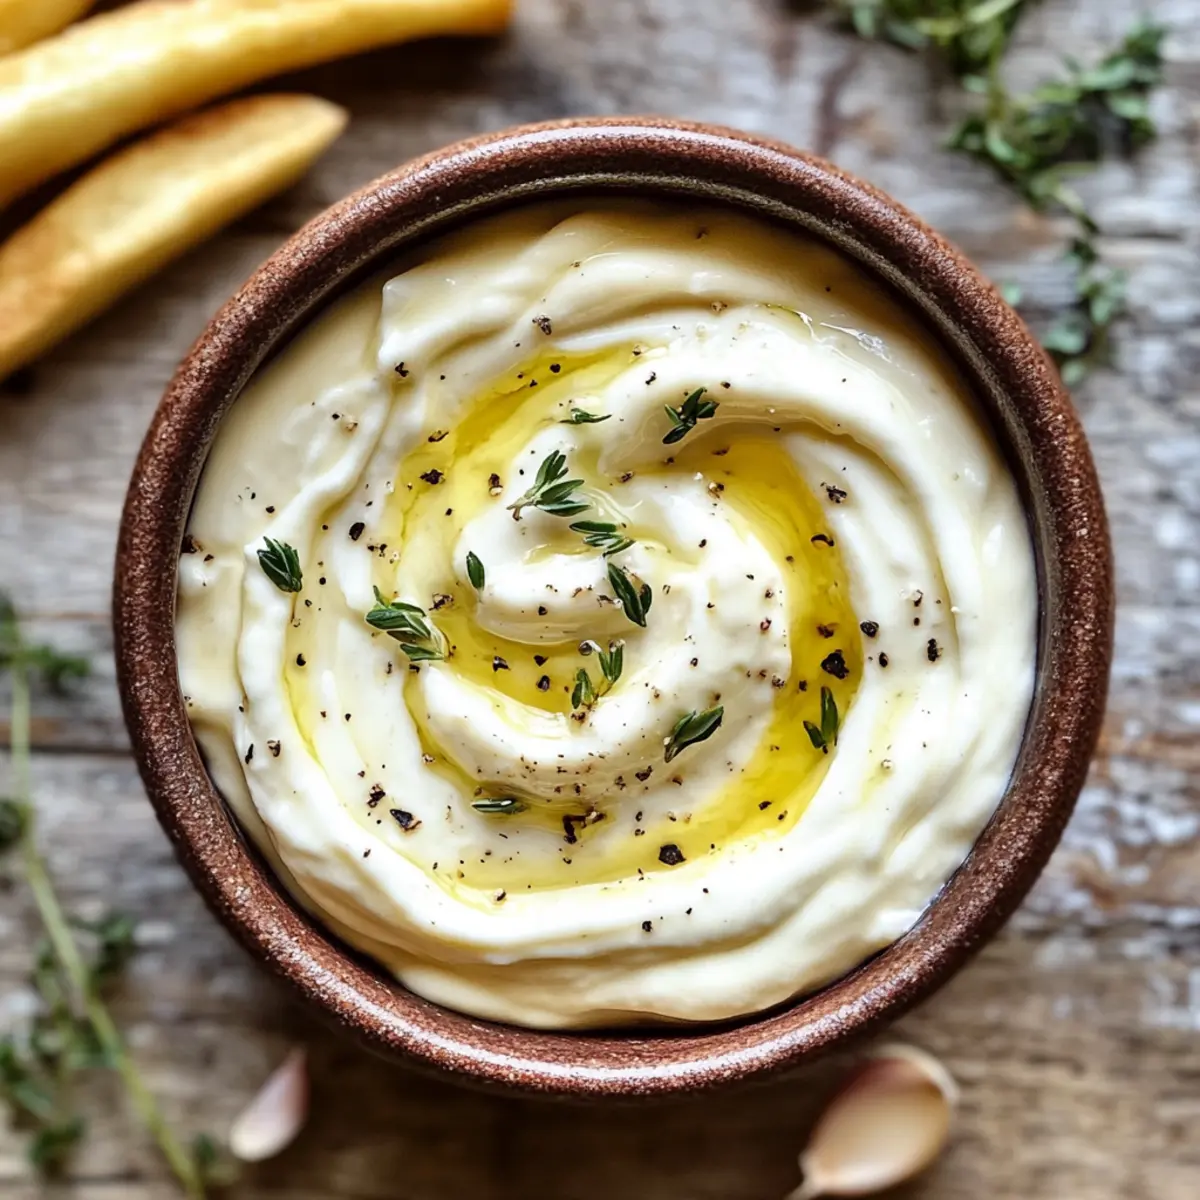
Artisan Bread: Spread this luscious garlic aioli on crusty, warm bread for a delightful appetizer that melts in your mouth.
-
Seafood Dishes: Think shrimp or fish sticks! The aioli elevates the seafood with its creamy texture and zesty flavor, making it a delicious upgrade.
-
Spicy Sweet Potato Fries: The natural sweetness and spice of these fries make the aioli’s garlic notes pop, creating an unforgettable taste adventure.
-
Sparkling Water or Wine: For a refreshing drink, pair with sparkling water infused with lemon, or a crisp white wine that complements the aioli’s flavors and heightens the overall dining experience.
Storage Tips for Garlic Aioli
Fridge: Store your Garlic Aioli in an airtight container for up to 5 days to maintain freshness and flavor.
Room Temperature: Avoid leaving your aioli out for more than 2 hours to prevent bacterial growth. It’s best served chilled or at room temperature.
Freezer: Although not recommended, if you must freeze it, transfer the aioli to a freezer-safe container for up to 1 month. Thaw in the fridge and stir well before serving.
Reheating: If stored, there’s no need to reheat; simply give your Garlic Aioli a good stir before enjoying it again!
Expert Tips for Garlic Aioli
-
Fresh is Best: Using freshly grated garlic is crucial for a bold flavor that elevates your Garlic Aioli. Avoid powdered garlic for the best results.
-
Don’t Skip Chilling: Refrigerate your aioli for at least 15 minutes; this step is essential to allow the flavors to develop and meld together beautifully.
-
Balance Flavors: Use caution with garlic—too much can overwhelm. Aim for a balanced taste that enhances rather than overpowers the sauce.
-
Perfect Consistency: Ensure your aioli is thick enough to coat the back of a spoon. If it’s too thin, you might want to add a little more mayo for that desired thickness.
-
Customize It: Consider adding a pinch of cayenne for a spicy kick or herbs like dill or basil for a fresh twist; this keeps your Garlic Aioli exciting and versatile.
Make Ahead Options
These Garlic Aioli are perfect for busy home cooks wanting to save time during the week! You can combine all the ingredients—1 cup of mayonnaise, 2 cloves of grated garlic, 1 tablespoon of fresh lemon juice, salt, sugar, ground black pepper, and garlic powder—up to 24 hours in advance. Just mix everything in a bowl, cover it tightly, and refrigerate overnight to let the flavors meld beautifully. When you’re ready to serve, give the aioli a quick stir and enjoy it with your favorite snacks or meals. This way, you’ll have a delicious homemade condiment that’s just as fresh and flavorful as if you made it right before serving!
Garlic Aioli Recipe FAQs
What type of garlic is best for this recipe?
Absolutely! For the best flavor, always use fresh garlic. Grate the garlic just before using to ensure the potent aroma is at its peak. Substituting with garlic powder is not recommended, as it won’t provide the same flavor impact that fresh garlic brings to your Garlic Aioli.
How long can I store the Garlic Aioli in the fridge?
You can store your Garlic Aioli in an airtight container in the refrigerator for up to 5 days. Make sure to keep it sealed to prevent it from absorbing any odors in the fridge and to maintain its fresh flavor.
Can Garlic Aioli be frozen?
While it’s not the most ideal for freezing, if you decide to do so, transfer your Garlic Aioli to a freezer-safe container. It can be stored for up to 1 month. When you’re ready to use it, thaw it in the fridge overnight and stir it well to restore its creamy texture.
Why didn’t my Garlic Aioli thicken?
Very! If your Garlic Aioli didn’t thicken well, it could be due to using a lower-fat mayonnaise or not whisking it thoroughly enough. Ensure you’re using a high-quality mayonnaise that’s thicker in consistency. If your aioli is too runny, try adding in a little more mayonnaise until you achieve your desired thickness.
Is Garlic Aioli safe for my pets?
No, it’s best to keep Garlic Aioli away from pets. Ingredients like garlic can be dangerous for dogs and cats, so make sure to enjoy this dip yourself and keep it out of reach of your furry friends!
Can I adjust the flavor if it’s too garlicky?
Absolutely! If your Garlic Aioli turns out stronger than you’d like, here’s a simple fix: mix in additional mayonnaise to balance the flavor. Start with a tablespoon and taste as you go until you reach your preferred level of garlic flavor. Enjoy customizing it to suit your palate!
Creamy Garlic Aioli: Your Ultimate Dip for Flavorful Snacks
Ingredients
Equipment
Method
- In a medium bowl, add mayonnaise, freshly grated garlic, lemon juice, salt, sugar, and ground black pepper. Optionally, add garlic powder. Stir gently to mix all ingredients.
- Using a whisk, blend the mixture vigorously for about 30 seconds until creamy and smooth.
- Cover the bowl with plastic wrap and refrigerate the aioli for at least 15 minutes to allow flavors to meld.
- After chilling, stir the aioli again and serve chilled or at room temperature with snacks or sandwiches.
Leave a Reply