
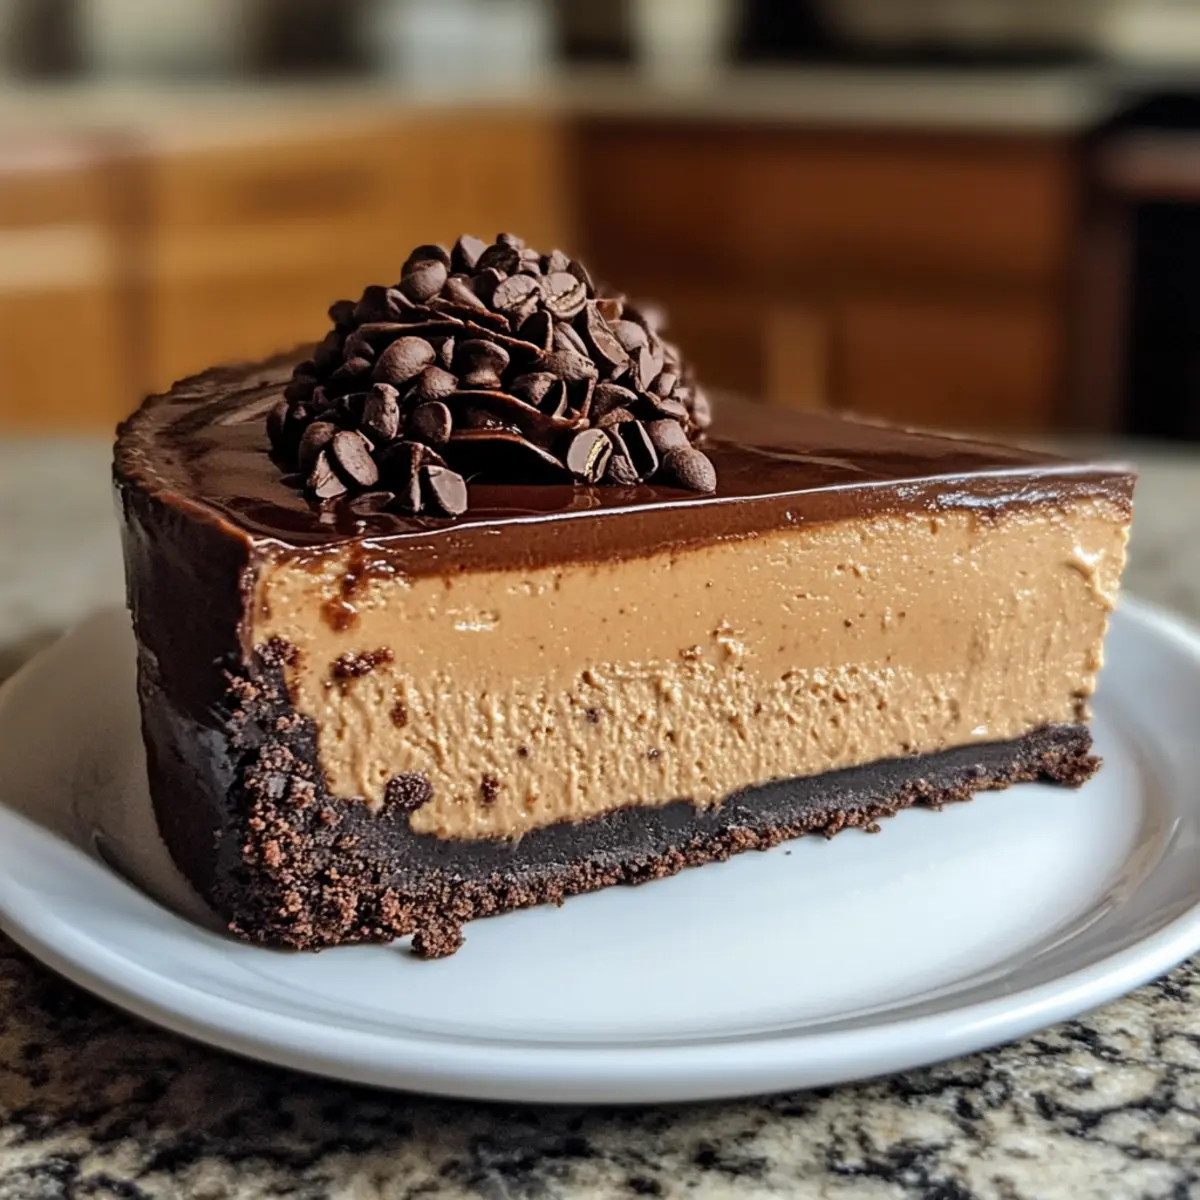
As I stirred the luscious filling for my Espresso Coffee Cheesecake, the scent of freshly brewed espresso wafted through the kitchen, instantly transporting me to my favorite coffee shop. This dessert is more than just a treat; it’s an experience, combining the rich taste of coffee with the silky texture of cream cheese. Perfect for any gathering, this make-ahead delight will impress your guests while keeping your stress levels low, as it requires just a few simple steps. With easy variations like Mocha Cheesecake or Vanilla Latte Cheesecake, it caters to everyone’s palate, and you can even make it gluten-free if you choose. Ready to dive into a slice of heaven? Let’s get baking!
Why is this cheesecake so irresistible?
Indulgent flavors: The Espresso Coffee Cheesecake blends rich coffee notes with velvety cream cheese, making each bite a delightful experience.
Versatile variations: Customize this recipe easily with options like Mocha Cheesecake or Caramel Espresso Cheesecake, ensuring there’s something for everyone.
Effortless elegance: Impress your guests without stress; this make-ahead dessert is simple yet sophisticated, perfect for any occasion.
Gluten-free flexibility: With easy adjustments, you can cater to gluten-free diets without compromising on taste.
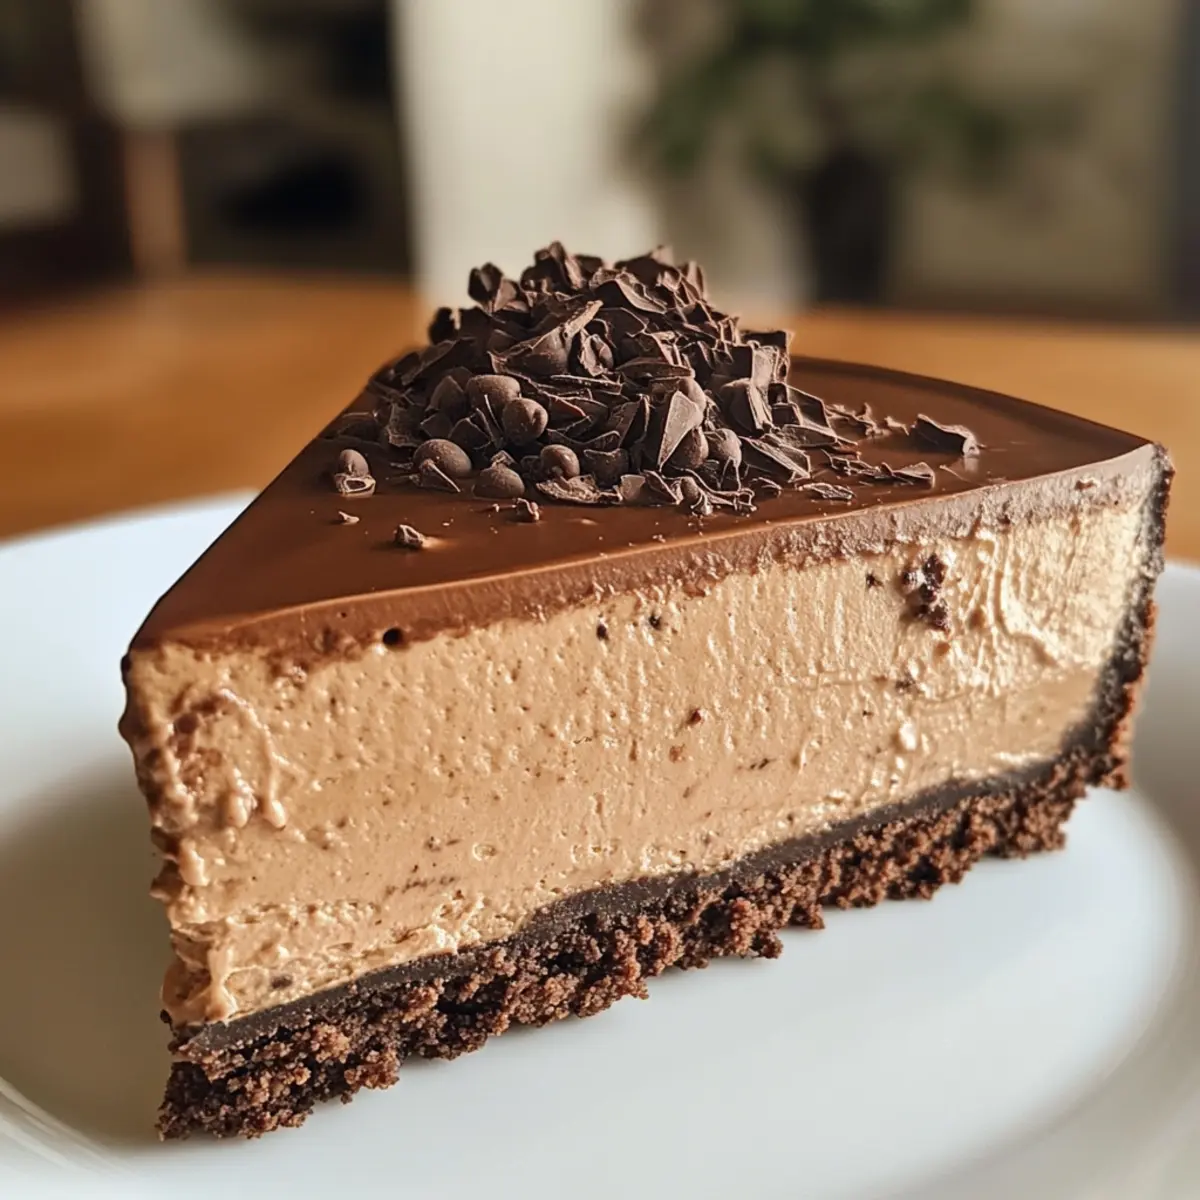
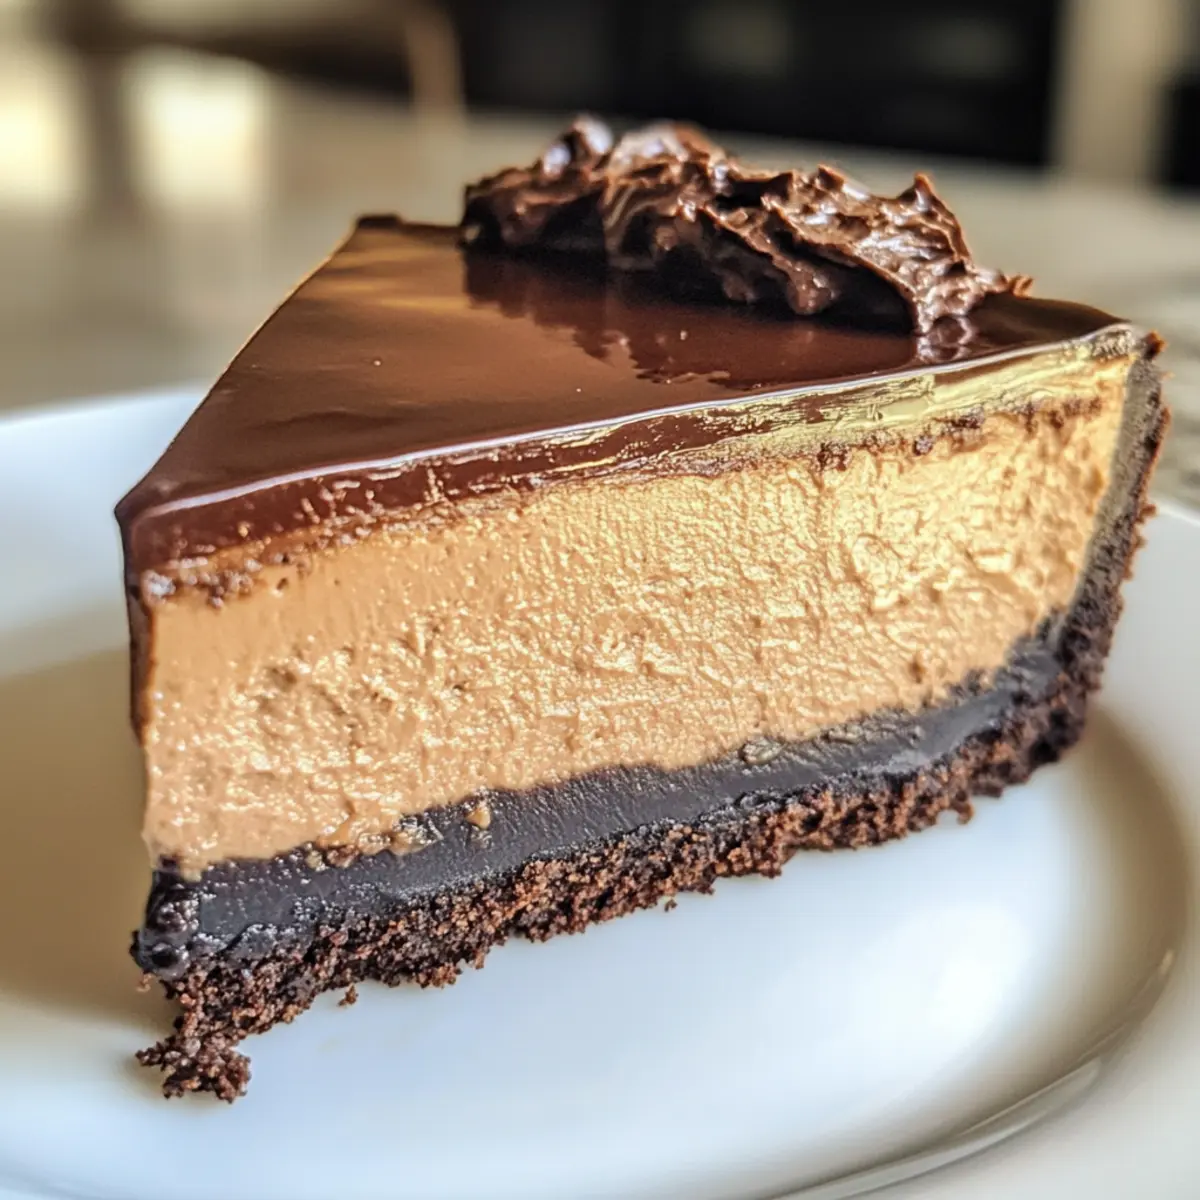
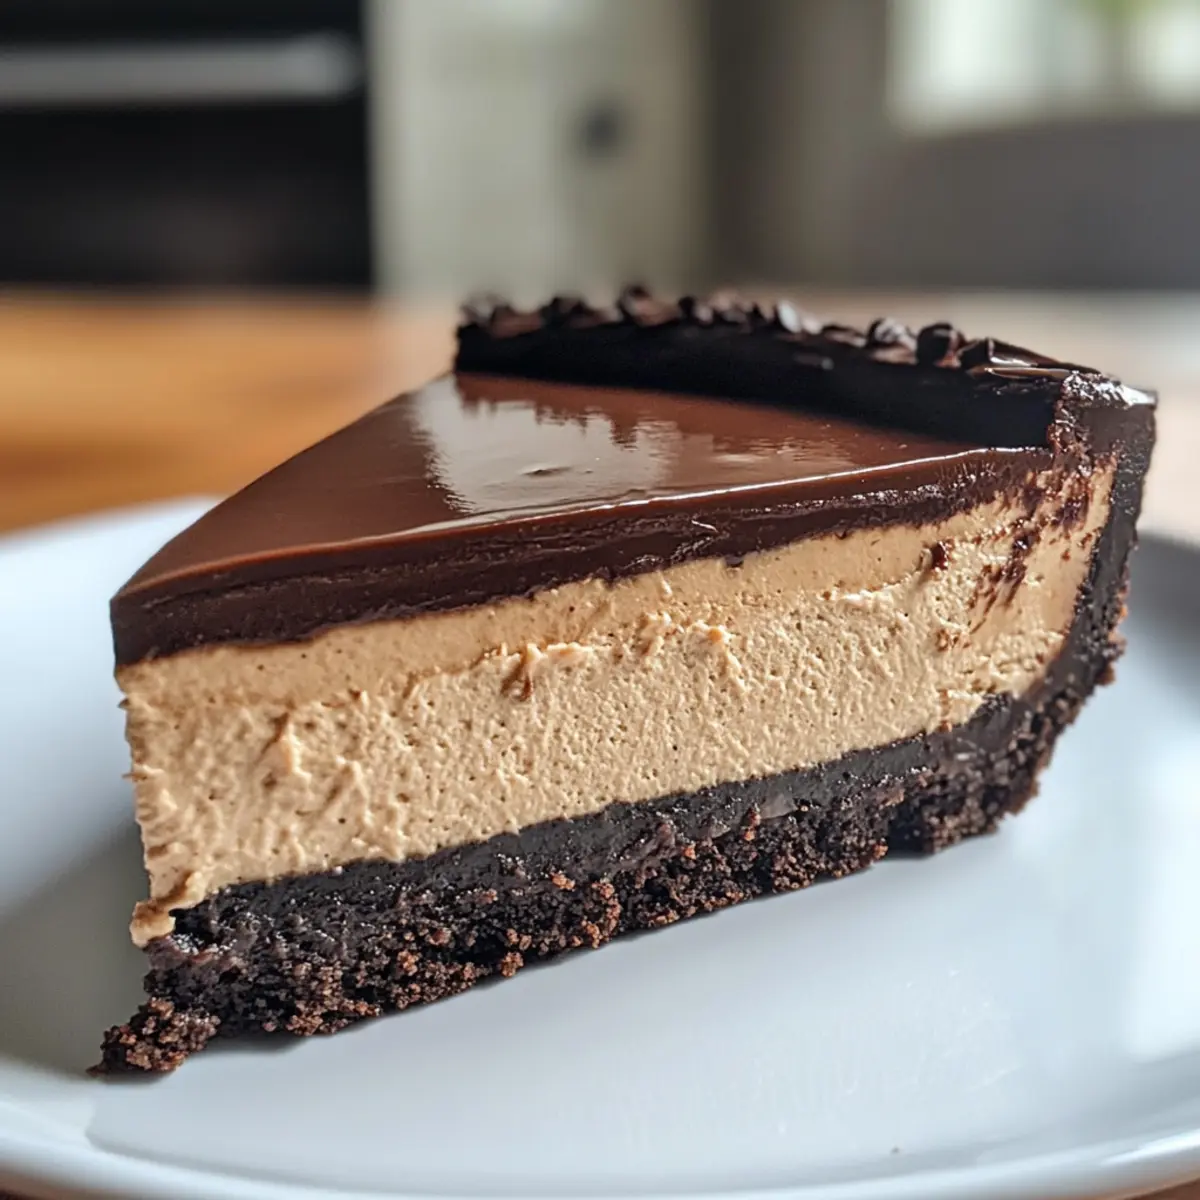
Satisfying texture: Enjoy the heavenly contrast between the crunchy chocolate crust and the creamy filling—it’s a gourmet treat in your own home!
For more delicious coffee-inspired desserts, check out my Vanilla Latte Cheesecake for another crowd pleaser.
Espresso Coffee Cheesecake Ingredients
• Get ready to savor every layer!
For the Crust
- Crushed Chocolate Cookies – Provides a crunchy, rich base for the cheesecake; substitute with gluten-free cookies for a gluten-free option.
- Unsalted Butter – Binds the cookie crumbs together; coconut oil can be used as a dairy-free alternative.
For the Filling
- Cream Cheese – The main ingredient for the cheesecake filling, giving it that creamy texture; be sure it’s at room temperature for best mixing.
- Granulated Sugar – Sweetens the filling beautifully; consider using granulated sugar alternatives for a lower-calorie option.
- Eggs – Essential for structure; use room temperature eggs for better incorporation into the mix.
- Vanilla Extract – Enhances overall flavor; a touch of vanilla bean paste can provide a richer aroma.
- Sour Cream – Adds moisture and tanginess to prevent density; Greek yogurt works as a great substitute.
- Strong Brewed Espresso – Infuses the filling with rich coffee flavor; in a pinch, instant coffee can tide you over.
- All-Purpose Flour – Stabilizes the filling; use almond flour or a gluten-free blend for a gluten-free option.
For the Ganache Topping
- Semi-sweet Chocolate Chips – Used for the chocolate layer; dark chocolate can enhance the richness.
- Heavy Cream – Creates a smooth ganache; half-and-half is a lighter option you can consider.
With these ingredients, you’re just a whisk away from creating a delightful Espresso Coffee Cheesecake that will have everyone coming back for seconds!
Step‑by‑Step Instructions for Espresso Coffee Cheesecake
Step 1: Prepare the Crust
Preheat your oven to 325°F (160°C). In a mixing bowl, combine the crushed chocolate cookies with melted unsalted butter until evenly coated. Press this mixture firmly into the bottom of a springform pan to create a solid crust. Bake for 8–10 minutes until set, then allow it to cool completely while you prepare the filling.
Step 2: Make the Cheesecake Filling
In a large mixing bowl, beat the room-temperature cream cheese until creamy and smooth. Gradually add granulated sugar, mixing well before adding eggs one at a time to ensure a smooth texture. Stir in vanilla extract, sour cream, and cooled brewed espresso, mixing until combined. Gently fold in the all-purpose flour to complete the filling mixture without overmixing.
Step 3: Bake the Cheesecake
Wrap the outside of your springform pan in aluminum foil to prevent leaks. Place the wrapped pan into a larger baking dish and fill it with hot water to create a water bath. Bake the Espresso Coffee Cheesecake for 60–70 minutes, until the edges are set and the center jiggles slightly when shaken. Turn off the oven and let it cool in there for an hour to minimize cracks.
Step 4: Add Ganache Topping
While the cheesecake cools, prepare the ganache by heating heavy cream in a small saucepan until it just simmers. Pour the hot cream over semi-sweet chocolate chips in a bowl and let it sit for a few minutes. Stir the mixture until smooth, adding in the strong brewed espresso for a deeper flavor. Let the ganache cool slightly before pouring it over the cooled cheesecake.
Step 5: Chill and Serve
Place the Espresso Coffee Cheesecake in the refrigerator to chill for at least 4–6 hours, or ideally overnight to enhance the flavors. Before serving, garnish as desired, and slice using a hot, dry knife for clean edges. Now you’re ready to impress with this indulgent dessert!
How to Store and Freeze Espresso Coffee Cheesecake
Fridge: Store your cheesecake in the refrigerator for up to 5 days. Keep it covered with plastic wrap or in an airtight container to maintain freshness.
Freezer: If needed, the Espresso Coffee Cheesecake can be frozen for up to 2 months. Wrap it tightly in plastic wrap, then aluminum foil, to prevent freezer burn.
Thawing: When ready to enjoy, thaw the cheesecake in the fridge overnight to help preserve its creamy texture.
Reheating: If desired, let the cheesecake come to room temperature for about 30 minutes before serving for the best flavor and texture.
Make Ahead Options
These Espresso Coffee Cheesecake are perfect for busy home cooks looking to save time without sacrificing flavor! You can prepare the crust—combining crushed chocolate cookies and melted butter—up to 24 hours in advance; simply press it into the springform pan and refrigerate. The filling can also be made the day before (up to 3 days ahead) and stored in the refrigerator to maintain its creamy texture. When you’re ready to bake, just pour the filling over the chilled crust and follow the usual baking instructions. To ensure your cheesecake is just as delicious when serving, refrigerate it for at least 4–6 hours or overnight after baking, giving those flavors time to meld beautifully!
Espresso Coffee Cheesecake Variations
Embrace your creativity and customize the flavors of this delightful cheesecake, allowing your taste buds to dance with joy!
-
Mocha Cheesecake: Add 2-3 tablespoons of cocoa powder to the filling for a rich chocolate twist. This variation is perfect for chocolate lovers who crave that mocha flavor.
-
Vanilla Latte Cheesecake: Substitute espresso with strong brewed coffee and incorporate vanilla bean paste for a delightful vanilla aroma. It’s a comforting take on your usual coffee fix.
-
Caramel Espresso Cheesecake: Drizzle homemade or store-bought caramel sauce over the ganache topping and sprinkle with sea salt for a sweet-savory contrast. Each bite will transport you to a cozy café.
-
Gluten-Free Option: Use gluten-free cookies for the crust and substitute all-purpose flour with almond flour. Enjoy the same deliciousness without compromising your dietary needs!
-
Nutty Delight: Fold in chopped toasted hazelnuts or walnuts into the filling for added texture and flavor. This nutty addition complements the coffee beautifully.
-
Fruity Twist: Top your cheesecake with fresh berries like raspberries or strawberries for a fruity contrast. The acidity of the berries cuts through the richness splendidly.
-
Spicy Kick: Mix in a pinch of cinnamon or a dash of chili powder to the filling for an unexpected spicy warmth. It’s a fun twist that adds intrigue to your dessert.
For more indulgent coffee-inspired treats, don’t miss out on trying out my Vanilla Latte Cheesecake—it’s another sumptuous option that will surely captivate your gatherings!
Expert Tips for the Best Espresso Coffee Cheesecake
• Room Temperature Ingredients: Ensure all your ingredients, especially the cream cheese and eggs, are at room temperature for smooth mixing and to avoid lumps.
• Water Bath Magic: Always bake your cheesecake using a water bath to prevent cracks. Wrap your springform pan tightly in foil to avoid leaks.
• Don’t Overmix: Mix until just combined to keep the filling creamy. Overmixing can introduce air bubbles, leading to a less-than-perfect texture.
• Cleanup with Hot Water: For beautifully clean slices, dip a knife in hot water and wipe it dry between cuts. This maintains the aesthetic of your gorgeous Espresso Coffee Cheesecake.
• Plan Ahead: For the best flavor, make your cheesecake a day or two in advance. The resting time allows the flavors to meld beautifully!
What to Serve with Espresso Coffee Cheesecake
Elevate your dessert experience with delightful pairings that complement the rich flavors of this indulgent cheesecake.
- Whipped Cream: A dollop of freshly whipped cream adds a light, airy contrast, enhancing each slice’s creamy decadence.
- Chocolate Shavings: Sprinkle dark chocolate shavings on top for a glamorous touch that echoes the chocolate notes in the crust.
- Fresh Berries: Juicy strawberries or raspberries provide a burst of freshness, cutting through the richness and balancing the flavors beautifully.
- Espresso or Coffee: Serve with a hot cup of espresso or a flavored coffee to amplify the rich coffee notes in the cheesecake.
- Vanilla Ice Cream: A scoop of vanilla ice cream offers a creamy, cool counterpart to the warm, rich cheesecake, creating a delightful harmony.
- Cocoa Dusting: A light dusting of cocoa powder on top adds an elegant touch while tying in the chocolate and coffee flavors.
- Caramel Sauce: Drizzle caramel sauce over each slice for a sweet add-in that enriches the overall dessert experience.
- Hazelnut Liqueur: A splash of hazelnut liqueur on the side brings a nutty richness that perfectly enhances the coffee notes.
- Pecan Praline topping: Sweet, crunchy pecan pralines provide texture and a sweet-spice balance that pairs wonderfully with coffee flavors.
Espresso Coffee Cheesecake Recipe FAQs
How do I select the best ingredients for my Espresso Coffee Cheesecake?
Absolutely! Using high-quality ingredients makes a world of difference. For the best results, select cream cheese that is full-fat and at room temperature for easier mixing. Look for chocolate cookies with minimal ingredients for the crust. Ensure your eggs are fresh and at room temperature, as this helps with a smoother filling.
How should I store my Espresso Coffee Cheesecake?
You can store your cheesecake in the refrigerator for up to 5 days. Make sure it’s covered with plastic wrap or placed in an airtight container to keep it fresh. If you’re preparing ahead of time, it’s a great make-ahead option!
Can I freeze my Espresso Coffee Cheesecake?
Absolutely! You can freeze your espresso cheesecake for up to 2 months. Make sure to wrap it tightly in plastic wrap, followed by a layer of aluminum foil to prevent freezer burn. When it’s time to enjoy, just thaw it in the fridge overnight to preserve that delicious, creamy texture.
What should I do if my cheesecake cracks during baking?
Very! If your cheesecake cracks, it could be due to overbaking or a sudden change in temperature. Using a water bath helps in even cooking, and wrapping your pan in foil can prevent leaks. If you do happen to get cracks, don’t fret! A generous ganache topping is excellent for covering any imperfections.
Are there any dietary considerations I should keep in mind?
Great question! If you’re accommodating gluten-free diets, simply substitute the crushed chocolate cookies and flour with gluten-free alternatives. If allergies are a concern, feel free to use dairy-free substitutes like coconut oil and Greek yogurt to keep your cheesecake equally delicious. Always check the ingredient labels to ensure safety for your guests.
How can I achieve clean slices when serving?
Certainly! To get those picture-perfect slices, dip your knife in hot water and wipe it dry between cuts—this technique helps ensure each slice looks flawless, making your Espresso Coffee Cheesecake presentation just as delightful as its taste!
Espresso Coffee Cheesecake: A Heavenly Treat for Coffee Lovers
Ingredients
Equipment
Method
- Preheat your oven to 325°F (160°C). In a mixing bowl, combine the crushed chocolate cookies with melted unsalted butter until evenly coated. Press this mixture firmly into the bottom of a springform pan to create a solid crust. Bake for 8–10 minutes until set, then allow it to cool completely while you prepare the filling.
- In a large mixing bowl, beat the room-temperature cream cheese until creamy and smooth. Gradually add granulated sugar, mixing well before adding eggs one at a time to ensure a smooth texture. Stir in vanilla extract, sour cream, and cooled brewed espresso, mixing until combined. Gently fold in the all-purpose flour to complete the filling mixture without overmixing.
- Wrap the outside of your springform pan in aluminum foil to prevent leaks. Place the wrapped pan into a larger baking dish and fill it with hot water to create a water bath. Bake the Espresso Coffee Cheesecake for 60–70 minutes, until the edges are set and the center jiggles slightly when shaken. Turn off the oven and let it cool in there for an hour to minimize cracks.
- While the cheesecake cools, prepare the ganache by heating heavy cream in a small saucepan until it just simmers. Pour the hot cream over semi-sweet chocolate chips in a bowl and let it sit for a few minutes. Stir the mixture until smooth, adding in the strong brewed espresso for a deeper flavor. Let the ganache cool slightly before pouring it over the cooled cheesecake.
- Place the Espresso Coffee Cheesecake in the refrigerator to chill for at least 4–6 hours, or ideally overnight to enhance the flavors. Before serving, garnish as desired, and slice using a hot, dry knife for clean edges.
Leave a Reply