
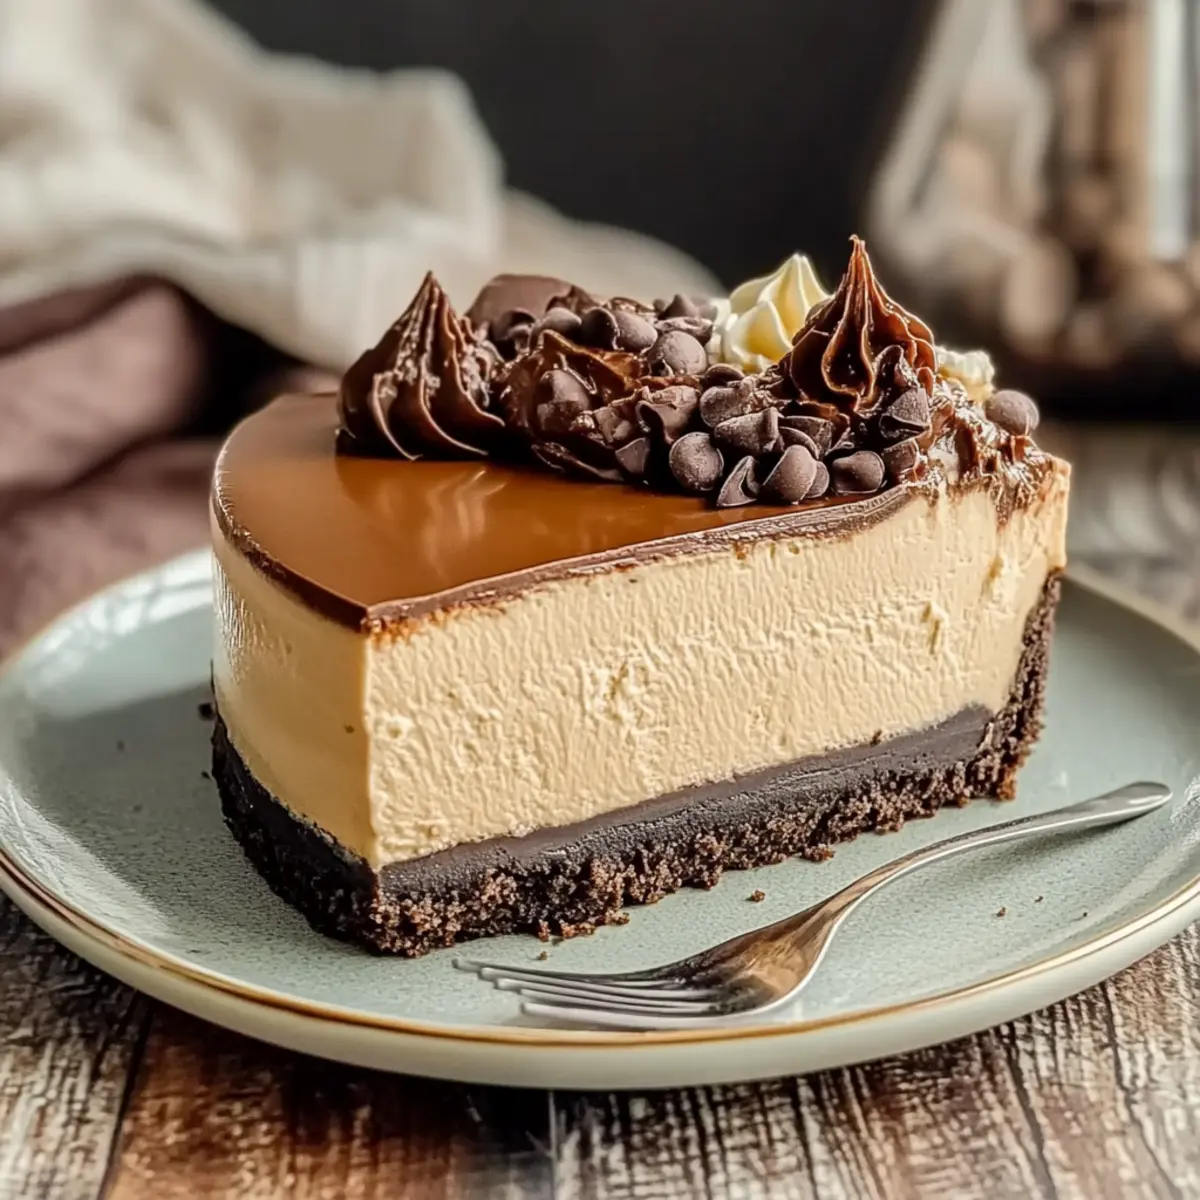
As the tantalizing aroma of freshly brewed coffee fills the air, I can’t help but feel a wave of comfort wash over me. That’s the magic of this Decadent Coffee Cheesecake! Combining the sumptuous creaminess of cheesecake with the rich, bold flavors of coffee, this indulgent dessert is perfect for celebrating special moments or simply treating yourself. One of the best parts? It’s quick to prepare and can be easily customized, whether you need it gluten-free or dairy-free. Just imagine impressing your guests with a delightful slice of this luxurious cake, featuring a glossy chocolate ganache that takes it to the next level. Are you ready to elevate your dessert game with this delightful recipe?
Why is this cheesecake a must-try?
Decadent Flavor: The combination of rich coffee and creamy cheesecake creates an indulgent experience that coffee lovers will adore.
Versatile Options: Easily customize this recipe to suit dietary needs with gluten-free or dairy-free alternatives, ensuring everyone can enjoy a slice.
Quick Preparation: With straightforward steps, you’ll have this indulgent dessert ready in no time, making it perfect for any occasion.
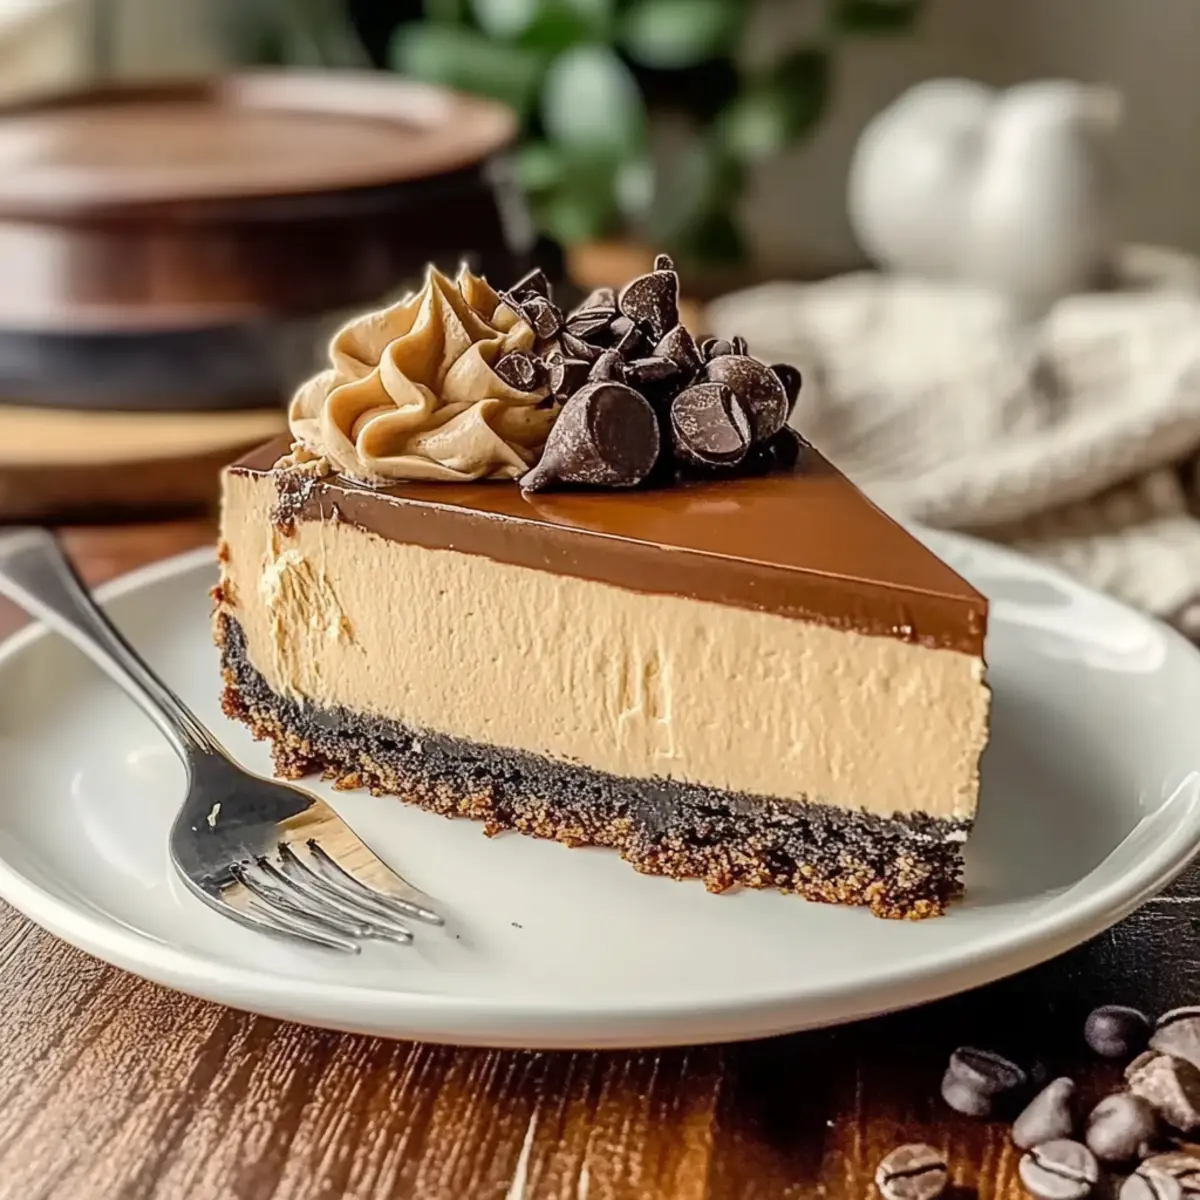
Impressive Presentation: The glossy chocolate ganache and optional toppings make this cheesecake a stunning centerpiece for gatherings.
Comforting Aroma: The delightful scent of espresso filling your kitchen is enough to make anyone feel right at home.
Level up your dessert game with this Indulgent Coffee Cheesecake with Chocolate Ganache, and why not check out our delicious Chocolate Chip Banana Bread for more delightful baking ideas?
Decadent Coffee Cheesecake Ingredients
For the Crust
• Oreos – Provides sweetness and structure for the crust. Can substitute with gluten-free cookies or graham crackers.
• Salted Butter – Binds the crust ingredients. Unsalted butter can be used for a less salty taste.
• Espresso Powder – Enhances coffee flavor in the crust. Optional if you prefer a milder taste.
For the Filling
• Cream Cheese – Creates a rich and creamy base. Must be full-fat and softened for texture.
• Granulated Sugar – Adds sweetness. Brown sugar can provide a deeper flavor.
• Coffee Extract – Infuses coffee essence. Use strong brewed coffee for a natural flavor boost.
• Large Eggs – Provides structure and richness. Should be at room temperature for best mixing.
• Heavy Cream – Adds creaminess. Substitute with coconut cream for a dairy-free option.
• Cold Brew Coffee – Gives a pronounced coffee flavor. Strong brewed coffee can be a substitute.
• Lemon Juice – Balances sweetness and enhances flavor. Vinegar can be used as a substitute.
• Salt – Enhances flavor. Use kosher or table salt as needed.
• All-Purpose Flour – Assists in setting the filling. Use gluten-free flour for a gluten-free version.
For the Ganache
• Bittersweet Chocolate – Provides richness and depth. Semisweet chocolate can be used for a sweeter ganache.
• Heavy Cream – Melts the chocolate for creamy ganache. Non-dairy alternatives can be used.
Optional Toppings
• Chocolate Curls/Sprinkles – For decoration.
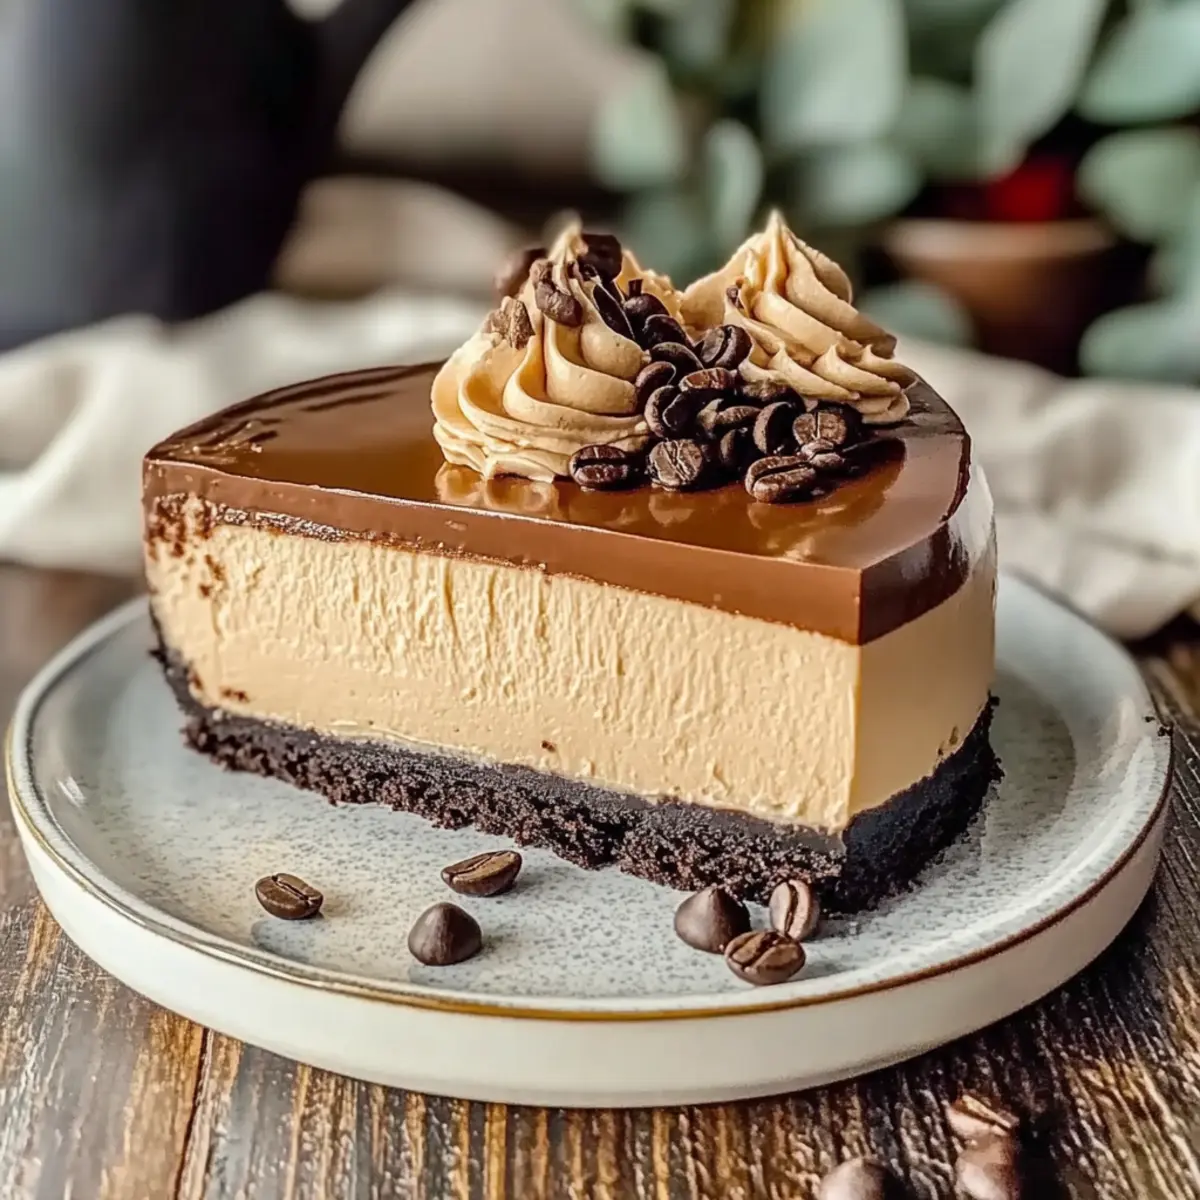
• Chocolate-Covered Espresso Beans – Add texture and coffee flavor.
• Instant Cheesecake Pudding Mix – Whipped for decorative topping.
Step‑by‑Step Instructions for Decadent Coffee Cheesecake
Step 1: Preheat and Prepare
Begin by preheating your oven to 300°F (150°C). While it’s warming, take a 9-inch springform pan and wrap the outside with aluminum foil, ensuring it’s tightly sealed. This prevents any leaking during baking. Set aside and get ready to create that delicious crust for your Decadent Coffee Cheesecake.
Step 2: Make the Crust
In a mixing bowl, combine crushed Oreos, melted butter, and espresso powder to form a crumbly mixture. Use your fingers or a flat-bottomed cup to press the mixture firmly into the bottom of the prepared springform pan, creating an even layer. Aim for a compact crust; this will be your delightful base. Once done, set it aside while you work on the filling.
Step 3: Prepare the Filling
In a large mixing bowl, beat softened cream cheese, granulated sugar, and coffee extract with an electric mixer until smooth and creamy. Gradually add in large eggs, one at a time, ensuring each is fully incorporated before adding the next. Once blended, mix in heavy cream, cold brew coffee, lemon juice, salt, and flour until just combined; avoid overmixing to maintain that silky texture.
Step 4: Fill the Crust and Bake
Carefully pour the smooth filling over your prepared crust in the springform pan. To prevent any cracks in your decadent cheesecake, place the pan inside a larger baking dish filled with hot water, creating a water bath. Bake in the preheated oven for 75-85 minutes until the edges are firm but the center remains slightly jiggly, indicating it’s perfectly baked.
Step 5: Cool the Cheesecake
Once the baking time is up, turn off the oven and leave the cheesecake inside with the door ajar for an additional 20 minutes. This gradual cooling helps prevent cracking. Afterward, remove the cheesecake and let it cool completely at room temperature before covering it and refrigerating for at least 8 hours or overnight to achieve that ideal set.
Step 6: Prepare the Ganache
For the chocolate ganache, heat heavy cream in a small saucepan over medium heat until it just begins to simmer. Remove it from the heat and pour it over chopped bittersweet chocolate in a mixing bowl. Allow it to sit for a minute before stirring until smooth and glossy. Let the ganache cool slightly while your cheesecake continues to chill.
Step 7: Assemble the Cheesecake
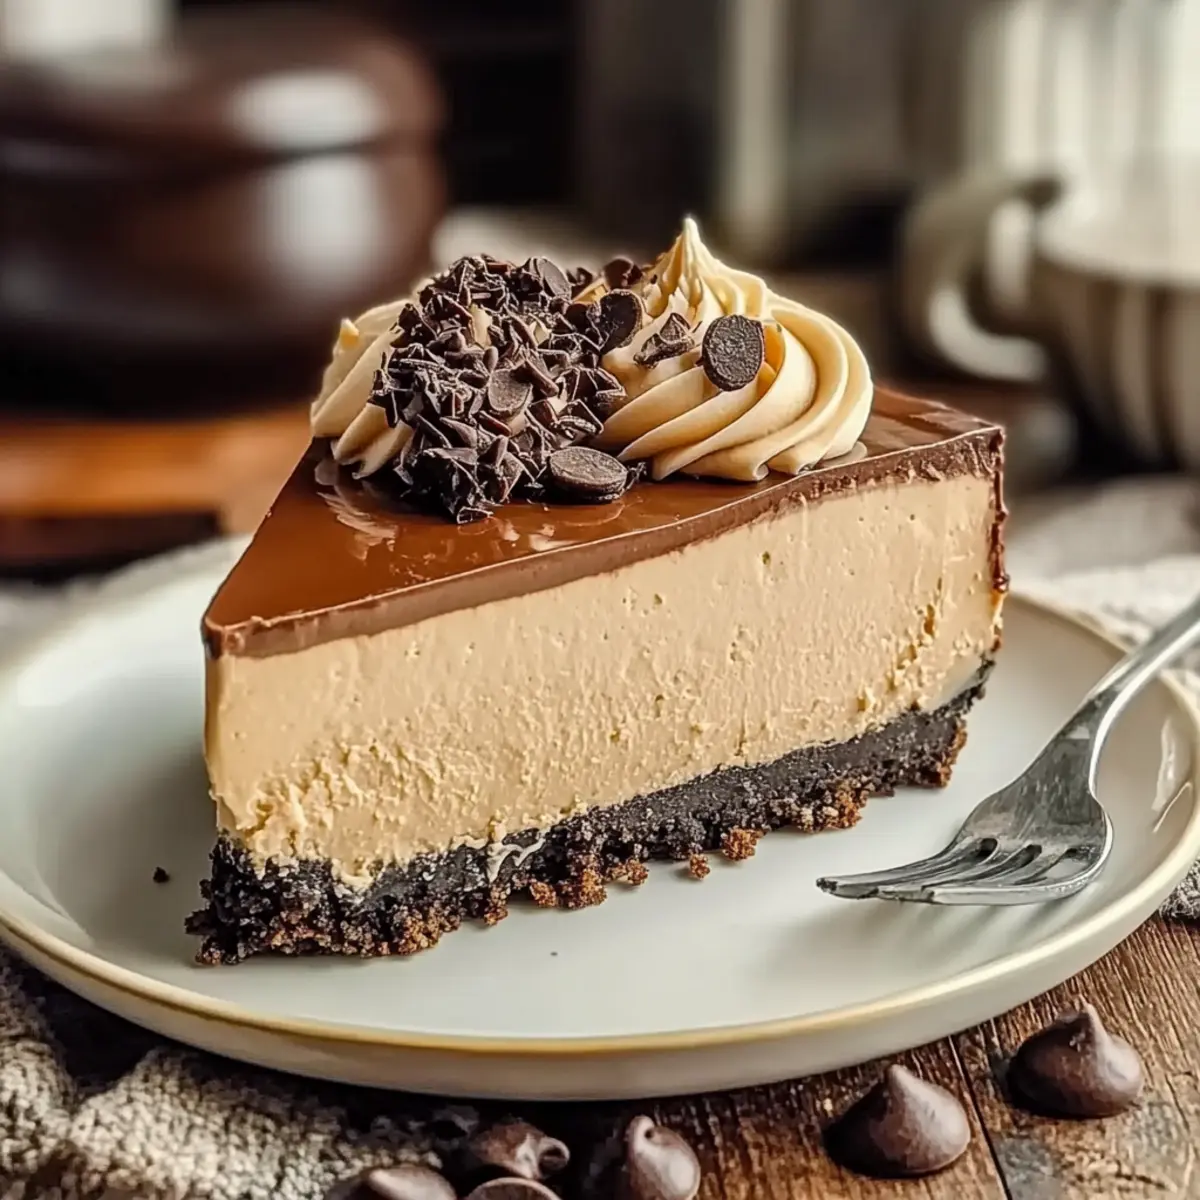
Once the cheesecake is fully chilled, drizzle the cooled ganache evenly over the top, allowing it to cascade slightly down the sides for a stunning effect. Chill the cheesecake for another 1-2 hours, allowing the ganache to set beautifully on top. This adds both visual appeal and rich flavor to your Decadent Coffee Cheesecake.
Step 8: Serve with Style
Before serving, take a moment to add optional toppings such as whipped cream, chocolate curls, or chocolate-covered espresso beans for an extra touch. Slice with a hot knife for clean cuts, serving the cheesecake cold or at room temperature. Get ready to indulge in the delights of your homemade Decadent Coffee Cheesecake!
Expert Tips for Decadent Coffee Cheesecake
-
Water Bath Essential: Always use a water bath during baking to maintain moisture, which helps prevent cracks in your cheesecake.
-
Cooling Technique: Allow the cheesecake to cool gradually in the oven with the door ajar. Rapid temperature changes can lead to unsightly cracks in your perfect cheesecake.
-
Room Temperature Ingredients: Ensure that cream cheese and eggs are at room temperature for a smoother filling. This step greatly enhances the texture of your Decadent Coffee Cheesecake.
-
Hot Knife Method: Use a hot knife to slice through the cheesecake. This will produce clean cuts and prevent the crust from crumbling.
-
Chill Time Matters: Refrigerate the cheesecake for at least 8 hours, or even overnight if possible. Patience allows the flavors to meld beautifully and ensures a perfect set.
What to Serve with Decadent Coffee Cheesecake
Elevate your dessert experience by pairing this luxurious cheesecake with delightful sides that complement its rich flavors.
- Fresh Berries: Juicy strawberries or raspberries add a burst of freshness and a beautiful contrast to the creamy cheesecake.
- Whipped Cream: Light and airy, a dollop of whipped cream enhances every bite, making it even more indulgent.
- Chocolate Sauce: A drizzle of warm chocolate sauce enhances the richness, creating a truly decadent dessert sensation.
- Caramel Drizzle: The sweet, buttery flavor of caramel adds a delightful twist that pairs beautifully with coffee.
- Espresso: A cup of freshly brewed espresso echoes the coffee flavor, making for an irresistible pairing after dinner.
- Ice Cream: A scoop of vanilla or coffee ice cream serves as a creamy, dreamy accompaniment to your cheesecake.
- Mini Cheesecake Cups: Serve small cheesecake cups for an elegant yet simple option that complements your main dessert without overwhelming it.
- Tea: A warm cup of chai or black tea offers a soothing balance to the cheesecake’s rich flavors, perfect for ending a meal.
- Chocolate-Covered Espresso Beans: For an added crunch, these little treats offer a lovely coffee flavor and a satisfying texture to round off your dessert experience.
Make Ahead Options
These Decadent Coffee Cheesecake slices are perfect for busy cooks looking to save time without sacrificing flavor! You can prepare the crust and filling up to 24 hours in advance. Simply follow the initial steps (making the crust and filling) and refrigerate the cheesecake (covered) after cooling. The ganache can also be made a day ahead; just warm it slightly before drizzling over the cheesecake to maintain that gorgeous glossy finish. When ready to serve, let the cheesecake sit at room temperature for about 15 minutes for the best texture. You’ll be rewarded with a delicious dessert that’s just as delightful as when freshly made!
Decadent Coffee Cheesecake Variations
Feel free to get creative with this delightful recipe and adapt it to your tastes!
- Gluten-Free: Use gluten-free cookies or almond flour for the crust to make this cheesecake safe for those with gluten sensitivities.
- Dairy-Free: Substitute with coconut cream and dairy-free cream cheese for a rich, vegan version that doesn’t compromise on flavor.
- Sugar-Free: For a lighter touch, use a sugar alternative like erythritol or monk fruit sweetener in the filling without losing the sweetness.
- Flavor Infusion: Want to switch it up? Try adding a splash of vanilla extract or a hint of orange zest for an unexpected twist in flavor!
- Nutty Crunch: Incorporate crushed nuts like pecans or walnuts into the crust for a delightful textural contrast and extra flavor.
- Decadent Toppings: Serve with a drizzle of caramel sauce or top with fresh berries to elevate your dessert experience—it’s all about those lovely details!
- Different Coffees: Experiment with different coffee types, such as mocha or flavored coffees, to see how it transforms your cheesecake’s personality.
- Layered Dessert: Assemble individual parfaits with layers of cheesecake and crushed cookies or whipped cream for a fun presentation.
If you’re looking for more sweet inspiration, check out our decadent Chocolate Chip Banana Bread or indulge in a No-Bake Keto Cheesecake for a delightful treat without the oven!
How to Store and Freeze Decadent Coffee Cheesecake
Fridge: Keep your cheesecake wrapped in plastic wrap or in an airtight container for up to 1 week. This helps maintain its creamy texture and rich coffee flavor.
Freezer: For longer storage, freeze the cheesecake tightly wrapped in plastic wrap and aluminum foil for up to 3 months. Thaw it overnight in the fridge when ready to enjoy.
Serving: If you prefer to enjoy your cheesecake chilled, simply slice and serve straight from the fridge. For a softer texture, let it sit at room temperature for about 30 minutes before serving.
Reheating: Traditionally, cheesecake is best enjoyed cold or at room temperature. However, if you prefer a warmed slice, gently warm it in the microwave for about 10-15 seconds to enhance its creaminess without compromising its decadent flavor.
Decadent Coffee Cheesecake Recipe FAQs
What type of coffee should I use for the filling?
Absolutely! For the best flavor, I recommend using strong brewed coffee or cold brew coffee. This really enhances the coffee essence in your cheesecake. If you’re looking for a bolder flavor, espresso is a fantastic choice, and don’t forget to experiment with flavored coffees to give a unique twist!
How do I store the cheesecake after baking?
Very! To keep your Decadent Coffee Cheesecake fresh, wrap it tightly in plastic wrap or place it in an airtight container in the fridge. It should last for up to 1 week. If you want to save it for later, you can freeze it for up to 3 months. Just make sure to wrap it well in plastic and aluminum foil before popping it in the freezer!
Can I freeze the cheesecake? If yes, how?
Yes! Freezing your cheesecake is super easy! Follow these steps:
- Once cooled completely and set in the fridge, wrap the cheesecake in plastic wrap tightly, ensuring no air can escape.
- Then, wrap it in aluminum foil for extra protection against freezer burn.
- Label it with the date and pop it in the freezer.
When you’re ready to enjoy a slice, simply thaw it in the fridge overnight, and it’s ready to indulge!
Why did my cheesecake crack during baking?
Common issue! There are a couple of reasons why this might happen, but the main culprit is rapid temperature changes. Always use a water bath while baking to maintain even cooking. Additionally, remember to cool your cheesecake gradually in the oven with the door slightly ajar – this prevents those pesky cracks from forming. If you’re careful with these details, you’ll have a beautifully smooth cheesecake!
Are there any allergy considerations I should be aware of?
Yes! If you’re serving this cheesecake to guests, be mindful of dairy allergies. For a dairy-free option, you can substitute cream cheese with dairy-free cream cheese and use coconut cream instead of heavy cream. Also, ensure that any cookies used in the crust are gluten-free if accommodating gluten sensitivities. Always check packaging for allergens, just to be safe!
Decadent Coffee Cheesecake: Your New Favorite Indulgence
Ingredients
Equipment
Method
- Preheat your oven to 300°F (150°C) and wrap the outside of a 9-inch springform pan with aluminum foil.
- Combine crushed Oreos, melted butter, and espresso powder in a mixing bowl to form a crumbly mixture. Press into the bottom of the springform pan.
- Beat cream cheese, sugar, and coffee extract until smooth. Gradually add eggs, then mix in cream, cold brew, lemon juice, salt, and flour until combined.
- Pour the filling over the crust, place the pan in a larger baking dish filled with hot water, and bake for 75-85 minutes.
- Turn off the oven, leave the cheesecake inside with the door ajar for 20 minutes, then cool completely at room temperature before refrigerating for at least 8 hours.
- Heat heavy cream and pour it over chopped chocolate. Stir until smooth, then let cool slightly.
- Drizzle the ganache over the chilled cheesecake, allowing it to cascade down the sides. Chill for another 1-2 hours.
- Add optional toppings before serving and slice with a hot knife for clean cuts.
Leave a Reply