
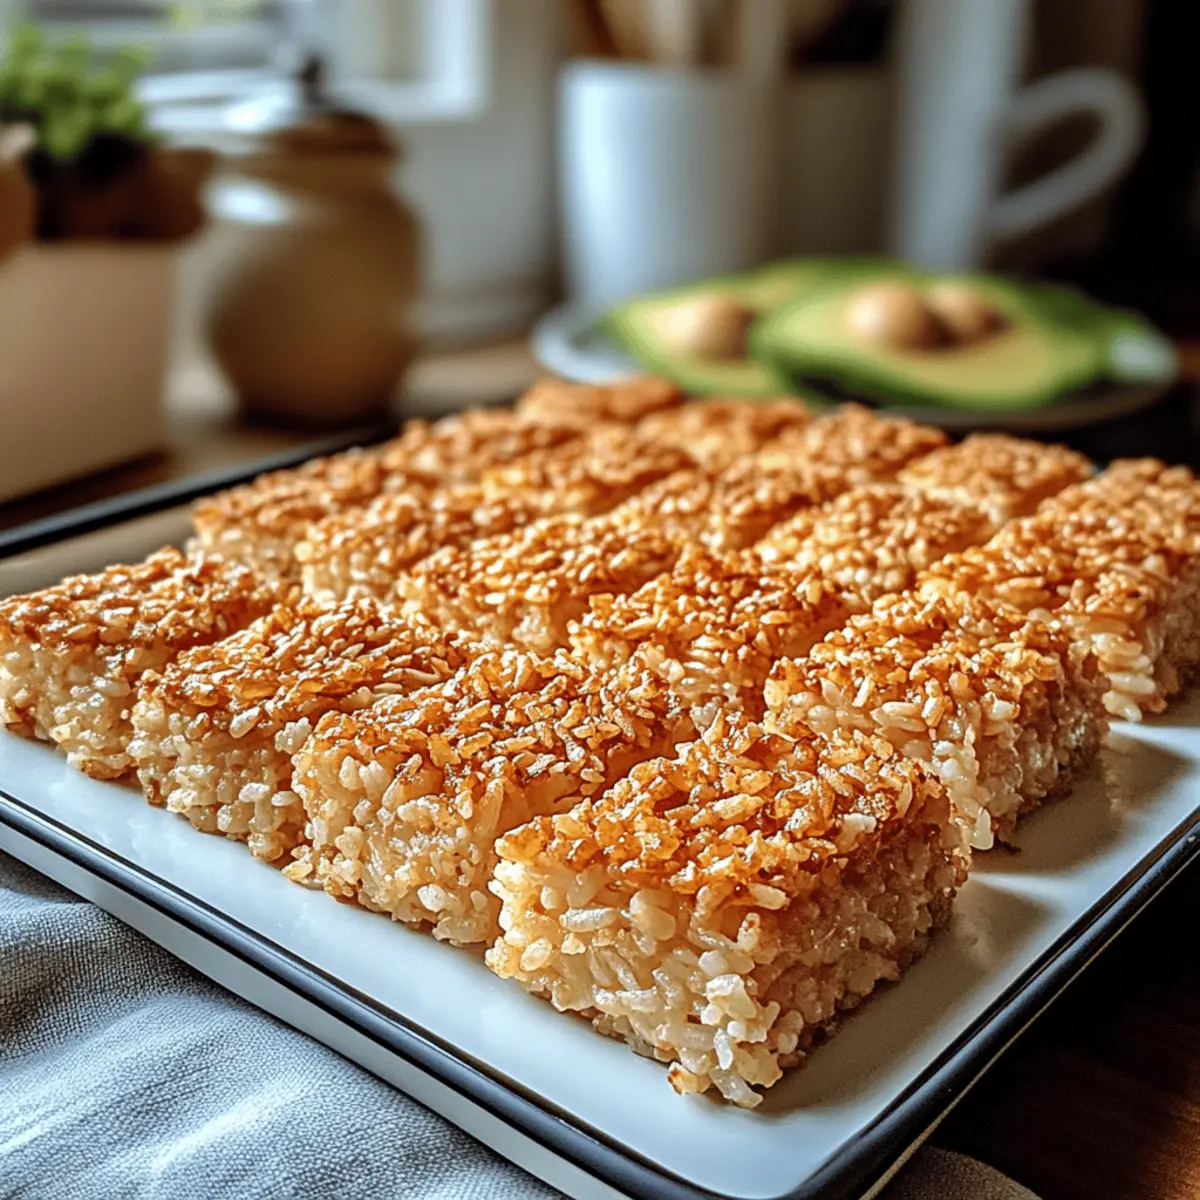
As I stood over the stove, the scent of toasting rice filled my kitchen, transporting me back to my favorite family gatherings. Today, I’m thrilled to share my recipe for Crispy Rice Squares—the perfect blend of crunch and soft fluffiness that will have everyone asking for seconds. This versatile snack not only serves as a delightful appetizer but also shines as an enjoyable topping for salads or a base for sushi. With minimal effort and just a handful of simple ingredients, these crispy rice squares can easily elevate any meal. Plus, they’re customizable with your favorite toppings, making them a crowd-pleaser for any occasion. So, are you ready to dive into a delicious world of crispy delights that will transform how you think about rice?
Why Should You Try Crispy Rice?
Versatile Delight: These Crispy Rice Squares adapt beautifully to any occasion—whether it’s a casual snack or a fancy appetizer. Effortless Preparation: With just a few simple steps and minimal ingredients, you’ll create a gourmet treat that impresses everyone. Flavorful Toppings: Customize with spicy tuna, creamy guacamole, or even savory kimchi for a unique twist. Crowd-Pleasing Appeal: Perfect for gatherings, they will surely leave your guests yearning for more. For another delightful recipe, check out my Crispy Baked Parmesan Zucchini for a side dish that complements any meal nicely!
Crispy Rice Ingredients
For the Rice
- Sushi Rice – This type of rice yields the perfect chewy texture for your crispy rice squares.
- Water – Essential for properly cooking the rice and achieving that fluffy interior.
- Rice Vinegar – Adds a tangy flavor; can be substituted with apple cider or white vinegar if you’re in a pinch.
- Sugar – Balances the rice’s flavor, enhancing the overall taste.
- Salt – A little pinch can elevate the flavor profile of the rice significantly.
For Frying
- Neutral Oil (avocado, vegetable, or sesame oil) – Crucial for frying; it lends a delightful crispiness to the exterior of the squares; use sesame oil sparingly for a robust flavor.
Feel the joy of creating these crispy rice squares that will surely impress!
Step‑by‑Step Instructions for Crispy Rice Squares
Step 1: Rinse the Rice
Begin by thoroughly rinsing 1 cup of sushi rice under cold water in a fine-mesh strainer. Swirl the rice gently until the water runs clear to remove excess starch, which can make the rice overly sticky. This step is crucial for achieving the perfect texture in your crispy rice squares.
Step 2: Cook the Rice
In a medium pot, combine the rinsed rice with 1 ¼ cups of water. Bring the mixture to a boil over high heat. Once boiling, reduce the heat to low, cover the pot with a lid, and let it simmer for 15 minutes until the water is absorbed and the rice is tender. Afterward, remove from heat and let it sit, covered, for an additional 10 minutes to steam.
Step 3: Season the Rice
While the rice is still warm, transfer it to a large mixing bowl. In a separate small bowl, whisk together 3 tablespoons of rice vinegar, 1 tablespoon of sugar, and a pinch of salt until dissolved. Gently fold this mixture into the cooked rice, taking care not to mash the grains. This adds flavor and helps create the perfect base for your crispy rice squares.
Step 4: Prepare for Chilling
Transfer the seasoned rice into a shallow baking dish, spreading it out evenly. Using a spatula, press down gently to compact the rice into an even layer. Cover the dish with plastic wrap and place it in the refrigerator to chill for at least 4 hours or preferably overnight. This chilling process is essential for cutting and frying the crispy rice squares successfully.
Step 5: Cut the Rice
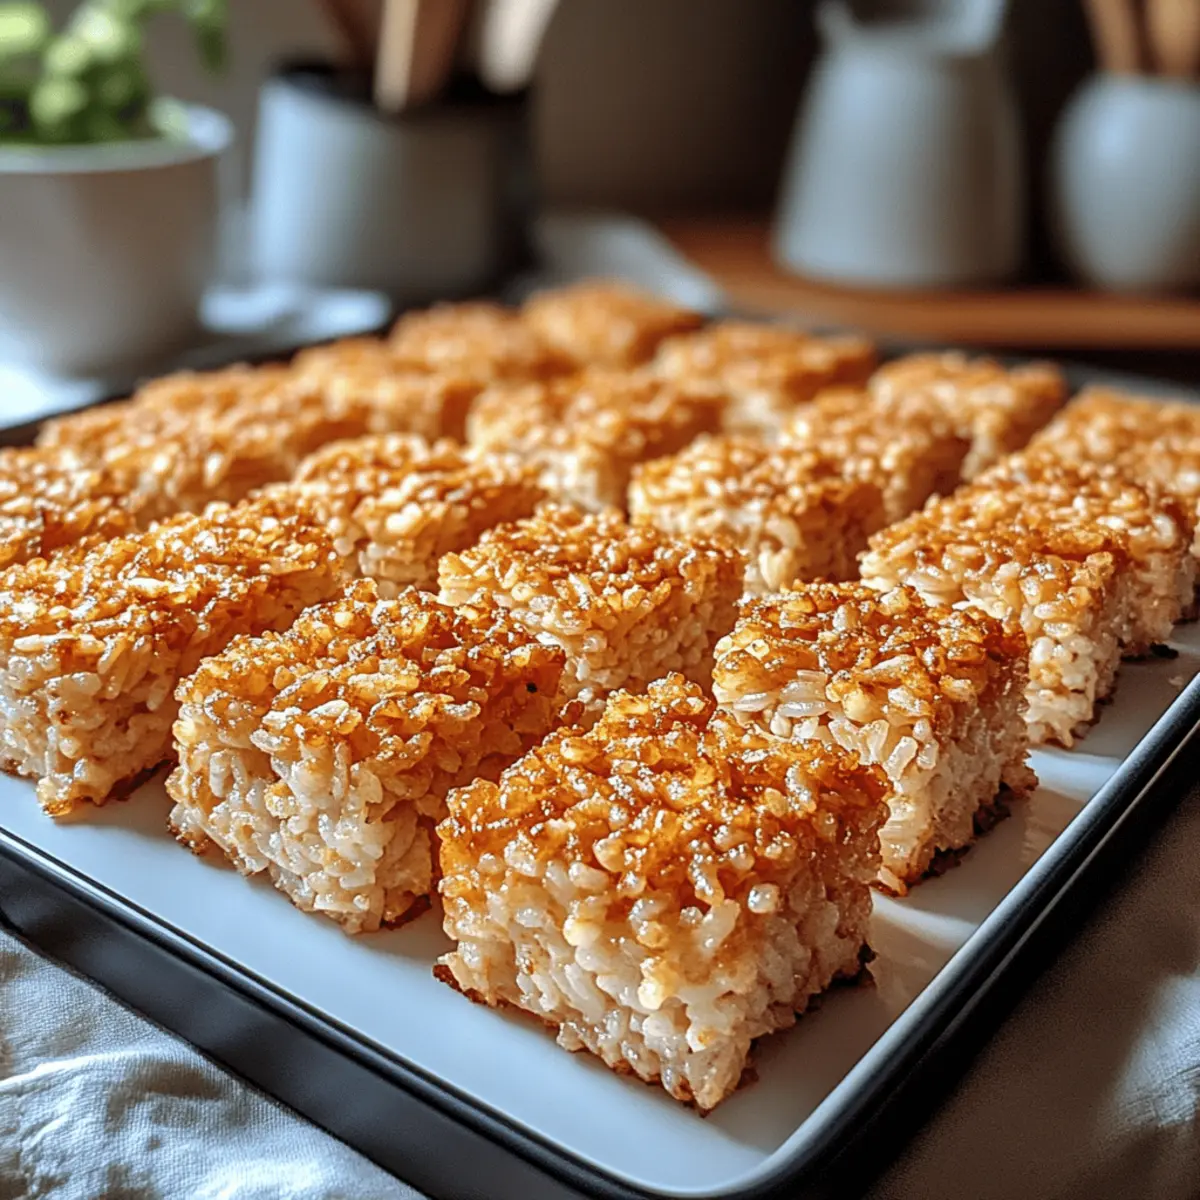
Once the rice has chilled and set, remove it from the refrigerator. Using a sharp knife, carefully cut the rice into squares or rectangular pieces, approximately 2 inches in size. Make sure to cut all the way through to maintain distinct shapes that will fry nicely, letting the exciting crispy rice magic begin!
Step 6: Fry the Rice
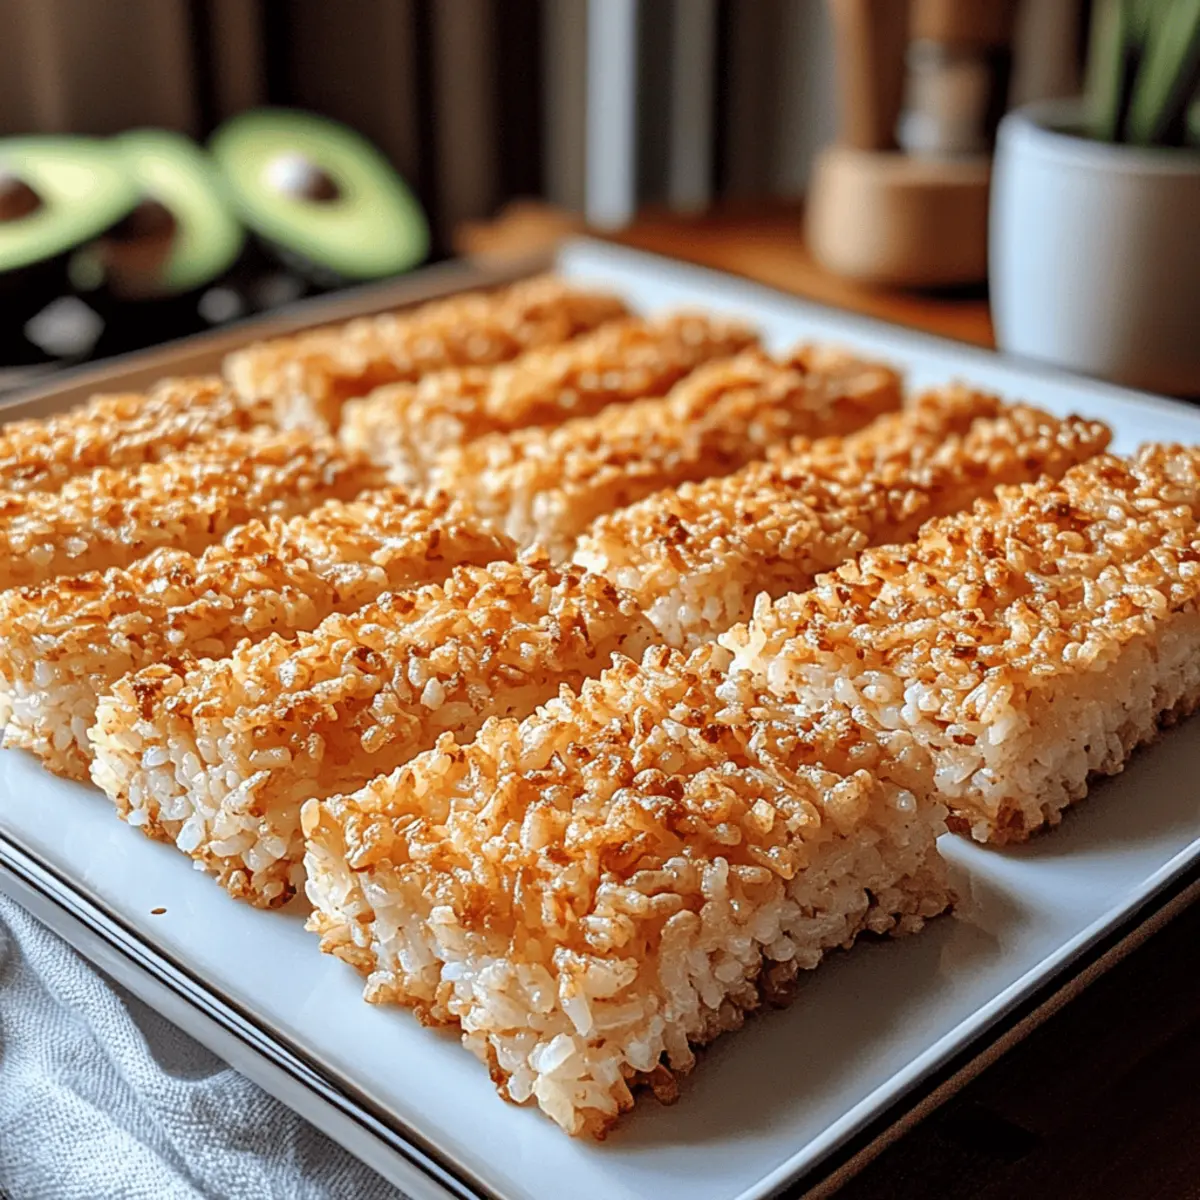
In a non-stick or cast-iron skillet, heat ¼ inch of neutral oil (like vegetable or avocado) over medium heat. Once the oil shimmers, add the rice squares in batches, ensuring they are not overcrowded. Fry for 3-4 minutes on each side until they are golden brown and crispy. Use tongs to flip them gently, then transfer the fried squares to a plate lined with paper towels to drain excess oil.
Step 7: Serve
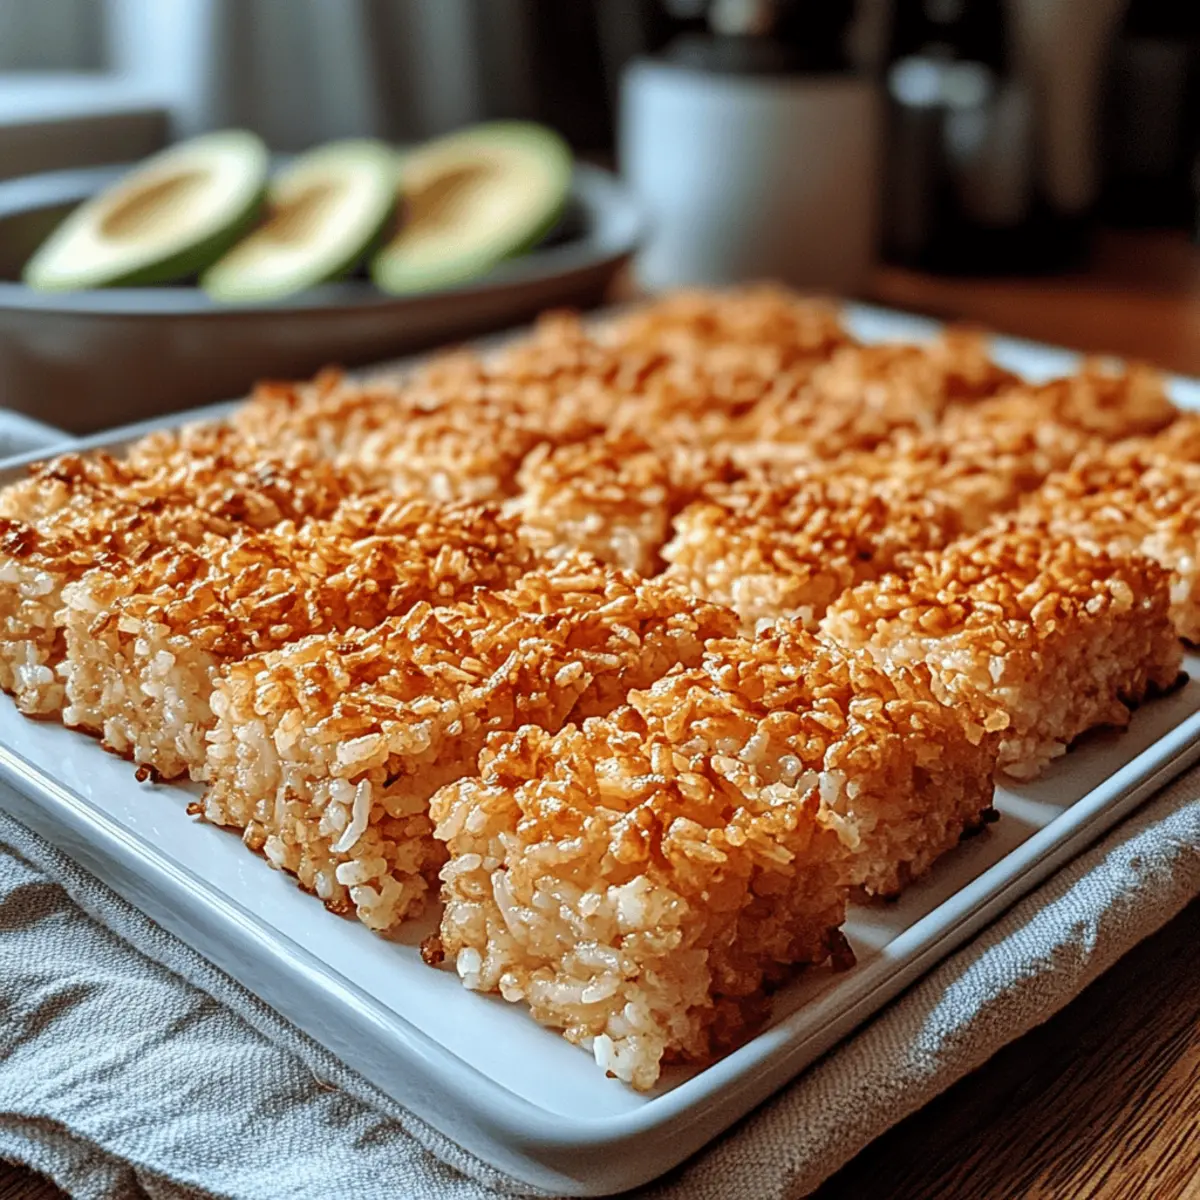
Your Crispy Rice Squares are now ready to be enjoyed! You can serve them plain or enhance their flavor with delightful toppings such as spicy tuna, avocado, or a drizzle of soy sauce. Whether as a snack, part of a meal, or an appetizer, these customizable crispy rice delights are sure to impress!
Crispy Rice Variations & Substitutions
Feel free to explore the delicious realm of possibilities with these variations to elevate your crispy rice experience!
- Spicy Twist: Mix in chopped jalapeños or a dash of cayenne before frying for a kick of heat.
- Classic Toppings: Top with spicy tuna or creamy guacamole for a flavor-packed bite that guests will adore.
- Savory Greens: Incorporate finely chopped spinach or kale into the rice before chilling to enhance nutrition.
- Saucy Goodness: Serve your crispy rice with soy sauce, sriracha mayo, or eel sauce to tantalize your taste buds.
- Brown Rice Swap: For a healthier option, substitute sushi rice with brown rice for added fiber and nutrients.
- Herb Infusion: Add fresh herbs like cilantro or basil to the rice mixture for a refreshing flavor burst.
- Nutty Flavor: Drizzle with sesame oil just before serving to bring a rich, nutty flavor to your crispy rice.
- Crunchy Element: Toss in toasted sesame seeds for an enticing crunch that elevates the texture beautifully.
No matter how you choose to customize your crispy rice, the possibilities are endless. If you’re looking for another crispy treat, don’t miss out on my recipe for Battered Fish Chips that pairs perfectly with your favorite dipping sauces!
Make Ahead Options
These Crispy Rice Squares are a fantastic option for meal prep aficionados! You can prepare the seasoned rice and chill it in the refrigerator up to 24 hours in advance, allowing for maximum flavor and ease on busy days. Simply follow the first three steps, then spread the rice in a baking dish, covering it tightly with plastic wrap to prevent drying out. When you’re ready to fry them, just cut the chilled rice into squares and heat the oil before frying for 3-4 minutes on each side until crispy. This method ensures your crispy rice squares are just as delicious when you serve them, saving you valuable time during the week!
What to Serve with Crispy Rice Squares?
Crispy Rice Squares are a delightful canvas waiting to be paired with flavors and textures galore.
-
Creamy Avocado Dip: The rich creaminess of avocado perfectly balances the crunch of your crispy rice, adding a refreshing twist. Enjoy it as a dip or spread on top for a delightful bite.
-
Spicy Tuna Tartare: This sushi-inspired topping not only adds excitement but also brings a savory punch that enhances the overall flavor experience of each square.
-
Cilantro Lime Salad: A vibrant mix of fresh herbs and citrus elevates the dish with zesty notes, providing a bright contrast to the crispy texture. It makes for an ideal side, bringing color and flavor to your table.
-
Kimchi: For a bold flavor kick, pair your crispy rice with the tangy fermented taste of kimchi. Its spice and crunch complement the crispy squares beautifully, giving an unforgettable bite.
-
Miso Glaze: A drizzle of umami-rich miso glaze over your crispy rice squares takes them to another level, adding depth and richness to every crunchy morsel.
-
Sesame Noodle Salad: The nutty flavors of a sesame noodle salad offer a tasty contrast to the crispy squares, making for a delightful combination of textures and tastes.
-
Chilled Sake or Sparkling Water: Whether you’re looking for a refreshing beverage or a sophisticated touch, chilled sake enhances the dining experience, while sparkling water offers a crisp palate cleanser between bites.
-
Matcha Ice Cream: For a sweet ending, serve matcha ice cream alongside crispy rice squares. The creamy texture and earthy flavor balance the crunch for a satisfying dessert.
Expert Tips for Crispy Rice
• Chill Well: Ensure the rice is fully chilled before cutting and frying. This step is essential for achieving that desired crispy texture.
• Heat Matters: Fry your rice squares over medium heat. This prevents burning the outside while allowing the inside to cook thoroughly.
• Don’t Overcrowd: Avoid putting too many rice squares in the pan at once. Overcrowding can lower oil temperature, leading to uneven frying.
• Use the Right Pan: Opt for a non-stick or cast-iron skillet to prevent sticking and guarantee even browning for your crispy rice squares.
• Customize Wisely: Feel free to mix in finely chopped vegetables or herbs before chilling for a flavor boost, enhancing your crispy rice squares’ appeal.
How to Store and Freeze Crispy Rice
Fridge: Store leftover crispy rice squares in an airtight container in the fridge for up to 3 days to maintain their texture.
Freezer: For longer storage, freeze uncooked, cut crispy rice squares on a tray until firm, then transfer to a freezer bag. They can be frozen for up to 2 months.
Reheating: When ready to enjoy, thaw the frozen squares for 10 minutes before frying them again in hot oil until golden brown, ensuring that delicious crispy exterior.
Wrapping: Ensure to wrap each square in parchment paper before freezing to avoid sticking and preserve their freshness for your savory snacks.
Crispy Rice Squares Recipe FAQs
What type of rice should I use for crispy rice squares?
For the best results, I recommend using sushi rice due to its higher starch content, which helps create that perfect chewy texture. If sushi rice isn’t available, short-grain rice can be a suitable alternative.
How should I store leftover crispy rice squares?
After frying, store your leftover crispy rice squares in an airtight container in the refrigerator for up to 3 days. This will help retain some of their crunchy texture, but they are best enjoyed fresh!
Can I freeze crispy rice squares?
Absolutely! To freeze, cut your uncooked crispy rice squares and place them on a tray lined with parchment paper. Freeze them until firm, then transfer to a freezer bag. They can be stored for up to 2 months. When ready to enjoy, simply thaw for 10 minutes and fry them until golden brown.
What should I do if my crispy rice squares are not crispy?
If your squares aren’t achieving that desired crunch, ensure you’re using medium heat for frying. Too high heat can burn the outside while leaving the interior undercooked. Additionally, make sure the rice has been properly chilled before cutting and frying; this is crucial for optimal texture.
Are crispy rice squares suitable for those with dietary restrictions?
Yes! You can customize crispy rice squares based on dietary needs. For gluten-free diets, ensure your vinegar and any toppings are gluten-free. Also, for a healthier twist, consider using brown rice instead of white rice, as it packs more fiber and nutrients!
Can I add toppings to my crispy rice squares?
Very! You can personalize your crispy rice squares with toppings like spicy tuna, guacamole, kimchi, or even creamy avocado. Feel free to explore unique flavor combinations that suit your taste buds—after all, the more, the merrier!
Crispy Rice Bliss: Your New Favorite Snack or Appetizer
Ingredients
Equipment
Method
- Rinse the rice under cold water in a fine-mesh strainer until the water runs clear.
- Cook the rinsed rice with water in a medium pot, simmering for 15 minutes.
- Season the warm rice with vinegar, sugar, and salt mixture while gently folding.
- Chill the seasoned rice in a shallow dish for at least 4 hours or overnight.
- Cut the chilled rice into squares or rectangular pieces.
- Fry the rice squares in hot oil over medium heat for 3-4 minutes per side.
- Serve the crispy rice squares plain or with delicious toppings.
Leave a Reply