
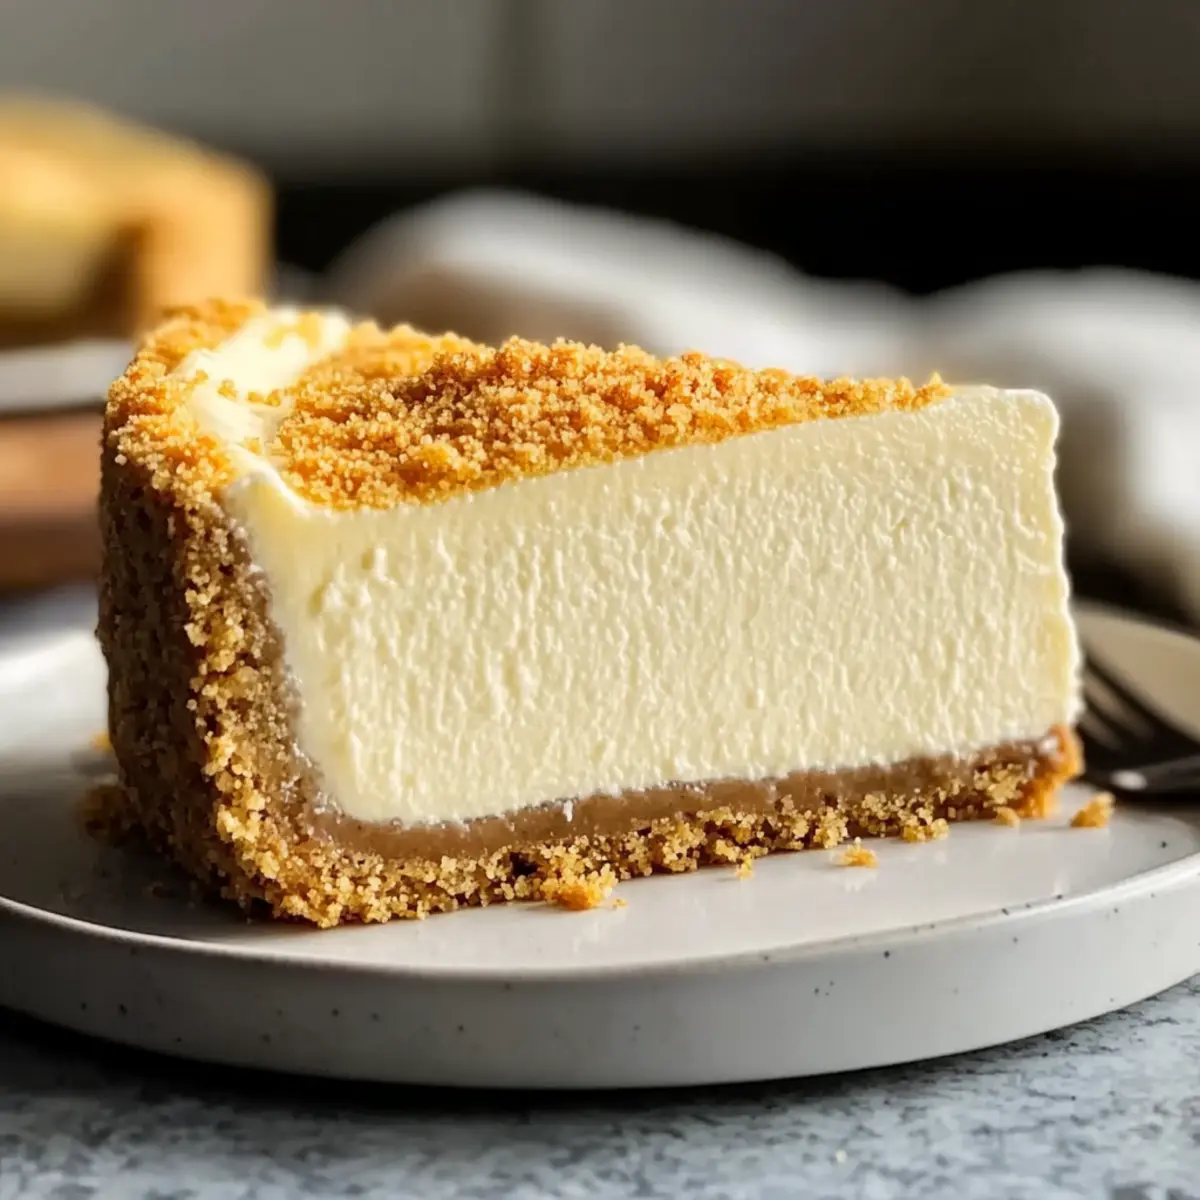
“Can you hear that?” I whispered, peering over my shoulder as the aroma of baking cheesecake wafted through my kitchen. This Classic New York-Style Cheesecake is my go-to dessert, rich and creamy, with a buttery graham cracker crust that offers the perfect crunch. It has a magic touch—ideal for any occasion, from family gatherings to quiet nights in, nourishing souls while bringing smiles. And the best part? This homemade dessert is surprisingly easy to whip up, making it a true crowd-pleaser. So, are you ready to impress your loved ones with a slice of this creamy delight? Let’s dive into making your own Classic Cheesecake!
Why Is This Cheesecake Special?
Decadent, this Classic New York-style cheesecake takes dessert to a whole new level, offering rich, creamy indulgence that melts in your mouth. Simplicity is crucial here—easy steps mean you don’t have to be a pro to impress! Versatile enough for any occasion, it pairs beautifully with everything from fresh berries to decadent chocolate ganache. Crowd-pleasing in every bite, it’s perfect for family dinners or cozy gatherings with friends. If you’re looking for a delightful contrast, consider serving it alongside our Chocolate Oat Cookies for a fun twist!
Classic Cheesecake Ingredients
For the Crust
• Graham Cracker Crumbs – Provides texture and flavor to the crust. Substitution: Use crushed Digestive biscuits or vegan graham crackers for an alternative.
• Unsalted Butter, Melted – Binds the crust ingredients and adds richness. Note: Can substitute with coconut oil for a dairy-free option.
• Granulated Sugar – Sweetens the crust and balances flavors in the filling. Tip: Use brown sugar for a deeper flavor.
For the Filling
• Full-Fat Block Cream Cheese – The main component of the filling, giving it a creamy texture. Substitution: Low-fat cream cheese can be used for a lighter version, but the texture may vary.
• Large Eggs – Provides structure and stability to the filling. Important: Ensure they are at room temperature for even mixing.
• Sour Cream – Adds creaminess and a slight tang, enhancing the overall flavor. Tip: Greek yogurt can be used in a pinch for a similar tangy profile.
• Pure Vanilla Extract – Enhances overall flavor. Substitution: Vanilla bean paste can be a richer option.
• Fresh Lemon Juice – Brightens the filling with acidity. Tip: Substitute with white vinegar in a pinch, though the flavor will differ slightly.
Indulge in every creamy slice of your homemade Classic Cheesecake and let every bite take you on a delicious journey!
Step‑by‑Step Instructions for Classic Cheesecake
Step 1: Preheat and Prepare the Crust
Begin by preheating your oven to 350°F (175°C). In a mixing bowl, combine the graham cracker crumbs, sugar, and melted butter, blending well until the mixture resembles wet sand. Press this mixture evenly into the bottom of a 9-inch springform pan. Bake the crust for 10 minutes until golden, then remove it from the oven and let it cool completely while you prepare the filling.
Step 2: Cream the Cheese
In a stand mixer or large bowl, add the block of full-fat cream cheese. Beat it on medium speed for about 2-3 minutes until it’s smooth and creamy, ensuring there are no lumps. Gradually sprinkle in the granulated sugar, mixing just until combined to keep the filling light. Take your time here; this step sets the stage for the perfect creamy texture of your Classic Cheesecake.
Step 3: Add Eggs One by One
With the mixer on low speed, add the large eggs one at a time, mixing briefly after each addition—just until incorporated. It’s important not to over-mix at this stage to prevent cracks in your cheesecake during baking. The batter should be velvety and homogenous, promising a rich and satisfying filling for your Classic Cheesecake.
Step 4: Mix in Sour Cream and Flavors
Gently fold in the sour cream, pure vanilla extract, and fresh lemon juice until the mixture is smooth and well combined. This step adds creaminess and a delightful tang to your cheesecake, enhancing its flavor profile. Ensure everything is just blended together without overworking the batter, as you want to maintain that luscious texture.
Step 5: Prepare for Water Bath
Wrap the outside of the springform pan with aluminum foil, ensuring it’s tightly sealed to avoid any water leakage. Place the pan inside a larger roasting pan and set it aside. This water bath technique helps provide gentle heat during baking, resulting in a silky, creamy mouthfeel for your Classic Cheesecake as it bakes evenly.
Step 6: Bake the Cheesecake
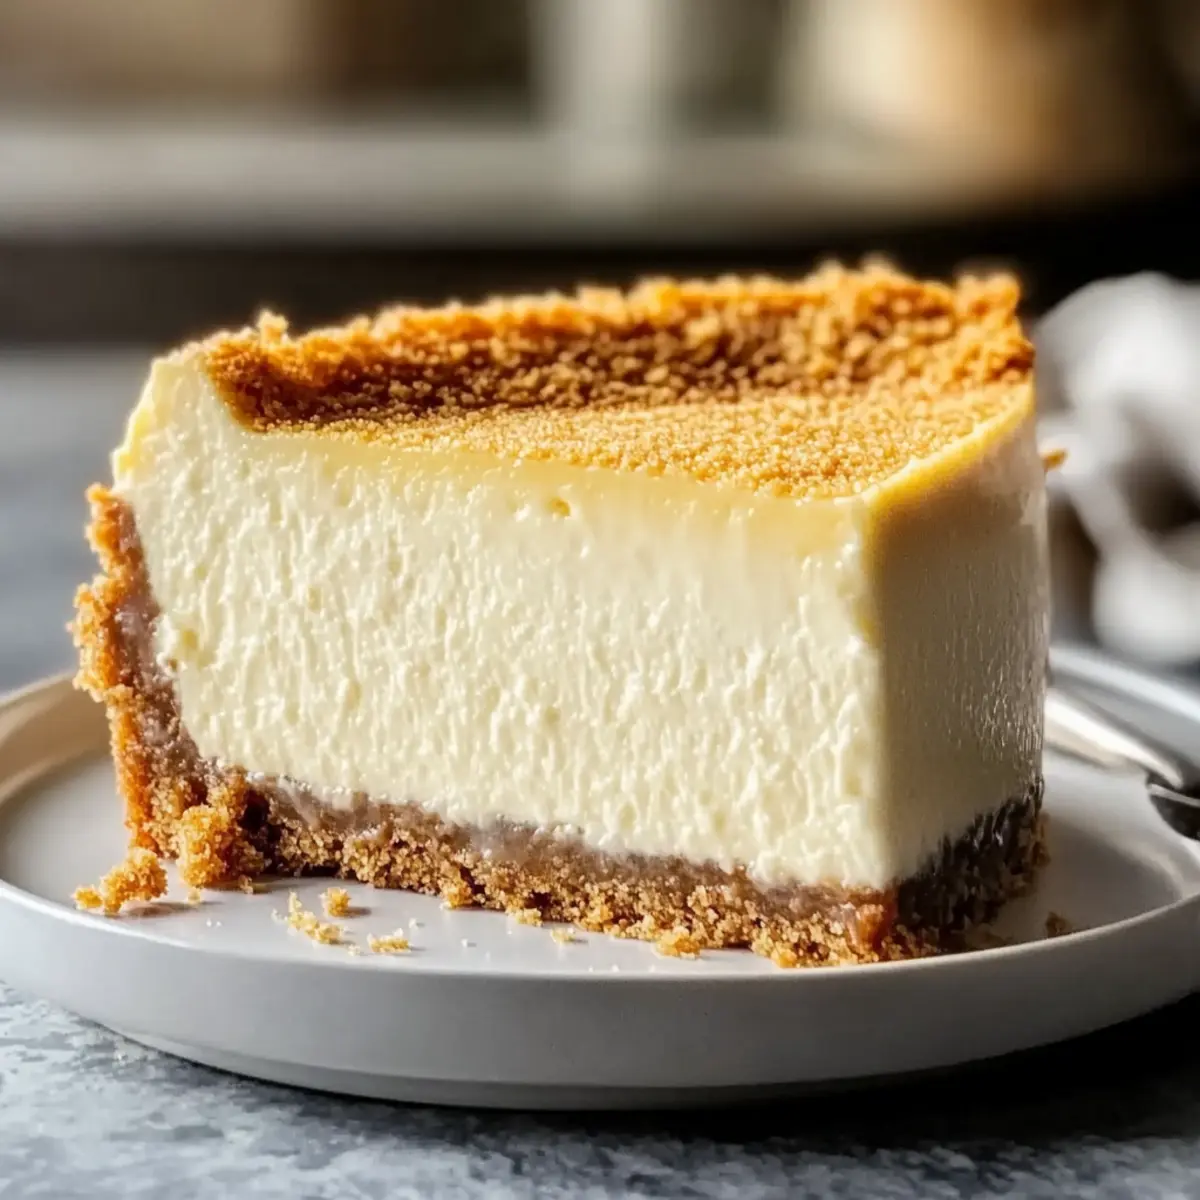
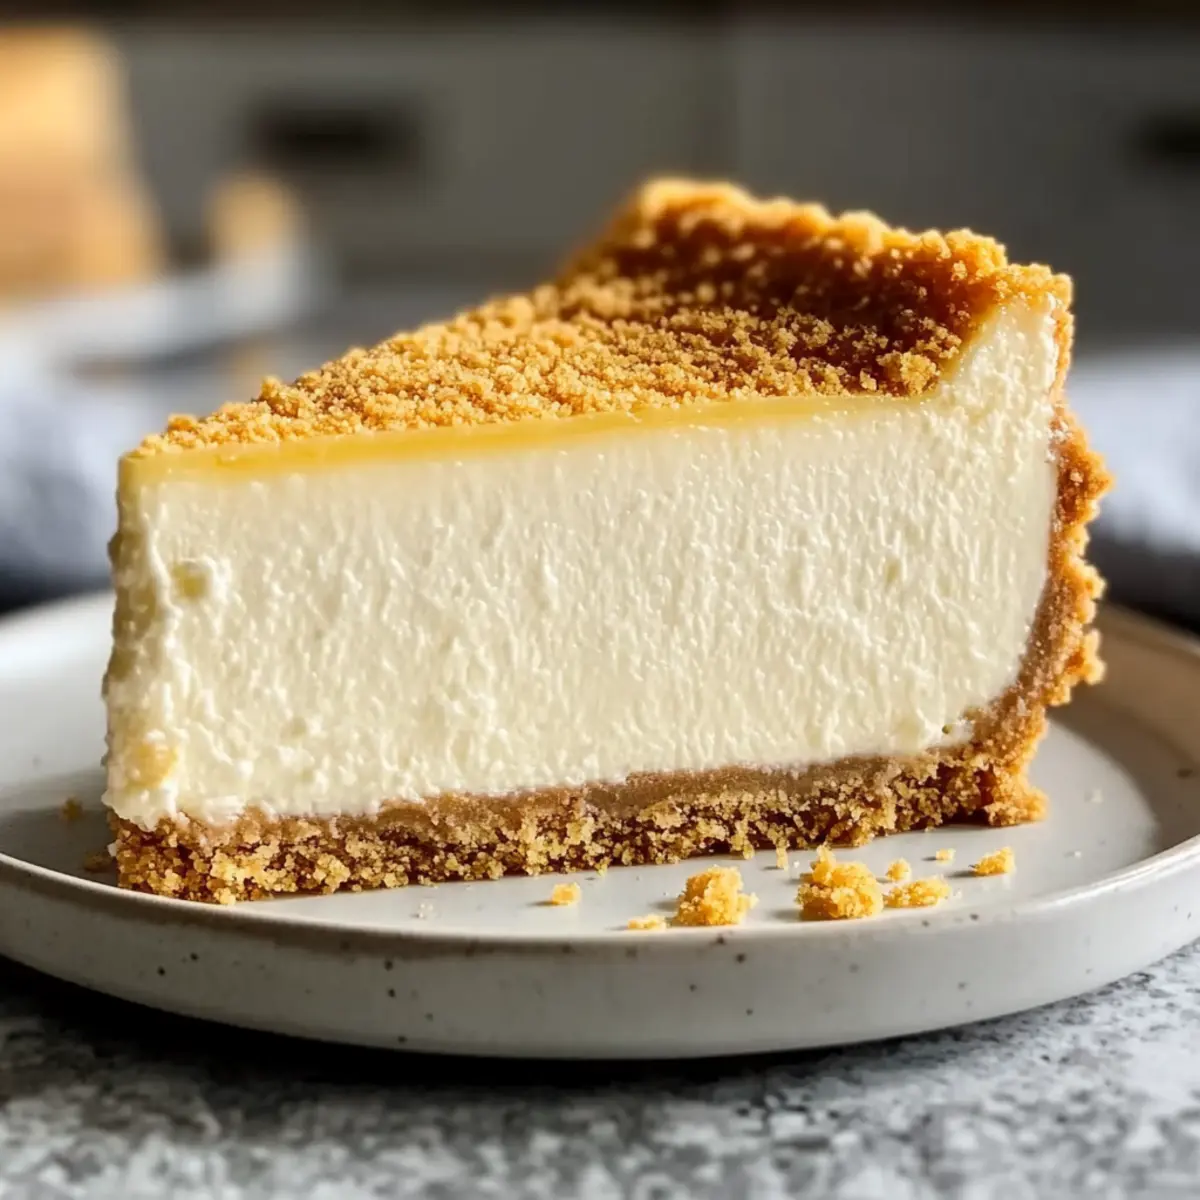
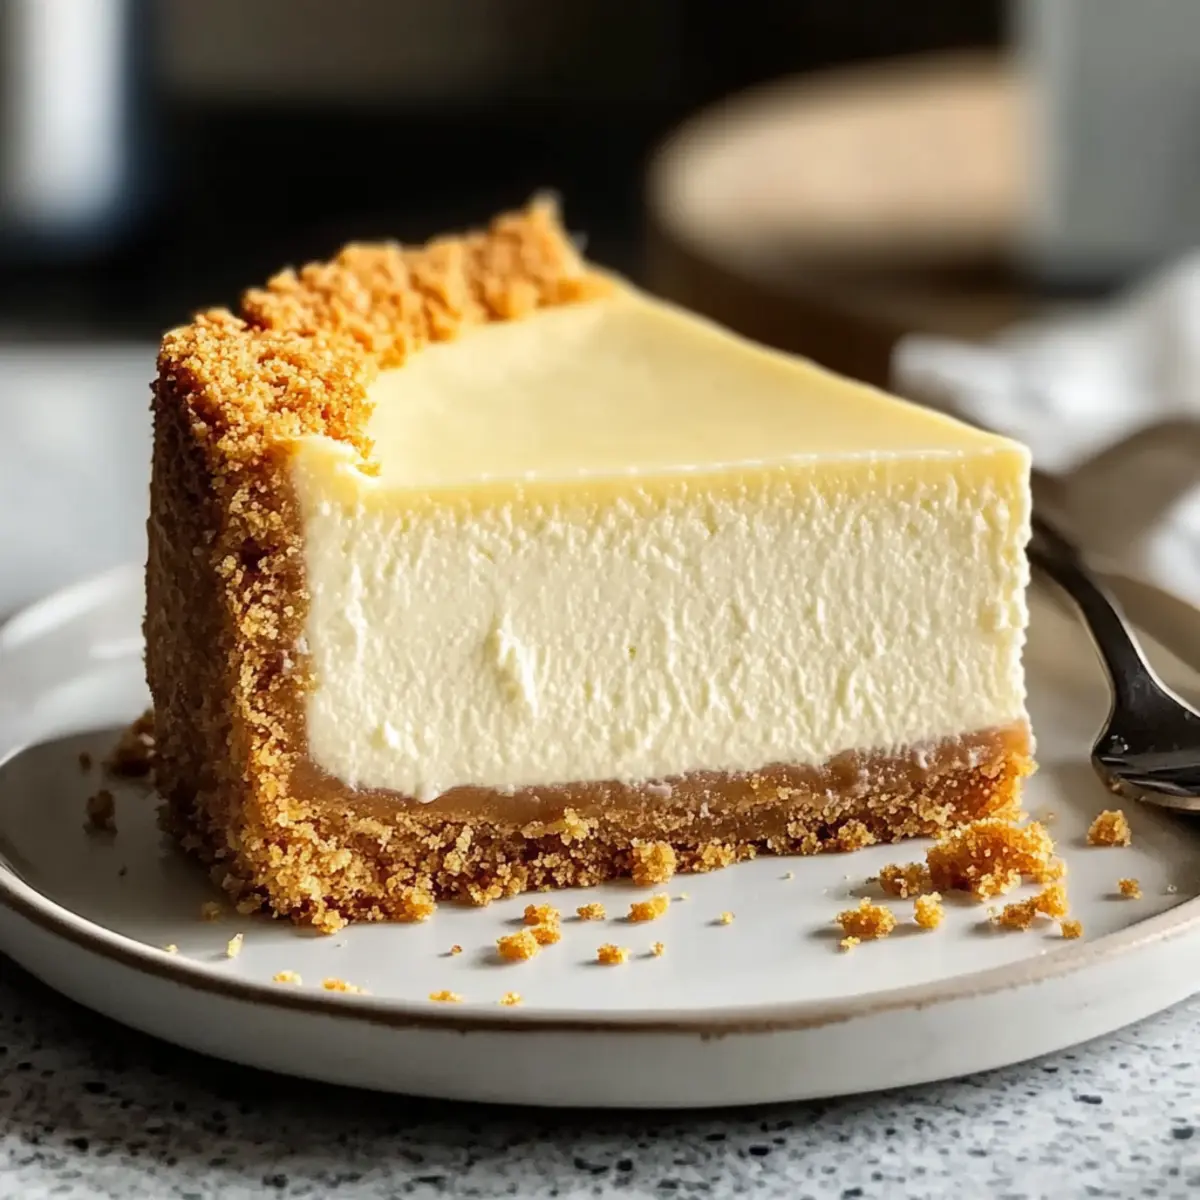
Pour the creamy filling over the cooled crust, smoothing it out with a spatula. Carefully fill the roasting pan with boiling water until it reaches halfway up the side of the springform pan. Bake the cheesecake in the preheated oven for 60-70 minutes, or until the edges are set while the center remains slightly jiggly—this gentle baking ensures your cheesecake won’t crack.
Step 7: Cool Slowly
Once baked, turn off the oven and crack the door open slightly, allowing the cheesecake to cool in the oven for 1 hour. This slow cooling is crucial to prevent sudden changes in temperature that can cause cracks. After an hour, carefully remove the cheesecake from the water bath, allowing it to cool completely at room temperature.
Step 8: Refrigerate Before Serving
Refrigerate the cooled Classic Cheesecake for at least 6 hours or ideally overnight. This chilling time allows the flavors to meld beautifully and helps achieve that perfect, creamy texture. When ready to serve, carefully remove the sides of the springform pan, revealing your stunning cheesecake, ready to delight your family and friends.
What to Serve with Classic Cheesecake
Elevate your dessert experience with delightful accompaniments that perfectly balance the rich creaminess of this classic treat.
-
Fresh Berries: They add a burst of color and natural sweetness, enhancing each slice. Strawberries, raspberries, or blueberries provide a refreshing contrast to the dense cheesecake.
-
Chocolate Ganache: Decadent and smooth, chocolate ganache drizzled over the cheesecake elevates it to a whole new level of indulgence, perfect for chocolate lovers.
-
Whipped Cream: Light and airy, a dollop of freshly whipped cream adds a pillow-soft texture that complements the cheesecake’s richness beautifully.
-
Fruit Compote: A sweet-tart fruit compote made from cherries or mixed berries offers a vibrant, tangy counterpoint to the creamy filling, making each bite a harmonious blend of flavors.
-
Caramel Sauce: Drizzling warm caramel sauce across the cheesecake adds a luxurious sweetness and contrasting flavor, enhancing its indulgent appeal.
-
Coffee or Espresso: A hot cup of coffee or creamy espresso pairs delightfully, balancing the sweetness and adding depth to your dessert experience, making every bite feel like a special occasion.
Make Ahead Options
These Classic Cheesecake preparations are perfect for busy home cooks! You can make the crust up to 24 hours in advance by mixing the graham cracker crumbs, sugar, and butter, then pressing it into the pan; simply cover it tightly and refrigerate. In addition, the cheesecake filling can be prepared beforehand; combine the cream cheese, sugar, eggs, sour cream, and flavorings, then store it in an airtight container in the fridge for up to 3 days. When you’re ready to bake, simply pour the filling over the crust and follow the baking instructions. This way, you can enjoy a stress-free dessert that’s just as delicious and creamy when served!
Expert Tips for Classic Cheesecake
-
Room Temperature Ingredients: Ensure all dairy ingredients are at room temperature to avoid lumps in your Classic Cheesecake batter. This step is crucial for a smooth texture.
-
Mind Your Mixing: Avoid over-mixing once the eggs are added; this can lead to cracks during baking. Mix just until incorporated for the best results.
-
Water Bath Technique: Always use a water bath when baking your cheesecake. This gentle method helps maintain moisture and prevents uneven baking, resulting in a creamier texture.
-
Cool Gradually: Slow cooling is essential! Do not rush the cooling process or shock the cheesecake, as this might cause cracks. Let it cool slowly in the oven.
-
Chill Before Serving: Refrigerate for at least 6 hours or overnight before serving to allow flavors to meld together. A well-chilled cheesecake is always more flavorful and has a better texture.
Classic Cheesecake Variations & Substitutions
Get ready to turn your classic cheesecake into a personal masterpiece that suits every palate and occasion!
- Dairy-Free: Substitute cream cheese with a vegan cream cheese alternative for a dairy-free version without sacrificing flavor.
- Sugar-Free: Use a sugar substitute like erythritol or a stevia blend to create a sugar-free cheesecake that tastes just as heavenly.
- Flavor Boost: Add 1 cup of fresh or frozen berries to the filling for a delightful twist. Blueberries or raspberries work well for a fruity explosion!
- Chocolate Lovers: Incorporate 1/2 cup of unsweetened cocoa powder into the batter for a rich chocolate cheesecake that will enchant any chocoholic.
- Citrus Zest: Bring a zesty twist by adding the zest of one lemon or orange to the filling—it will brighten and elevate the flavors.
- Nutty Crust: For a crunchy twist, use ground almonds or hazelnuts in place of graham cracker crumbs to add a rich, nutty flavor to the crust.
- Caramel Drizzle: Top your cheesecake with homemade caramel sauce for an indulgent treat that pairs beautifully with the creamy texture.
- Spicy Kick: For those who like it hot, try adding a pinch of cayenne pepper or cinnamon for a surprising warmth that complements the sweetness beautifully.
Let your creativity shine with these variations! If you’re in the mood for something lighter, why not pair each slice with a scoop of our favorite Pork Banh Burger for a perfect balance of flavors?
Storage Tips for Classic Cheesecake
-
Fridge: Keep your Classic Cheesecake covered in the refrigerator for up to 5 days. Using an airtight container will help retain its creamy texture and rich flavor.
-
Freezer: For longer storage, freeze your cheesecake for up to 2 months. Wrap it tightly in plastic wrap and then in aluminum foil to prevent freezer burn.
-
Thawing: When you’re ready to enjoy your frozen Classic Cheesecake, thaw it overnight in the refrigerator for the best results—this helps maintain its creamy texture.
-
Reheating: There’s usually no need to reheat cheesecake, but if desired, let it sit at room temperature for about 30 minutes before serving to enhance the flavor and texture.
Classic New York-Style Cheesecake Recipe FAQs
What type of graham cracker crumbs should I use?
For the crust, I recommend using regular graham cracker crumbs for the best flavor and texture. If you’re looking for a dietary alternative, you can opt for crushed Digestive biscuits or vegan graham crackers, which work wonderfully as substitutes.
How should I store my cheesecake?
To keep your Classic Cheesecake fresh, store it in the refrigerator covered with plastic wrap or in an airtight container. It will maintain its deliciousness for about 5 days. If you want to keep it longer, you can freeze it for up to 2 months—just make sure to wrap it tightly in plastic wrap and then in foil.
Can I freeze cheesecake?
Absolutely! To freeze your Classic Cheesecake, wrap it carefully in plastic wrap to avoid freezer burn, then cover it with aluminum foil for extra protection. Thawing is easy—simply place it in the refrigerator overnight to gently bring it back to its creamy state before serving.
What should I do if my cheesecake cracks?
If you find that your cheesecake has cracks, don’t fret! This can happen if it’s over-mixed or if it cools too quickly. To prevent this in the future, remember to keep all your dairy at room temperature for a smoother mixture. Additionally, use a water bath during baking to maintain even heat, and allow for slow cooling in the oven to minimize temperature shock.
Are there any dietary considerations for this cheesecake?
Yes! For those with dairy allergies, you can substitute full-fat cream cheese with a dairy-free alternative, like cashew or almond cream cheese, and use coconut oil instead of butter for the crust. However, keep in mind that the texture may vary slightly when making these swaps.
Decadent Classic Cheesecake: Your New Favorite Dessert Treat
Ingredients
Equipment
Method
- Preheat your oven to 350°F (175°C). In a mixing bowl, combine graham cracker crumbs, sugar, and melted butter, blending well until the mixture resembles wet sand. Press this mixture into the bottom of a 9-inch springform pan. Bake for 10 minutes until golden, then let cool completely.
- In a stand mixer or large bowl, add the block of cream cheese and beat on medium speed for about 2-3 minutes until smooth and creamy. Gradually sprinkle in the granulated sugar, mixing just until combined.
- With the mixer on low speed, add the large eggs one at a time, mixing briefly after each addition—just until incorporated. Be careful not to over-mix.
- Gently fold in the sour cream, vanilla extract, and lemon juice until smooth. Ensure everything is just blended together without overworking the batter.
- Wrap the outside of the springform pan with aluminum foil to avoid leakage. Place the pan inside a larger roasting pan. This water bath technique ensures even baking.
- Pour the filling over the cooled crust and smooth it out. Fill the roasting pan with boiling water until it reaches halfway up the side of the springform pan. Bake for 60-70 minutes, or until just set.
- Once baked, turn off the oven and crack the door open slightly. Allow the cheesecake to cool in the oven for 1 hour, then remove from the water bath and let cool to room temperature.
- Refrigerate the cheesecake for at least 6 hours or overnight before serving. Carefully remove the sides of the springform pan to reveal your cheesecake.
Leave a Reply