
The smell of melting chocolate and the sight of little ghostly figures can only mean one thing: it’s time to whip up some Chocolate Dipped Ghost Wafers! These whimsical treats capture the spooky spirit of Halloween while offering a delightful crunch that everyone will adore. With minimal prep time, you can quickly create a festive table spread that’ll leave your guests excited and satisfied. Plus, these bites are perfect for both kids and adults, making them a fun addition to any Halloween gathering. So, are you ready to add a spooky twist to your dessert table with these charming ghostly wafers?
Why Are Chocolate Dipped Ghost Wafers Fun?
Whimsical, these Chocolate Dipped Ghost Wafers are a playful treat that bring a touch of Halloween magic to your dessert table. Minimal prep time means you can whip them up quickly, freeing you to enjoy the festivities. Deliciously crunchy and perfectly sweetened, they’re a hit with both kids and adults alike. Customizable designs allow for creative flair—add edible eyes for an extra spooky touch! Pair them with other festive treats like Chocolate Chip Banana or a fun array of dips to create a vibrant party spread that dazzles your guests.
Chocolate Dipped Ghost Wafers Ingredients
Unleash the fun with these sweet bites!
For the Ghost Wafers
- Waffle Cookies – The perfect crunchy base; look for ones shaped like ghosts if you can find them.
- White Chocolate – Melts beautifully to create the ghostly coating; opt for high-quality for the best flavor.
- Edible Eyes – Add a playful element and make your ghosts come to life; these can be found in most baking aisles.
For the Decorations
- Chocolate Chips – Mini versions work great for adding spooky mouths; melt them for easy application.
- Sprinkles (optional) – Use festive Halloween sprinkles for an extra layer of fun; they can add a pop of color to your ghostly treats.
With these ingredients, your Chocolate Dipped Ghost Wafers will become the highlight of your Halloween party food spread!
Step‑by‑Step Instructions for Chocolate Dipped Ghost Wafers
Step 1: Prepare the Work Area
Begin by gathering all your ingredients and tools: a microwave-safe bowl for melting chocolate, a baking sheet lined with parchment paper, and your waffle cookies. Ensure your workspace is clean and tidy to make the process enjoyable. This preparation will help you navigate through the steps smoothly, setting the stage for your delightful Chocolate Dipped Ghost Wafers.
Step 2: Melt the White Chocolate
Place your white chocolate in the microwave-safe bowl and heat in 30-second intervals, stirring in between until fully melted and smooth—this typically takes about 1-2 minutes. Be attentive to avoid burning the chocolate. Once melted, the chocolate should have a silky consistency, perfect for dipping your cookies.
Step 3: Dip the Waffle Cookies
Take a waffle cookie and dip it into the melted white chocolate, ensuring it’s fully coated. Use a fork to lift the cookie out, allowing any excess chocolate to drip back into the bowl. Place the dipped cookie onto the parchment-lined baking sheet. Repeat this process with the remaining cookies until your tray is filled with these soon-to-be ghostly delights.
Step 4: Add Edible Eyes
Before the chocolate sets, add the edible eyes to your dipped cookies while the chocolate is still wet. Space them evenly to give your ghostly figures personality! The eyes will help transform your Chocolate Dipped Ghost Wafers into adorable, spooky treats that will delight your guests.
Step 5: Create Spooky Mouths
To give your ghosts some character, melt a few chocolate chips in the microwave. Use a toothpick or a piping bag to apply small dots to create spooky mouths on each ghost. This step adds a fun touch and allows each wafer to have its unique expression, making them even more festive for your Halloween gathering.
Step 6: Let Set
Once decorated, carefully transfer the baking sheet to the refrigerator for about 15-20 minutes, allowing the chocolate to firm up. This ensures your Chocolate Dipped Ghost Wafers will hold their shape and stay delightful until you’re ready to serve. Keep an eye on them to watch as the chocolate sets beautifully!
Step 7: Serve and Enjoy
After chilling, your Chocolate Dipped Ghost Wafers are ready to dazzle guests! Arrange them on a festive platter, perhaps alongside other spooky treats. Serve at your Halloween party and enjoy watching everyone delight in these charming sweets. They’re sure to be a hit, adding a playful flair to your dessert table!
Expert Tips for Chocolate Dipped Ghost Wafers
-
Use Quality Chocolate: Select high-quality white chocolate for the best melting and flavor. Cheap chocolate can become grainy; avoid this mistake for smooth ghostly treats.
-
Cool and Set Properly: Chill the dipped wafers in the refrigerator to ensure they hold their shape. This will prevent messy, droopy ghosts at serving time.
-
Be Creative with Designs: Experiment with different themed sprinkles or toppings on your ghosts. Personalizing each Chocolate Dipped Ghost Wafer will delight your guests!
-
Work Efficiently: Melt the chocolate in small batches if needed. This prevents it from hardening while you’re dipping; keep the process fun and quick!
-
Store in Airtight Containers: To keep your ghostly treats fresh, store them in an airtight container but avoid stacking them to preserve their shape.
What to Serve with Chocolate Dipped Ghost Wafers?
Elevate your Halloween gathering with perfect pairings that are as delightful as these charming treats!
-
Spooky Fruit Salad: A mix of seasonal fruits like oranges and grapes adds a refreshing, colorful contrast to the sweet chocolate.
Complementing the rich flavors, this salad not only brings a juicy bite but also a ghostly aesthetic with its vibrant colors. -
Creepy Crawly Cupcakes: These cupcakes can be topped with spider or web designs using frosting, adding a fun, thematic touch to your dessert table.
They offer a light, spongy texture that pairs beautifully with the crunch of chocolate dipped wafers, merging flavors seamlessly. -
Halloween Punch: A fizzy drink infused with citrus and grenadine enhances the festive mood while balancing the sweetness of your treats.
Serve it in a cauldron for extra spooky flair, creating a delightful beverage option that will quench everyone’s thirst! -
Ghoulish Cheeseboard: Incorporate eerie cheeses, olives, and crackers for savory bites between sweets.
The saltiness of the cheeses contrasts wonderfully with the sweetness of the chocolate dipped ghost wafers, making it a well-rounded experience. -
Pumpkin Spice Dip: A creamy dip made with mascarpone and pumpkin spice brings a seasonal flavor element while offering a deliciously rich texture.
This won’t just enhance your wafers’ sweetness but also add a comforting autumn taste that invites everyone to indulge. -
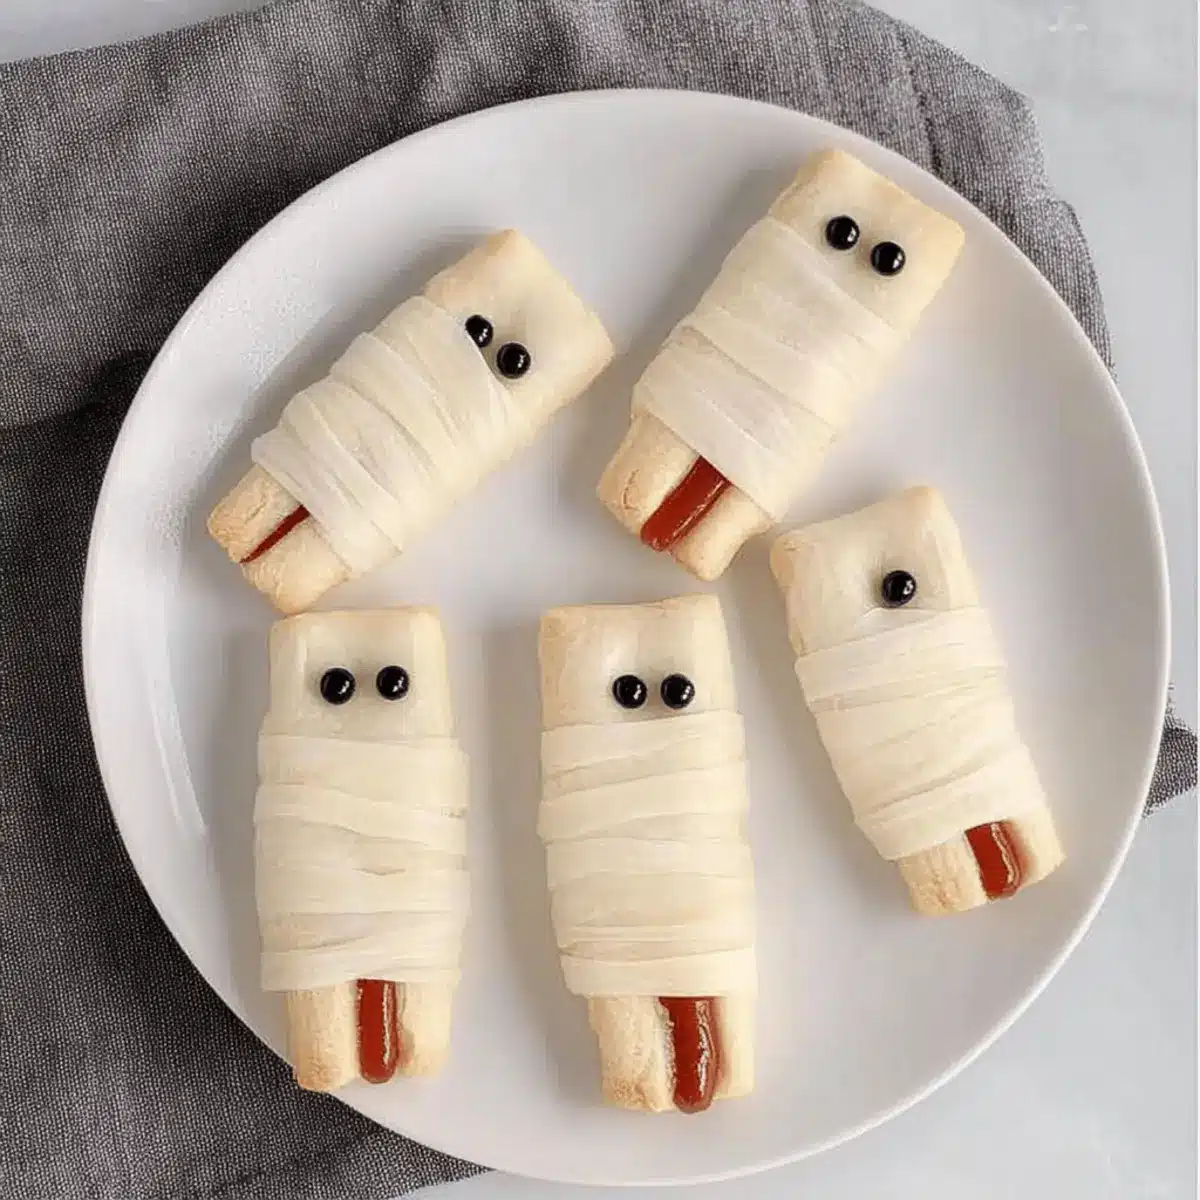
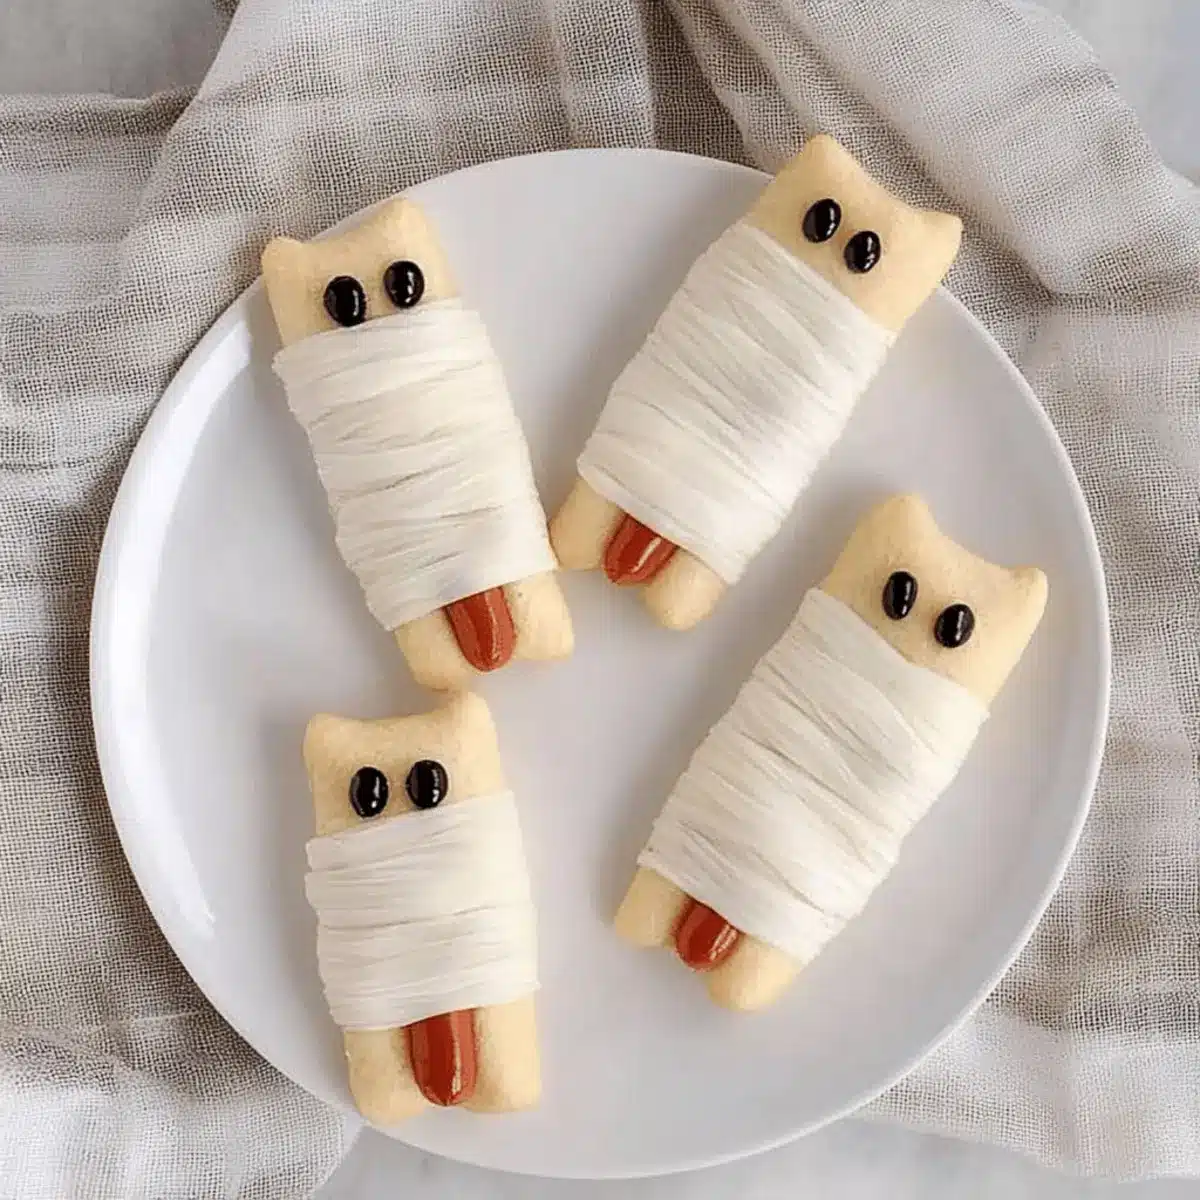
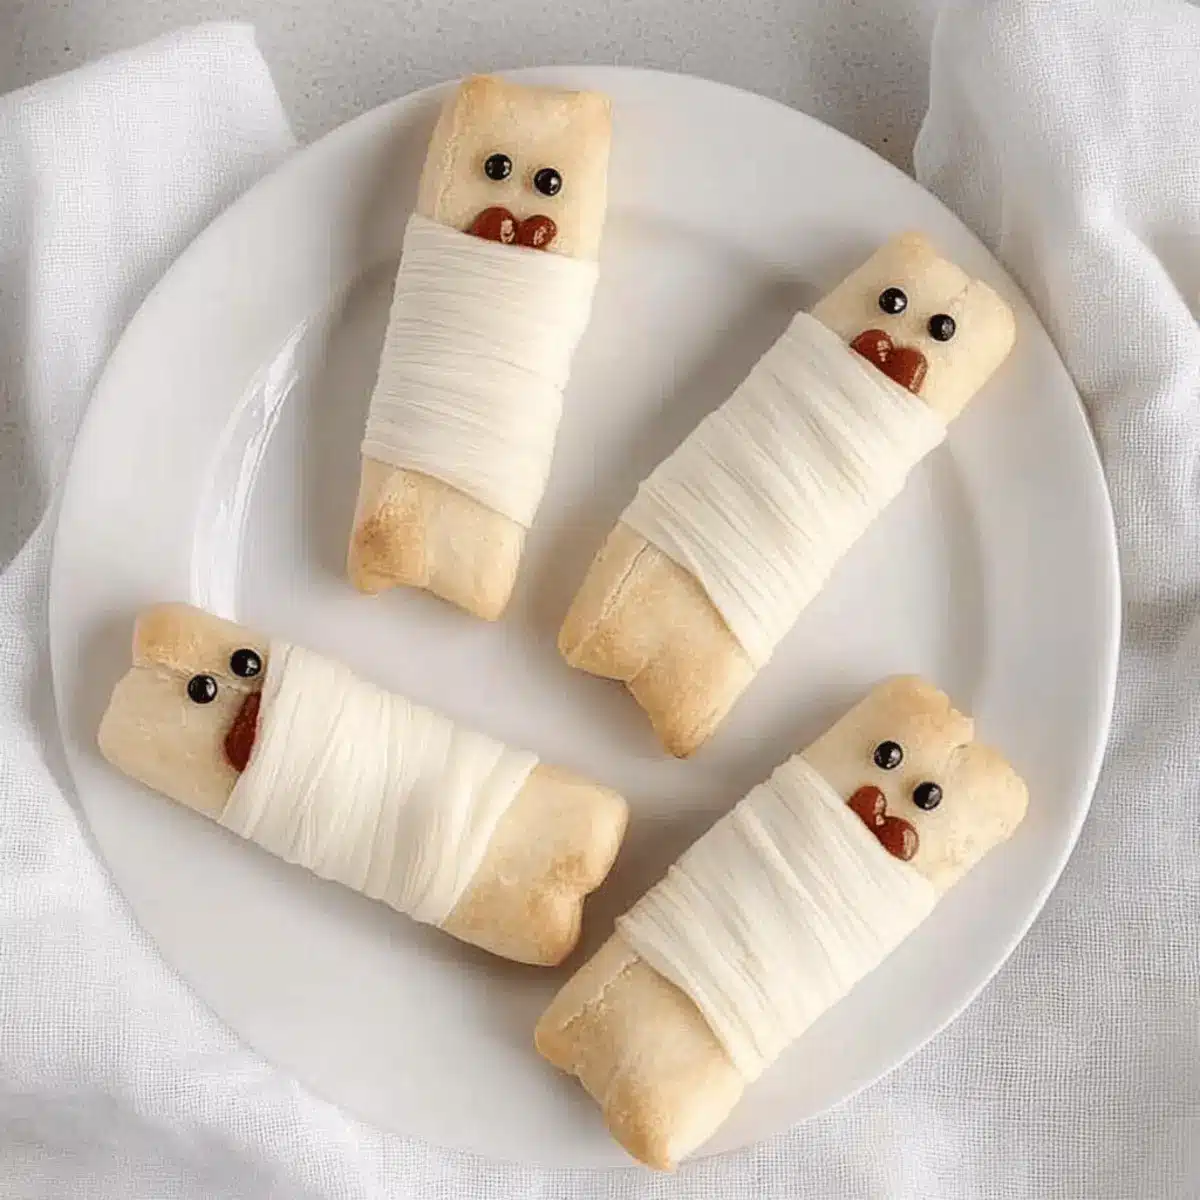
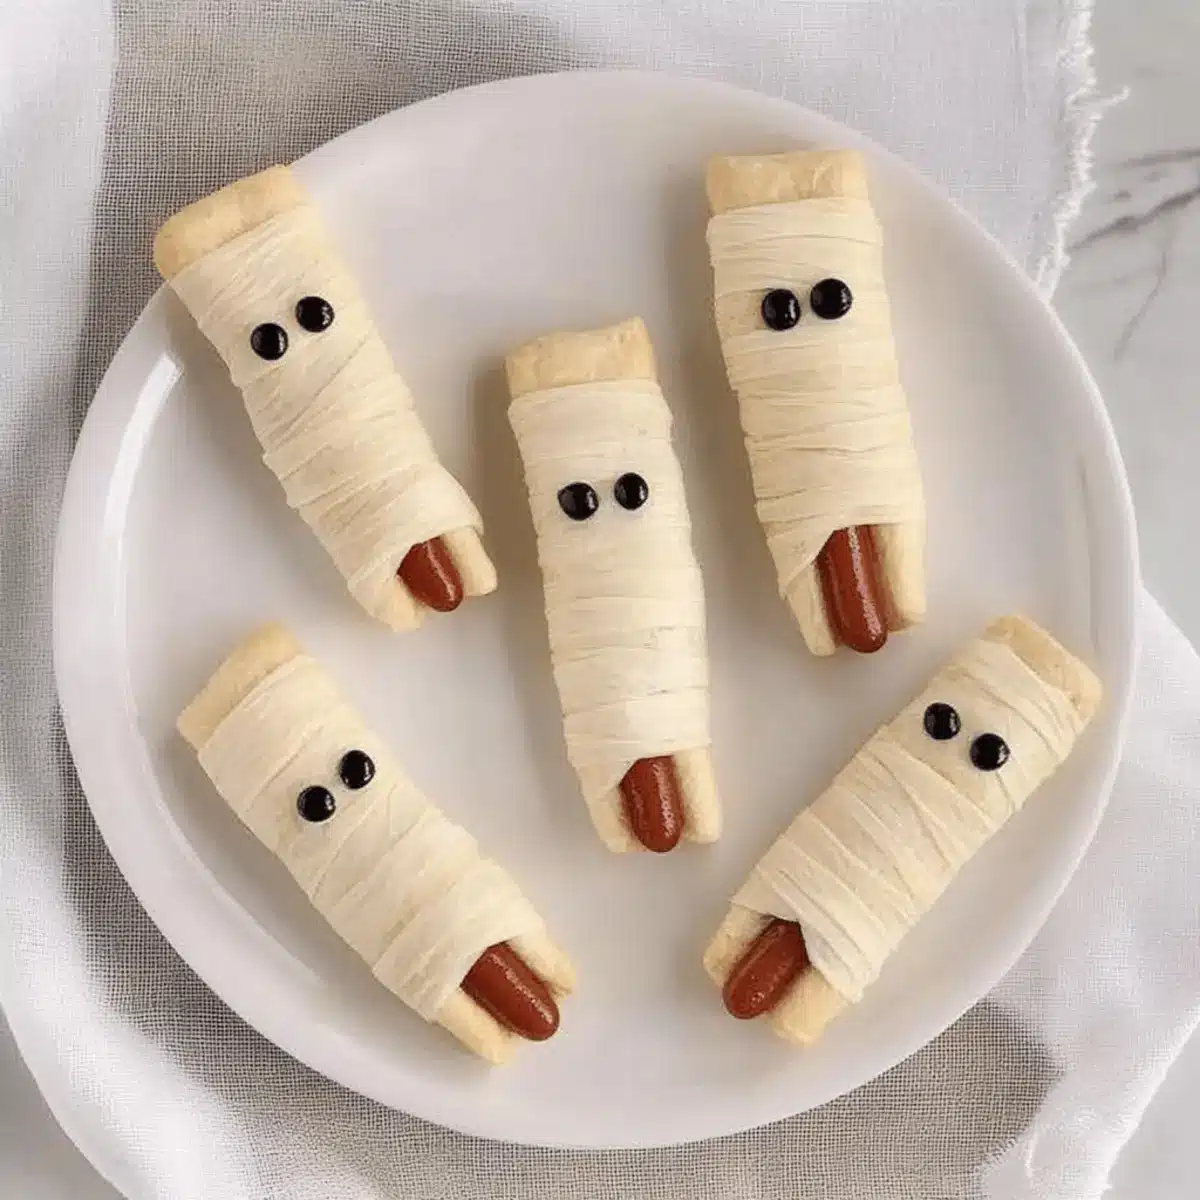
Mummy Dogs: Wrap mini hot dogs in crescent dough for adorable, flaky bites that are savory and satisfying next to the sweet wares.
Their warm, crispy exterior and hearty filling create an ideal companion to the crunchy sweetness of the ghost wafers. -
Cinnamon Sugar Tortilla Chips: These delightful chips offer a sweet, crunchy texture that plays off the ghostly treats perfectly.
Dip them into seasonal apple or pumpkin dip for an added layer of deliciousness, creating a festive snacking experience! -
Witch’s Brew Brownies: Rich and fudgy, they make a luscious addition that tempts the taste buds while echoing the Halloween theme.
The chewy indulgence balances well with the refreshing light crunch of the chocolate dipped ghost wafers.
Storage Tips for Chocolate Dipped Ghost Wafers
Room Temperature: Store your Chocolate Dipped Ghost Wafers in a cool, dry place for up to 2 days in an airtight container to maintain freshness.
Fridge: If you want to keep them longer, place the wafers in the fridge; they’ll stay good for up to a week. Just ensure to use a sealed container to prevent moisture.
Freezer: For extended storage, freeze the chocolate dipped treats in a single layer, then transfer to an airtight container for up to 3 months. Thaw in the fridge before serving for best results.
Reheating: While these delightful wafers are best enjoyed cold, if needed, let them come to room temperature for a couple of minutes after taking them out of the fridge to enjoy their crunchiness!
Make Ahead Options
These Chocolate Dipped Ghost Wafers are perfect for busy home cooks looking to save time while preparing for Halloween festivities! You can make the ghost wafers up to 24 hours in advance; simply prepare them as directed, then store them in an airtight container in the refrigerator. To maintain their crunch, wait to dip them in melted white chocolate and add edible eyes until right before serving. This way, they’ll taste just as fresh and delightful! When it’s party time, dip the cookies, decorate, and chill for 15-20 minutes to let the chocolate set. Your guests will be thrilled with these spooky treats, crafted with minimal effort!
Chocolate Dipped Ghost Wafers Variations
Feel free to get creative with these fun and spooky suggestions that will make your Chocolate Dipped Ghost Wafers even more delightful!
-
Different Chocolates:
Swap out white chocolate for dark or milk chocolate for a richer flavor. You’ll create a new take on this classic treat, appealing to all chocolate lovers! -
Flavored Wafers:
Use flavored waffle cookies like chocolate or vanilla to add an extra layer of sweetness. Imagine the surprise when your guests bite into a delectable chocolate ghost! -
Nut Butter Drizzle:
Drizzle with almond or peanut butter for a delightful twist. It adds a nutty flavor that perfectly complements the sweetness of the chocolate and makes them even more indulgent. -
Add Sprinkles:
Coat with themed sprinkles for an extra pop of color after dipping. A sprinkle surprise adds whimsical flair and excitement to the presentation! -
Fruit Toppings:
Add pieces of dried fruit, like cranberries or raisins, for spooky “ghostly” expressions. Not only will they look charming, but it’ll introduce new flavors to enjoy! -
Spicy Ghosts:
For an adult twist, mix a pinch of cayenne or chili powder into the melted chocolate for a surprising kick. Sweet with a hint of heat will have your guests talking! -
Mini Ghost Sandwiches:
Create mini ghost sandwiches with two wafers and a layer of cream cheese or frosting in between. They’ll be irresistibly fun to eat and charming to display!
Pair these variations with classics like Rocky Road Chocolate or Peanut Butter Chocolate to create a spooky dessert spread that’s sure to impress! Enjoy your creativity in the kitchen this Halloween!
Chocolate Dipped Ghost Wafers Recipe FAQs
What type of waffle cookies should I use?
Absolutely! Look for waffle cookies that are either plain or shaped like ghosts for added fun. Regular waffle cookies work great as well—just ensure they maintain a crunchy texture after dipping in chocolate.
How should I store leftover Chocolate Dipped Ghost Wafers?
To keep your delectable creations fresh, store your Chocolate Dipped Ghost Wafers in an airtight container. They can be kept at room temperature for up to 2 days. If you want them to last longer, refrigerate them for up to a week, always in a sealed container to prevent moisture.
Can I freeze Chocolate Dipped Ghost Wafers, and if so, how?
Yes, these treats freeze beautifully! Place the wafers in a single layer on a baking sheet to freeze first. Once set, transfer them to an airtight container or freezer bag. They can be frozen for up to 3 months. Thaw them in the fridge for the best texture before serving.
What if the chocolate isn’t melting smoothly?
If your chocolate turns grainy while melting, try using a double boiler or ensure you’re melting it in shorter increments in the microwave. Stir in a teaspoon of vegetable oil or shortening to restore smoothness as it melts, which also helps with coating the wafers evenly.
Can these wafers be made ahead of time?
Very much so! You can prepare your Chocolate Dipped Ghost Wafers a day in advance. Simply store them in the fridge after decorating, and they’ll be ready to impress your guests the next day!
Are there any allergy considerations with the ingredients?
While the main ingredients are generally safe, always check the packaging for allergens, especially if serving guests with sensitivities. For those avoiding dairy, you may substitute white chocolate with dairy-free options available in stores, keeping the spooky fun intact!
Chocolate Dipped Ghost Wafers for a Spooky Sweet Treat!
Ingredients
Equipment
Method
- Prepare the work area by gathering all your ingredients and tools, ensuring a clean workspace.
- Melt the white chocolate in a microwave-safe bowl in 30-second intervals, stirring until smooth, about 1-2 minutes.
- Dip each waffle cookie into the melted white chocolate, fully coating and allowing excess to drip off.
- While the chocolate is still wet, add edible eyes to the dipped cookies to create ghostly figures.
- Melt some chocolate chips and use a toothpick to apply small dots for spooky mouths on each ghost.
- Place the decorated cookies in the refrigerator for 15-20 minutes to let the chocolate set.
- Serve and enjoy your charming Chocolate Dipped Ghost Wafers on a festive platter.
Leave a Reply