
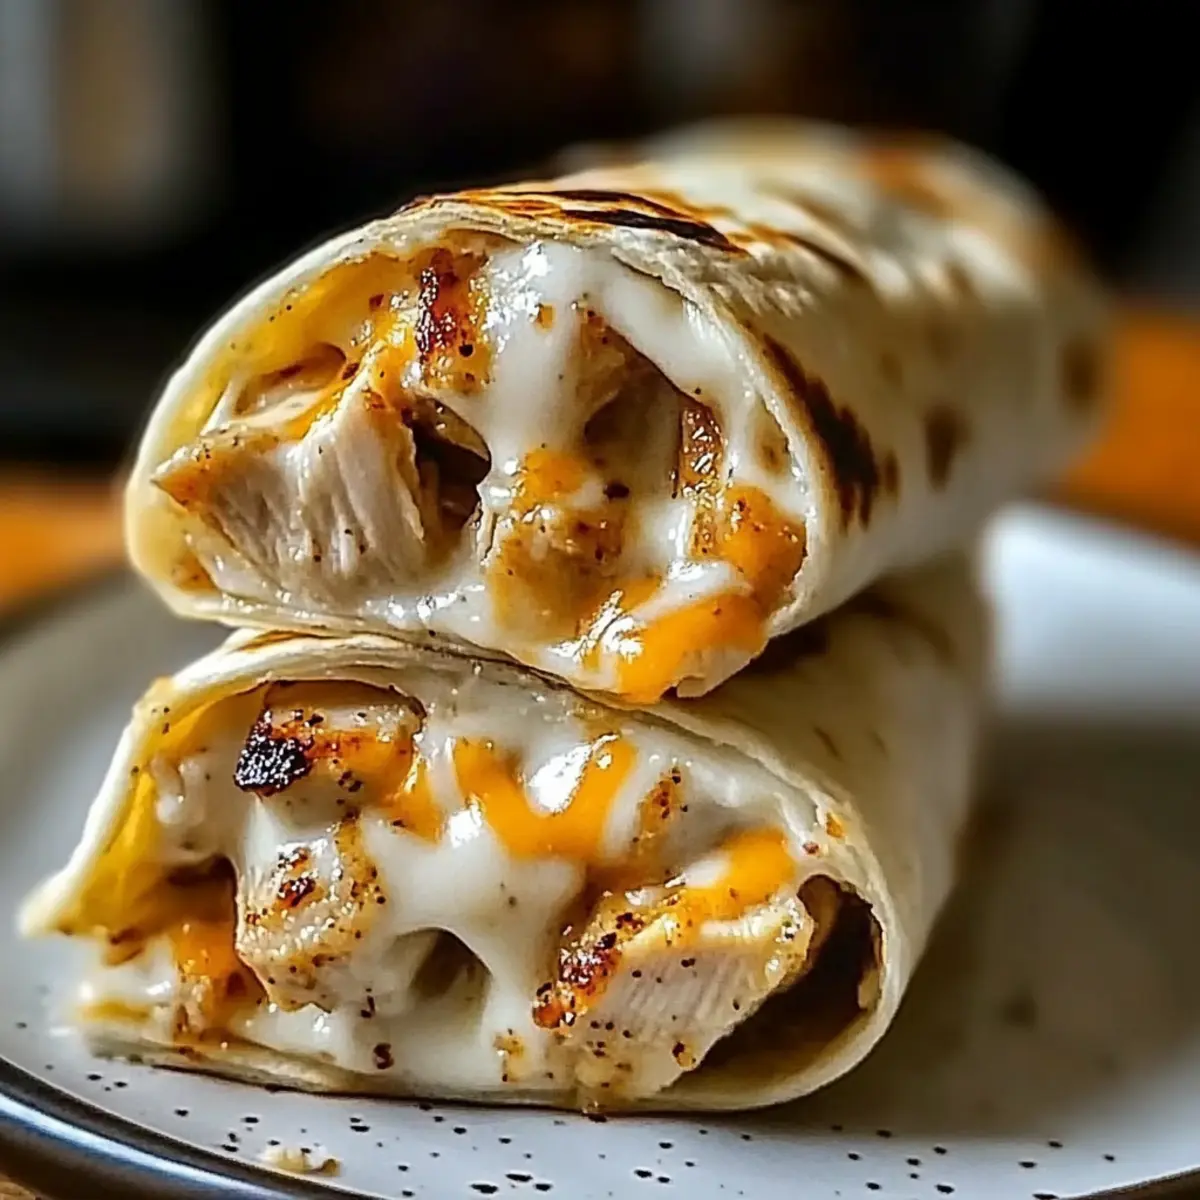
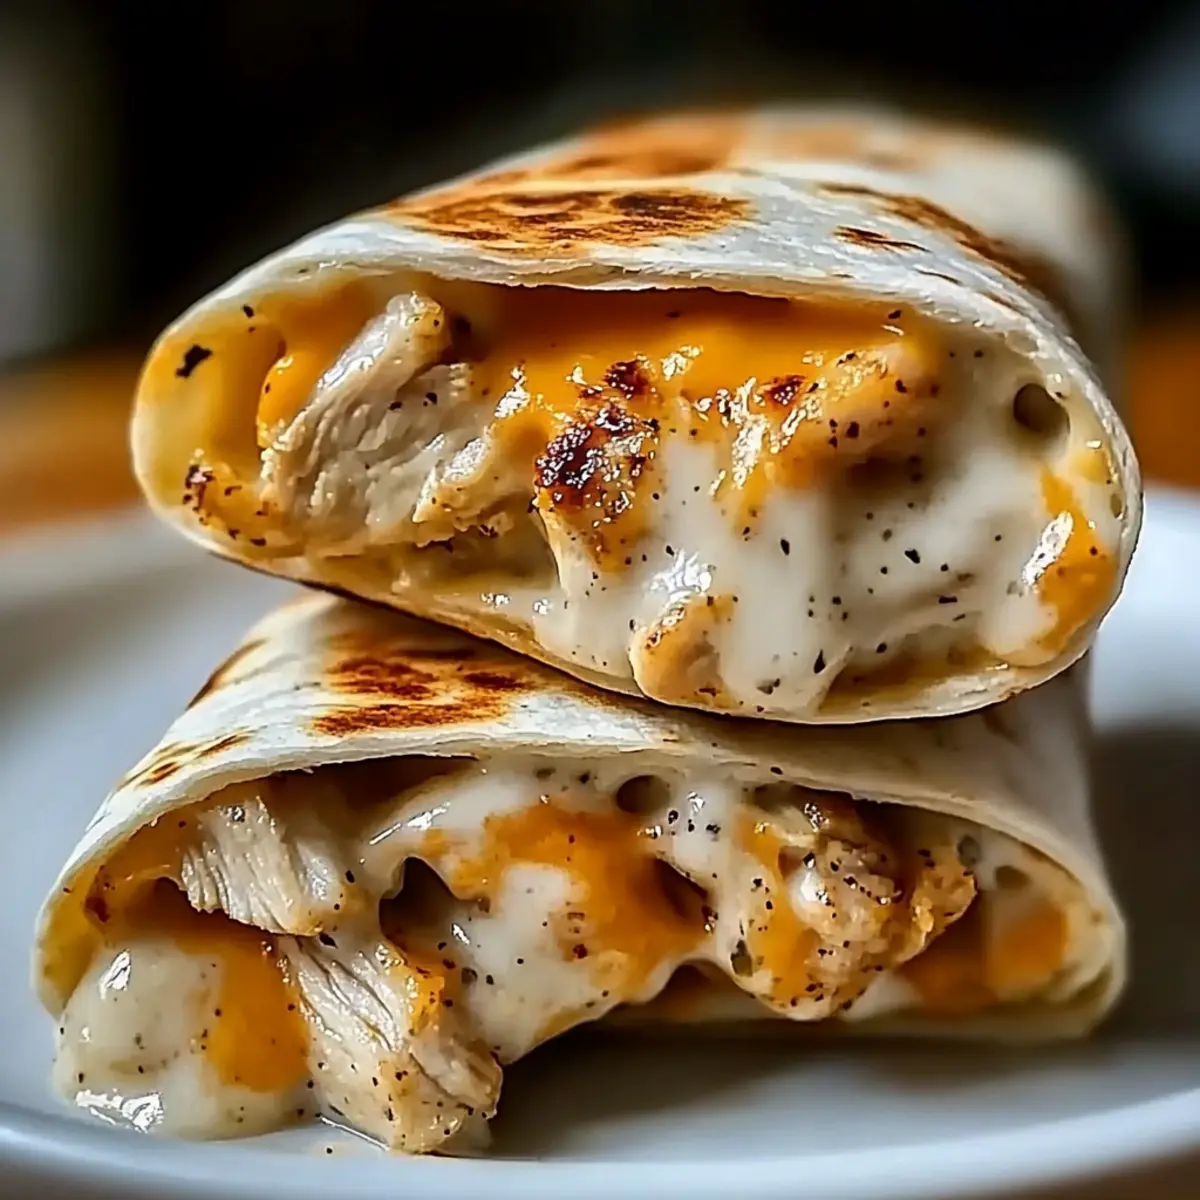
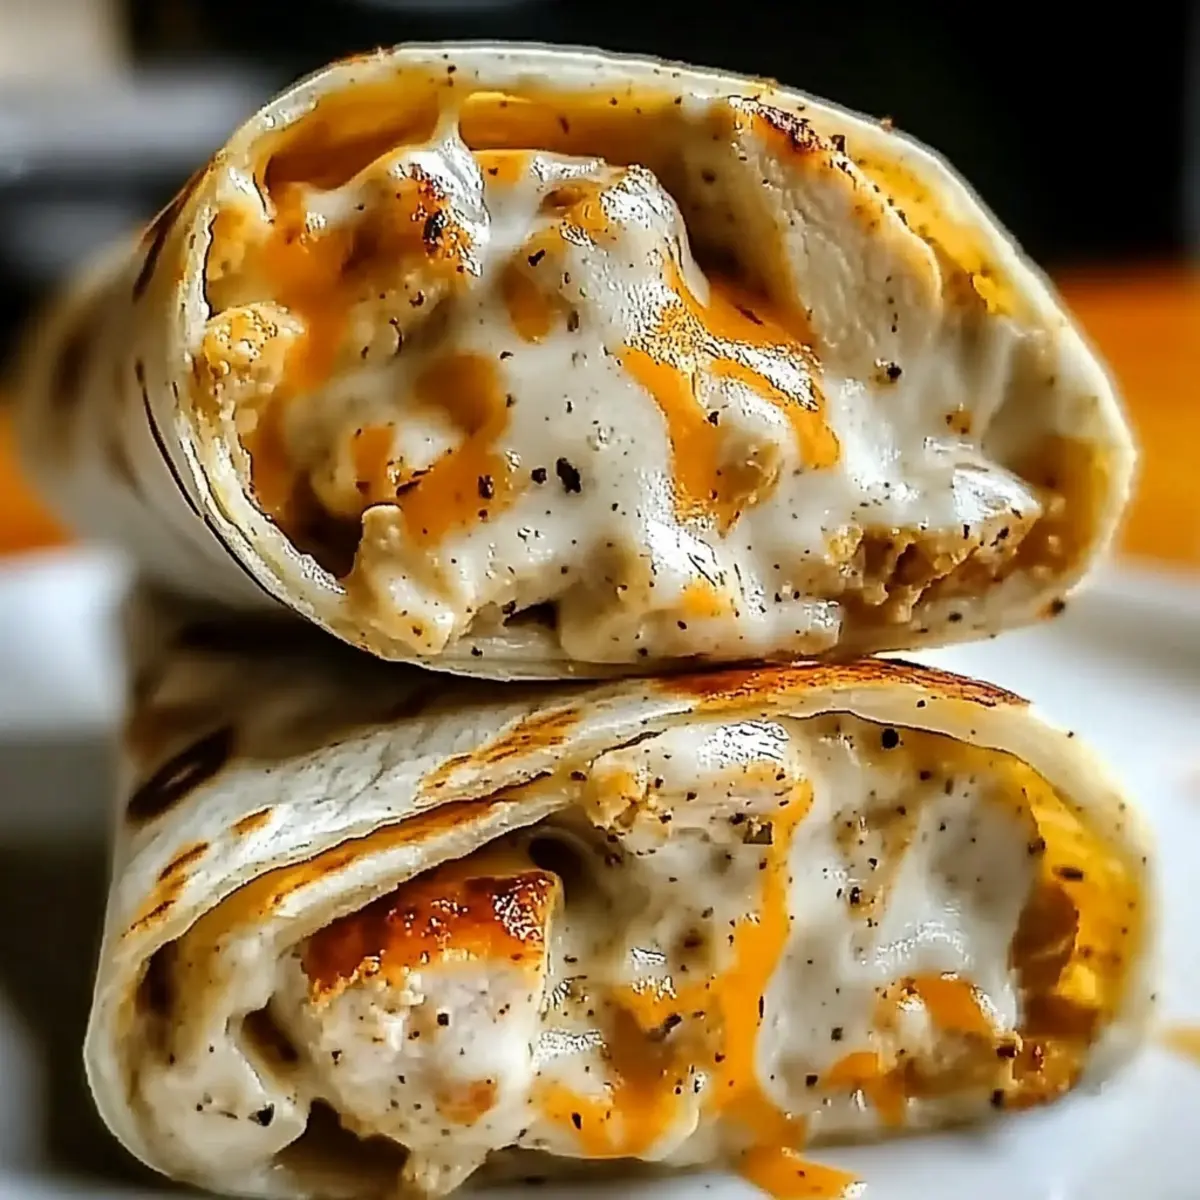
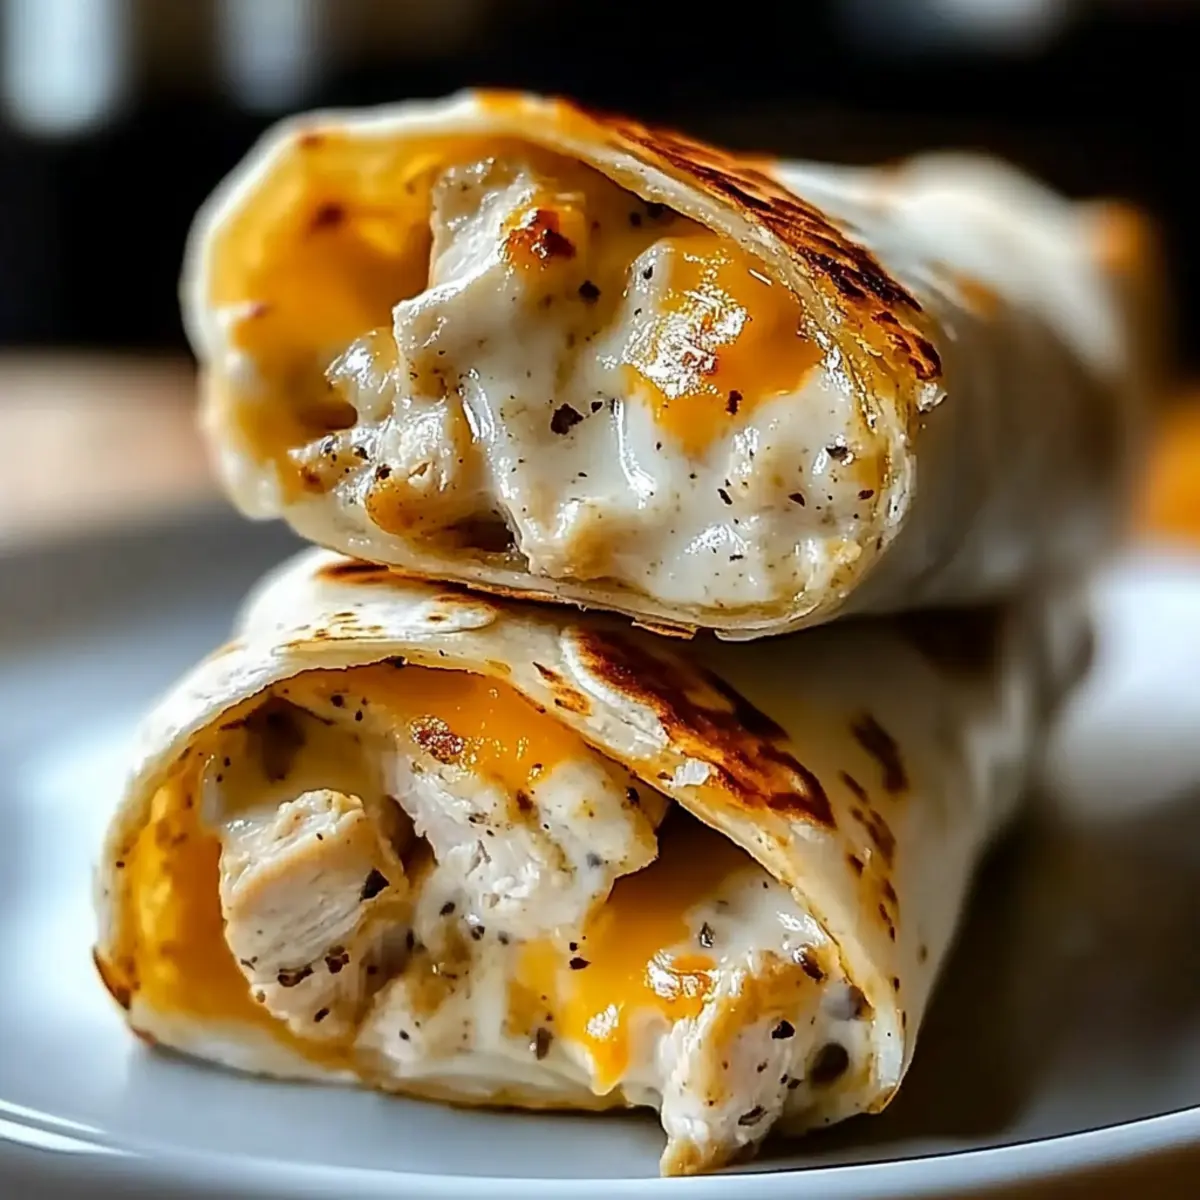
In the midst of your busy day, when hunger strikes, a savory moment can make all the difference. Enter my Cheesy Garlic Chicken Wraps, the quick lunch solution that transforms ordinary chicken into a gooey delight! With a luscious combination of melted cheese and aromatic garlic wrapped snugly inside warm tortillas, this recipe serves up comfort food in a flash. It’s perfect for weekdays when time is short, yet you crave something hearty and satisfying. Plus, the versatility of this dish means you can customize it to match your pantry, making it a go-to favorite for anyone seeking a delicious homemade meal. Whether you’re feeding the family or treating yourself, are you ready to embrace this cheesy goodness?
Why are Cheesy Garlic Chicken Wraps amazing?
Quick and Easy: This recipe is perfect for a busy schedule, allowing you to whip up a satisfying meal in no time! Endless Customization: You can easily switch up ingredients with options like Cheesy Garlic Bread or sautéed veggies, tailoring it to your taste. Gooey Goodness: Each bite delivers a delightful blend of melted cheese and fragrant garlic, creating comfort food at its finest. Crowd-Pleaser: Whether it’s lunch for one or dinner for the family, these wraps will leave everyone wanting more. Versatile Pairings: Serve with a side salad for balance, or enjoy with Garlic Chicken Gnocchi for an indulgent experience!
Cheesy Garlic Chicken Wraps Ingredients
• To create your very own Cheesy Garlic Chicken Wraps, gather these essential ingredients!
- Cooked Chicken: Heart of the wrap providing protein. Rotisserie chicken is a great shortcut!
- Shredded Mozzarella or Cheddar: Melts beautifully for a gooey texture. Mix both for added flavor complexity.
- Cream Cheese: Adds richness and binds the filling. Ensure it’s softened for seamless mixing.
- Butter: Used to infuse garlic flavor and crisp the tortilla. Melted for even distribution.
- Garlic (minced): Provides bold, fragrant flavor. Use fresh for the best aroma; adjust quantity according to preference.
- Sour Cream: Adds tang and creaminess that balances the richness. Plain yogurt can be a healthier substitute.
- Garlic Powder: Reinforces fresh garlic flavor. Optional but recommended if fresh garlic is mild.
- Italian Seasoning: Contributes herbaceous notes. Oregano, basil, and thyme work well together.
- Large Tortillas: Serves as the wrap base; flour tortillas are recommended for flexibility. Consider whole wheat for added fiber.
- Salt and Pepper: Enhances overall flavor. Adjust according to taste.
- Fresh Parsley (optional): Adds color and freshness. Basil or cilantro can substitute for a different flavor twist.
Step‑by‑Step Instructions for Cheesy Garlic Chicken Wraps
Step 1: Prep Chicken
Start by ensuring your cooked chicken is shredded or diced into small pieces for an even distribution throughout the Cheesy Garlic Chicken Wraps. If using rotisserie chicken, this step is a breeze. Aim for bite-sized pieces to allow for maximum flavor in every bite.
Step 2: Soften Cream Cheese
Before blending your filling, allow the cream cheese to soften at room temperature for about 20 minutes. This will make for a smooth, lump-free mixture when combined with the other ingredients later on. A creamy texture is a must for your delicious wraps!
Step 3: Prep Garlic
Minch fresh garlic cloves finely so the flavors can bloom beautifully when cooked. You’ll need about 2-3 cloves depending on your garlic preference. Set aside the minced garlic for the next chapter of your recipe, where we infuse the wraps with that aromatic goodness.
Step 4: Warm Tortillas
In a skillet over medium heat, warm your large tortillas for about 30 seconds on each side. This helps keep them pliable and prevents cracking while wrapping. You’ll want them soft to cradle all that cheesy, garlicky goodness without falling apart!
Step 5: Combine Filling
In a large mixing bowl, combine the shredded chicken, shredded mozzarella (or cheddar), softened cream cheese, minced garlic, sour cream, garlic powder, Italian seasoning, and a pinch of salt and pepper. Stir thoroughly until everything is well mixed, creating a cheesy filling that’s bursting with flavor!
Step 6: Assemble Wraps
Place a generous amount of the chicken filling onto each warm tortilla, closer to one edge. Roll the tortilla tightly while tucking in the sides to secure the filling. Aim to form a snug wrap that keeps all the delicious contents inside while you prepare for the cooking stage.
Step 7: Cook Wraps
In the same skillet, melt a tablespoon of butter over medium heat. Cook the assembled Cheesy Garlic Chicken Wraps for 3-5 minutes on each side until golden brown and crisp. Keep an eye on them for that perfect, crunchy exterior while ensuring the cheese inside melts beautifully.
What to Serve with Cheesy Garlic Chicken Wraps
In a home filled with warmth and delightful aromas, the perfect accompaniments can elevate your Cheesy Garlic Chicken Wraps into a memorable feast.
-
Crispy Side Salad: A fresh, vibrant mix of greens, cucumbers, and tomatoes adds a crunchy contrast that brightens every bite.
-
Garlic Parmesan Fries: These indulgent fries bring a punch of flavor and crispy texture, perfectly complementing the gooey wraps.
-
Creamy Coleslaw: The tangy crunch of coleslaw offers a refreshing balance to the rich, cheesy goodness of the wraps, making every mouthful exciting.
-
Roasted Vegetables: Seasonal roasted veggies contribute a caramelized sweetness, enhancing the savory flavor profile of the chicken wraps.
-
Spicy Salsa: A zesty salsa adds refreshing brightness and a kick that awakens the palate, making it an irresistible pairing.
-
Chilled Lemonade: A glass of tangy lemonade is the ideal thirst quencher, cutting through the richness and refreshing your taste buds.
-
Baked Tortilla Chips: Enjoy crispy tortilla chips with a side of guacamole for a delightful crunch and creamy dip that pairs beautifully.
-
Chocolate Chip Cookies: For a sweet finish, serve warm chocolate chip cookies, offering a comforting and nostalgic end to your cheesy meal.
Make Ahead Options
These Cheesy Garlic Chicken Wraps are a fantastic meal prep solution for busy weeknights! You can prepare the filling (chicken, cheeses, cream cheese, garlic, and seasonings) up to 3 days in advance, keeping it airtight in the refrigerator. Simply layer all the ingredients in a bowl, mix well, and cover tightly to maintain freshness. When you’re ready to enjoy, warm your tortillas, assemble the wraps, and cook them in a skillet as directed—this will ensure they are just as delicious and crispy as when freshly made. With this simple prep, you’ll savor the gooey goodness of these wraps in no time, making meal times effortless!
Expert Tips for Cheesy Garlic Chicken Wraps
-
Right Chicken Choice: Use rotisserie chicken for convenience and flavor. Avoid dry chicken or undercooked pieces to ensure a juicy wrap.
-
Cream Cheese Warm-Up: Always soften the cream cheese before mixing. This helps create a smooth filling, preventing lumps or excessive dryness.
-
Garlic Control: Adjust the fresh garlic quantity based on your flavor preference. Too much can overpower, while too little may be bland.
-
Proper Tortilla Technique: Warm tortillas are crucial! Cold or unheated tortillas can crack and tear. Treat them right for easy rolling!
-
Skillet Mastery: Cook wraps over medium heat to achieve that golden crunch without burning. Too high a flame can lead to a charred exterior and unmelted cheese inside.
-
Storage Savvy: If making ahead, let wraps cool before storing. Use an airtight container and refrigerate for up to 3 days to maintain freshness in your cheesy garlic chicken wraps.
How to Store and Freeze Cheesy Garlic Chicken Wraps
-
Fridge: Store leftover Cheesy Garlic Chicken Wraps in an airtight container for up to 3 days. This keeps them fresh and ready for a quick lunch or snack later!
-
Freezer: For longer storage, wrap each assembled wrap tightly in plastic wrap, then place them in a freezer bag. They can be frozen for up to 2 months without compromising flavor.
-
Reheating (Skillet): To reheat, place the wrap in a skillet over medium heat for about 3-5 minutes on each side until warmed through and crispy.
-
Reheating (Microwave): If you’re short on time, you can microwave the wraps using a damp paper towel for moisture. Heat in 30-second intervals until hot, taking care not to overdo it.
Cheesy Garlic Chicken Wraps Variations
Feel free to experiment with these delicious ideas to make your Cheesy Garlic Chicken Wraps truly your own!
-
Spicy Twist: Substitute mozzarella for pepper jack cheese to add a fiery kick that elevates your flavors.
-
Vegetarian Delight: Swap the chicken for roasted vegetables like zucchini and bell peppers for a wholesome plant-based option. The added texture will make every bite enjoyable!
-
Creamy Spin: Incorporate cream cheese-based sauces, like a homemade ranch or the herby tang of tzatziki, for added richness. This lends an exciting flavor profile to your wraps!
-
Savory Greens: Mix in sautéed spinach, kale, or mushrooms for a nutrient boost, ensuring that you’re treating yourself to a balanced meal.
-
Light & Fresh: Replace sour cream with Greek yogurt for lower fat content and a tangier taste, perfect for those looking for a lighter touch!
-
Mediterranean Flair: Add diced sun-dried tomatoes and crumbled feta for a delightful Mediterranean flavor. The sweetness and brininess are a match made in culinary heaven.
-
Crispy Add-Ins: Toss in some crispy bacon or crunch from fried onions for an irresistible texture contrast that will have you craving more.
-
Herb-Infused: Experiment with different herbs, such as cilantro or dill, to infuse an aromatic twist that can beautifully complement any filling.
These wraps are endlessly versatile! You could enjoy them alongside a side of Cheesy Garlic Bread or a refreshing mixed salad for a complete meal experience.
Cheesy Garlic Chicken Wraps Recipe FAQs
What type of chicken should I use for Cheesy Garlic Chicken Wraps?
Absolutely! For the best flavor and moisture, I recommend using rotisserie chicken. It saves time and adds a delicious, seasoned taste. Just shred it into bite-sized pieces to create a harmonious filling.
How long can I store leftover wraps in the fridge?
You can store leftover Cheesy Garlic Chicken Wraps in an airtight container for up to 3 days. To maintain their freshness, make sure they are completely cooled before sealing them tight.
Can I freeze Cheesy Garlic Chicken Wraps?
Very! To freeze, wrap each assembled wrap tightly in plastic wrap and place them in a freezer bag. They can be frozen for up to 2 months. When you’re ready to enjoy, just pop them in the oven or heat them on the stovetop!
What’s the best way to reheat frozen wraps?
For the best texture, I recommend reheating frozen Cheesy Garlic Chicken Wraps in a skillet. Heat them over medium for about 3-5 minutes on each side until heated through and crispy. If you’re in a hurry, you can microwave them with a damp paper towel, heating in 30-second intervals until hot.
Are there any dietary considerations for this recipe?
Of course! If you have dietary restrictions, consider substituting the cream cheese with a dairy-free alternative or using plain yogurt for a lighter option. Additionally, make sure to choose gluten-free tortillas if you need to avoid gluten.
What if my cream cheese is too cold to mix?
No worries! If you find that your cream cheese is too cold, simply cut it into smaller cubes and let it sit at room temperature for about 20 minutes. You can also microwave it for 10-15 seconds for a quick fix; just be careful not to melt it! This will help create a smooth filling without lumps.
Cheesy Garlic Chicken Wraps That Comfort with Every Bite
Ingredients
Equipment
Method
- Start by ensuring your cooked chicken is shredded or diced into small pieces for even distribution.
- Allow the cream cheese to soften at room temperature for about 20 minutes.
- Mince fresh garlic cloves finely and set aside.
- In a skillet, warm the tortillas for about 30 seconds on each side.
- In a mixing bowl, combine shredded chicken, shredded cheese, softened cream cheese, minced garlic, sour cream, garlic powder, Italian seasoning, salt, and pepper.
- Place a generous amount of the filling onto each warm tortilla, roll tightly, and tuck in the sides.
- Melt butter in a skillet over medium heat. Cook the wraps for 3-5 minutes on each side until golden brown and crisp.
Leave a Reply