
I was rummaging through my fridge when I stumbled upon an almost forgotten head of cauliflower, and it sparked a delicious idea: Healthy Baked Cauliflower Nuggets! These delightful bites not only transform a humble vegetable into a crispy, savory snack, but they’re also a fantastic way to sneak in some nutrition without sacrificing taste. Perfect for a quick lunch or dinner, these vegetarian nuggets offer the comforting crunch of baked goodness paired with the nuttiness of Parmesan. With their simple preparation, they’re great for those busy evenings when you crave a homemade option over takeout. Ready to ditch fast food for something wholesome? Let’s dive into the irresistible world of Cauliflower Nuggets, where healthy meets delicious!
Why are Cauliflower Nuggets so amazing?
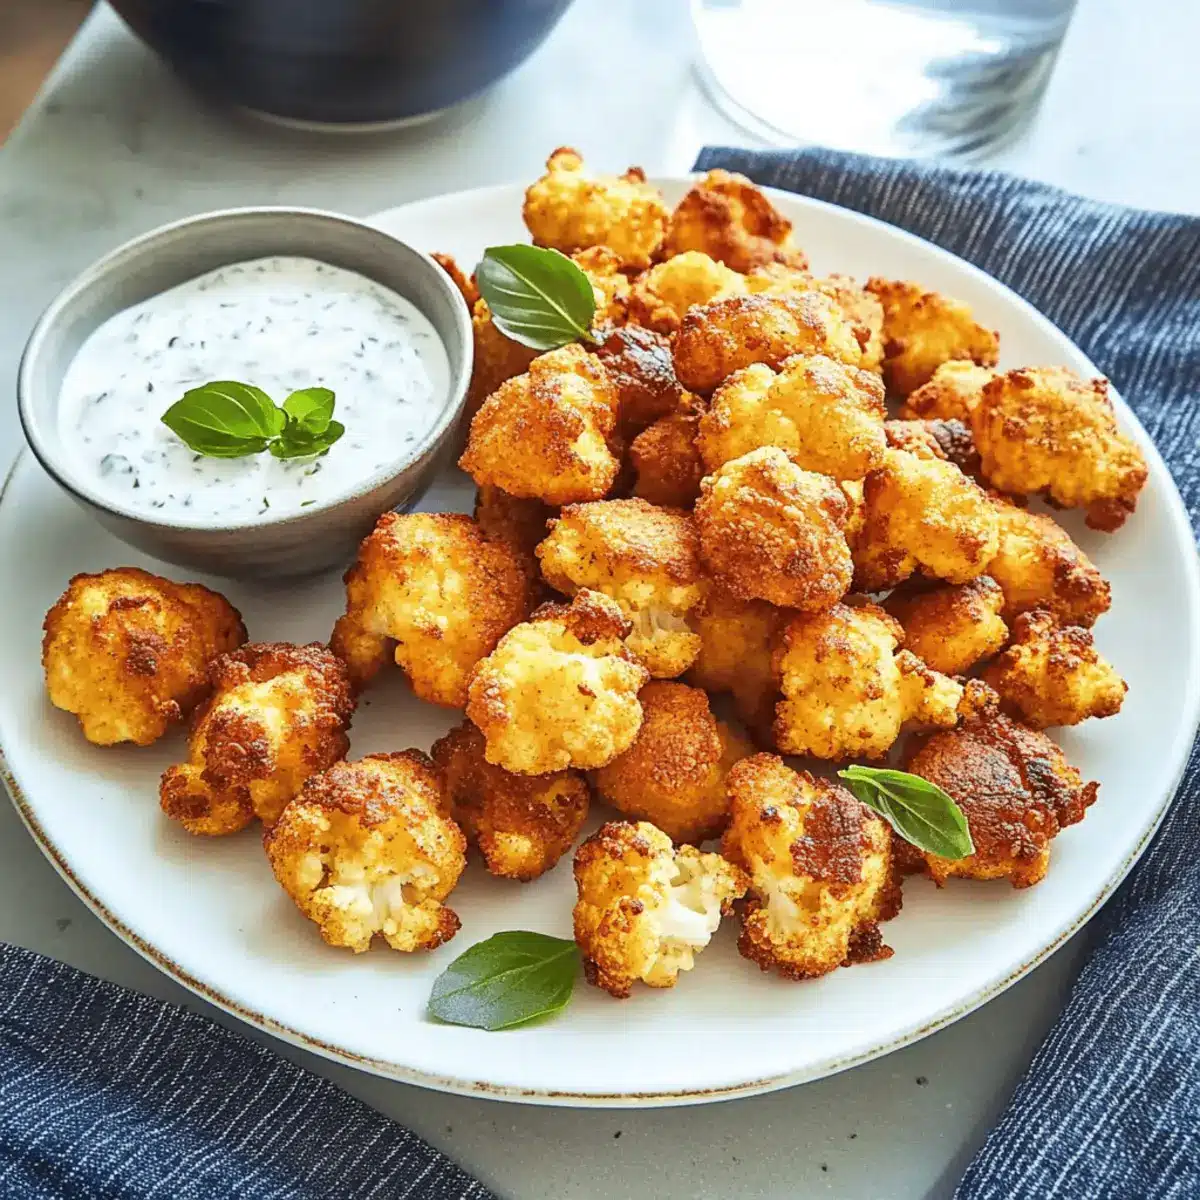
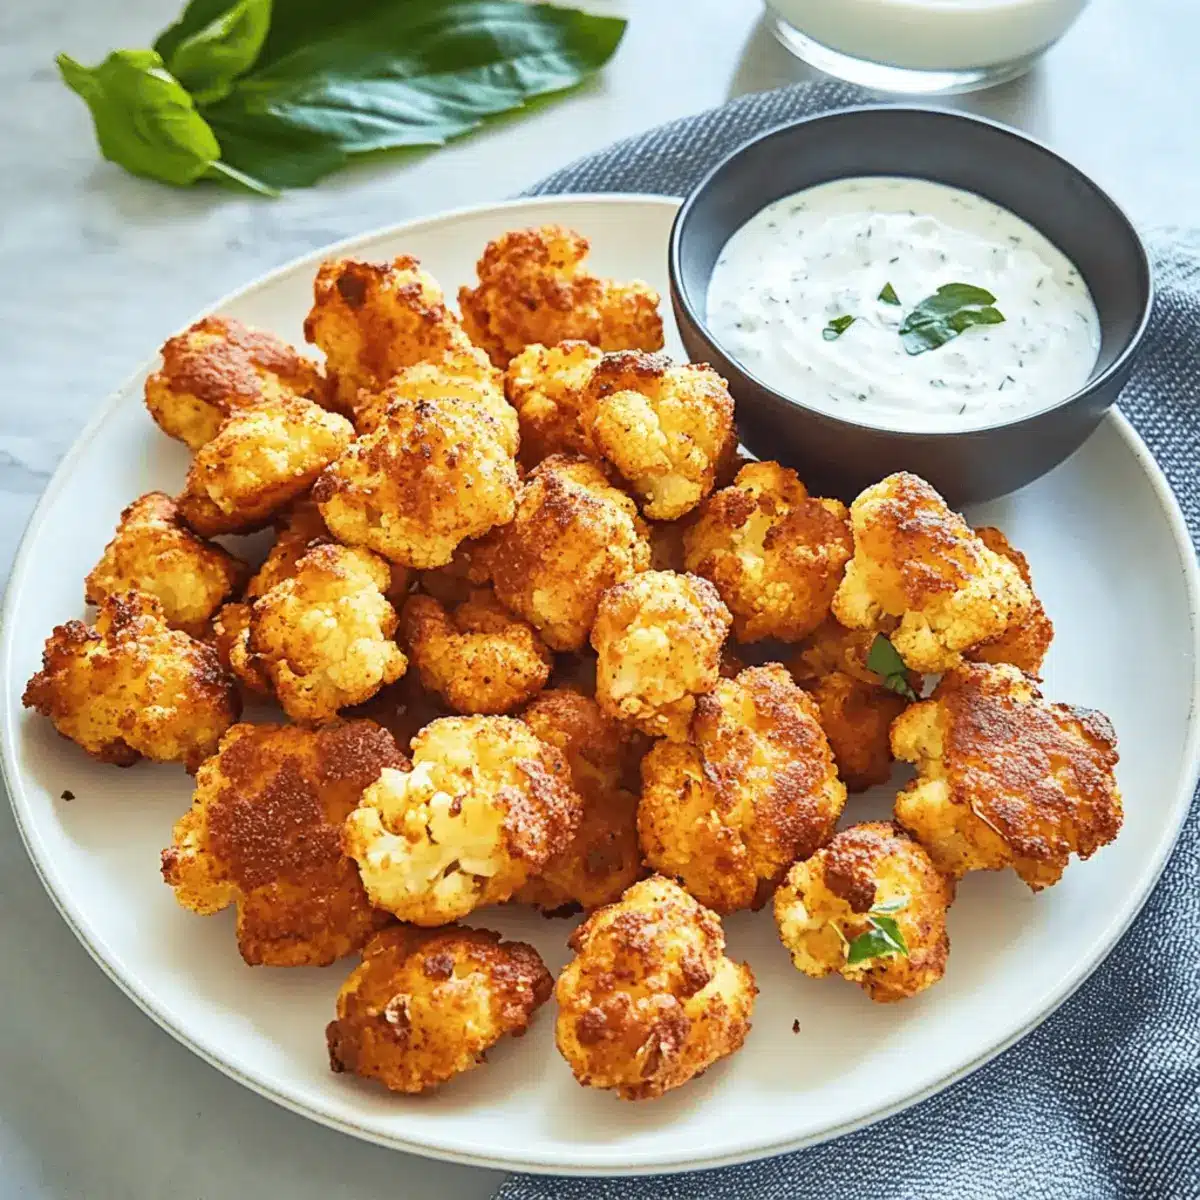
Crispy, flavorful bites: These Cauliflower Nuggets are golden-brown and feature a delightful crunch that satisfies every craving.
Healthy twist: Enjoy the comfort of nuggets while packing in vitamins and fiber, making them guilt-free!
Versatile: Customize them with different cheeses or vegetables to keep things fresh and exciting each time you make them.
Quick and easy: In just 20 minutes, you can have a deliciously baked snack ready to go, perfect for busy weeknights.
Family-approved: Great for all ages, these nuggets are loved by both kids and adults, making them a fantastic addition to any meal. Don’t forget to check out how to make them gluten-free with alternative ingredients!
Cauliflower Nuggets Ingredients
For the Nuggets
- Blumenkohl (Cauliflower) – The star of the dish, providing a nutritious base; you can swap it for broccoli or romanesco for a twist!
- Parmesan (50g, grated) – Adds a rich flavor and binding quality; try mozzarella, cheddar, or gouda as tasty alternatives.
- Paniermehl (Breadcrumbs) – For that perfect crunch! If you’re looking for a gluten-free option, substitute with gluten-free breadcrumbs.
- Milch (Milk, 50g) – Gives moisture and helps bind; any milk works, including dairy or non-dairy!
- Eier (Eggs, 2) – Crucial for binding the mixture together; vegan options can include flaxseed meal or a commercial egg replacer.
- Paprikapulver (Paprika Powder, 1 tsp) – Infuses a lovely flavor; consider smoked paprika for a unique twist!
- Knoblauchpulver (Garlic Powder, 1 tsp) – Enhances the overall taste; fresh garlic can be a delectable alternative.
- Salz (Salt) and Pfeffer (Pepper) – Essential seasonings to elevate the flavors to perfection.
For Serving (optional)
- Dipping Sauce – Pair with a zesty yogurt or herb sauce for an extra flavor boost!
- Salad – Serve alongside a fresh salad to elevate your meal!
These Cauliflower Nuggets not only taste great, but they also offer flexibility with variations, allowing everyone at the table to get excited about healthy eating!
Step‑by‑Step Instructions for Healthy Baked Cauliflower Nuggets
Step 1: Preheat the Oven
Begin by preheating your oven to 180°C (350°F) using the convection setting. This will ensure that your Healthy Baked Cauliflower Nuggets bake evenly and achieve a perfect golden-brown color. While the oven heats, you can prep your ingredients, making sure everything is ready for assembly.
Step 2: Prepare the Cauliflower
Wash the cauliflower thoroughly and drain any excess water. Cut it into larger nugget-sized florets, aiming for consistent sizes so they cook evenly. This way, your Cauliflower Nuggets will have that perfect crispy texture when they come out of the oven, satisfying every craving while remaining nutritious.
Step 3: Mix the Ingredients
In a mixing bowl, combine the eggs, milk, grated Parmesan, breadcrumbs, paprika, garlic powder, salt, and pepper. Whisk until the mixture is smooth and well blended, ensuring all the ingredients are incorporated. This lovely batter will coat your nuggets, adding both flavor and a delightful crunch to your Healthy Baked Cauliflower Nuggets.
Step 4: Coat the Cauliflower
Gently fold the cauliflower florets into the mixing bowl, making sure each piece is evenly coated with the mixture. This step is crucial as it enhances flavor and helps the nuggets hold their shape while baking. Take your time to make sure every nugget gets a good coating, as it will result in a more delicious bite!
Step 5: Prepare the Baking Tray
Line a baking tray with parchment paper for easier cleanup and to prevent sticking. Spread the coated cauliflower nuggets on the tray in a single layer, ensuring they have some space in between to allow for even cooking and crisping. The arrangement is key for getting those delightful golden edges on each nugget.
Step 6: Bake to Perfection
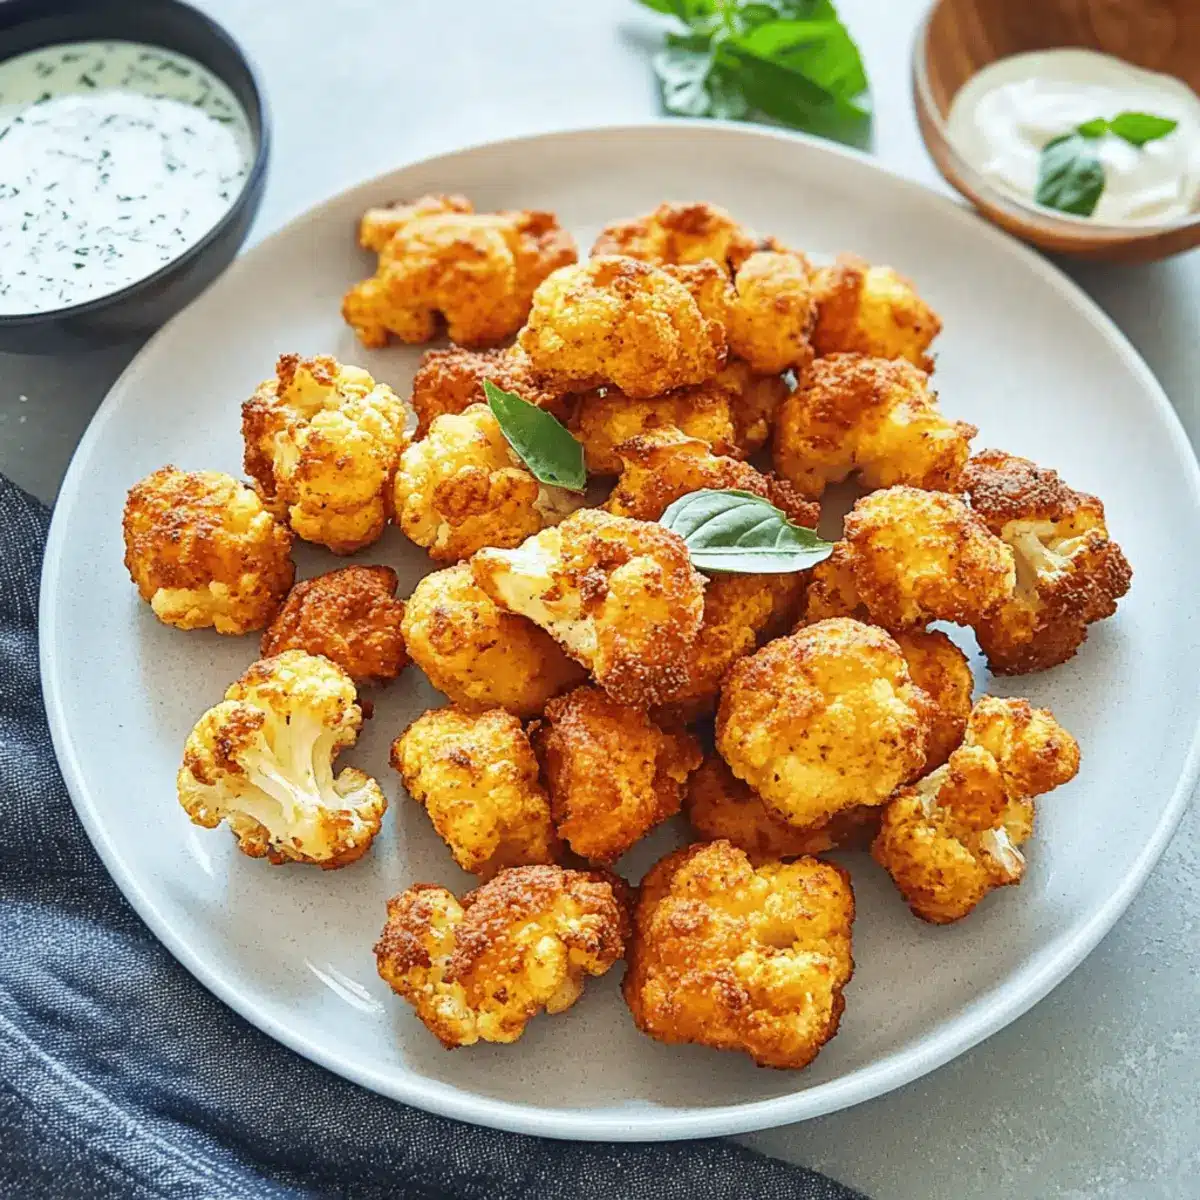
Place the baking tray with the cauliflower nuggets into the preheated oven and bake for about 20 minutes. Keep an eye on them, and when they turn a beautiful golden-brown, they’re ready. The baking process will make your Healthy Baked Cauliflower Nuggets crispy on the outside and tender on the inside, a lovely treat for any meal!
Step 7: Serving Options
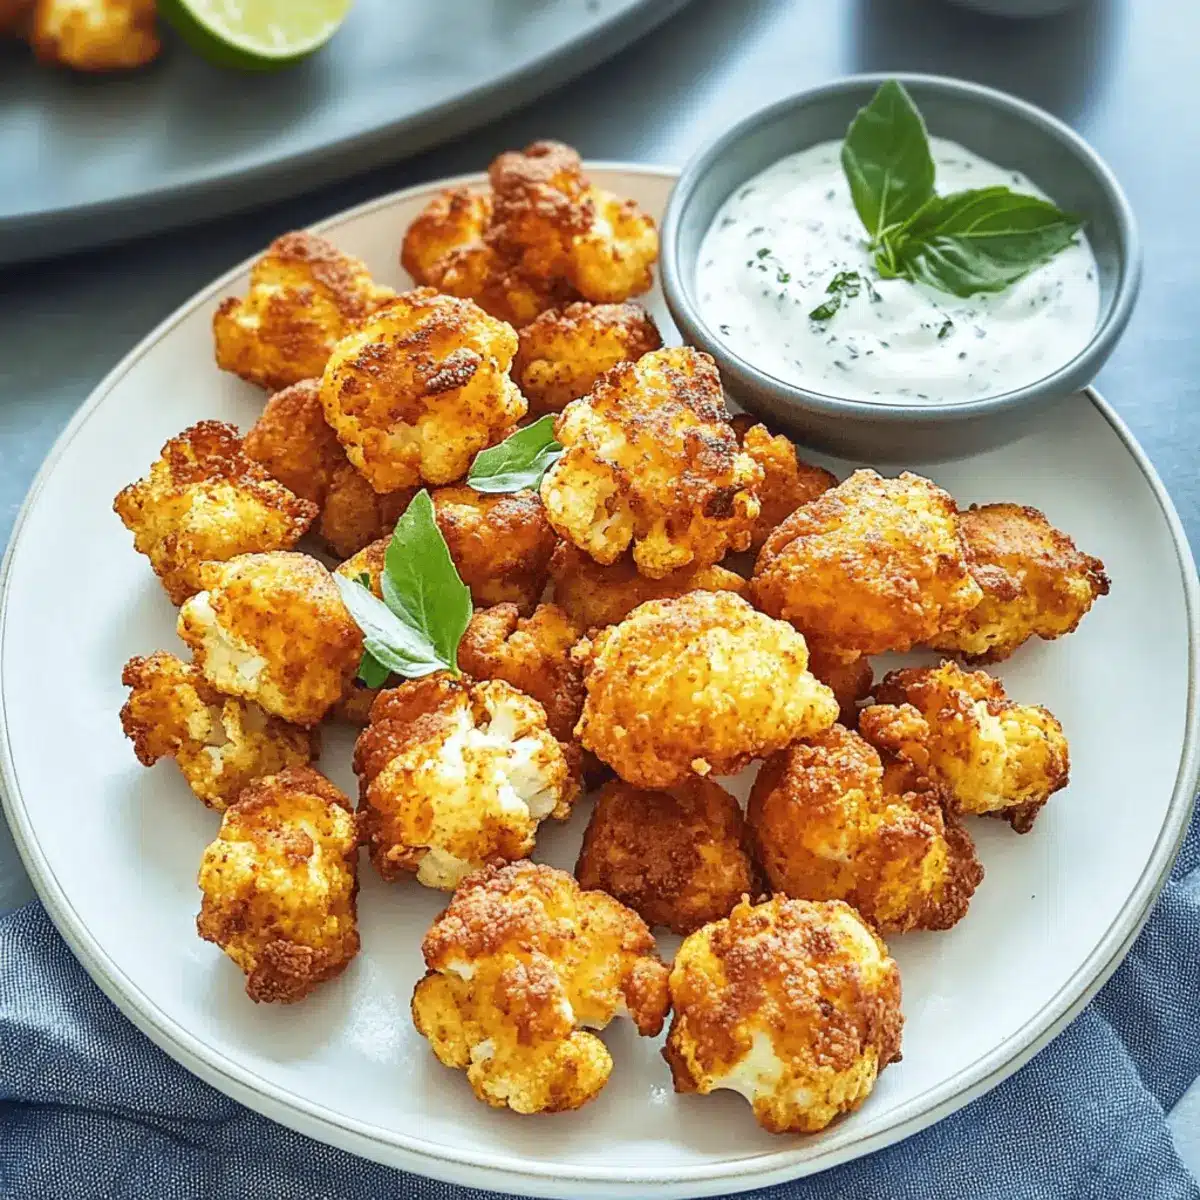
Once out of the oven, let the nuggets cool slightly before serving. These tasty cauliflower nuggets are best enjoyed immediately, paired with a zesty dipping sauce or alongside a fresh salad. They make for a perfect snack or healthy meal that’s both satisfying and delightful!
Cauliflower Nuggets Variations & Substitutions
Feel free to get creative and customize your Cauliflower Nuggets with these delightful twists that will tantalize your taste buds!
- Cheese Swap: Use mozzarella, cheddar, or gouda instead of Parmesan for a different flavor profile. Each cheese brings its unique taste, making every bite exciting!
- Veggie Delight: Replace cauliflower with broccoli, zucchini, or carrots for a colorful and nutritious twist. Mixing in different veggies keeps everyone guessing and adds various nutrients!
- Gluten-Free Option: Swap regular breadcrumbs for gluten-free breadcrumbs or crushed cornflakes to maintain that perfect crunch. This ensures everyone at the table can enjoy these nuggets without worry.
- Herb-Infused: Add fresh herbs like parsley, basil, or dill to the coating for an aromatic boost. These herbs elevate the flavors beautifully and bring a burst of freshness to each bite.
- Spicy Kick: Enhance the heat with a sprinkle of cayenne pepper or crushed red pepper flakes. This fiery twist is perfect for those who love a little extra sizzle in their snacks!
- Sweet & Savory: Toss in some finely chopped onions or caramelized shallots for additional sweetness and depth of flavor. Mixing sweet and savory creates an irresistible combination!
- Nutty Crunch: For more texture, add finely chopped nuts like almonds or walnuts to the coating. They will provide a lovely crunch and a hint of nuttiness that pairs well with the cauliflower.
- Vegan Twist: Use flaxseed meal or a commercial egg replacer instead of eggs for a vegan version. You won’t miss the eggs, and the nuggets will be just as delicious!
With these variations, your Cauliflower Nuggets can stay exciting and surprise your taste buds every time you make them. For more amazing tips on how to make your meals healthier, don’t forget to check out how to incorporate more vegetables into your diet or learn about easy gluten-free options!
Make Ahead Options
These Healthy Baked Cauliflower Nuggets are fantastic for meal prep enthusiasts! You can prepare the mixture (coated cauliflower) up to 24 hours in advance by following the initial steps and then refrigerating it in an airtight container. To maintain that irresistible crunch, ensure the cauliflower nuggets are spread out on the baking tray once you’re ready to bake, as this allows for even cooking. When you’re set to serve, simply bake them in a preheated oven for about 20 minutes until golden brown. Enjoy the convenience of homemade deliciousness on busy weeknights, knowing that your Cauliflower Nuggets will taste just as delightful!
Storage Tips for Cauliflower Nuggets
Fridge: Store leftover Cauliflower Nuggets in an airtight container in the refrigerator for up to 2-3 days to maintain freshness and flavor.
Freezer: For longer storage, freeze the nuggets in a single layer on a baking sheet, then transfer to a resealable plastic bag. They can be kept for up to 3 months.
Reheating: Reheat frozen nuggets directly from the freezer in a preheated oven at 180°C (350°F) for about 15-20 minutes, or until warmed through, ensuring they stay crispy.
Defrosting: If you prefer to thaw before reheating, leave the nuggets in the refrigerator overnight, then reheat as mentioned for best texture and taste.
Expert Tips for Cauliflower Nuggets
- Perfect Coating: Ensure each cauliflower piece is well-coated with the mixture for better crunch and flavor. Uneven coating can lead to soggy nuggets.
- Texture Check: If the mixture feels too loose, add more breadcrumbs or an extra egg to help bind your Cauliflower Nuggets together.
- Baking Space: Give your nuggets enough space on the baking tray. Overcrowding can lead to uneven cooking and less crispiness.
- Serving Suggestions: Pair with a delicious dipping sauce or serve alongside a fresh salad to enhance your dining experience.
- Storage Tips: Store leftovers in the refrigerator for up to 2-3 days, and reheat in the oven for the best texture.
What to Serve with Healthy Baked Cauliflower Nuggets
A delightful symphony of flavors and textures awaits as you create an unforgettable meal around these irresistible nuggets.
-
Creamy Garlic Dip: A zesty garlic yogurt sauce complements the nuggets’ crunch while adding creaminess. Perfect for dipping, it brings an extra layer of flavor to every bite.
-
Crisp Green Salad: A fresh salad with leafy greens and a zesty vinaigrette brightens the meal. The crispness of the vegetables contrasts beautifully with the warm nuggets.
-
Sweet Potato Fries: Crispy, sweet potato fries offer a wholesome twist. Their sweetness pairs wonderfully with the savory goodness of the nuggets, creating a balanced plate.
-
Herbed Quinoa: Fluffy quinoa tossed with fresh herbs adds a nutritious element to your meal. Its light, nutty flavor enhances the overall experience while elevating every bite of the nuggets.
-
Roasted Veggies: A medley of roasted seasonal vegetables provides a colorful and nutritious side. The caramelization brings out their natural sweetness, complementing the nuggets perfectly.
-
Chilled White Wine: A glass of crisp white wine, like Sauvignon Blanc, pairs wonderfully with the nuggets. Its acidity refreshes the palate and enhances the entire meal.
-
Fruit Salad: A refreshing fruit salad made with seasonal fruits adds a sweet, juicy contrast to the savory nuggets. It’s a light and healthy way to round off dinner.
Cauliflower Nuggets Recipe FAQs
How do I choose the best cauliflower for my Cauliflower Nuggets?
Absolutely! Look for cauliflower heads that are firm, white, and free of brown spots or dark spots all over the florets. Opt for tight and compact heads, as they indicate freshness. If you can buy organic, do so for even better flavor and nutrition.
How should I store leftover Cauliflower Nuggets?
After enjoying your nuggets, store the leftovers in an airtight container in the refrigerator for up to 2-3 days. This keeps them fresh while maintaining their delightful crunch. If you desire to enjoy them longer, follow my freezing instructions below!
Can I freeze Cauliflower Nuggets, and how do I do it?
Yes, you can freeze your nuggets! Place them on a baking sheet in a single layer and freeze until solid, which usually takes about 1-2 hours. Afterward, transfer them to a resealable plastic bag or an airtight container, ensuring they’re separated to prevent sticking. They can be stored in the freezer for up to 3 months. When you’re ready to enjoy them, reheat straight from the freezer in a preheated oven at 180°C (350°F) for 15-20 minutes, giving them a perfect crispy finish.
What can I do if my mixture isn’t holding together?
Don’t worry! If your Cauliflower Nuggets mixture feels loose, try adding more breadcrumbs or an extra egg to help bind it together. Sometimes, a little extra mixing can also enhance consistency. Avoid overmixing, which may lead to mushy nuggets; a gentle fold is ideal here!
Are these nuggets suitable for gluten-free diets?
Very! To make your Cauliflower Nuggets gluten-free, simply substitute regular breadcrumbs with gluten-free breadcrumbs. Additionally, check the labels on other ingredients like cheese or sauces to ensure they meet your dietary needs. It’s a fantastic way to include everyone at the table!
Can I use different cheeses in my Cauliflower Nuggets?
Of course! While Parmesan adds a lovely nuttiness, feel free to experiment with mozzarella, cheddar, or gouda. Each cheese will bring a unique flavor to your nuggets. Mix it up as often as you like—after all, variety is the spice of life!
Crispy Cauliflower Nuggets That Everyone Will Love
Ingredients
Equipment
Method
- Preheat your oven to 180°C (350°F) using the convection setting.
- Wash the cauliflower thoroughly and cut it into larger nugget-sized florets.
- In a mixing bowl, combine the eggs, milk, grated Parmesan, breadcrumbs, paprika, garlic powder, salt, and pepper. Whisk until smooth.
- Gently fold the cauliflower florets into the mixing bowl, ensuring each piece is coated.
- Line a baking tray with parchment paper and spread the coated nuggets in a single layer.
- Bake for about 20 minutes until golden-brown and crispy.
- Let the nuggets cool slightly before serving, and enjoy with dipping sauce or salad.
Leave a Reply