
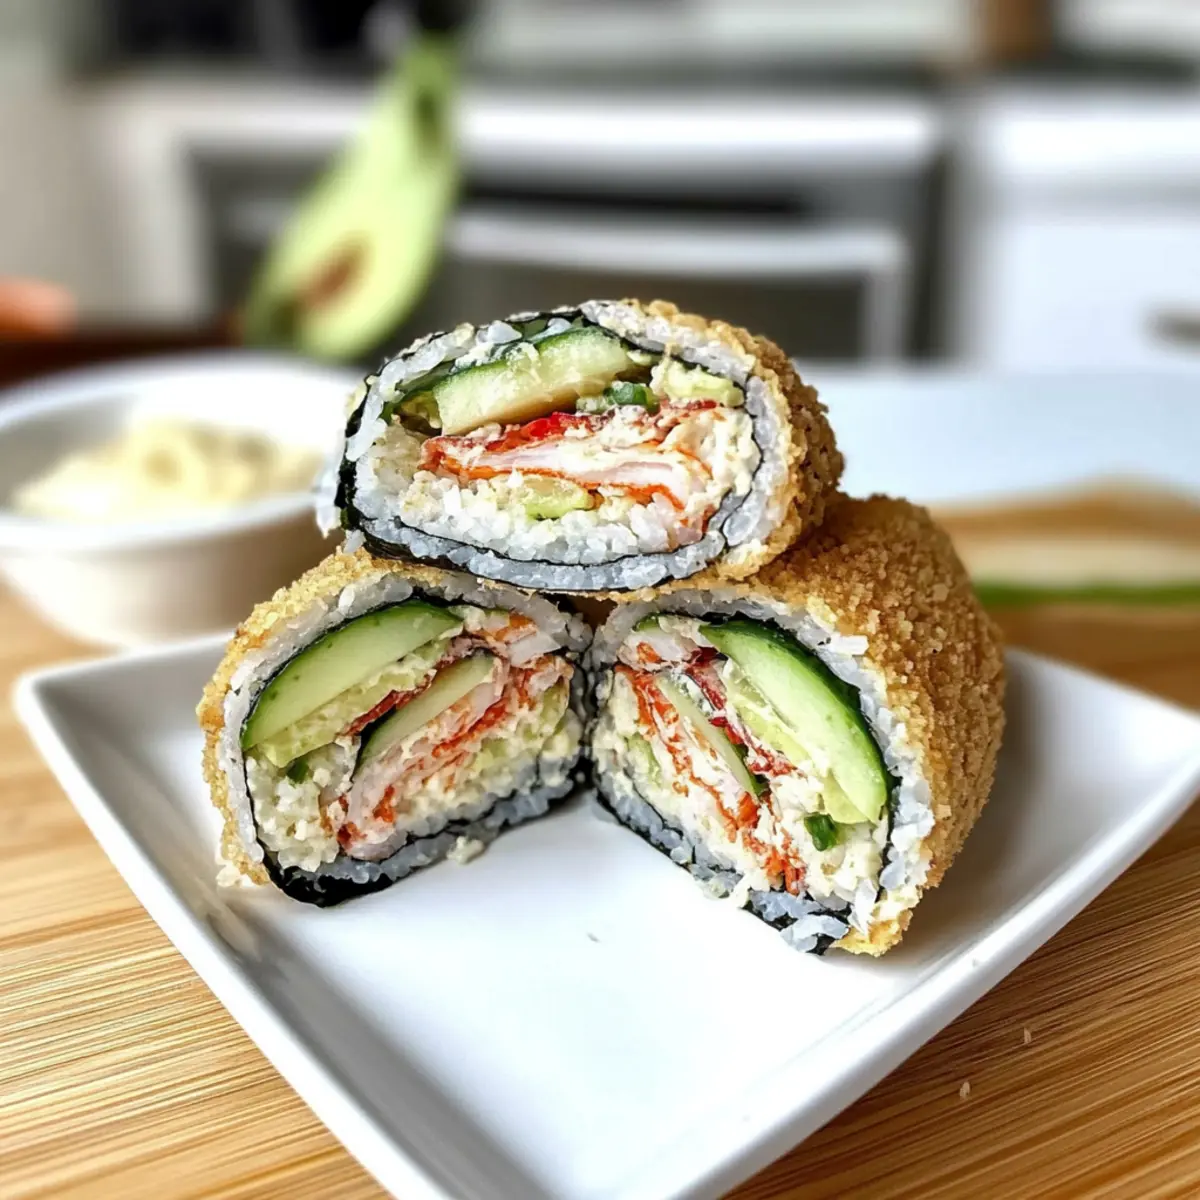
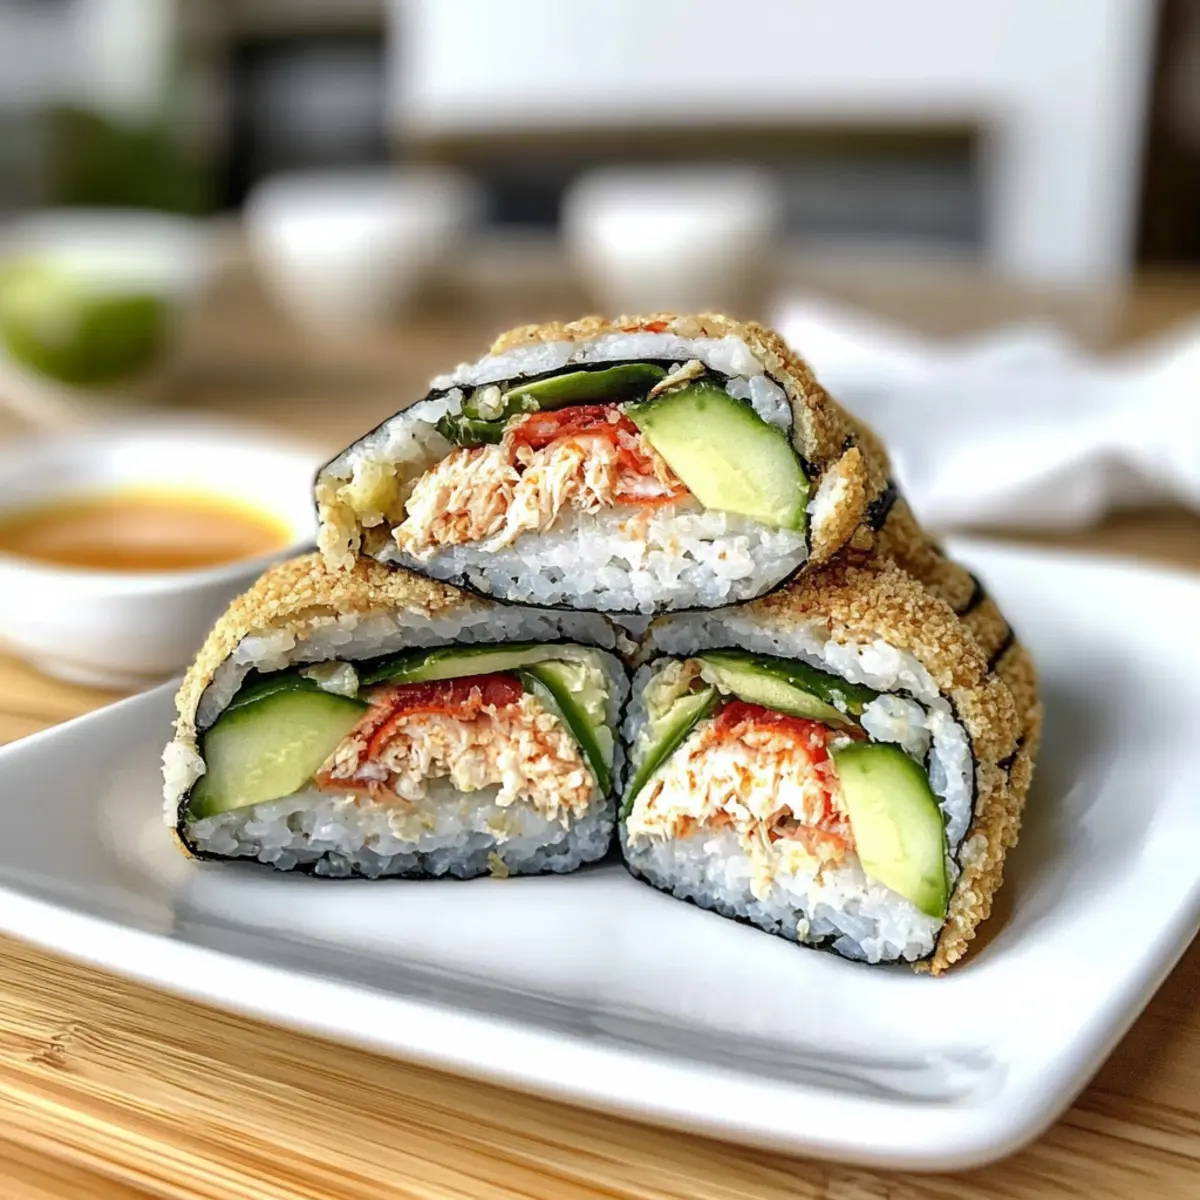
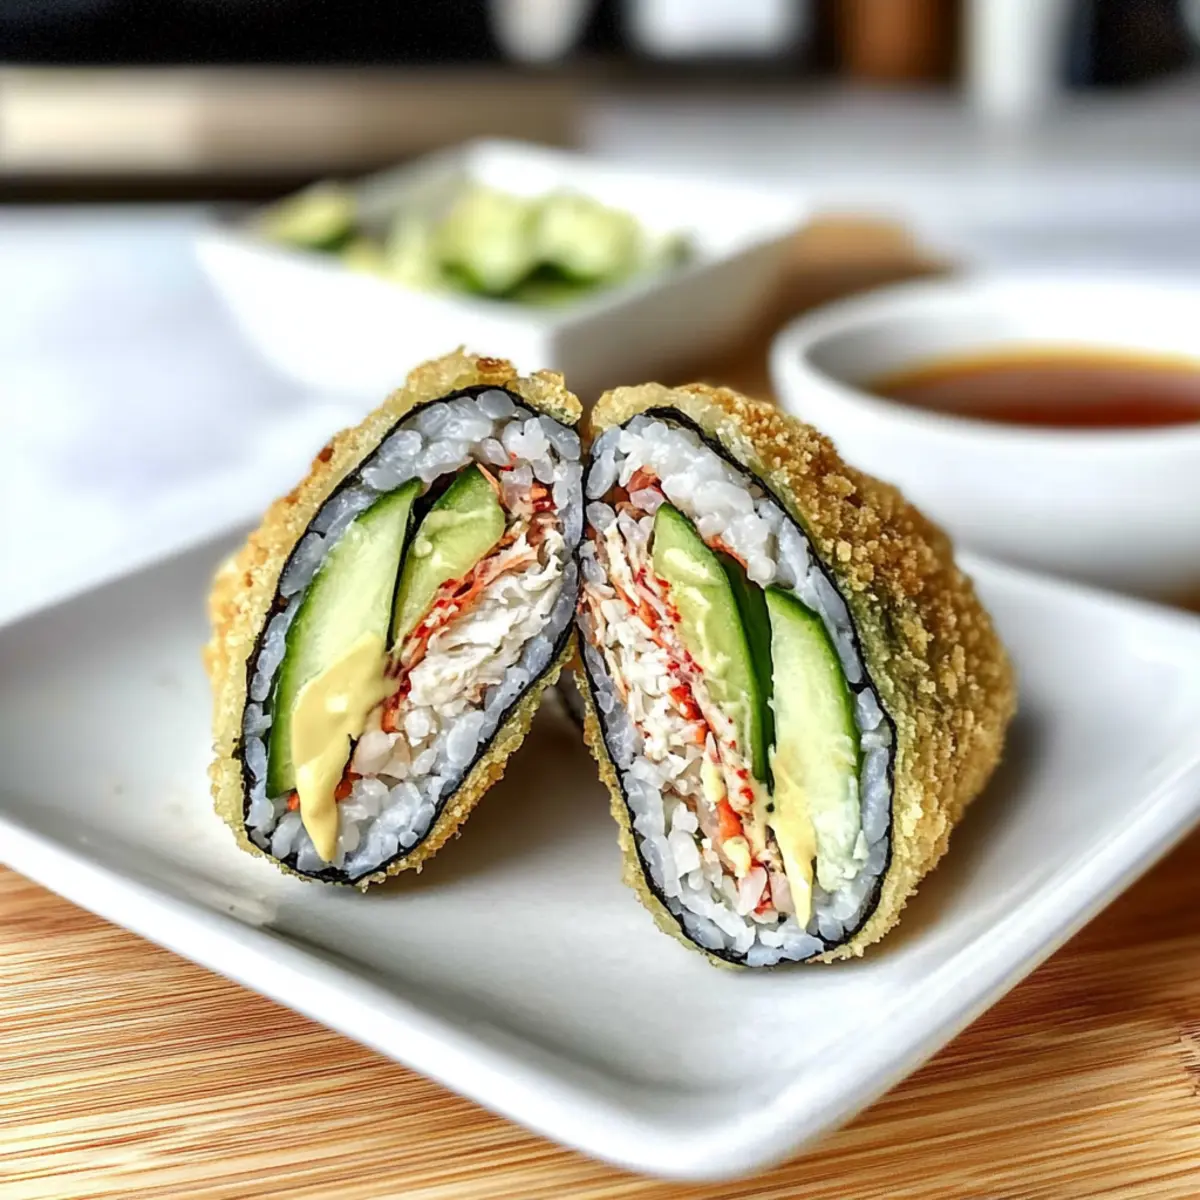
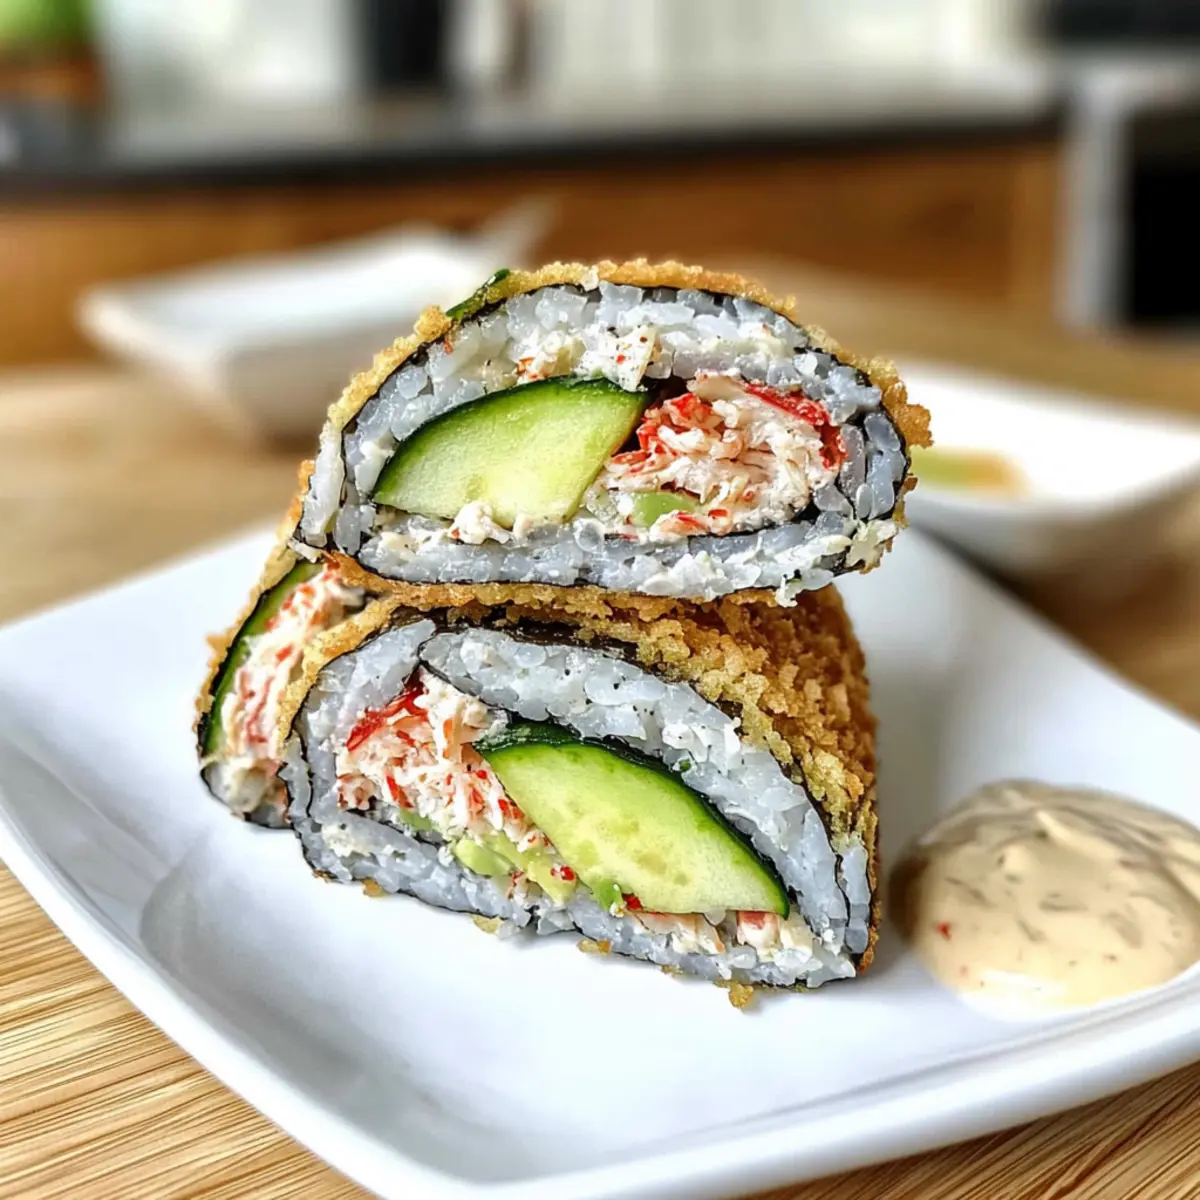
Imagine biting into a sushi sandwich that’s not only eye-catching but also packed with flavors that’ll make your taste buds dance! This Crispy California Roll Rice Paper Sushi Sandwich, or Onigirazu, takes the beloved California roll and reimagines it into a fun, hand-held delight. With crispy rice paper and a filling of savory imitation crab, creamy avocado, and crunchy cucumber, it’s a playful twist on traditional sushi that makes meal prep feel like a culinary adventure. One of the best parts? This easy sushi recipe is quick to whip up, making it perfect for busy weeknights or a delightful snack. Plus, its crispy exterior means you’ll get that delightful crunch in every bite! Ready to dive into this exciting fusion? Let’s roll!
Why is this sushi sandwich so special?
Simplicity made extraordinary: This recipe turns sushi into a hassle-free meal, perfect for culinary novices and pros alike!
Crispy Crunch: The pan-fried rice paper delivers an addictive texture that adds excitement to every bite.
Flavor Fusion: The classic California roll ingredients mingling with creamy avocado and zippy sriracha create a mouthwatering experience.
Versatile: You can switch up fillings, so whether you’re in the mood for shrimp or veggies, this recipe adapts effortlessly.
Quick Prep: Ready in less than 30 minutes, it’s a lifesaver for busy weeknights or snack cravings! For more easy ideas, check out these Cinnamon Roll French bites or Sausage Egg Roll ups!
California Roll Rice Paper Sushi Sandwich Ingredients
For the Sushi Base
• Sushi Rice – Provides a flavorful foundation; cook according to package instructions with vinegar and salt.
For the Filling
• Imitation Crab (8 sticks) – The delightful protein that brings the classic sushi taste; can substitute with shrimp or tofu if desired.
• Sriracha (1 tablespoon) – Adds a spicy kick; adjust based on your heat preference to complement the flavors.
• Kewpie Mayo (2.5 tablespoons) – A creamy binding agent for flavor; regular mayo works well in a pinch.
• Persian Cucumber (1) – Offers a delightful crunch; use English cucumber as a substitute if necessary.
• Avocado (1) – Adds creaminess; ensure it’s ripe for easy slicing.
For Wrapping
• Rice Paper (6 sheets) – Essential for creating that crispy texture when fried; hydrate before use.
• Seaweed Nori (3 sheets) – Enhances traditional sushi flavor and helps hold the sandwich together.
For Garnishing
• Sesame Seeds (2-3 tablespoons) – Optional for decoration and nutty flavor; sprinkle for a lovely visual appeal.
For Cooking
• Neutral Oil – Required for frying to achieve a golden-brown crunch; choose oils with high smoke points like canola or vegetable oil.
For Dipping Sauce
• Spicy Mayo Sauce – Mix Kewpie mayo (¼ cup), lime juice (1 tablespoon), and sriracha (1-2 teaspoons) for a zesty accompaniment.
Ready to craft your own California Roll Rice Paper Sushi Sandwich? Let’s dive into assembly and cooking next!
Step‑by‑Step Instructions for California Roll Rice Paper Sushi Sandwich
Step 1: Prepare the Sushi Rice
Begin by rinsing sushi rice under cold water until the water runs clear, then cook according to package instructions. Once cooked, transfer the rice to a large bowl and gently mix in rice wine vinegar and salt while it’s still warm; let it cool to room temperature, as this forms the base for your California Roll Rice Paper Sushi Sandwich.
Step 2: Make the Crab Filling
While the rice is cooling, take the imitation crab sticks and shred them into a bowl. Add sriracha and Kewpie mayonnaise, mixing thoroughly until the crab is well-coated; taste and adjust the seasoning if necessary. This mixture will be the flavorful heart of your sushi sandwich, bringing that signature California roll taste.
Step 3: Prepare the Wrapping Station
Set up your rolling area by oiling a clean cutting board lightly with neutral oil to prevent sticking. Next, take a rice paper sheet and immerse it in warm water for about 10-15 seconds or until it’s pliable but not soggy. Lay the hydrated rice paper flat over a sheet of nori, cutting a small slit in the nori for easier folding later.
Step 4: Layer the Filling
Start assembling your California Roll Rice Paper Sushi Sandwich by spooning a portion of the crab mixture into the bottom left corner of the rice paper. On the top left, add matchstick cucumber and slices of avocado, creating a colorful and crunchy filling. Spoon some sushi rice onto the right side of the sandwich, filling in the spaces for a balanced bite.
Step 5: Fold the Sandwich
Carefully fold the bottom corner of the rice paper up over the filling, then fold in the sides of the rice paper, and finally, fold the top down to create a triangular-shaped sandwich. Press gently to compact it, ensuring no filling escapes; this will help maintain the integrity and shape of your California Roll Rice Paper Sushi Sandwich during frying.
Step 6: Fry the Sandwich
Heat a non-stick skillet over medium heat and add enough oil to coat the bottom of the pan. Once the oil is hot, place your folded sandwich seam-side down and fry for about 3-4 minutes until golden brown. Flip it carefully using tongs, and fry the other side for an additional 3-4 minutes, achieving that delightful crispy texture.
Step 7: Serve and Enjoy
Once both sides are perfectly golden and crispy, carefully remove the sushi sandwich from the pan and place it on a paper towel to absorb any excess oil. Cut it in half to reveal the colorful filling and serve warm alongside your spicy mayo sauce for dipping. Enjoy your homemade California Roll Rice Paper Sushi Sandwich as a delightful twist on traditional sushi!
Expert Tips for California Roll Rice Paper Sushi Sandwich
-
Don’t Rush the Rice: Allow the sushi rice to cool to room temperature before assembling. This helps maintain the sandwich structure and enhances flavor.
-
Hydrate Properly: When soaking rice paper, ensure it’s pliable, not drenched. Too much water makes it hard to fold and fry the California Roll Rice Paper Sushi Sandwich properly.
-
Perfect Frying Heat: Maintain medium heat while frying to achieve a crispy exterior without burning. Too high can lead to a charred shell and a cold filling.
-
Filling Balance: Avoid overstuffing your sandwich. A compact filling allows for easier folding and ensures even frying without bursting seams.
-
Adapt with Confidence: Feel free to swap out the imitation crab for other proteins or add additional veggies to customize your California Roll Rice Paper Sushi Sandwich to your liking!
California Roll Rice Paper Sushi Sandwich Variations
Feel free to explore these tasty twists on your sushi sandwich that will delight your taste buds!
-
Protein Swap: Substitute imitation crab with cooked shrimp or firm tofu for a different protein boost that remains satisfying and delicious.
-
Veggie Additions: Include bell peppers or shredded carrots to enhance crunch and add vibrant colors to your filling. Embrace the freshness of each bite!
-
Spicy Twist: For an extra kick, mix a dash of wasabi into the Kewpie mayo, creating a zesty condiment that will elevate your dipping experience.
-
Flavorful Fun: Experiment with different sauces like a tangy ponzu or a sweet teriyaki sauce to dip your sandwich in—each will bring its own flair!
-
Herb-infused: Add fresh herbs like cilantro or basil to the crab mixture for a burst of freshness that takes your onigirazu to the next level.
-
Heat Factor: Sprinkle in sliced jalapeños or a drizzle of chili oil to your filling for those who crave a little spice in their sushi sandwich adventure.
-
Crunchy Layering: Consider adding crispy tempura veggies or fried shallots in your sandwich for an irresistible crunch that complements the tender filling.
-
Nori Only: Skip the rice paper and use an extra layer of nori for a lighter option that still packs all the flavors you’d love in a sushi sandwich!
These variations not only keep your meals exciting but also allow you the freedom to customize based on personal preferences. Enjoy serving these delightful bites alongside a refreshing Roll Cucumber Salad for a complete meal!
What to Serve with Crispy California Roll Rice Paper Sushi Sandwich
Imagine a meal that tantalizes your taste buds, offering delightful textures and vibrant flavors that bring joy to your dining experience.
- Refreshing Edamame: Lightly salted edamame is a perfect bite-sized appetizer that enhances the fresh flavors of your sushi sandwich while adding protein.
- Crispy Tempura Vegetables: The light crunch of tempura-battered vegetables provides a wonderful contrast to your sushi sandwich’s crispy rice paper, making for a satisfying combo.
- Miso Soup: A warm bowl of miso soup brings umami richness that pairs beautifully with the California Roll Rice Paper Sushi Sandwich, elevating your meal with comfort and warmth.
Enjoying your sushi sandwich with a side of pickled ginger: They cleanse the palate between bites and introduce a lovely zing, amplifying the combination of flavors.
- Sake or Cold Green Tea: A chilled glass of sake or refreshing green tea will perfectly complement the savory elements in your California Roll Rice Paper Sushi Sandwich, enhancing the overall dining experience.
- Asian Slaw: A vibrant mix of cabbage and carrots in a tangy dressing adds a crunchy element and refreshing contrast to the rich flavors of the sandwich, making your meal feel more balanced and complete.
Storage Tips for California Roll Rice Paper Sushi Sandwich
Fridge: Store any leftovers in an airtight container in the fridge for up to 1 day to keep the ingredients fresh.
Freezer: For longer storage, you can freeze the un-fried sandwiches wrapped tightly in plastic wrap and then placed in a freezer bag for up to 2 months.
Reheating: When ready to enjoy, reheat in a skillet over medium heat for a few minutes on each side to regain crispiness. Avoid microwaving, as this may make the rice paper soggy.
Room Temperature: It’s best to consume the California Roll Rice Paper Sushi Sandwich immediately after frying for optimal crunch and flavor.
Make Ahead Options
These Crispy California Roll Rice Paper Sushi Sandwiches are perfect for meal prep enthusiasts! You can prepare the sushi rice and crab filling up to 24 hours in advance, storing each in airtight containers in the refrigerator to keep them fresh and flavorful. Additionally, slice the cucumber and avocado just before assembly to maintain their crispness and prevent browning. When you’re ready to enjoy the sushi sandwiches, simply hydrate the rice paper, layer the prepared ingredients, and fold them just before frying for that satisfying crispness. Your homemade California Roll Rice Paper Sushi Sandwich will still be just as delicious, giving you a delightful meal with minimal effort on busy weeknights!
California Roll Rice Paper Sushi Sandwich Recipe FAQs
How do I choose ripe avocado for my sushi sandwich?
Absolutely! When selecting an avocado, look for one that yields slightly to gentle pressure when squeezed, indicating it’s ripe. It should have a dark green to blackish skin without dark spots or blemishes. If it feels hard, choose it anyway, and allow it to ripen at room temperature for a few days, then refrigerate once ripe.
How should I store leftover California Roll Rice Paper Sushi Sandwich?
Store any leftovers in an airtight container in the fridge for up to 1 day to maintain freshness. For best results, reheat in a skillet over medium heat for a few minutes on each side. This will help regain the crispy texture that makes this sushi sandwich a delight!
Can I freeze my California Roll Rice Paper Sushi Sandwich?
Yes! For longer storage, I recommend freezing the un-fried sushi sandwiches. Wrap each one tightly in plastic wrap, then place them in a freezer bag. They can be stored in the freezer for up to 2 months. When you’re ready to enjoy them, let them thaw in the fridge overnight, then fry as per the original instructions.
What should I do if my rice paper tears while folding?
Very! If your rice paper tears, don’t worry; it happens sometimes. Simply use another piece of rice paper and hydrate it properly without over-soaking. Alternatively, you can patch the tear by placing a small piece of rice paper over it or utilize it as a smaller wrap for leftover filling. Keep the moisture balance right and enjoy your preparation!
Are there any dietary considerations for this sushi sandwich?
Definitely! If you’re preparing this for someone with allergies, be mindful of the ingredients. Imitation crab can contain fish and shellfish, so look for a seafood-free option or substitute with tofu or grilled chicken. Also, ensure to check for any allergies to condiments like Kewpie mayo, which contains eggs. Always customize this California Roll Rice Paper Sushi Sandwich according to dietary needs!
How can I ensure the rice is sticky enough for sushi?
To achieve the perfect texture, rinse the sushi rice thoroughly until the water runs clear—this removes excess starch. Cook the rice according to package instructions, then mix in rice wine vinegar and salt while it’s still warm. Allow it to cool at room temperature; this helps attain the classic sticky consistency essential for crafting your sushi sandwich!
Crispy California Roll Rice Paper Sushi Sandwich Delight
Ingredients
Equipment
Method
- Begin by rinsing sushi rice under cold water until the water runs clear, then cook according to package instructions. Once cooked, transfer the rice to a large bowl and gently mix in rice wine vinegar and salt while it’s still warm; let it cool to room temperature, as this forms the base for your California Roll Rice Paper Sushi Sandwich.
- While the rice is cooling, take the imitation crab sticks and shred them into a bowl. Add sriracha and Kewpie mayonnaise, mixing thoroughly until the crab is well-coated; taste and adjust the seasoning if necessary.
- Set up your rolling area by oiling a clean cutting board lightly with neutral oil to prevent sticking. Next, take a rice paper sheet and immerse it in warm water for about 10-15 seconds or until it's pliable but not soggy.
- Start assembling your California Roll Rice Paper Sushi Sandwich by spooning a portion of the crab mixture into the bottom left corner of the rice paper. On the top left, add matchstick cucumber and slices of avocado. Spoon some sushi rice onto the right side.
- Carefully fold the bottom corner of the rice paper up over the filling, then fold in the sides, and finally, fold the top down. Press gently to compact it.
- Heat a non-stick skillet over medium heat and add enough oil to coat the bottom. Once the oil is hot, place your folded sandwich seam-side down and fry for about 3-4 minutes until golden brown. Flip and fry the other side for an additional 3-4 minutes.
- Once both sides are golden and crispy, remove the sushi sandwich from the pan and place it on a paper towel. Cut it in half and serve warm with spicy mayo sauce for dipping.
Leave a Reply