
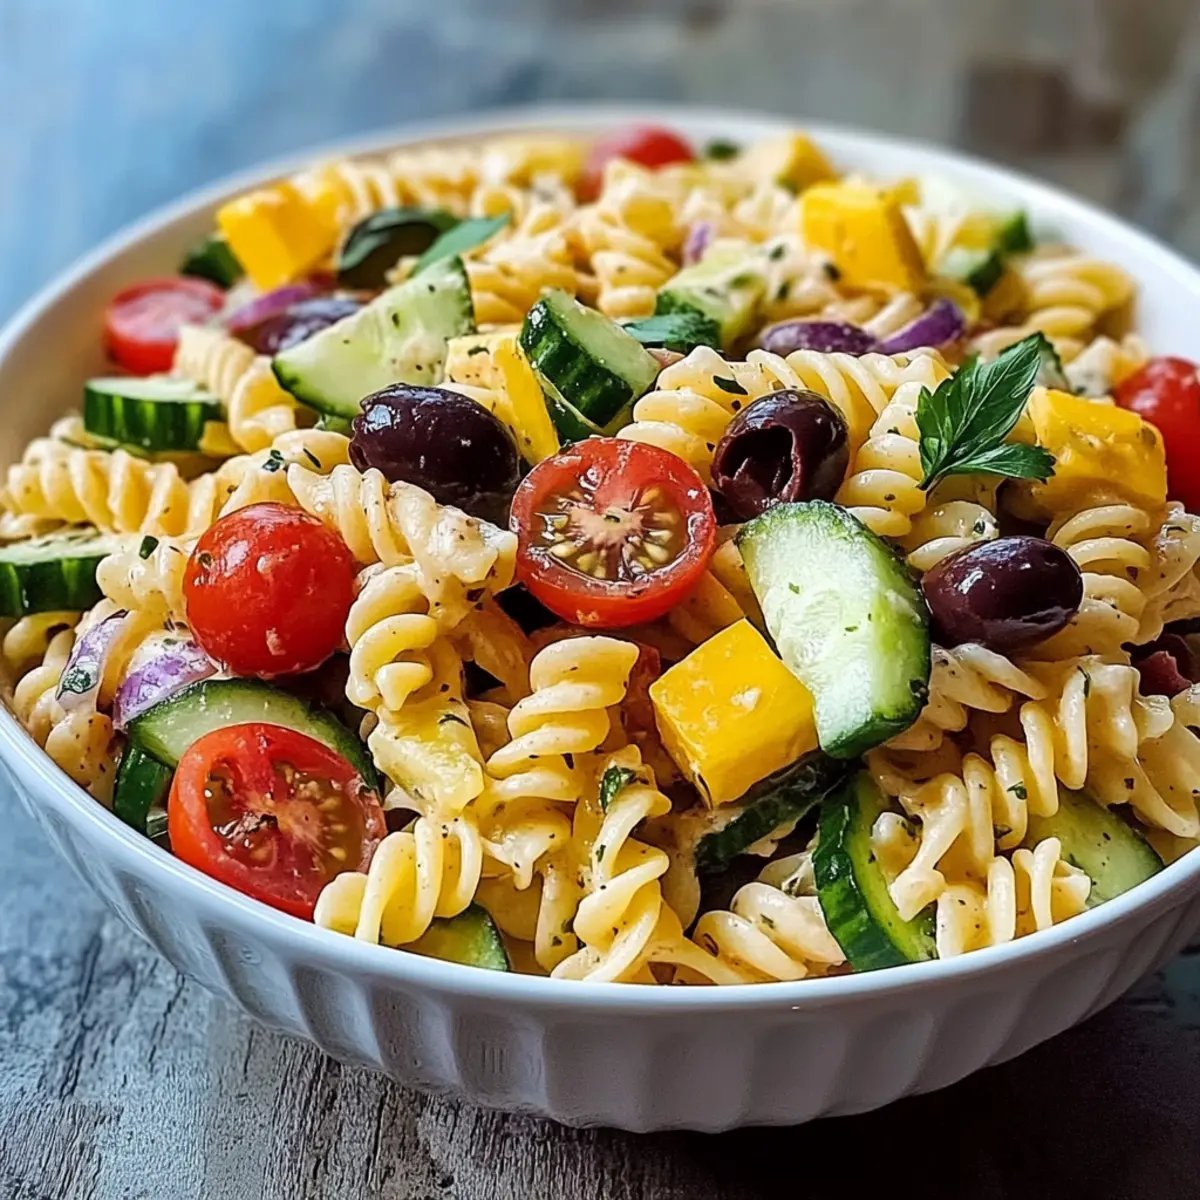
As I sat in the kitchen, a vibrant rainbow of vegetables beckoned to me from the counter—this was the moment I knew I had to whip up a California Pasta Salad. With its lively mix of crunchy cucumbers, juicy cherry tomatoes, and creamy cheddar, this dish celebrates freshness and versatility. It’s the perfect companion for hot summer days or as a delightful make-ahead meal that can elevate any lunch or gathering—the options are virtually endless! You can easily customize your salad with proteins like grilled chicken or chickpeas and even go vegan with a simple cheese swap. Trust me when I say this colorful salad will bring a smile to everyone at your table. Just wait until you taste the medley of flavors that come together; it’s hard to resist! Are you ready to dive into this refreshing adventure?
Why is this California Pasta Salad a must-try?
Vibrant and Colorful: This salad bursts with a rainbow of fresh vegetables, creating an eye-catching centerpiece for any meal.
Ultimate Versatility: Easily customize it with proteins like grilled chicken or chickpeas, or swap in vegan cheese for a plant-based delight.
Make-Ahead Marvel: Perfect for meal prep, it tastes even better after chilling in the fridge, allowing flavors to meld beautifully. Enjoy it alongside a refreshing Roll Cucumber Salad for an extra crunchy touch!
Seasonal Freshness: Utilizing seasonal produce elevates both taste and nutrition, making it a healthy choice year-round.
Crowd-Pleasing Appeal: Serve it at potlucks or gatherings, and watch everyone come back for seconds! Every bite promises satisfaction and smiles, creating unforgettable moments around the table.
California Pasta Salad Ingredients
• Get ready to add a splash of color to your mealtime with these delightful ingredients!
For the Salad
- Rotini Pasta – Provides structure and a hearty base for the salad; opt for gluten-free pasta if needed.
- Cherry Tomatoes – Adds juiciness and sweetness; substitute with diced bell peppers for a different flavor profile.
- Cucumber – Offers crispness and hydration; consider swapping in zucchini for an extra crunch.
- Red Onion – Contributes a mild sharp flavor; green onions can be used for a milder taste.
- Black Olives – Adds saltiness and briny flavor; green olives make a great alternative.
- Bell Pepper – Brings vibrant color and crunch; roasted vegetables provide a seasonal twist.
- Sharp Cheddar Cheese – Delivers creaminess and richness; use vegan cheese for a dairy-free option.
- Fresh Parsley – Adds a pop of color and freshness; replace with basil for a herbaceous variation.
For the Dressing
- Italian Salad Dressing – Binds the salad together with zesty flavor; homemade dressing can elevate the freshness.
- Salt and Pepper – To taste, enhancing overall flavor; don’t be shy to season to your liking!
Each ingredient of this California Pasta Salad plays a critical role in delivering a delightful eating experience!
Step‑by‑Step Instructions for California Pasta Salad
Step 1: Cook the Pasta
Begin by boiling a large pot of salted water over high heat. Once the water reaches a rolling boil, add the rotini pasta and cook according to package instructions until al dente, about 8-10 minutes. Drain the pasta in a colander and rinse it under cold water to stop the cooking process and cool it down. This step ensures your California Pasta Salad will have the perfect texture.
Step 2: Prepare the Vegetables
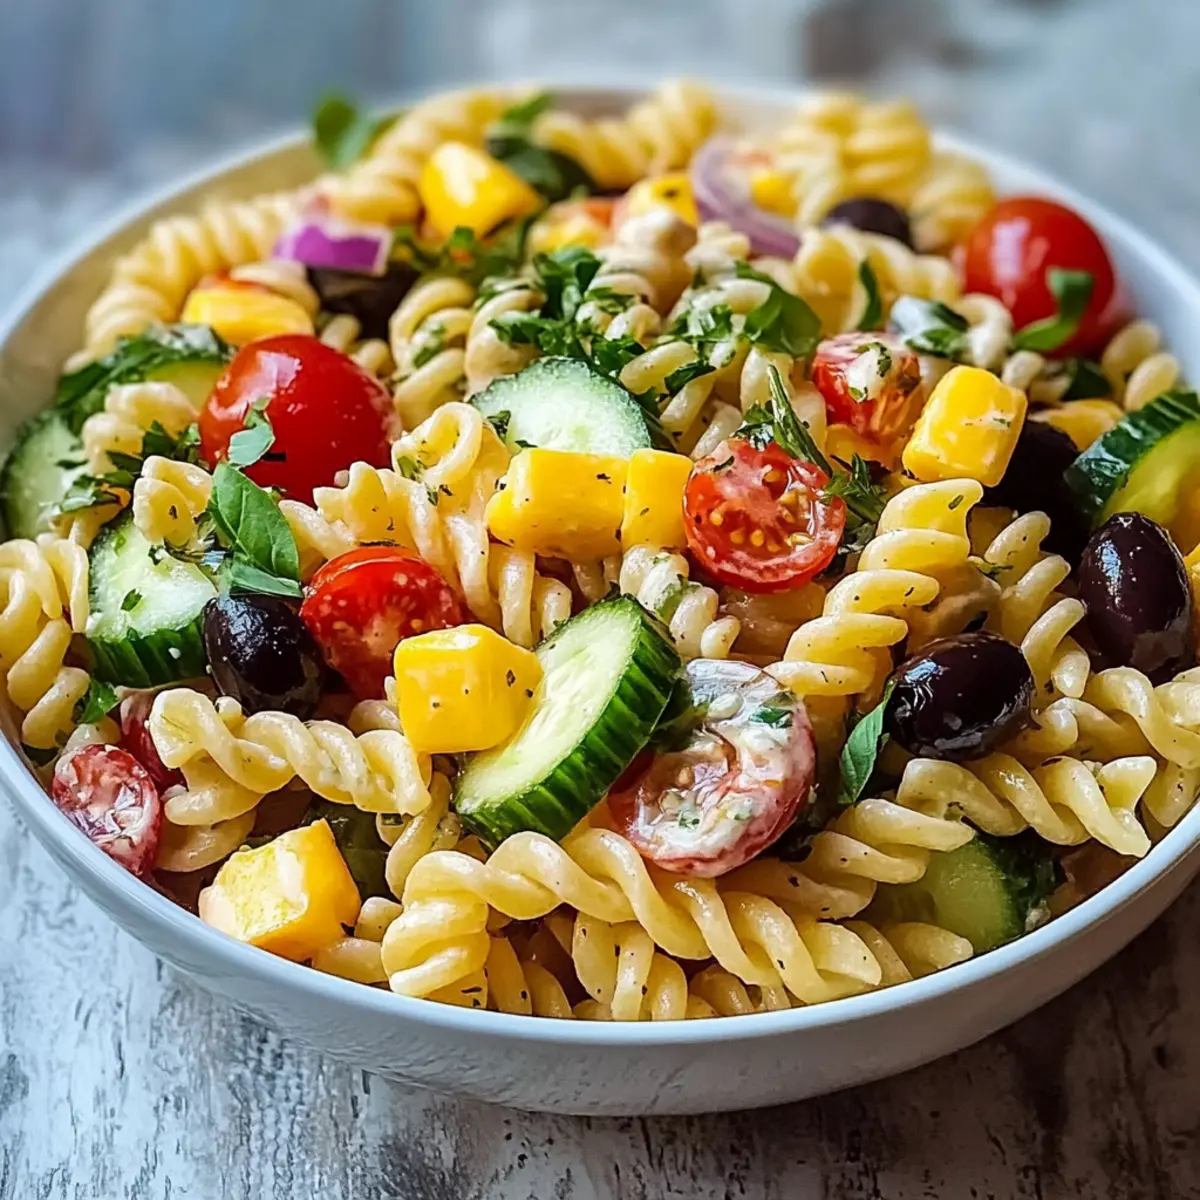
While the pasta cools, chop your fresh vegetables. Dice the cucumber, halve the cherry tomatoes, and slice the red onion into thin crescents. Additionally, slice the bell pepper and pit and slice the black olives. This vibrant mix of crunchy vegetables will add color and flavor to your California Pasta Salad, so take your time for neat, uniform cuts.
Step 3: Combine the Ingredients
In a large mixing bowl, combine the cooled rotini pasta with the prepared vegetables: cherry tomatoes, cucumber, red onion, black olives, and bell pepper. Then, add the sharp cheddar cheese, or your vegan cheese alternative if preferred. The combination of textures will create an enticing visual appeal, making your California Pasta Salad a feast for the eyes.
Step 4: Dress the Salad
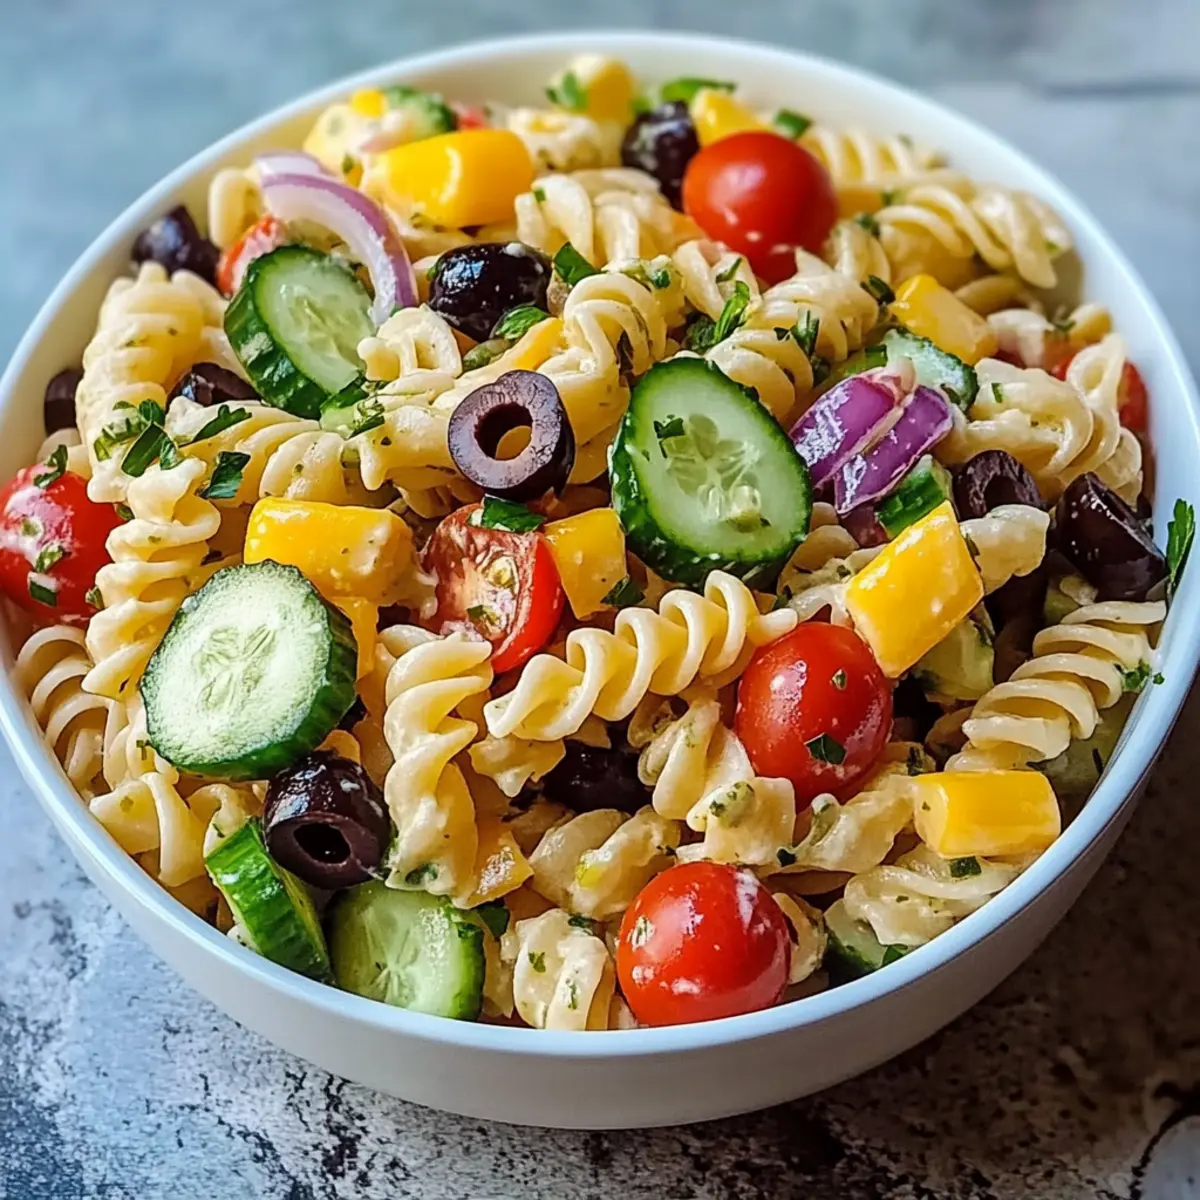
Pour a generous amount of Italian salad dressing over the pasta mixture in the bowl. Use a large spoon or spatula to gently toss all the ingredients together until they are well-coated in the zesty dressing. This step is key to enhancing the flavors in your California Pasta Salad, making every bite delightful and satisfying.
Step 5: Season to Taste
Taste your salad and season with salt and pepper as desired. Don’t hesitate to adjust the seasoning; a sprinkle of salt can elevate the flavors significantly. Remember, this California Pasta Salad is all about customizing it to your palate, so ensure it tastes just right before moving on.
Step 6: Garnish and Chill
Once seasoned, garnish your salad with freshly chopped parsley for a pop of color and fresh flavor. Cover the bowl with plastic wrap or a lid and refrigerate the salad for at least 30 minutes. This chilling period allows the flavors to meld together beautifully, making your California Pasta Salad even more delicious when served.
Step 7: Serve and Enjoy
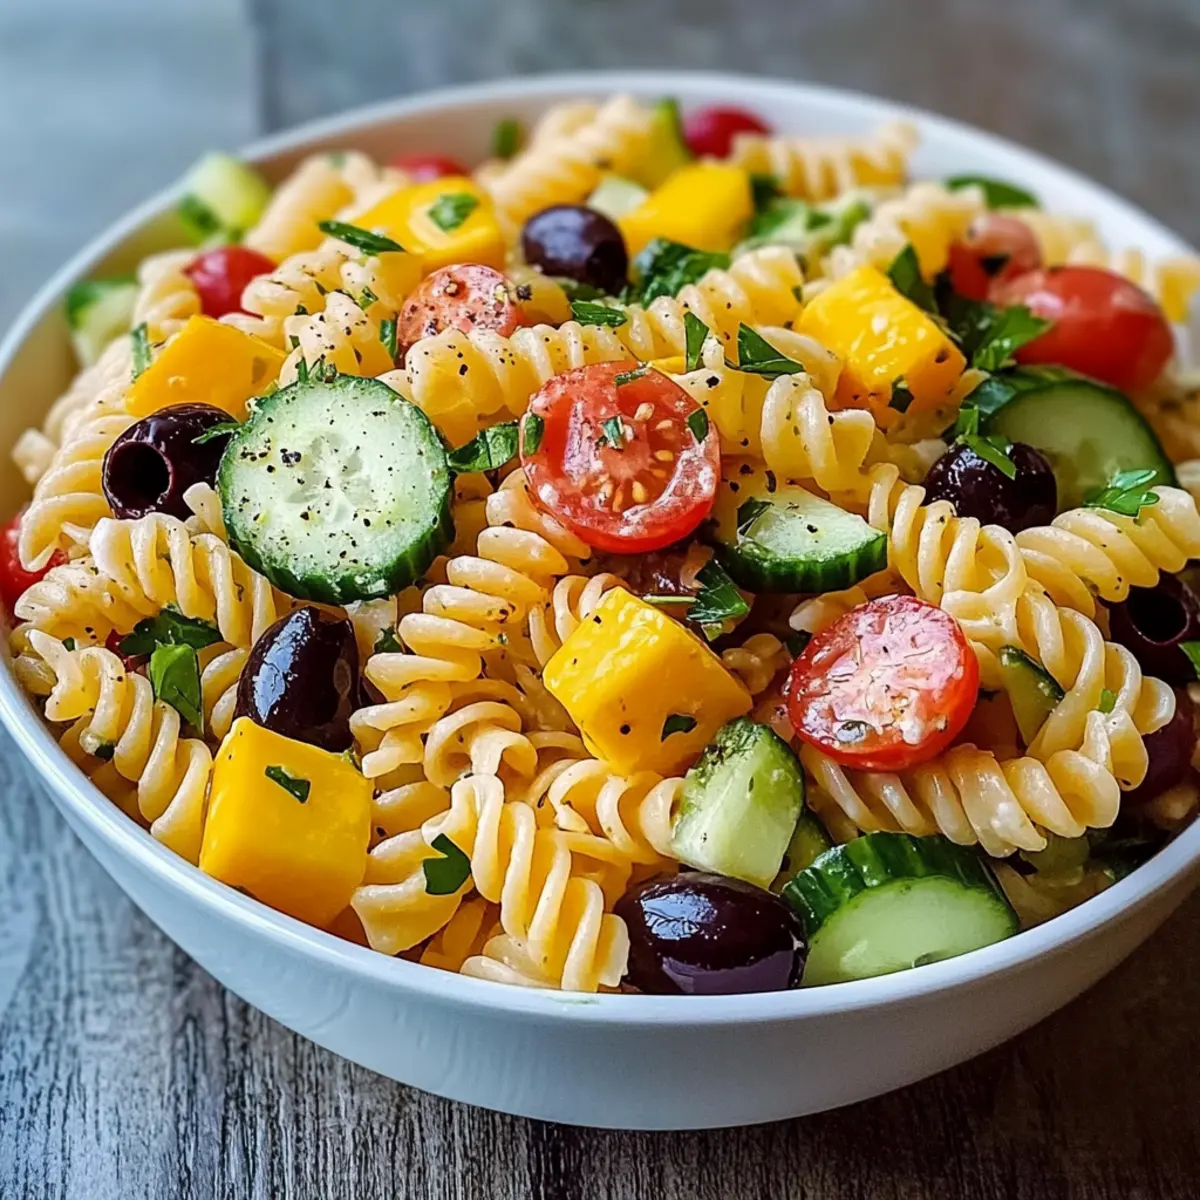
After the salad has chilled and the flavors have developed, give it a quick stir and serve it in a large bowl or divide it into individual portions. This vibrant California Pasta Salad is perfect for potlucks, picnics, or simply as a refreshing meal. Each bite promises to be a blend of crunchy vegetables, creamy cheese, and zesty dressing.
How to Store and Freeze California Pasta Salad
Fridge: Store your California Pasta Salad in an airtight container in the refrigerator for up to 3 days. The flavors will continue to deepen, making it even more delicious!
Freezer: While it’s best enjoyed fresh, you can freeze leftovers for up to 1 month. However, note that some vegetables may lose their crunch upon thawing.
Reheating: If you freeze it, thaw in the fridge overnight before serving. Add a splash of fresh dressing to revive the flavors and textures before enjoying!
Make-Ahead: This salad is perfect for meal prep! It can be assembled a day in advance and stored in the fridge, making it an ideal dish for busy days.
What to Serve with California Pasta Salad
As you prepare this delightful California Pasta Salad, let’s explore some perfect accompaniments to create a well-rounded meal that tantalizes the taste buds.
-
Grilled Chicken Skewers: Juicy and flavorful, these skewers elevate your meal with protein and smoky warmth, making each bite satisfying and complementary.
-
Roasted Vegetables: A colorful medley of seasonal vegetables adds depth and earthiness. The warm, caramelized flavors contrast beautifully with the cold pasta salad.
-
Garlic Bread: Crispy, buttery, and fragrant, garlic bread is a classic choice that enhances the homey feel of your meal. Its crunch is a delightful contrast to the salad’s creaminess.
-
Mixed Green Salad: A fresh, crisp side with a light vinaigrette provides a refreshing balance. Tossed greens enhance the overall freshness and keep the meal light.
-
Fruit Salad: A vibrant mix of seasonal fruits offers a sweet, juicy counterpoint to savory flavors. The sweetness of fruits like watermelon and strawberries will keep your palate happy and refreshed.
-
Sparkling Lemonade: A zesty and effervescent drink option, sparkling lemonade echoes the bright flavors of the pasta salad. It is a thirst-quencher that adds a festive touch to any gathering.
-
Chocolate Chip Cookies: End your meal on a sweet note with these classic treats. The soft, gooey texture makes for a comforting finish after enjoying your vibrant California Pasta Salad.
Expert Tips for California Pasta Salad
- Perfect Pasta: Always cook rotini pasta al dente. Overcooked pasta can turn mushy and ruin your California Pasta Salad’s texture.
- Chill Time: Allow the salad to refrigerate for at least 30 minutes. This step enhances flavor absorption, making every bite delightful.
- Season Smart: Taste your salad before serving and adjust the salt and pepper as needed. Seasoning correctly brings out the best in your California Pasta Salad.
- Veggie Prep: Chop vegetables uniformly for even flavor and texture. Mismatched sizes can lead to a chaotic eating experience.
- Customization Joy: Feel free to experiment! Adding proteins like grilled chicken or chickpeas can elevate the dish and suit various dietary needs.
- Dressing Choice: For a fresher taste, consider using homemade Italian dressing instead of store-bought; it can make a world of difference!
California Pasta Salad Variations & Substitutions
Feel free to make this California Pasta Salad your own with these fun and delicious twists!
-
Protein Boost: Add grilled chicken or tuna for a hearty twist that enhances the salad’s nutritional value. For a vegetarian option, toss in protein-packed chickpeas instead.
-
Mediterranean Flavor: Swap feta cheese and kalamata olives for a Mediterranean flair. Pair it with a lemon-oregano vinaigrette to elevate the freshness.
-
Vegan Delight: Use vegan cheese or a nut-based cheese for a plant-based alternative. This way, everyone can enjoy the creamy goodness without dairy!
-
Southwest Inspiration: Incorporate black beans, corn, and diced avocado with a chipotle-lime dressing for a vibrant and spicy kick. It’s a colorful twist that delivers zest with every bite.
-
Gluten-Free Option: Substitute rotini pasta with gluten-free pasta made from lentils or chickpeas. This makes the salad accessible to those with gluten sensitivities.
-
Crispy & Crunchy: Add roasted vegetables, like zucchini or asparagus, for a seasonal twist. Roasting brings out unique flavors and adds a delightful texture.
-
Herbaceous Touch: Replace parsley with fresh basil or a mix of your favorite herbs for a slightly different flavor profile. Fresh herbs can brighten the dish beautifully.
-
Extra Zing: Enhance the dressing with a splash of red wine vinegar or fresh lemon juice for added zing. A little citrus can brighten the salad and make it even more refreshing!
No matter how you decide to customize, this California Pasta Salad promises a delightful and vibrant experience. For more delightful salad ideas, check out my Cheeseburger Salad Sauce and Butternut Squash Pasta recipes for a fulfilling meal!
Make Ahead Options
These California Pasta Salad is perfect for meal prep enthusiasts looking to save time on busy weeknights! You can cook the rotini pasta and chop all the vegetables up to 24 hours in advance; just make sure to keep the pasta and veggies separate in the refrigerator to maintain their quality. For even better results, you can prepare the entire salad and refrigerate it for up to 3 days before serving—just give it a quick stir before enjoying. To prevent the ingredients from becoming soggy, only mix in the dressing right before you’re ready to serve. With these make-ahead tips, your California Pasta Salad will be just as delicious and ready to impress!
California Pasta Salad Recipe FAQs
What type of pasta should I use for California Pasta Salad?
I recommend using rotini pasta for its shape and texture; it holds dressing well. If you need a gluten-free option, feel free to substitute it with gluten-free pasta made from rice or quinoa.
How do I store leftover California Pasta Salad?
Store your California Pasta Salad in an airtight container in the refrigerator for up to 3 days. Just remember to give it a good stir before serving, as some dressing may settle at the bottom. The flavors continue to meld, making it even tastier after a day or so!
Can I freeze California Pasta Salad?
While it’s best enjoyed fresh, you can freeze it for up to 1 month. The key is to prepare it without fresh veggies like cucumber or cherry tomatoes, as they can become mushy upon thawing. To freeze, place it in a freezer-safe container, and when ready to eat, thaw in the fridge overnight and add a splash of fresh dressing for a flavor boost.
How can I customize California Pasta Salad for allergies?
Absolutely! This salad is versatile enough to cater to different dietary needs. For a nut allergy, ensure no nuts are added, and to make it dairy-free, substitute sharp cheddar cheese with vegan cheese or omit it entirely. Always double-check labels on dressings or other pre-packaged ingredients to avoid any allergens.
What should I do if my pasta seems too mushy?
If your pasta turns out mushy, it’s often due to overcooking. In the future, cook the rotini until al dente—about 8-10 minutes—so it retains its firmness. If you end up with overcooked pasta, try repurposing it in a baked dish or creamy soup where texture is less critical.
Are there any seasonal vegetables I can add to this salad?
Definitely! Seasonal vegetables can elevate your California Pasta Salad. In spring, add fresh peas or asparagus; summer could include zucchini or bell peppers; and in fall, consider roasted butternut squash or apples for a delightful twist. The more, the merrier—let your creativity shine!
California Pasta Salad Bliss - Colorful, Crunchy, and Easy!
Ingredients
Equipment
Method
- Begin by boiling a large pot of salted water over high heat. Once boiling, add the rotini pasta and cook according to package instructions until al dente, about 8-10 minutes.
- While the pasta cools, chop your fresh vegetables: dice the cucumber, halve the cherry tomatoes, and slice the red onion into thin crescents.
- In a large mixing bowl, combine the cooled rotini pasta with the prepared vegetables: cherry tomatoes, cucumber, red onion, black olives, and bell pepper.
- Pour a generous amount of Italian salad dressing over the pasta mixture and gently toss until well-coated.
- Taste and season with salt and pepper as desired, adjusting to your preference.
- Garnish with freshly chopped parsley, cover, and refrigerate for at least 30 minutes.
- Serve in a large bowl or in individual portions, and enjoy!
Leave a Reply