
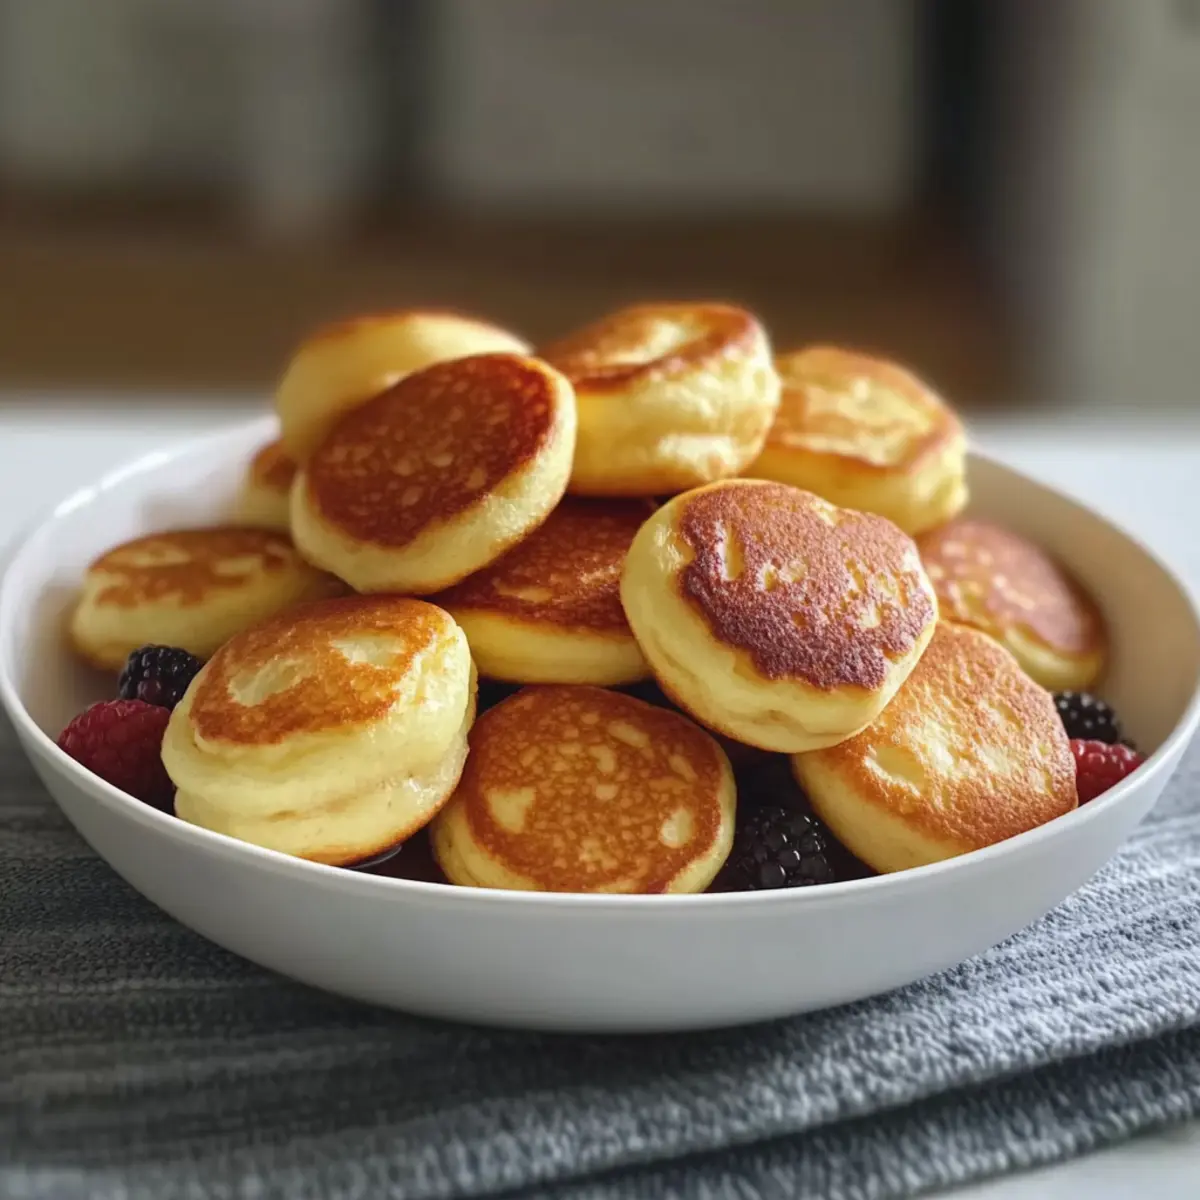
The aroma of fresh pancakes wafting through the air can transform even the dullest morning into a bright celebration. That’s why I’m thrilled to share my recipe for Breakfast Pancake Poppers—bite-sized delights that are as fun to eat as they are to make. Perfect for busy school weekday mornings or leisurely family brunches, these fluffy treats marry the beloved taste of pancakes with the convenience of snackable bites. They’re quick to whip up, meal prep-friendly, and can easily accommodate gluten-free or vegetarian diets. Plus, you can customize them with your favorite mix-ins like chocolate chips or fresh fruit. So, are you ready to dive into a breakfast that brings joy to your table and a smile to your face? Let’s get started!
Why are Breakfast Pancake Poppers a must?
Quick and Easy: With just a few simple steps, you can whip up these delightful bites in no time, perfect for busy mornings!
Endless Customization: Tailor each batch to your taste with mix-ins like blueberries, chocolate chips, or even nuts for a unique twist.
Meal Prep Friendly: Bake a large batch and store them in the fridge or freezer for quick breakfasts throughout the week.
Kid-Approved Fun: Their bite-sized shape is perfect for little hands, making breakfast enjoyable for everyone in the family!
Health-Conscious Option: With a gluten-free option available and about 50 calories per popper, you can indulge guilt-free. Pair them with a fresh fruit salad or your favorite Breakfast Granola Cups for a balanced meal!
Breakfast Pancake Poppers Ingredients
Discover the simple yet delightful ingredients that make up these fluffy bites!
For the Batter
- 1 cup flour – Provides structure to the poppers. Substitute with a 1:1 gluten-free flour blend for gluten-free options.
- 1 tbsp sugar – Adds sweetness; can be adjusted or replaced with a sugar substitute for lower-calorie options.
- 1 tsp baking powder – Helps the poppers rise and become fluffy.
- 1/4 tsp salt – Balances the sweetness and enhances flavor.
- 3/4 cup milk – Adds moisture and creates a tender texture; use almond or oat milk for dairy-free variations.
- 1 egg – Binds the ingredients, contributing to the structure; swap for a flax egg for vegan versions.
- 2 tbsp melted butter – Adds richness and flavor; substitute with coconut oil for a dairy-free option.
- 1 tsp vanilla extract – Enhances overall flavor and gives warmth to the poppers.
Embrace the joy of creating Breakfast Pancake Poppers that will not only satisfy your taste buds but also uplift your mornings!
Step-by-Step Instructions for Breakfast Pancake Poppers
Step 1: Preheat and Prepare
Start by preheating your oven to 375°F (190°C) to ensure it’s hot enough for perfect Breakfast Pancake Poppers. As the oven warms up, generously grease a mini muffin pan with cooking spray or melted butter to prevent sticking and promote a golden finish.
Step 2: Mix Dry Ingredients
In a mixing bowl, combine 1 cup of flour, 1 tablespoon of sugar, 1 teaspoon of baking powder, and 1/4 teaspoon of salt. Stir well to evenly incorporate the dry ingredients, ensuring the baking powder is distributed for a fluffy rise. This mixture lays the foundation for your delicious pancake poppers.
Step 3: Whisk Wet Ingredients
In a separate bowl, whisk together 3/4 cup of milk, 1 egg, 2 tablespoons of melted butter, and 1 teaspoon of vanilla extract until fully combined. This wet mixture adds moisture and flavor that will transform your Breakfast Pancake Poppers into delightful bites. Aim for a smooth consistency without any lumps.
Step 4: Combine Wet and Dry Mixtures
Gently fold the wet ingredients into the dry ingredients using a spatula, being careful not to overmix. Overmixing can lead to denser poppers. You want to see a few flour streaks remaining—the batter should be just combined for fluffy, airy pancake poppers.
Step 5: Fill the Muffin Pan
Using a spoon or a small ice cream scoop, fill each cup of the greased mini muffin pan about 2/3 full with the pancake batter. This ensures they have room to rise and achieve that perfect fluffy texture. Spread the batter evenly to ensure uniform cooking.
Step 6: Bake the Poppers
Place the muffin pan in the preheated oven and bake for 10–12 minutes. Keep an eye out for the tops to turn a lovely golden brown and a toothpick inserted into the center should come out clean. This visual cue is key to knowing your Breakfast Pancake Poppers are perfectly done.
Step 7: Cool and Serve
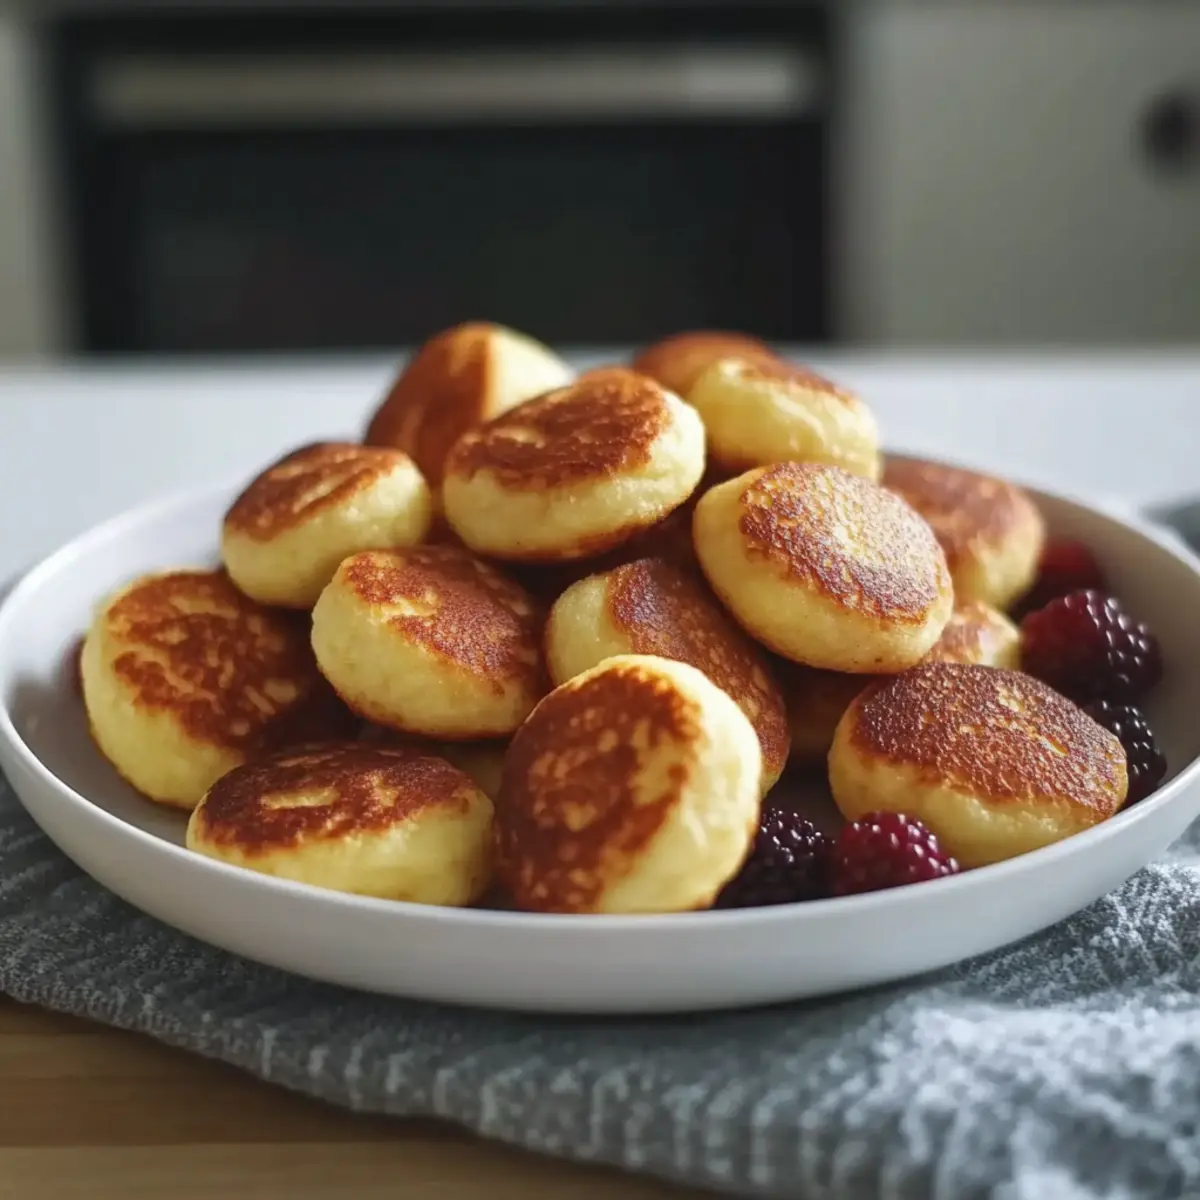
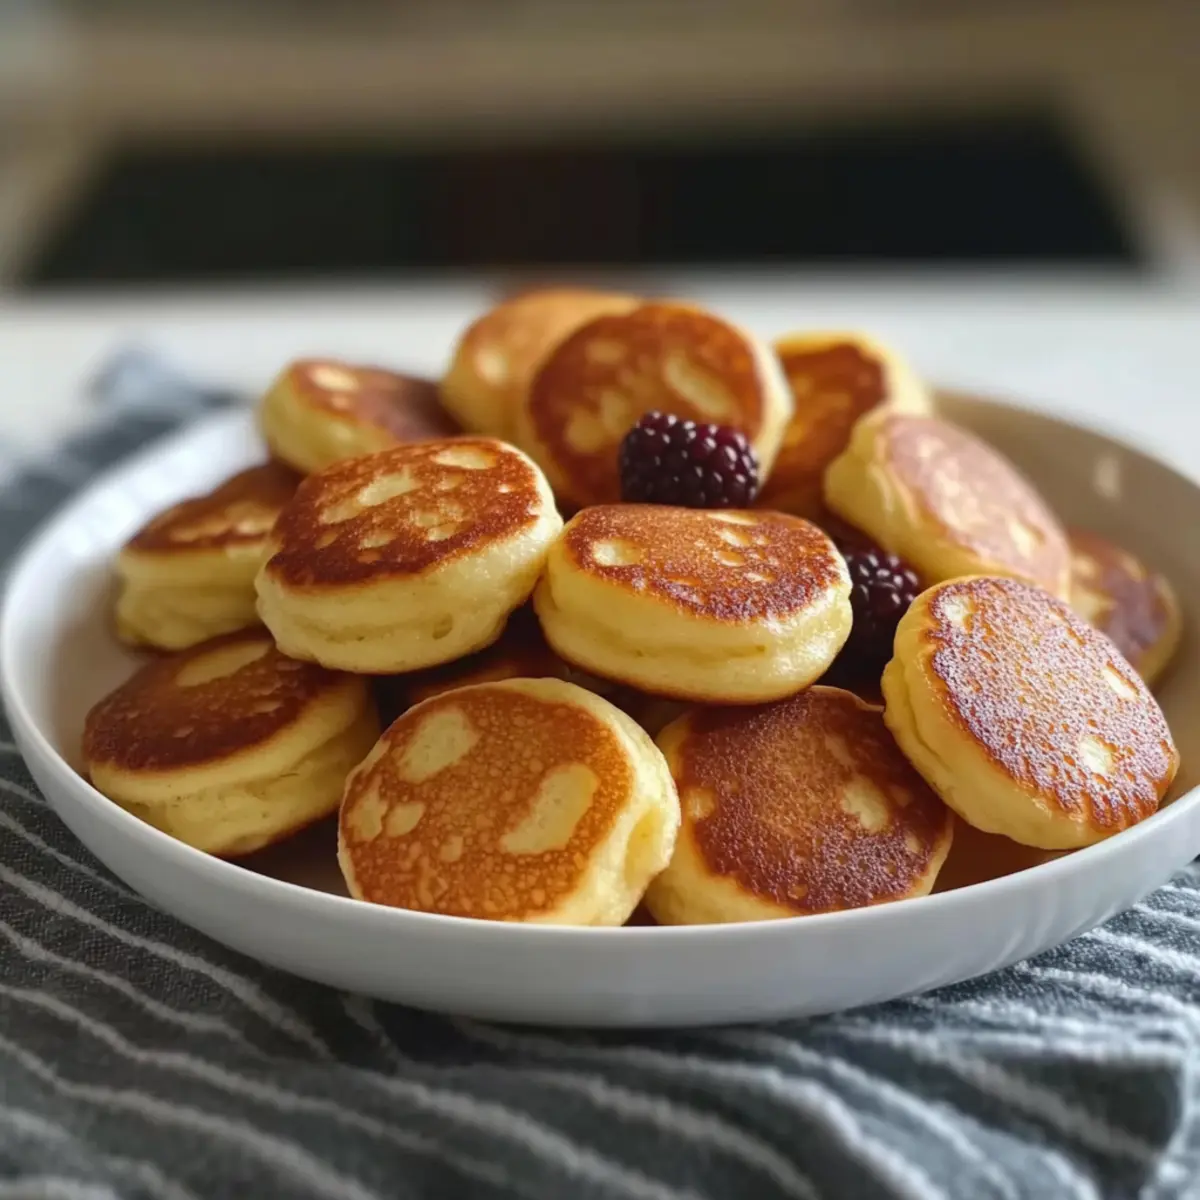
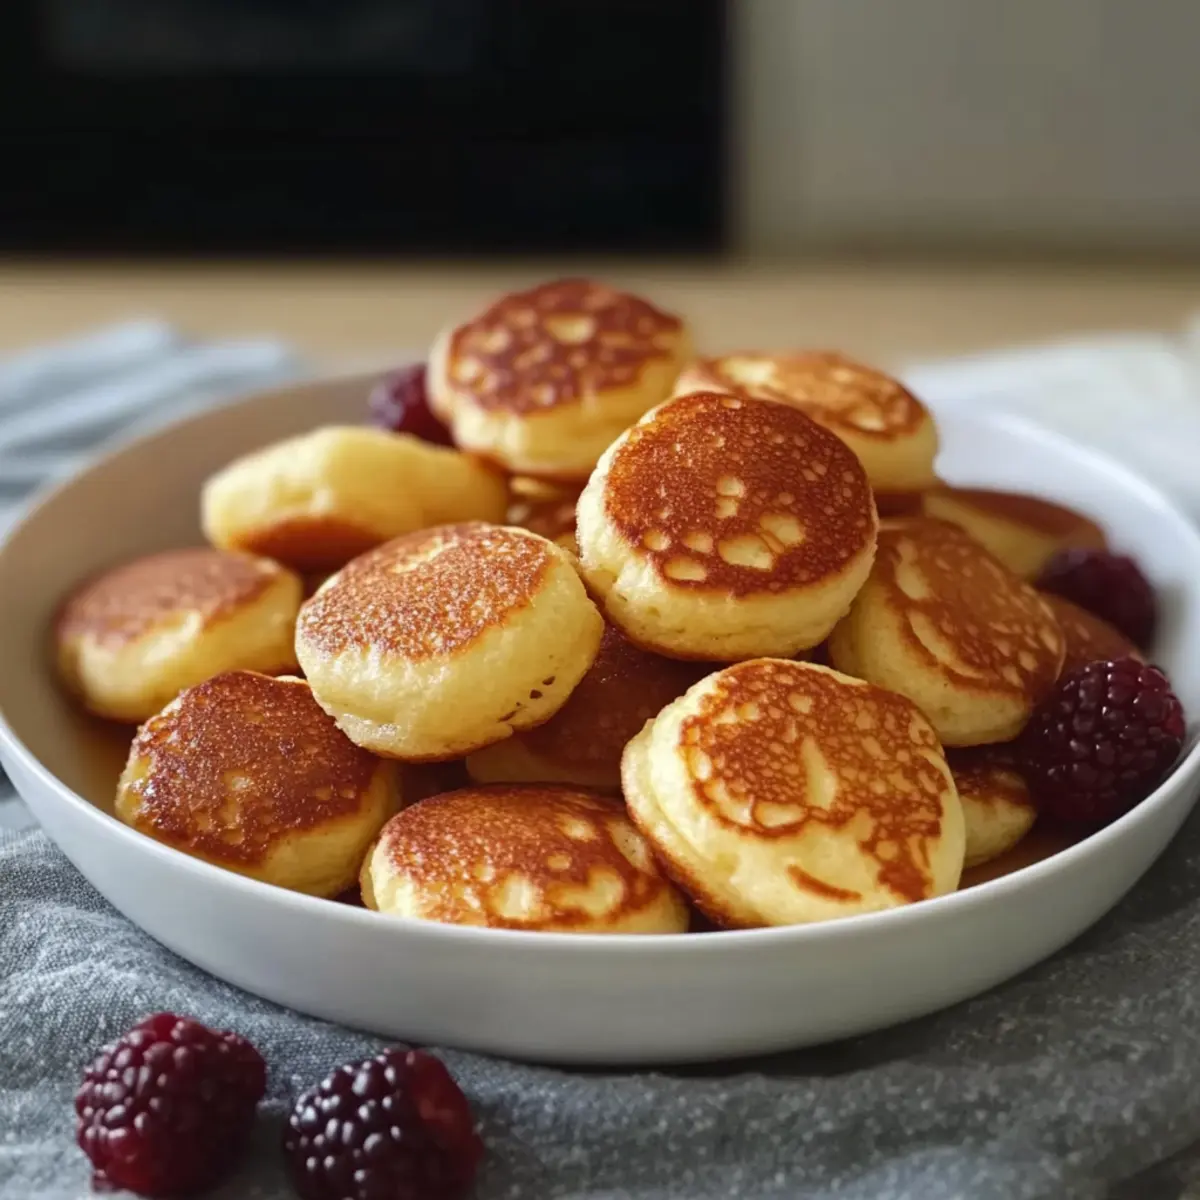
Once baked, remove the muffin pan from the oven and let the poppers cool for a few minutes. Then, carefully pop them out and serve warm. They’re delightful on their own or with syrup, fresh fruit, or whipped cream. Enjoy the fluffy joy of your homemade pancake poppers!
What to Serve with Breakfast Pancake Poppers
Elevate your breakfast experience with delightful sides that pair beautifully with these fluffy bites!
-
Fresh Fruit Salad: A vibrant mix of seasonal fruits adds color and a refreshing contrast to the poppers’ sweetness. Think juicy strawberries, tangy blueberries, and ripe bananas for a vibrant morning boost.
-
Scrambled Eggs: Creamy, fluffy scrambled eggs are easy to whip up and provide a protein-packed complement. Their rich texture nicely balances the lightness of the pancake poppers.
-
Yogurt Parfait: Layer creamy yogurt with granola and honey for a delectable contrast. This offers a healthy, satisfying touch while adding a lovely creaminess that perfectly offsets the poppers.
-
Maple Syrup Dipping Sauce: Classic syrup is always a winner, but try warming it up with a dash of cinnamon for a cozy twist! This simple addition enhances your poppers’ flavor profile wonderfully.
-
Nut Butter Spread: Serve almond or peanut butter for a protein-rich option that’s equally delicious. Its nutty taste pairs beautifully with the sweetness of the pancake poppers.
-
Smoothie: Blend up a refreshing smoothie filled with greens and fruits for a nutritious drink option. A berry smoothie or tropical blend will provide an exciting freshness.
-
Cinnamon Sugar Dusting: A simple mix of cinnamon and sugar makes a delightful topping for an added sweetness. Just a sprinkle over the warm poppers adds an extra layer of deliciousness.
-
Chocolate Hazelnut Spread: For indulgence, serve with Nutella or a chocolate spread that invites dipping. It transforms your breakfast into a fun, treat-like experience everyone will love!
Make Ahead Options
These Breakfast Pancake Poppers are a fantastic option for meal prep enthusiasts! You can prepare the batter up to 24 hours in advance by mixing the dry and wet ingredients separately, then refrigerating them. When you’re ready to serve, simply combine and bake, ensuring your poppers are just as fluffy and delightful as if made fresh. Alternatively, you can bake a large batch and store the cooled poppers in an airtight container in the refrigerator for up to three days. For longer storage, freeze them in a zip bag for up to one month. Just reheat in the microwave for about 15 seconds before enjoying, and you’ll have a quick, satisfying breakfast on busy mornings.
Breakfast Pancake Poppers Variations
Feel free to let your creativity shine as you customize these delightful poppers to suit your taste preferences!
-
Gluten-Free: Use a 1:1 gluten-free flour blend instead of regular flour for a deliciously fluffy alternative.
-
Low-Sugar: Replace granulated sugar with a natural sweetener like stevia or monk fruit for a healthier twist.
-
Dairy-Free: Substitute regular milk with almond or oat milk, and use coconut oil in place of butter for dairy-free goodness.
-
Fruit-Infused: Add mashed bananas or applesauce into the batter to infuse moisture and a hint of sweetness. This not only enhances flavor but also adds a fruity twist.
-
Flavorful Extracts: Experiment with different extracts like almond or maple in addition to vanilla to create a symphony of unique flavors.
-
Protein Boost: Mix in protein powder or Greek yogurt to the batter for a nutritious boost, perfect for a pre- or post-workout snack.
-
Spiced Up: Add a dash of cinnamon or nutmeg for a warm and inviting flavor, perfect for cozy mornings.
-
Chocolate Delight: Stir in mini chocolate chips or chunks into the batter to satisfy those sweet cravings. These little surprises will make your mornings oh-so-happy!
With these variations, your Breakfast Pancake Poppers can cater to every craving and dietary need. And if you’re looking for more delicious breakfast options, don’t forget to check out our Breakfast Granola Cups for a wholesome treat or our Healthy Breakfast Granola for a fiber-filled fuel to start your day!
How to Store and Freeze Breakfast Pancake Poppers
Fridge: Store cooled Breakfast Pancake Poppers in an airtight container for up to 3 days. This allows you to enjoy them fresh during busy mornings.
Freezer: For longer storage, freeze the poppers in a zip-top bag for up to 1 month. This is perfect for meal prep and ensures you have ready-to-go breakfast options available.
Reheating: To reheat, simply microwave the frozen poppers for about 15-20 seconds, or until warmed through. They’ll regain that fluffy delight you love!
Batch Prep: Consider doubling the recipe and freezing half to keep breakfast stress-free. Having these handy means more time for morning smiles!
Expert Tips for Breakfast Pancake Poppers
-
Don’t Overmix: Gently combine wet and dry ingredients. Overmixing can lead to dense poppers instead of fluffy delights!
-
Perfect Storage: These poppers freeze beautifully. Store in a zip bag for up to 1 month; reheat in the microwave for quick breakfasts.
-
Mix It Up: Add mix-ins like mini chocolate chips or berries to elevate flavor. Just remember, a little goes a long way in your Breakfast Pancake Poppers.
-
Check Doneness: Use a toothpick to ensure they’re baked through. If it comes out clean, they’re ready to enjoy!
-
Serve Warm: For the best experience, serve poppers warm. Pair with syrup or fruit for a delightful breakfast treat!
Breakfast Pancake Poppers Recipe FAQs
What type of flour should I use for Breakfast Pancake Poppers?
You can use all-purpose flour for these poppers, but if you’re looking for a gluten-free option, I recommend a 1:1 gluten-free flour blend. Make sure to check that it contains xanthan gum, which helps provide structure similar to regular flour.
How should I store leftover Breakfast Pancake Poppers?
Store cooled Breakfast Pancake Poppers in an airtight container in the refrigerator for up to 3 days. This keeps them fresh and ready for busy mornings when you want a delicious bite without any fuss!
Can I freeze Breakfast Pancake Poppers? How do I do it?
Absolutely! To freeze your Breakfast Pancake Poppers, let them cool completely, then place them in a zip-top bag, removing as much air as possible. You can freeze them for up to 1 month. When you’re ready to enjoy, simply microwave them for about 15-20 seconds or until warmed through, allowing you to savor that fluffy goodness any day of the week!
What if my pancakes don’t rise properly?
If your Breakfast Pancake Poppers don’t rise as expected, the baking powder may be expired, or the wet and dry ingredients may have been overmixed. For best results, always check the expiration date of your baking powder and gently combine the ingredients to maintain fluffiness. A few flour streaks are okay—this will help achieve that light and airy texture!
Are there any dietary considerations for Breakfast Pancake Poppers?
Yes, these poppers are quite versatile! You can use almond or oat milk for a dairy-free option, and substitute the egg with a flax egg (1 tablespoon of ground flaxseed mixed with 2.5 tablespoons of water) for a vegan diet. Just be mindful of allergens in your mix-ins, like nuts or chocolate, to ensure they’re suitable for everyone enjoying them.
Delicious Breakfast Pancake Poppers for a Fun Morning Treat
Ingredients
Equipment
Method
- Preheat your oven to 375°F (190°C) and grease a mini muffin pan.
- Combine flour, sugar, baking powder, and salt in a mixing bowl.
- In a separate bowl, whisk together milk, egg, melted butter, and vanilla extract.
- Gently fold the wet ingredients into the dry ingredients until just combined.
- Fill each cup of the greased mini muffin pan about 2/3 full with batter.
- Bake for 10-12 minutes until golden brown and a toothpick comes out clean.
- Let cool for a few minutes before removing and serving warm.
Leave a Reply