
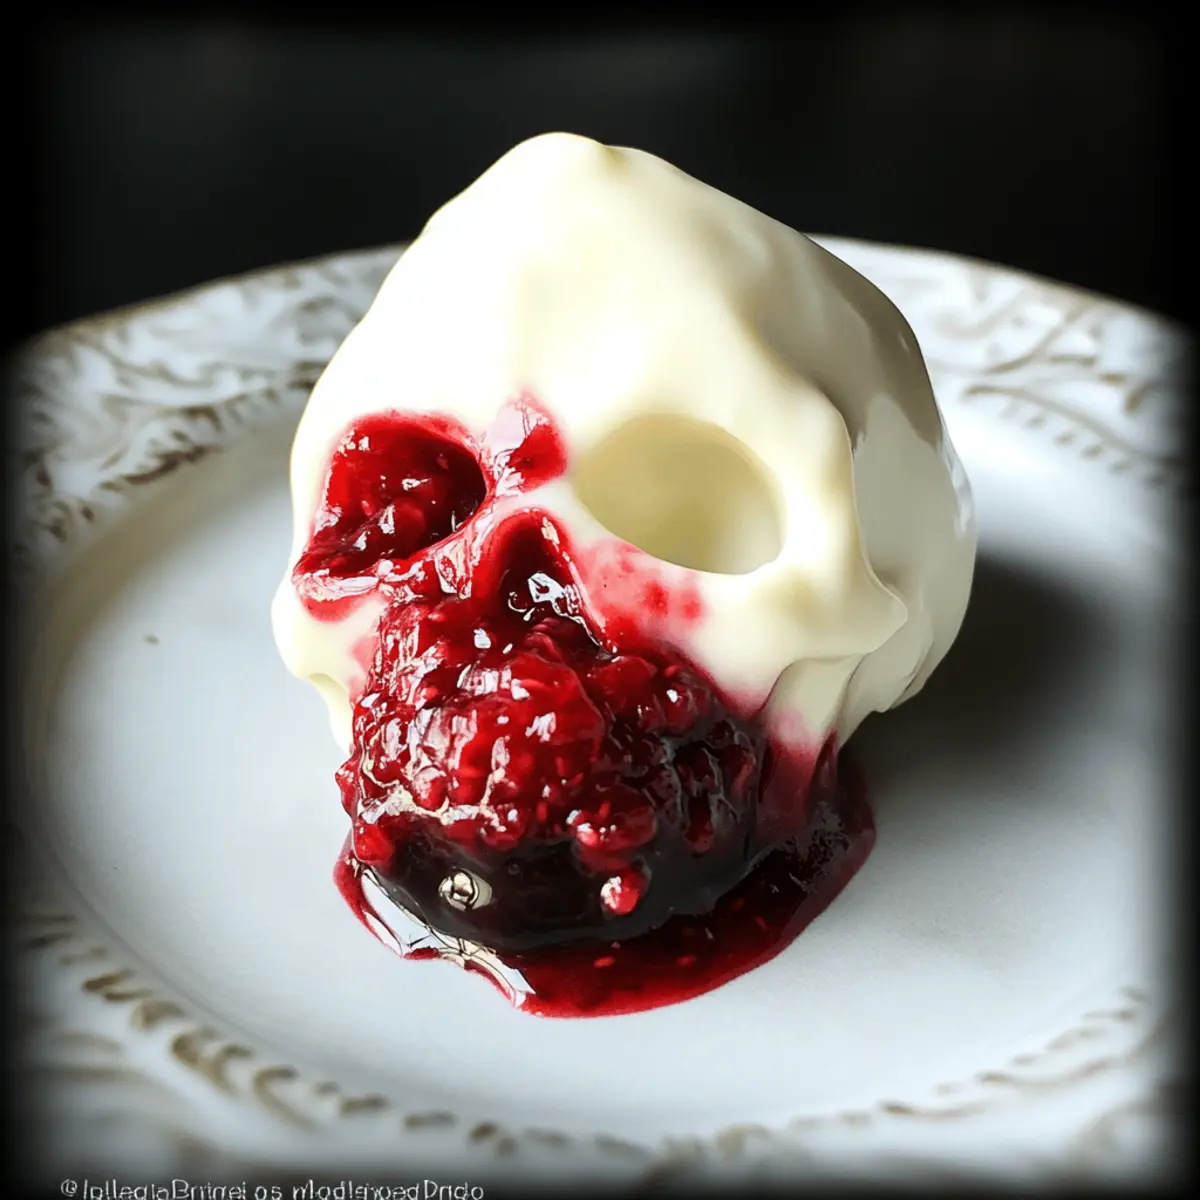
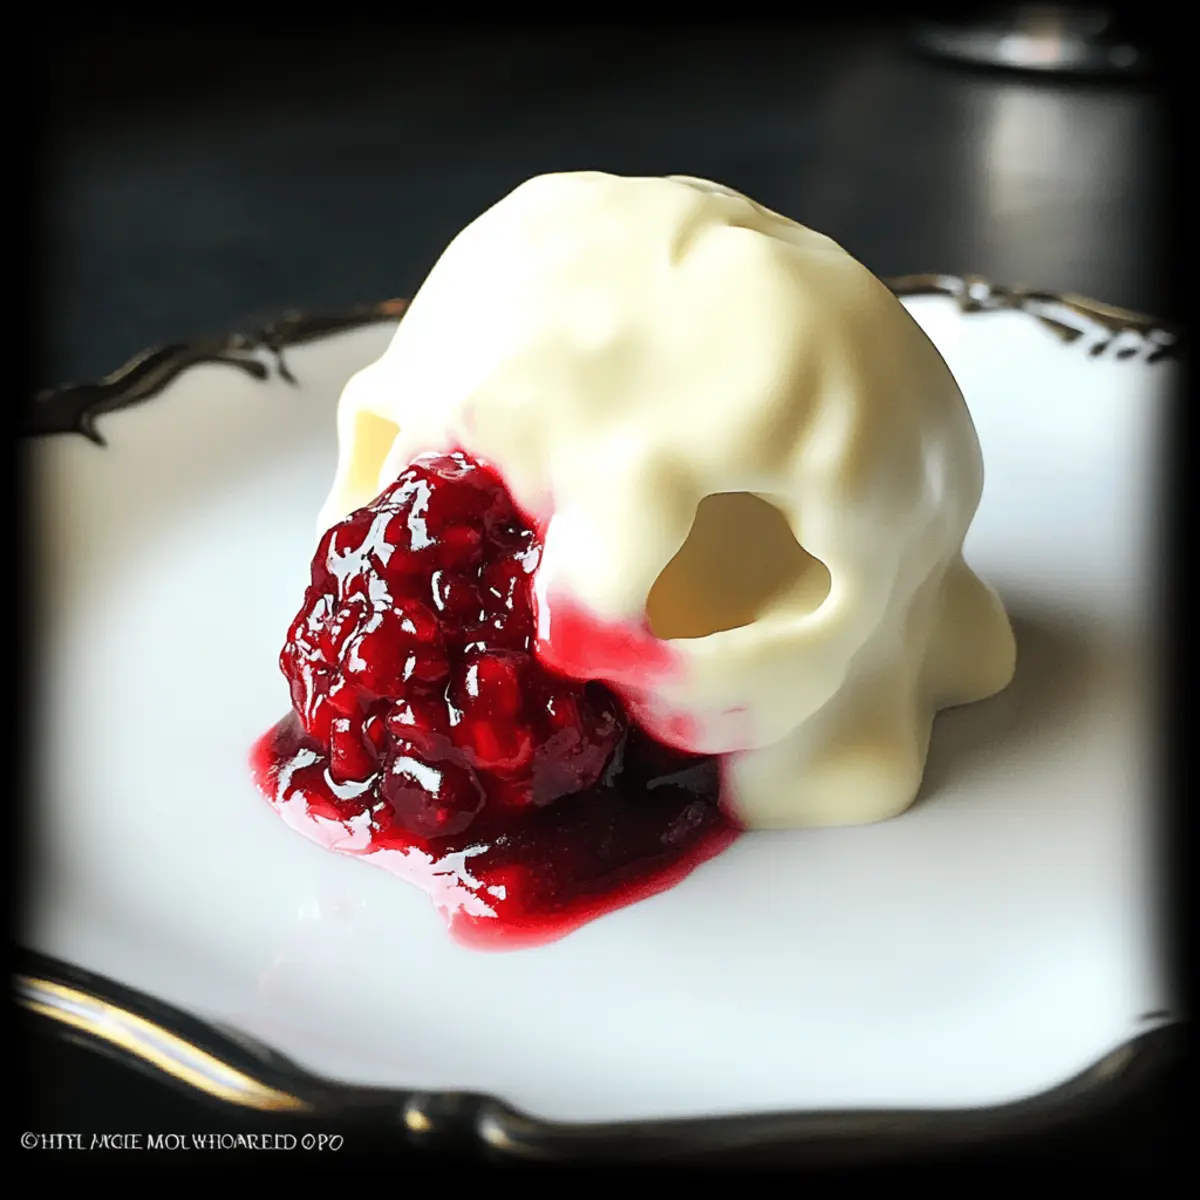
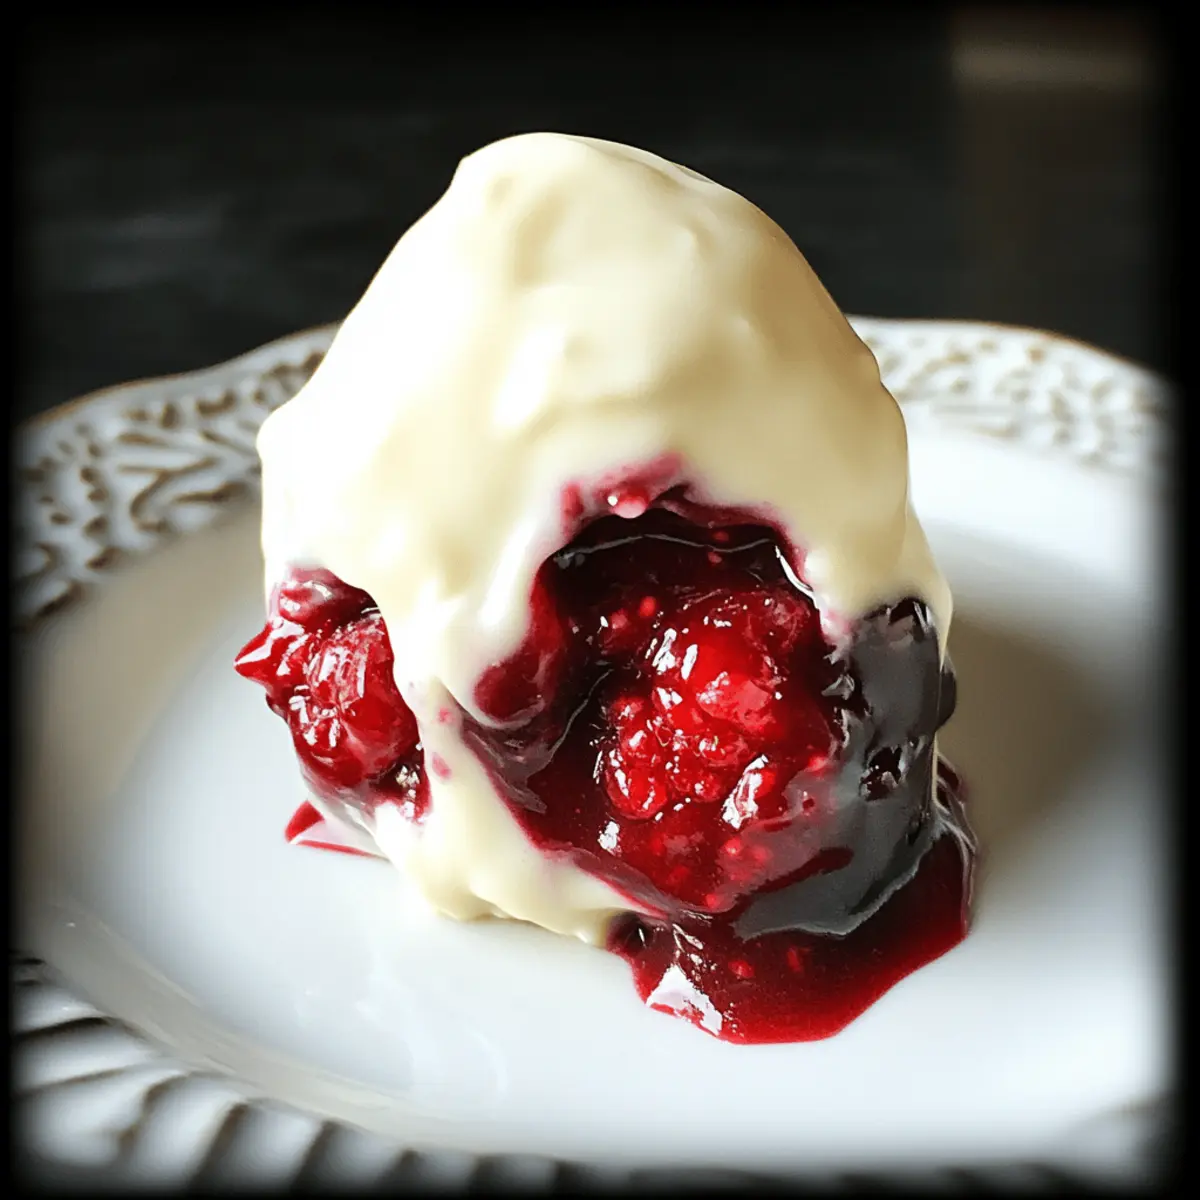
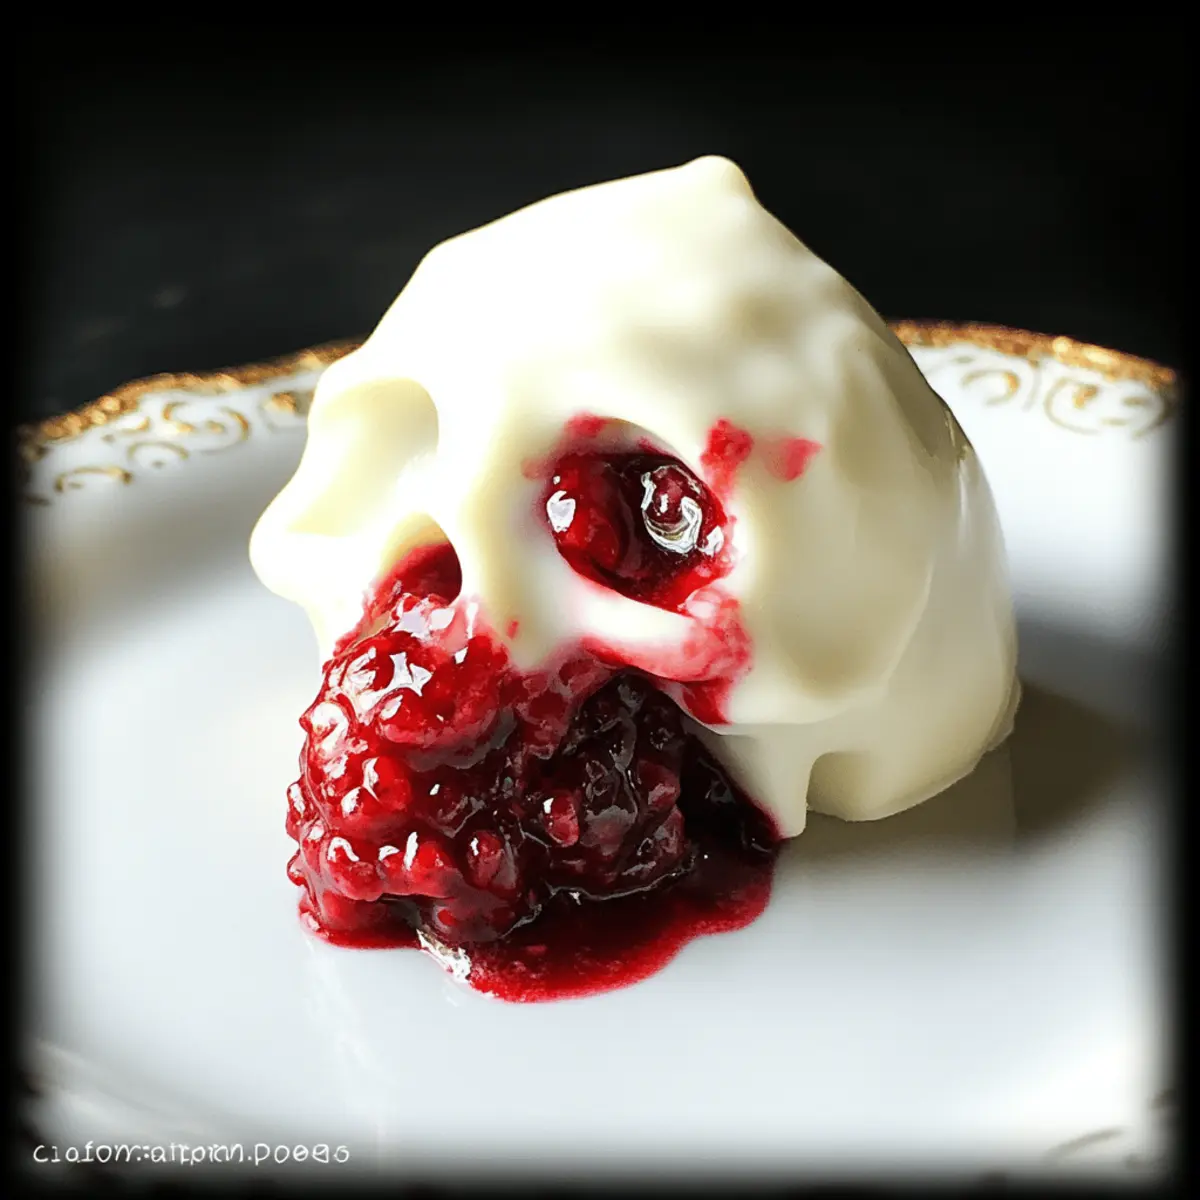
As I stood in my kitchen, a thrilling aroma of melting chocolate filled the air, beckoning memories of Halloween festivities and cozy gatherings. Today, I’m excited to share my favorite recipe for Raspberry-Filled Chocolate Skulls, a whimsical treat perfect for both Valentine’s Day and Halloween. Imagine biting into a dark cocoa skull to uncover a delightful surprise: a warm, oozing raspberry sauce that dances between sweet and tart. Not only are these chocolate creations strikingly unique, but they’re also surprisingly simple to make, sure to impress even the toughest food critics. Plus, they serve as a conversation starter at any occasion. Who wouldn’t love indulging in a slightly gothic spin on classic sweets? Ready to unleash your inner chocolatier and wow your friends with these spooky delights? Let’s dive into the magical world of chocolate baking together!
Why Are These Skulls So Irresistible?
Surprising, each bite reveals a burst of warm raspberry sauce, offering a delightful contrast to the rich chocolate shell. Gothic aesthetic makes these Raspberry-Filled Chocolate Skulls a standout treat for any occasion, whether it’s Halloween chills or Valentine’s thrills. Easy to customize, you can experiment with various fillings like lemon curd to please all palates. Crowd-pleasing and visually stunning, they are the perfect conversation starters at gatherings. Get ready to impress your family and friends with a treat that’s as unique as it is delicious!
Bloody Raspberries Ingredients
For the Skull Shell
• Chocolate Wafers – The backbone of your chocolate skulls; feel free to substitute with melting chocolate or chocolate chips for a different texture.
For the Raspberry Filling
• Raspberry Sauce – This tart and sweet surprise adds a vibrant pop of color; you can swap with other fruit purees like strawberries or cherries, but expect a different flavor experience.
Optional Decorations
• Edible Glitter – A sprinkle of this adds a touch of sparkle; just ensure it’s food-safe to keep your treats both pretty and safe.
• Food Coloring – Use this to tint your chocolate for an extra festive look!
Step‑by‑Step Instructions for Bloody Raspberries
Step 1: Prepare Raspberry Sauce
Begin by filling an ice cube tray with raspberry sauce, ensuring each cavity is adequately filled. Place the tray in the freezer and allow the sauce to freeze until just firm, which should take about one hour. This chilling process creates cute raspberry cubes that will add a deliciously surprising burst to your Bloody Raspberries.
Step 2: Melt Chocolate
While the raspberry sauce solidifies, prepare to melt the chocolate wafers. Use a microwave-safe bowl and heat the wafers in small batches, starting with 30-second intervals. Stir the chocolate frequently to ensure even melting without burning. Once melted and smooth, the chocolate will become your shell, ready to be transformed into hauntingly delicious skulls.
Step 3: Coat Skull Molds
With the melted chocolate ready, it’s time to coat the skull molds. Using your fingers or a pastry brush, apply a thin, even layer of melted chocolate to the inside of each skull mold. Ensure the chocolate reaches all corners for a good shell. This initial layer will set the foundation for the Bloody Raspberries, so make it thorough and smooth.
Step 4: Set Chocolate Layers
Allow the first layer of chocolate to harden at room temperature for about 10-15 minutes. Once it’s no longer sticky to the touch and has a slight sheen, repeat the process with a second thicker layer. This second layer increases the sturdiness of your skulls and ensures they hold the raspberry filling well.
Step 5: Add Raspberry Cubes
After the second layer has set, gently press one raspberry cube into each skull cavity, ensuring they remain below the edge of the mold. Use your fingers to press down lightly—this will lock in the filling and prevent it from spilling over when you finish sealing your Bloody Raspberries.
Step 6: Fill with Chocolate
Quickly and carefully fill both the top and bottom skull cavities with more melted chocolate, covering the raspberry cubes completely. Make sure to leave no gaps, creating a sealed treat. Align the two halves of the skull mold and press them together, ensuring they adhere well for a seamless finish.
Step 7: Final Hardening
Set the filled molds aside at room temperature to harden completely, which may take around 30-60 minutes. Make sure that the chocolate is firm before attempting to demold. This step is crucial to ensure that your Bloody Raspberries hold their shape and maintain their integrity during removal.
Step 8: Demold and Finish
Carefully remove the chocolate skulls from the molds once they are fully set. If you encounter any difficulty, warm your finger or a small knife and gently run it along the seams to help release them. Inspect each skull, and use melted chocolate to smooth out any imperfections in your Bloody Raspberries, creating a flawless and spooky finish.
What to Serve with Raspberry-Filled Chocolate Skulls?
Enhance the experience of your spooky sweets with delightful sides and drinks that will make every bite memorable!
-
Creamy Vanilla Ice Cream: The cool creaminess contrasts beautifully with the rich chocolate skulls and adds a refreshing element to your dessert.
-
Fresh Berries Salad: A mix of strawberries, blueberries, and raspberries brings freshness and acidity, complementing the oozing raspberry filling perfectly.
-
Dark Chocolate-Dipped Strawberries: These treats echo the chocolate theme and add an elegant touch, making your dessert platter truly irresistible.
-
Sparkling Wine: A glass of bubbly adds a festive touch, heightening the excitement around your gothic-themed gathering.
-
Ghostly Meringues: Light and airy, these fluffy meringues can be decorated to match the skulls, creating a whimsical treat to accompany your sweets.
-
Fruit-Infused Water: Keeping it simple, offer a refreshing beverage infused with mint, lemon, and cucumber for guests to cleanse their palate between indulgent bites.
These pairings not only enhance the flavors of the Raspberry-Filled Chocolate Skulls but also create a festive atmosphere that will leave everyone enchanted!
Bloody Raspberries Variations & Substitutions
The beauty of these Raspberry-Filled Chocolate Skulls lies in their versatility; don’t hesitate to put your own spin on them!
-
Dairy-Free: Use dairy-free chocolate chips to ensure everyone can indulge without any constraints, maintaining that rich chocolate flavor.
-
Fruit Fusion: Try swapping raspberry sauce with a tangy mango or tart cherry filling for a playful twist that will surprise your taste buds.
-
Nutty Delight: Incorporate a layer of almond or hazelnut spread in the middle for a creamy encounter that perfectly complements the chocolate and fruit.
Feel free to mix textures and flavors! Who wouldn’t want a crunchy surprise alongside their luscious filling?
-
Spiced Up: Add a pinch of cinnamon or chili powder to the raspberry sauce for a lovely warmth that plays beautifully against the sweet and tart flavors.
-
Gothic Colors: Use colored chocolate wafers in shades of black or orange to create an eye-catching skull display, perfect for Halloween decorations.
Sometimes, the way to one’s heart is through the eyes—make them equally delightful and festive!
-
Crunchy Chocolate: Fold in crushed cookies or crispy rice into the melted chocolate to provide an unexpected crunch that elevates every bite.
-
Sugar-Free Option: Substitute regular chocolate with sugar-free chocolate wafers to accommodate dietary needs while keeping the indulgence alive.
By infusing personal flair into your creations, you’ll harness the magic of baking that enchantingly combines creativity and culinary skills. If you’re probing for more delightful twists, consider trying out flavors from our other recipes!
Make Ahead Options
These Raspberry-Filled Chocolate Skulls are perfect for busy home cooks looking to save time while impressing friends and family! You can prepare the raspberry sauce up to 3 days in advance; simply fill ice cube trays and freeze them until solid. The chocolate shells can also be made ahead of time; just coat the molds and let them set at room temperature for up to 24 hours before filling. To maintain quality, store the filled chocolate skulls in an airtight container in a cool, dry place. When you’re ready to serve, simply demold and enjoy the delightfully oozing raspberry surprise inside—just as delicious, even days later!
Storage Tips for Bloody Raspberries
Room Temperature: Keep your Raspberry-Filled Chocolate Skulls in a cool, dry place in an airtight container for up to 3 days to maintain their delightful taste and texture.
Fridge: For extended freshness, place the skulls in the refrigerator, but allow them to return to room temperature before serving; this helps restore the raspberry filling’s ooze.
Freezer: You can also freeze your Bloody Raspberries for up to 2 months. Just wrap them tightly in plastic wrap followed by aluminum foil to prevent freezer burn.
Reheating: If the chocolate becomes too hard after refrigeration, gently warm the skulls in your hands or a warm spot for a few minutes before enjoying.
Expert Tips for Bloody Raspberries
• Work Quickly: Chocolate hardens rapidly, so make sure to fill and seal your skulls without delay. This ensures a smooth finish without any awkward gaps.
• Let It Set: Don’t rush the setting process! Allow each layer of chocolate to completely harden. This patience will prevent any spills of your delicious raspberry filling.
• Smoothing Imperfections: If your skulls have bumps or uneven edges, simply reheat a little bit of chocolate and use it to fill in those flaws, giving your Bloody Raspberries a polished look.
• Chill the Filled Skull: Before demolding, ensure the chocolate is fully firm. A gentle chill in the refrigerator can help solidify any areas that may feel soft.
• Decorate with Flair: Feel free to get creative with edible glitter or food coloring! Just remember to use food-safe options that complement your gothic theme.
Raspberry-Filled Chocolate Skulls Recipe FAQs
What type of chocolate is best for making the skull shell?
Absolutely! For the best results, I recommend using chocolate wafers as they melt smoothly and harden beautifully. You can also use melting chocolate or high-quality chocolate chips, depending on your preference. Be sure to stir frequently while melting to prevent any burning!
How should I store the Raspberry-Filled Chocolate Skulls?
To keep your delicious skulls fresh, store them in an airtight container in a cool, dry place for up to 3 days. If you need them to last longer, refrigerate them, but allow them to come back to room temperature before serving to restore that oozy raspberry goodness!
Can I freeze the chocolate skulls? If so, how long can they last?
Yes, you can freeze your Raspberry-Filled Chocolate Skulls for up to 2 months! To do this, wrap each skull tightly with plastic wrap, then follow with aluminum foil to protect them from freezer burn. When you’re ready to enjoy them, simply remove them from the freezer and let them thaw at room temperature.
What should I do if my chocolate doesn’t harden properly?
If you find that your chocolate isn’t setting, it might be because the room is too warm or the chocolate was not melted correctly. To troubleshoot: ensure you’re working in a cooler environment and double-check that the chocolate was melted in small batches, stirring frequently. If needed, you can place the molds in the refrigerator for 10-15 minutes to help it set faster.
Are there any dietary considerations for the fillings?
Yes! If you have allergies or dietary restrictions, be mindful that chocolate can contain milk and nuts. For the raspberry filling, check to ensure that the puree doesn’t have added sugars or artificial ingredients if you’re looking for a more health-conscious choice. Additionally, if you’re making these for pets, avoid giving them chocolate, as it can be toxic to dogs and other animals.
Can I customize the fillings in my chocolate skulls?
Very! There’s a whole world of delicious possibilities for fillings—consider lemon curd, strawberry puree, or even a creamy peanut butter center for a fun twist. Just ensure that whatever you choose complements the rich chocolate flavor while maintaining that delightful contrast in textures!
Let your creativity run wild and have fun with your Raspberry-Filled Chocolate Skulls! Enjoy the spooky baking adventure!
Bloody Raspberries: Daringly Delicious Halloween Treats
Ingredients
Equipment
Method
- Prepare Raspberry Sauce: Fill an ice cube tray with raspberry sauce and freeze until just firm, about 1 hour.
- Melt Chocolate: Heat chocolate wafers in a microwave-safe bowl using 30-second intervals until smooth.
- Coat Skull Molds: Apply a thin layer of melted chocolate to the inside of each skull mold.
- Set Chocolate Layers: Allow the first layer to harden for 10-15 minutes, then add a second thicker layer.
- Add Raspberry Cubes: Gently press one raspberry cube into each skull cavity below the edge of the mold.
- Fill with Chocolate: Fill both skull cavities with melted chocolate, covering raspberry cubes completely.
- Final Hardening: Set the filled molds aside to harden completely, about 30-60 minutes.
- Demold and Finish: Carefully remove the skulls from molds and smooth any imperfections with melted chocolate.
Leave a Reply