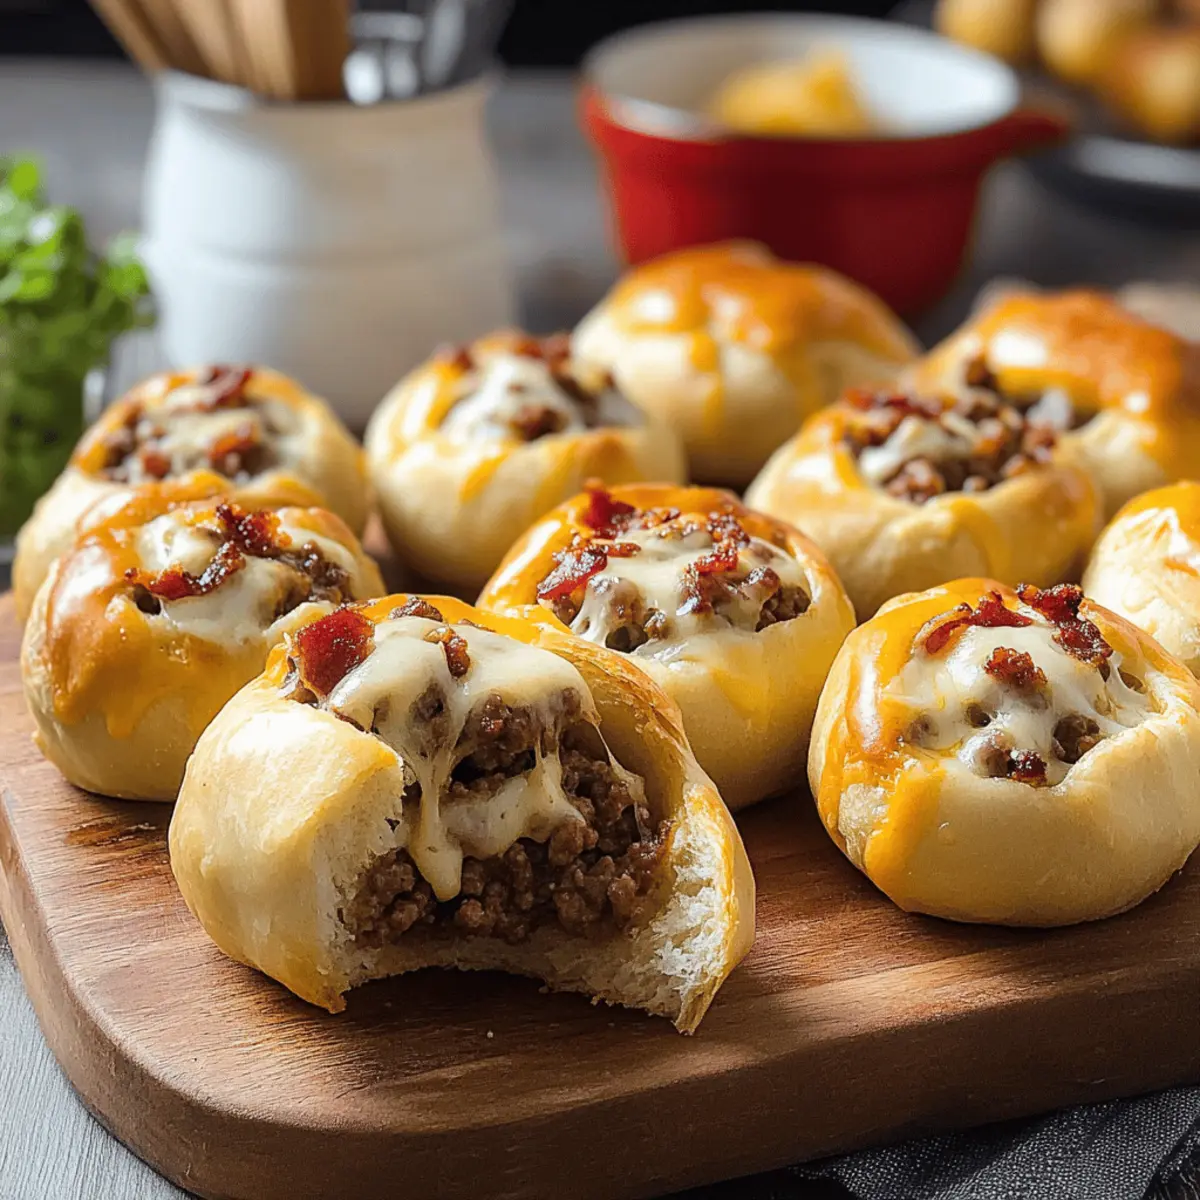
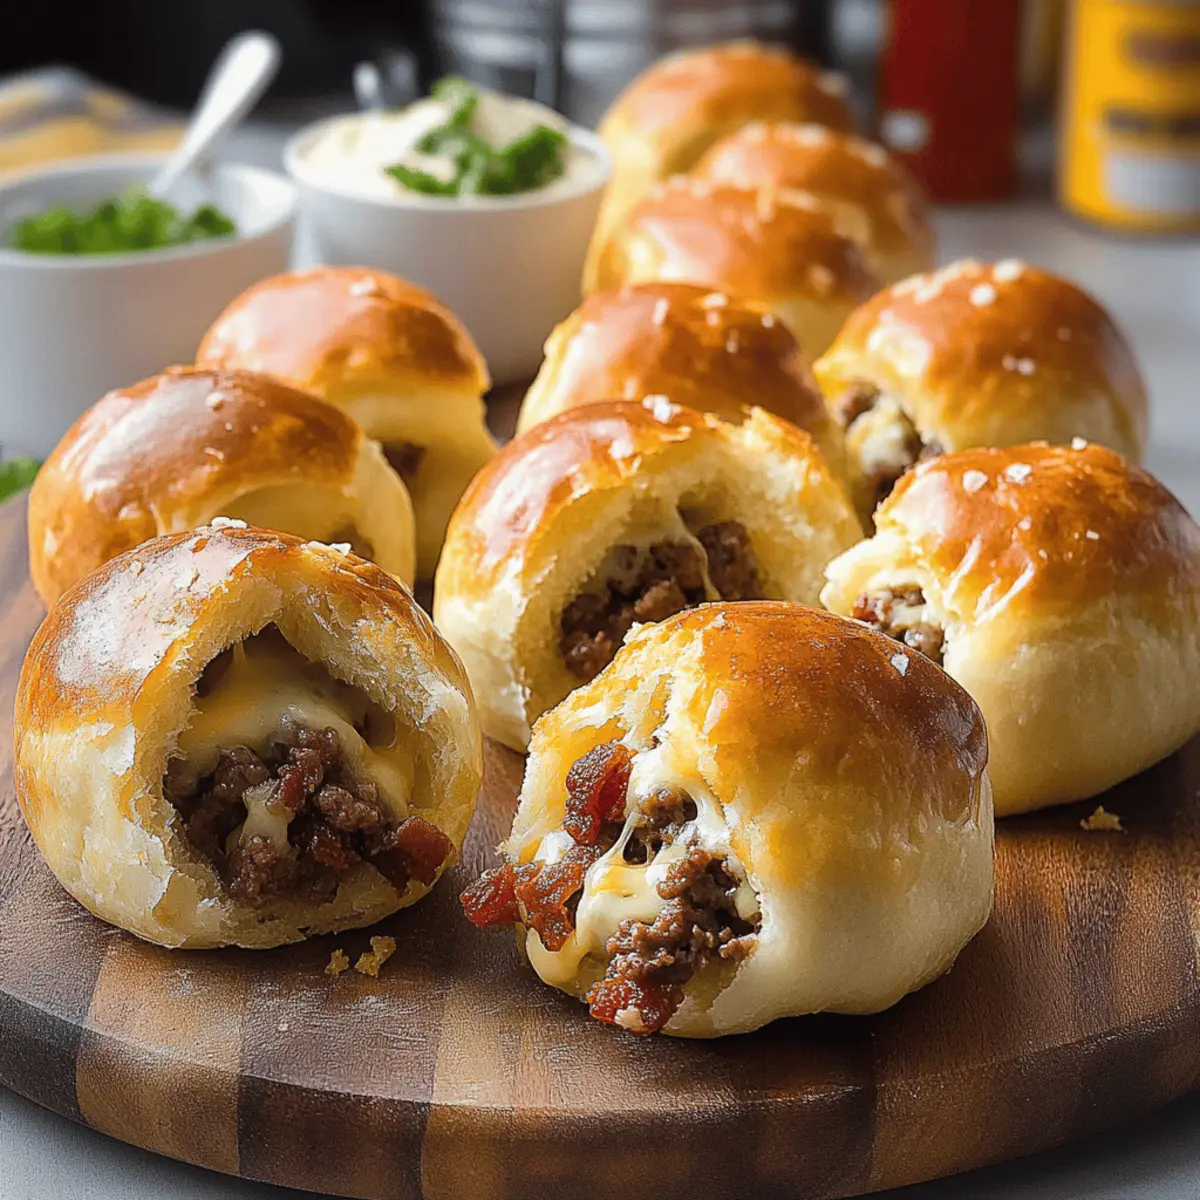
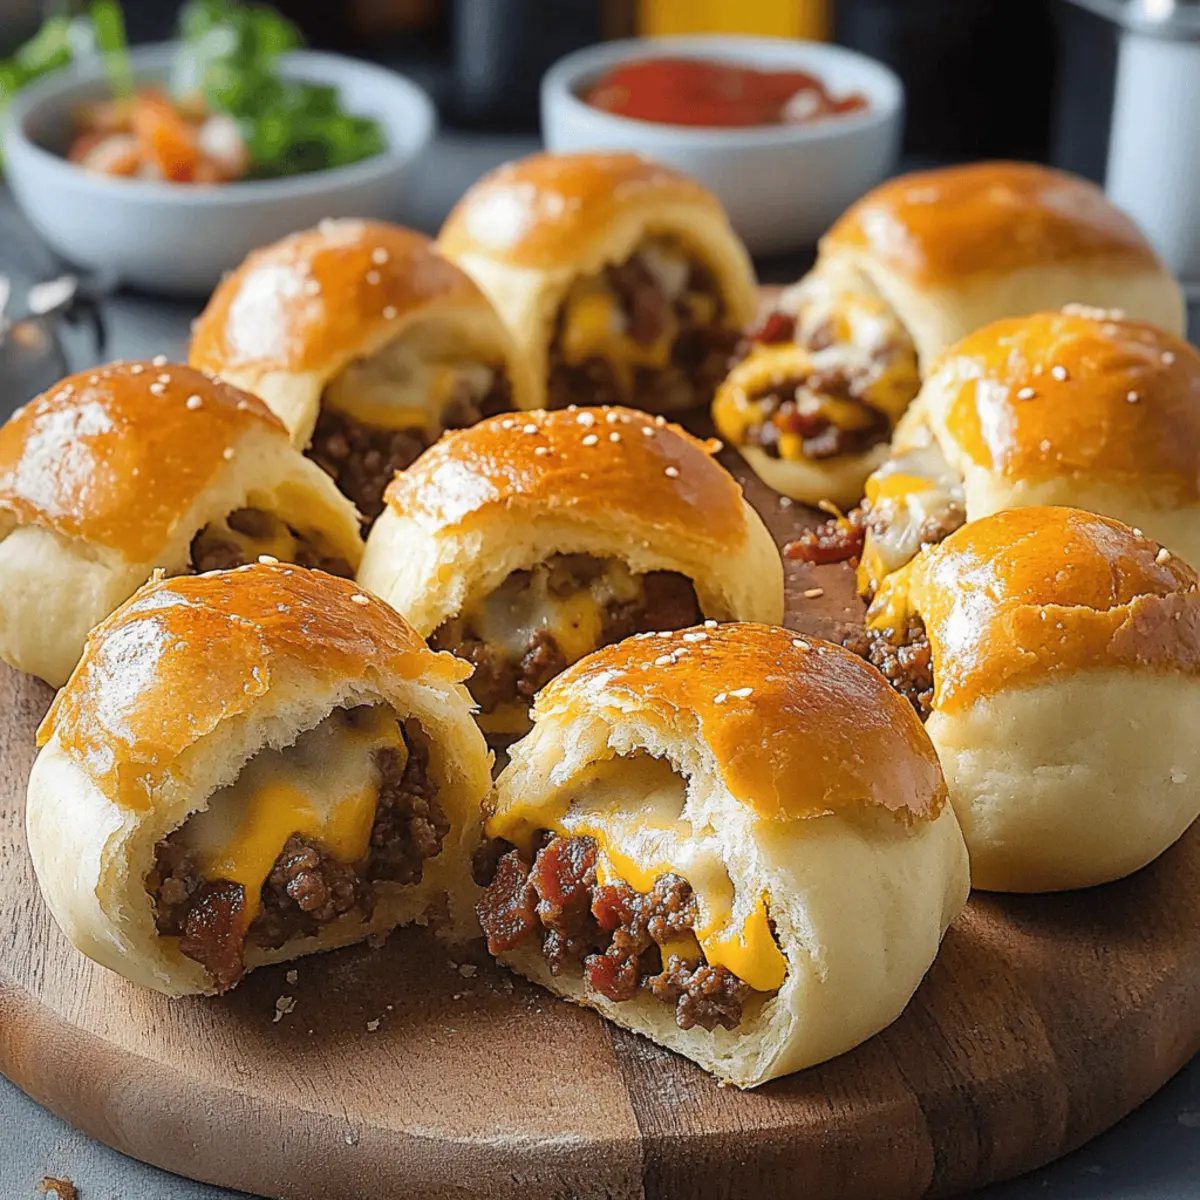
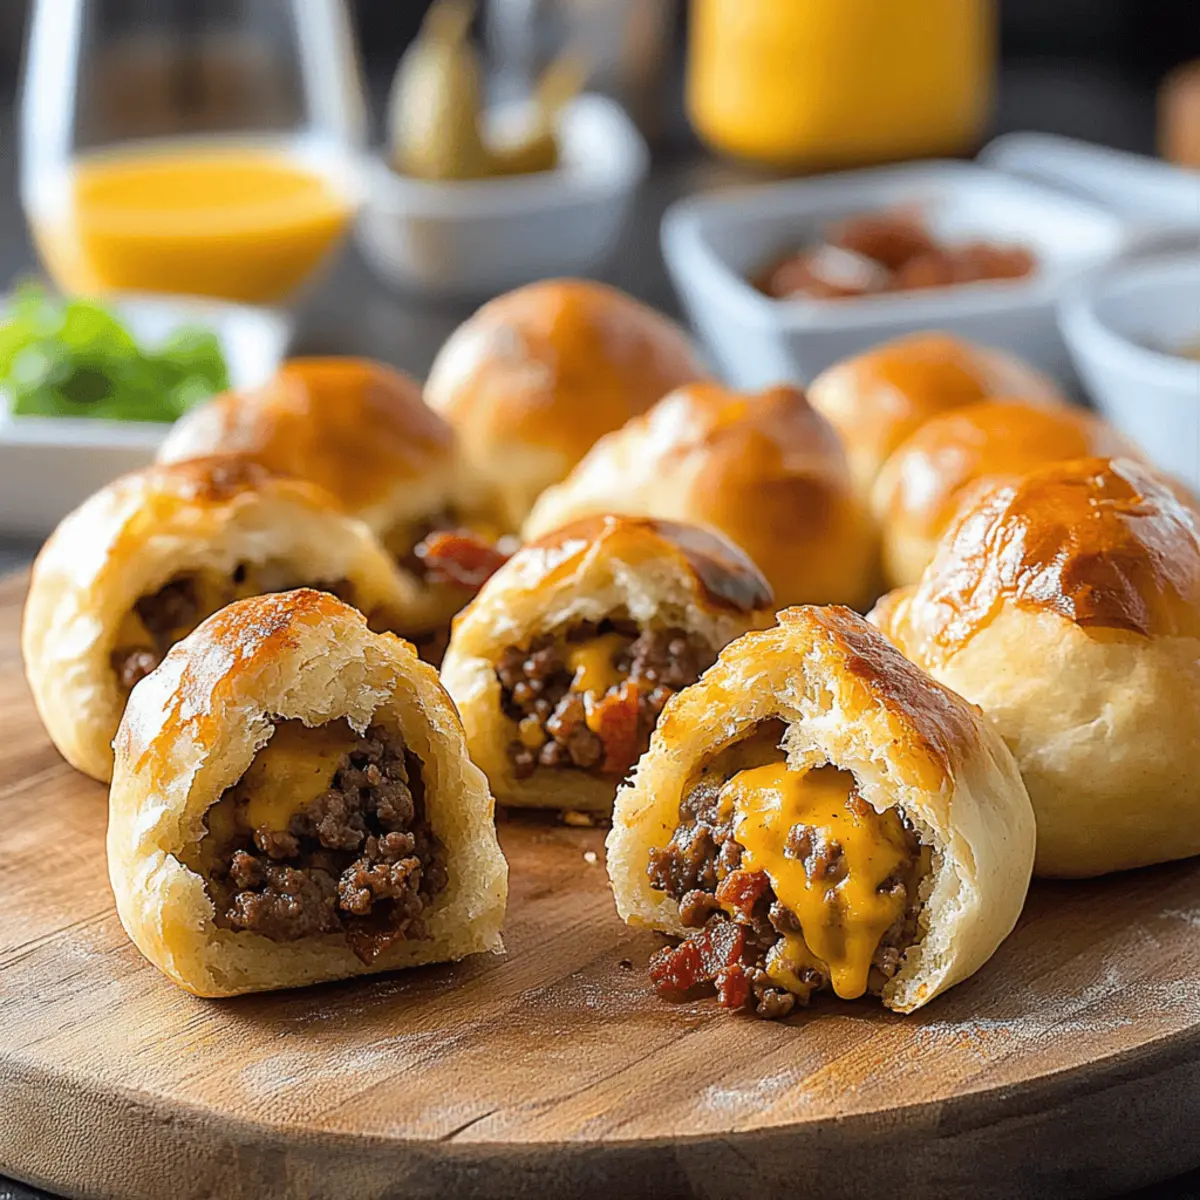
As I pulled the tray of Bacon Cheeseburger Bombs from the oven, the warm aroma wrapped around me like a cozy hug. Each scrumptious pocket, filled with juicy beef, crispy bacon, and melty cheese, is a delightful twist on the classic cheeseburger. What I love most about these little wonders is how quick and easy they are to whip up, making them perfect for spontaneous gatherings or satisfying those late-night cravings. Plus, their customizable nature means you can adjust the flavors to suit your family’s taste buds or adventurous palates. Ready to elevate your next snack time? Let’s dive into this recipe and make some drool-worthy treats that are bound to be a hit!

Why are Bacon Cheeseburger Bombs a must-try?
Irresistible flavor: The combination of crispy bacon, juicy beef, and gooey cheese creates a taste explosion in every bite.
Quick and easy: With simple ingredients and straightforward steps, you can have these delicious treats ready in about 30 minutes, perfect for that spontaneous family gathering.
Customizable: You can easily mix in Worcestershire sauce or experiment with your favorite cheeses, tailoring each batch to your family’s tastes.
Crowd-pleaser: Ideal for game day or cozy movie nights, they’re sure to keep everyone coming back for more! If you love bacon, don’t miss out on our Bacon Cream Cheese treats that pair perfectly with these bombs.
Bacon Cheeseburger Bombs Ingredients
For the Filling
• Ground Beef – The main protein source; adding Worcestershire sauce enhances its flavor.
• Bacon – Provides a smoky crunch; turkey bacon works well for a lighter option.
• Cheese (e.g., Cheddar, Pepper Jack, Swiss) – Ensures creaminess; mix and match for unique taste.
For the Dough
• Dough (Biscuits or Puff Pastry) – Creates a flaky outer layer; use biscuit dough for simplicity or puff pastry for a lighter finish.
For Flavor
• Garlic Powder (optional) – Adds depth to the filling; adjust according to your personal preference.
Whether you’re gearing up for a party or just a casual family dinner, these Bacon Cheeseburger Bombs offer a fun and engaging way to enjoy a classic flavor combo!
Step‑by‑Step Instructions for Bacon Cheeseburger Bombs
Step 1: Prep Beef Mixture
In a skillet over medium heat, cook 1 pound of ground beef until browned, about 6-8 minutes. Stir in seasoning along with 1 tablespoon of Worcestershire sauce and optional garlic powder, cooking until well combined and fragrant. Set the beef mixture aside to cool slightly as you prepare the dough.
Step 2: Prepare Dough
While the beef is cooling, preheat your oven to 375°F (190°C). If using biscuit dough, open the can and separate the individual biscuits. Roll each biscuit out on a lightly floured surface into a circle about 4 inches wide. For puff pastry, roll out the dough and cut it into squares, ensuring the pieces are big enough to encase the filling.
Step 3: Assemble Bombs
Take each dough piece and place a spoonful of the beef mixture at the center, followed by pieces of crispy bacon and a generous handful of cheese. Carefully fold the edges over the filling, pinching them tightly to seal. Make sure there are no gaps to keep the cheesy goodness from leaking out while baking.
Step 4: Bake
Arrange the sealed Bacon Cheeseburger Bombs on a lined baking tray with parchment paper to prevent sticking. Bake in the preheated oven for about 15-18 minutes, or until the dough is golden brown and puffed. Keep an eye on them; you want a perfectly baked bomb with a delicious crispy exterior.
Step 5: Cool and Serve
Once baked, remove the tray from the oven and let the Bacon Cheeseburger Bombs cool for a few minutes. This allows the cheese to firm up slightly, making them easier to handle. Serve warm with your favorite dipping sauces, and watch them disappear as friends and family delight in their cheesy, savory perfection!

How to Store and Freeze Bacon Cheeseburger Bombs
Fridge: Store leftover Bacon Cheeseburger Bombs in an airtight container for up to 3 days. Reheat in the oven for a few minutes to restore crispiness.
Freezer: For longer preservation, freeze assembled but unbaked bombs. Place them in a single layer on a baking sheet until frozen, then transfer to a freezer bag for up to 2 months.
Reheating: When ready to enjoy, bake frozen bombs directly from the freezer at 375°F (190°C) for about 18–20 minutes, until golden brown.
Expert Tips for Bacon Cheeseburger Bombs
-
Perfectly Seasoned Meat: Always taste the beef mixture before assembling. Adjust seasoning for a more flavor-packed filling that enhances your Bacon Cheeseburger Bombs.
-
Seal It Tight: Ensure each bomb is tightly sealed to prevent leaks while baking. Gaps can lead to cheesy filling oozing out and wasted goodness!
-
Dough Options: If short on time, use refrigerated biscuit dough; it’s quick and easy. Puff pastry yields a lighter texture, making it a gourmet option if you want to impress.
-
Watch the Bake: Keep an eye on the baking time! Each oven varies, so check for that golden-brown color and bubbling cheese, ensuring they’re perfectly cooked.
-
Make Ahead: To save time during gatherings, prepare the bombs ahead of time. Assemble them, refrigerate, and bake just before serving for fresh and hot treats.
Bacon Cheeseburger Bombs Variations
Feel free to unleash your creativity and make these Bacon Cheeseburger Bombs uniquely yours with these fun twists and tweaks!
-
Turkey Bacon: Use turkey bacon for a lighter, equally delicious crunch without sacrificing flavor. Your taste buds won’t even miss the regular bacon.
-
Different Cheeses: Swap Cheddar for gooey Mozzarella or zesty Pepper Jack for a spicy kick. Mixing cheeses creates a mouthwatering melty delight that’s simply irresistible.
-
Add Vegetables: Toss in some diced onions or bell peppers for a fresh crunch and vibrant flavor. A little color goes a long way in making these bombs even more satisfying.
-
Spicy Kick: For those who love heat, sprinkle in some chopped jalapeños or a dash of hot sauce in the beef mixture. It’s a flavor explosion waiting to happen!
-
Seasoned Dough: Brush the dough with garlic butter or sprinkle some Italian seasoning before baking. This extra layer of flavor will elevate your bombs beyond ordinary.
-
Mini Bombs: Make bite-sized versions for parties or game day snacks. Simply use smaller dough pieces and adjust the filling accordingly for perfectly poppable bites!
-
Pasta Twist: Substitute traditional dough for pasta sheets to create a stuffed ravioli-like experience. Add a simple marinara dip on the side for an Italian twist!
If you find yourself craving more bacon-inspired recipes, don’t forget to check out our delicious Bacon Cream Cheese bites for an irresistible pairing!
Make Ahead Options
These Bacon Cheeseburger Bombs are a fantastic choice for meal prep, making your busy weeknights much easier! You can assemble the bombs up to 24 hours in advance, storing them in the refrigerator (cover tightly to prevent drying out). Additionally, you can freeze the assembled bombs for up to 3 months, ensuring you always have a delicious treat on hand. When you’re ready to bake, just place them directly from the fridge into the preheated oven. If frozen, allow for an extra few minutes in the oven to achieve that golden brown perfection. This way, you’ll enjoy freshly baked bombs just as delicious and satisfying as if they were made on the spot!
What to Serve with Bacon Cheeseburger Bombs
Elevate your serving experience and transform your Bacon Cheeseburger Bombs into a full-fledged feast with these delightful accompaniments!
-
Creamy Coleslaw: The crunch of coleslaw adds a refreshing contrast, balancing the richness of the bombs perfectly.
-
Spicy Pickles: A side of zesty pickles cuts through the savory flavors, offering a delightful pop of heat and acidity.
-
Garlic Parmesan Fries: Crispy fries dusted with garlic and Parmesan provide a satisfying crunch, complementing the bomb’s soft texture.
-
Tangy BBQ Sauce: A drizzle of BBQ sauce for dipping enhances the smoky flavors, adding a sweet and tangy layer to each bite.
-
Vegetable Platter: Fresh veggies like carrots, celery, and cherry tomatoes not only offer colorful presentation but also a healthy, crunchy contrast.
Treat your guests to a well-rounded meal with these side options that harmonize deliciously with your Bacon Cheeseburger Bombs!

Bacon Cheeseburger Bombs Recipe FAQs
What should I look for when selecting ground beef?
When choosing ground beef, go for an 80/20 blend, which provides a great balance of flavor and fat. The meat should be bright red in color without any dark or brown spots. Fresh ground beef typically has a smooth texture and no smells—just a lovely meaty aroma.
How should I store leftover Bacon Cheeseburger Bombs?
Absolutely! You can store leftover Bacon Cheeseburger Bombs in an airtight container in the refrigerator for up to 3 days. To maintain their crispy exterior, I recommend reheating them in the oven at 350°F (175°C) for about 5-8 minutes, which will help restore some of that glorious crunch.
Can I freeze Bacon Cheeseburger Bombs?
Yes, you can! To freeze, assemble the bombs but don’t bake them. Place them on a baking sheet in a single layer and freeze until solid (about 1-2 hours). After that, transfer them to a freezer bag for up to 2 months. When you’re ready to bake, just pop them in the oven straight from the freezer at 375°F (190°C) for about 18–20 minutes until golden brown.
What if the dough leaks during baking?
If you notice any leaks while baking, it may be due to not sealing the edges tightly enough. Next time, ensure you pinch the dough firmly to close any gaps. If leaks do occur, you can place a baking sheet underneath the tray to catch any drippings, so you won’t have a mess in your oven!
Are Bacon Cheeseburger Bombs safe for pets?
It’s best to keep these bombs away from pets. While cooked beef and bacon aren’t harmful in small amounts, the seasonings, cheese, and dough can upset their stomachs. Always check with your vet if you’re unsure about any human food!
Can I adjust the ingredients for dietary restrictions?
Very much so! You can substitute ground turkey or chicken for the beef for a leaner option, and use turkey bacon for less fat. For cheese, options like vegan cheese or lactose-free varieties work well. Just remember to check the labels for any allergens, especially if you’re preparing these for a group.

Mouthwatering Bacon Cheeseburger Bombs for a Fun Feast
Ingredients
Equipment
Method
- In a skillet over medium heat, cook ground beef until browned, about 6-8 minutes. Stir in seasoning and Worcestershire sauce, cooking until well combined. Set aside to cool.
- Preheat your oven to 375°F (190°C). If using biscuit dough, open the can and separate biscuits. Roll each out on a floured surface into circles about 4 inches wide. For puff pastry, roll out dough and cut into squares.
- Place a spoonful of beef mixture in the center of each dough piece, followed by bacon and cheese. Fold edges over filling and seal tightly.
- Arrange sealed bombs on a lined baking tray and bake for about 15-18 minutes, or until golden brown and puffed.
- Remove from oven and let cool for a few minutes before serving with your favorite dipping sauces.

Leave a Reply