
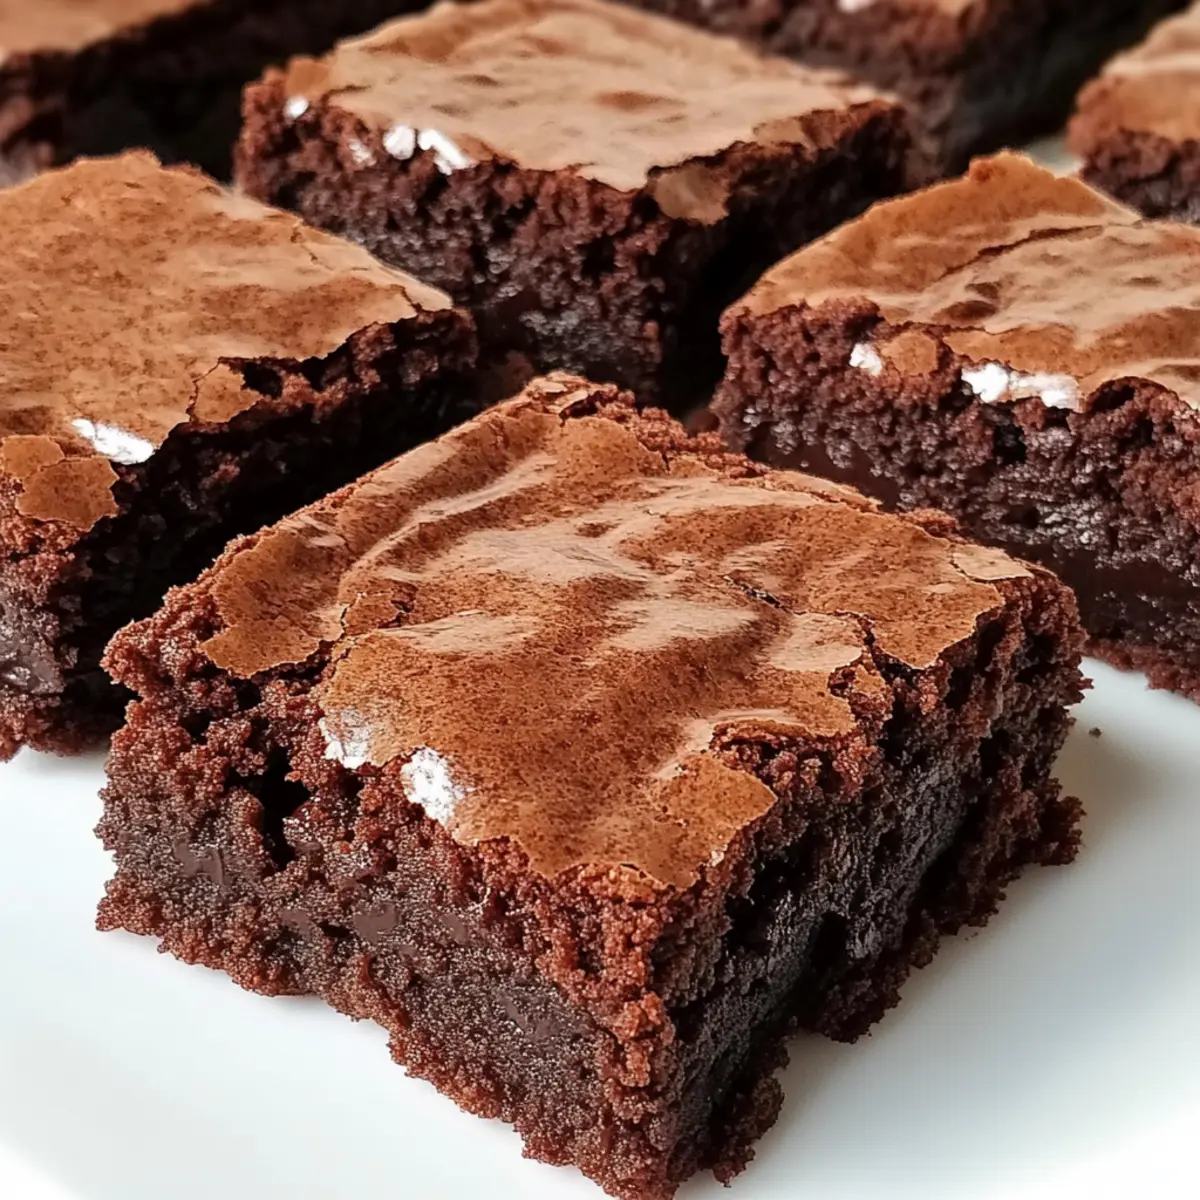
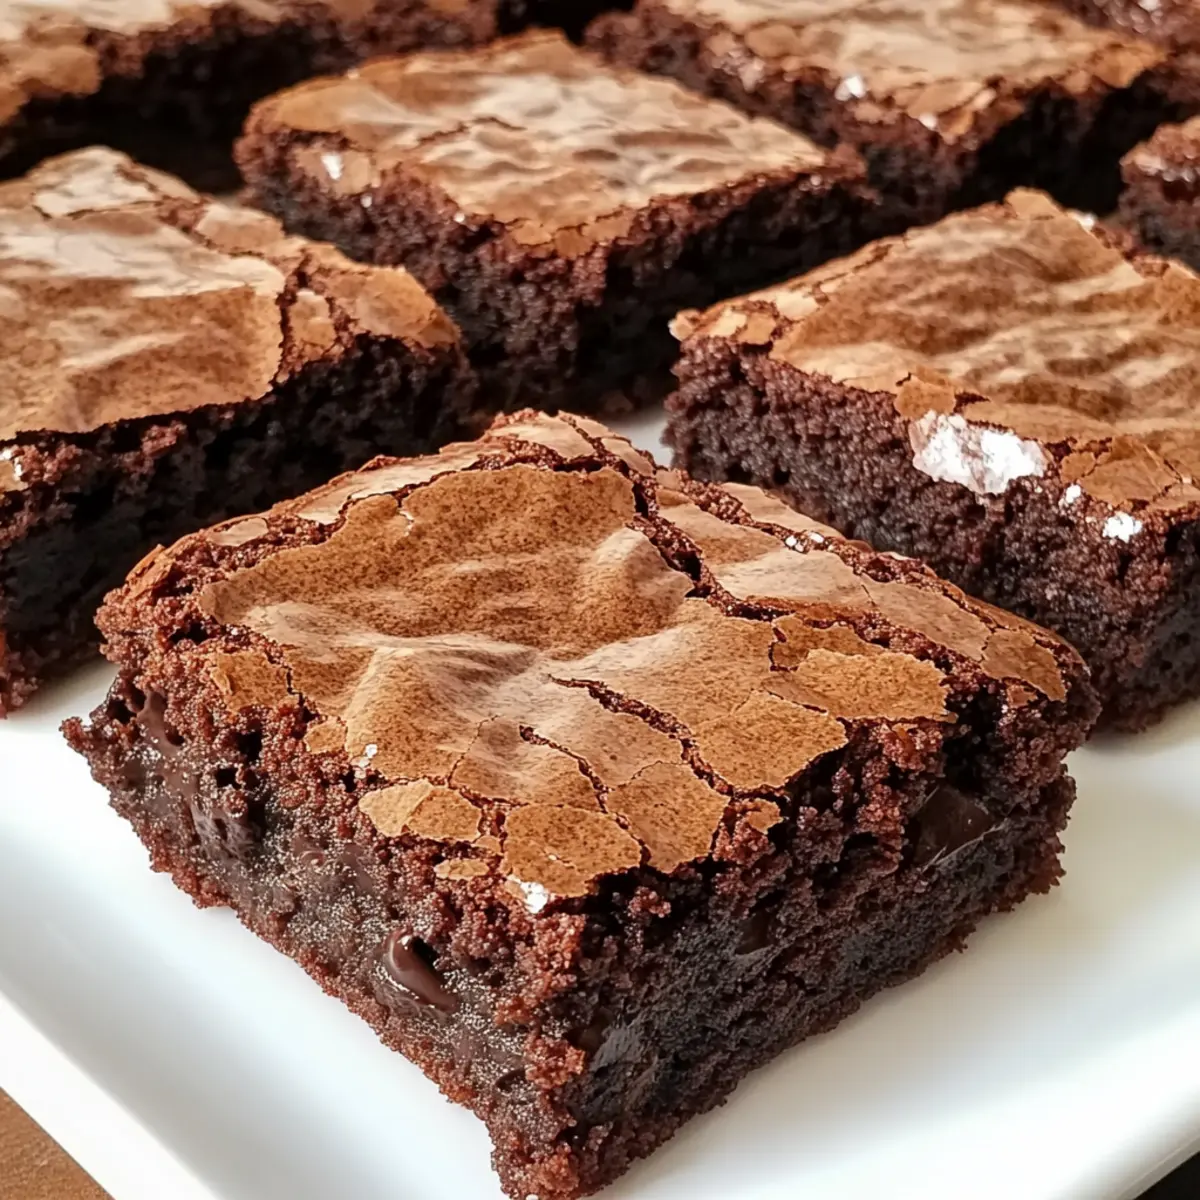
There’s something so satisfying about pulling a tray of warm, fudgy brownies from the oven, isn’t there? The smell wafting through the kitchen instantly wraps you in a comforting embrace, sparking joy and nostalgia. My Classic Brownie recipe combines rich chocolate flavor with an irresistibly dense texture, making it the best brownie recipe for anyone craving a homemade treat. In just 40 minutes, you can whip up this delightful dessert, perfect for family gatherings or simply as a reward for a long day. These brownies are not only quick to prepare, but they’re also a crowd-pleaser—whether you’re serving them warm with a scoop of ice cream or enjoying them straight from the pan. Ready to indulge in that melt-in-your-mouth experience? Let’s get started!
Why Are Brownies So Irresistible?
Decadent chocolate bliss: The rich flavor of semi-sweet chocolate chips takes these brownies to an entirely new level of indulgence.
Melt-in-your-mouth texture: Each bite offers a fudgy consistency that makes it hard to stop at just one!
Quick to prepare: Whip them up in just 40 minutes, making dessert stress-free and rewarding.
Versatile delight: Pair these brownies with vanilla ice cream for a classic dessert or enjoy them plain for a simple treat. You might also love making a batch of Gluten Free Brownies for a different twist!
Family favorite: These brownies are sure to impress at gatherings—perfect for any age and occasion. Don’t forget to check out my recipe for Chocolate Oat Cookies too for more delicious homemade options!
Classic Brownie Ingredients
• Your key to fudgy perfection!
For the Batter
- All-Purpose Flour – Provides structure; unbleached gives better results.
- Baking Soda – Helps brownies rise slightly, adding a bit of fluffiness.
- Salt – Enhances flavors; sea salt or table salt works perfectly.
- Vegetable Oil – Adds moisture; consider canola or coconut oil as substitutes.
- Butter – Contributes richness; use either salted or unsalted for your preference.
- Water – Loosens wet ingredients for easier mixing.
- Granulated Sugar – Sweetens and helps create a fudgy texture; cane sugar is a great alternative.
- Semi-Sweet Chocolate Chips – Essential for rich chocolate flavor; opt for quality brands like Ghirardelli for the best brownies.
- Vanilla Extract – Adds a depth of flavor; high-quality vanilla gives the best results.
- Eggs – Provide creaminess and bind the ingredients together, creating that perfect fudgy feel.
- Chopped Nuts (Optional) – Add texture; walnuts or pecans can enhance the flavor experience!
These classic brownie ingredients are the foundation for an unforgettable treat, perfect for anyone looking to indulge in homemade brownies.
Step‑by‑Step Instructions for Classic Brownie
Step 1: Preheat Your Oven
Begin by preheating your oven to 325°F (163°C), allowing it ample time to reach the correct temperature. This ensures that your Classic Brownies bake evenly and develop that appealing glossy top. While the oven warms up, you can gather your ingredients and prepare your baking dish.
Step 2: Combine Dry Ingredients
In a small bowl, mix together the all-purpose flour, baking soda, and salt. Stir well to combine; this step not only flourishes flavor but also distributes the leavening agent evenly. Set this mixture aside as you move to the next step; it will be incorporated into the brownie batter shortly.
Step 3: Melt Your Chocolate Mixture
Grab a small saucepan and combine the butter, vegetable oil, water, and granulated sugar. Heat over low to medium heat until the mixture simmers gently, stirring occasionally. Once it’s bubbly, take it off the heat and stir in the semi-sweet chocolate chips; they should melt smoothly into the mixture, creating a rich brownie base.
Step 4: Incorporate Wet Ingredients
In a large mixing bowl, whisk the vanilla extract and eggs into the chocolate mixture until fully blended. The warmth from the chocolate should lightly cook the eggs as you mix, resulting in a creamy and cohesive batter—this is what makes your Classic Brownie truly delicious!
Step 5: Blend in Dry Ingredients
Gradually add the flour mixture to the wet ingredients, stirring gently until just combined. Be careful not to overmix; you want to keep that fudgy texture in your Classic Brownies. Once there are no visible streaks of flour, it’s time to prepare for baking.
Step 6: Prepare the Baking Dish
Line an 8″x8″ baking dish with parchment paper or grease it generously with butter. Pour your rich brownie batter into the dish and spread it evenly, making sure the corners are filled. This helps ensure that every bite of your homemade brownies bakes perfectly.
Step 7: Bake to Perfection
Place your baking dish in the preheated oven and bake for about 30 minutes. The brownies are done when the top appears set, but with a toothpick inserted in the center, it should come out with a few moist crumbs attached. Keep a close eye, as you want to avoid overbaking.
Step 8: Cool and Slice
After baking, remove the brownies from the oven and let them cool in the pan for at least 15-20 minutes. This cooling time allows the brownies to firm up, making it easier to slice. Once cooled, cut them into squares, and then serve to experience the deliciousness of your Classic Brownies.
Make Ahead Options
These Classic Brownies are perfect for busy home cooks looking to meal prep and save time! You can prepare the brownie batter up to 24 hours in advance; simply cover it tightly with plastic wrap and refrigerate to maintain freshness. Alternatively, you can bake the brownies ahead of time, allowing them to cool completely before storing them in an airtight container for 3-5 days at room temperature. To enjoy them warm, reheat individual pieces in the microwave for about 10-15 seconds. This not only makes your weeknight dessert routine so much easier but ensures your brownies remain just as delicious and fudgy, ready to satisfy that sweet tooth with minimal effort!
How to Store and Freeze Classic Brownies
Room Temperature: Store cooled brownies in an airtight container at room temperature for 3–5 days to maintain their freshness and fudgy texture.
Fridge: If you prefer, you can refrigerate brownies in a sealed container for up to 7 days; just note they may lose some of their melt-in-your-mouth quality.
Freezer: Classic brownies can be frozen for up to 3 months. Wrap them in plastic wrap and then place them in a freezer-safe bag for best results.
Reheating: To enjoy your brownies warm, gently reheat them in the microwave for 10-15 seconds; this will revive their fudgy goodness!
Expert Tips for Classic Brownies
• Choose Quality Chocolate: Using high-quality semi-sweet chocolate chips significantly enhances the richness of your brownie flavor. Brands like Ghirardelli or Nestle will elevate your classic brownie experience.
• Don’t Overmix: Once you combine your dry and wet ingredients, mix until just incorporated. Overmixing can lead to a tough texture, diminishing that fudginess you crave in classic brownies.
• Check Doneness Carefully: To achieve the perfect fudgy brownie, insert a toothpick; it should come out with a few moist crumbs, not completely clean. Remember, a little underbaking is better than overbaking!
• Cool Before Slicing: Allow the brownies to cool completely in the pan to prevent crumbling. This step is crucial for achieving those perfect, clean edges when you cut into your classic brownies.
• Experiment with Add-ins: Feel free to swap in different types of chocolate chips or add nuts for added texture. Nuts like walnuts or pecans complement the fudge beautifully, making your brownies even more delightful!
Classic Brownie Variations & Substitutions
Feel free to get creative with these brownies and make them your own!
-
Nut-Free: Omit chopped nuts entirely or substitute with seeds like sunflower or pumpkin seeds for a similar crunch.
-
Gluten-Free: Swap all-purpose flour with a gluten-free flour blend to cater to those with dietary restrictions while keeping that fudgy texture intact.
-
Dairy-Free: Use coconut oil in place of butter and a dairy-free chocolate chip variety to enjoy this classic dessert without dairy.
-
Extra Fudgy: Add a bit more chocolate by increasing the chocolate chips to 1 ½ cups for an ultra-rich and gooey experience.
-
Espresso Boost: A tablespoon of espresso powder can really enhance the chocolate flavor, taking your classic brownies from good to simply unforgettable!
-
Flavorful Twists: Mix in a spoonful of mint extract or orange zest for a delightful twist on the traditional brownie flavor profile.
-
Decadent Brownie Sundae: Serve warm brownie squares topped with a scoop of vanilla ice cream, drizzled with caramel, and sprinkled with chopped nuts for a show-stopping dessert.
-
Pumpkin Brownies: For a seasonal twist, substitute a ½ cup of pumpkin puree for some of the oil, creating moist brownies with a hint of spice—just the perfect treat for fall!
Whether you go classic or adventurous, these brownies are bound to impress! If you’re looking for more sweet bites, try a batch of our Gluten Free Brownies or whip up some delightful Chocolate Oat Cookies to share with family and friends. Enjoy experimenting!
What to Serve with Classic Brownies?
There’s nothing quite like the joy of savoring fudgy brownies alongside complementary treats that enhance your dessert experience.
-
Vanilla Ice Cream: Creamy, cold ice cream perfectly contrasts the warm, gooey brownies, creating a delightful flavor explosion. A scoop on top or a side serving takes indulgence to another level!
-
Coffee or Espresso: A warm cup of coffee enhances the chocolate flavor while adding a rich, robust note. The bitterness of coffee beautifully balances the sweetness of the brownies.
-
Fresh Berries: Juicy strawberries or raspberries add a refreshing tang and a pop of color to your dessert plate. Their natural sweetness pairs well with the deep chocolate flavor.
-
Mint Leaves: Fresh mint leaves offer a bright, aromatic freshness that cuts through the richness of the brownies, creating a well-rounded dessert experience. You might find this combination visually stunning and delicious!
-
Chocolate Sauce Drizzle: A drizzle of warm chocolate sauce enhances your brownies, making each bite even more decadent while providing a glossy finish. It’s pure chocolate bliss!
-
Milk: A classic pairing! A glass of cold milk makes this sweet treat even better, helping to wash down each fudgy bite. It’s like a childhood favorite made adult!
-
Caramel Sauce: Drizzling caramel over your brownies adds a sweet, salty component that elevates your dessert to gourmet status. The contrast in flavors creates pure delight!
-
Nuts: Serve your brownies with a mix of roasted nuts on the side. Their crunchy texture and toasty flavor perfect complement the dense, fudgy brownie experience that everyone loves.
Classic Brownie Recipe FAQs
What is the best way to select chocolate for brownies?
Absolutely! When choosing chocolate chips, opt for high-quality brands such as Ghirardelli or Nestle for the richest flavor. Look for semi-sweet chocolate chips, as they provide the perfect amount of sweetness and depth. If you’re feeling adventurous, try using a combination of dark and milk chocolate chips for a varied taste experience!
How should I store my brownies?
To keep your brownies fresh, store them in an airtight container at room temperature for 3–5 days. If you need them to last longer, I recommend placing them in the fridge, where they can stay good for up to 7 days, albeit with a slightly different texture.
Can I freeze brownies for later?
Yes, you can! To freeze your Classic Brownies, first, let them cool completely. Then, wrap them tightly in plastic wrap and place them in a freezer-safe bag or container. They can be frozen for up to 3 months. When you’re ready to enjoy, just thaw them in the fridge overnight or warm them in the microwave for 10-15 seconds for that fudgy goodness!
What should I do if my brownies turn out too dry?
If you find your brownies dry, it might be due to overbaking. Make sure to check for doneness around the 30-minute mark by inserting a toothpick; it should come out with a few moist crumbs for that fudgy texture. If they are already done, try serving them with a scoop of vanilla ice cream or drizzling some chocolate sauce on top to add moisture back into the dish.
Can I modify the recipe for dietary restrictions?
Absolutely! If you’re looking to make a gluten-free version, you can easily substitute all-purpose flour with a 1:1 gluten-free flour blend. For dairy-free brownies, try substituting butter with coconut oil or a dairy-free margarine. You could also use flax eggs in place of regular eggs as an egg alternative—simply mix 1 tablespoon of ground flaxseed with 2.5 tablespoons of water for each egg.
Are brownies safe for pets?
Very! While the ingredients in brownies are delicious for humans, many are not safe for pets, particularly chocolate, which can be toxic to dogs and cats. If you’re looking to share a treat with your furry friends, consider whipping up a pet-friendly version that uses ingredients safe for pets, like peanut butter and oats.
Classic Brownie Bliss – Irresistibly Fudgy and Homemade
Ingredients
Equipment
Method
- Preheat your oven to 325°F (163°C) and gather your ingredients.
- In a small bowl, mix the all-purpose flour, baking soda, and salt.
- Melt butter, vegetable oil, water, and granulated sugar in a saucepan over low heat, then stir in chocolate chips.
- Whisk vanilla extract and eggs into the chocolate mixture until blended.
- Gradually add the flour mixture, stirring gently until just combined.
- Prepare an 8'x8' baking dish with parchment or grease, then pour and spread batter.
- Bake in the preheated oven for about 30 minutes until set.
- Cool in the pan for 15-20 minutes, then slice into squares.
Leave a Reply