
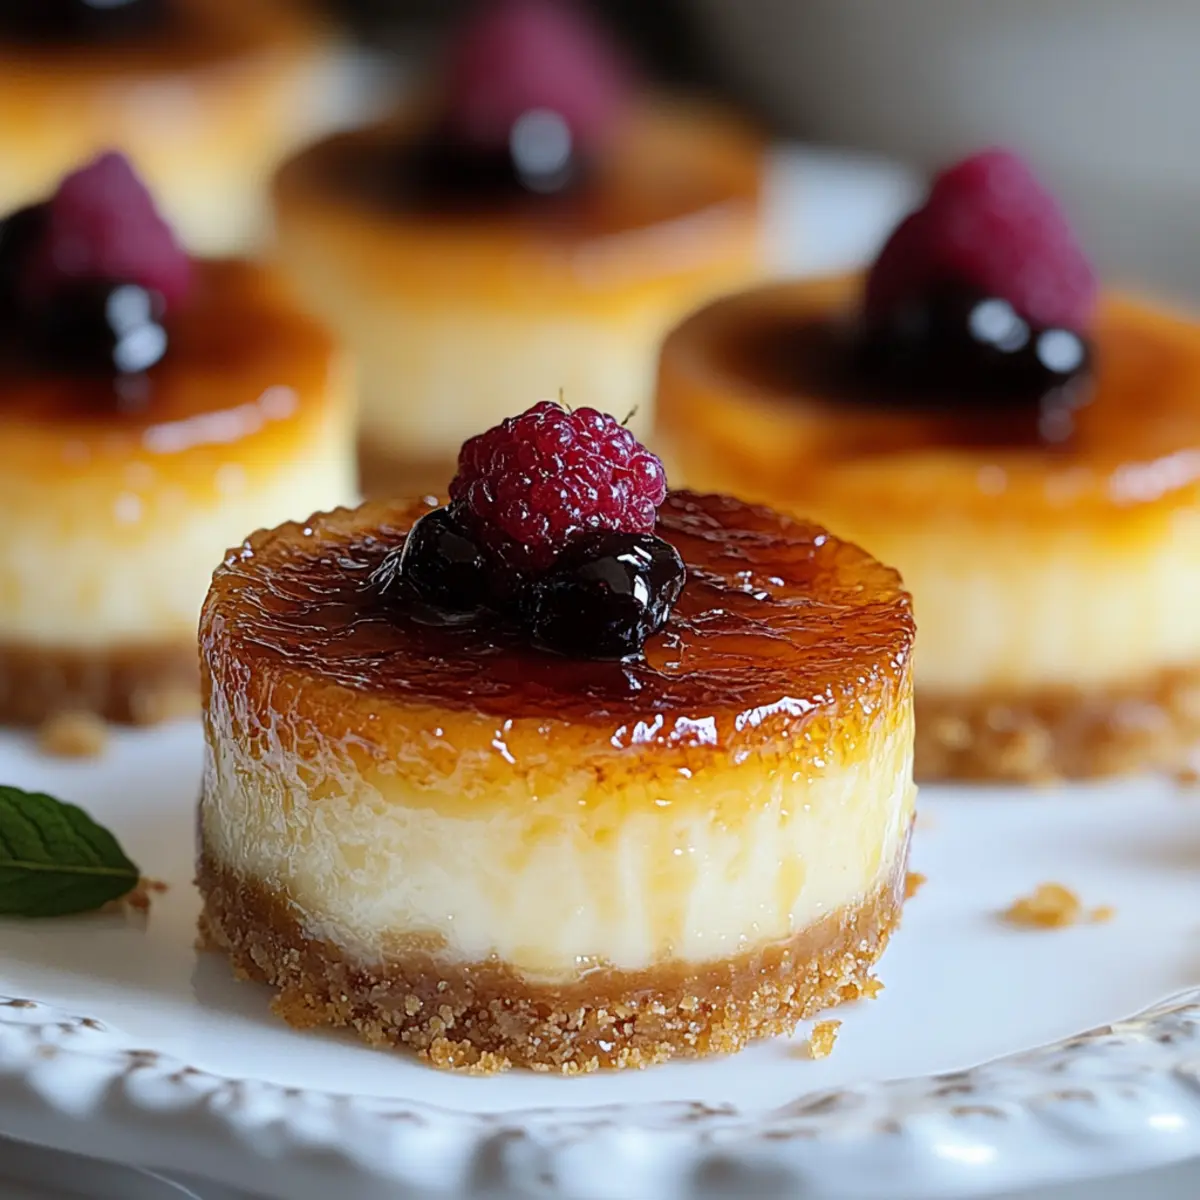
As I stood in my kitchen, the sweet scent of caramelizing sugar wafting through the air, a spark of joy ignited within me. Today, I’m excited to share a delightful treat that has transformed the way I think about desserts: Mini Creme Brulee Cheesecakes. These bite-sized wonders blend the silky smoothness of cheesecake with the satisfying crunch of the traditional crème brulée, making them a show-stopping addition to any gathering or intimate dinner. Their elegant presentation not only impresses guests but also brings comfort to those cozy nights at home. Plus, you can easily customize these cheesecakes to fit various dietary needs, ensuring everyone can indulge. So, are you ready to take your dessert game to the next level?
Why are Mini Creme Brulee Cheesecakes a Must-Try?
Irresistible flavors await in these charming bites! Elegant yet simple, they elevate any occasion—be it a cozy night in or a lively party. Customizable options let you cater to dietary preferences, ensuring everyone enjoys these scrumptious treats. Quick to prepare, they’ll have you spending less time in the kitchen and more time savoring delightful conversations. For another quick dessert option, don’t miss out on making Protein Pancake Sausage mini muffins or impress with some Delightful Mini Pineapple upside-down cakes!
Mini Creme Brulee Cheesecakes Ingredients
Discover the perfect blend of flavors and textures in these mini delights!
For the Crust
- Graham Crackers – Base crust; substitute with gluten-free crackers for a gluten-free option.
- Butter – Binds the crust; use unsalted for better control over salt levels.
For the Filling
- Cream Cheese – Acts as the main filling for creaminess; make sure to soften it for smooth blending.
- Sugar – Sweetens the filling; can substitute with coconut sugar for added depth of flavor.
- Eggs – Provides structure; remember to add them one at a time for seamless incorporation.
- Heavy Cream – Adds richness and silkiness to the overall filling.
- Vanilla Extract – Enhances flavor; opting for pure extract gives the best results.
For the Topping
- Granulated Sugar – Essential for caramelizing the top; finer sugar caramelizes more swiftly, giving you that coveted crunchy texture.
Now you’re well-equipped with the ingredients you need for these delectable Mini Creme Brulee Cheesecakes!
Step‑by‑Step Instructions for Mini Creme Brulee Cheesecakes
Step 1: Prepare the Crust
Begin by preheating your oven to 350°F (175°C). In a food processor, crush graham crackers into fine crumbs and mix them with melted unsalted butter until fully combined. Firmly press the mixture into the base of a mini muffin tin or small ramekins, ensuring an even layer for that perfect crust. Bake the crusts in the preheated oven for about 10 minutes until they are lightly golden, then remove and let them cool.
Step 2: Make the Filling
In a large mixing bowl, use an electric mixer to beat the softened cream cheese and sugar until the mixture is smooth and creamy, approximately 2-3 minutes. Gradually add one egg at a time, mixing well after each addition to ensure a smooth consistency. Once the eggs are fully incorporated, stir in the heavy cream and vanilla extract until everything is well combined, creating the luscious filling for your Mini Creme Brulee Cheesecakes.
Step 3: Bake the Cheesecakes
Carefully pour the cheesecake filling over the prepared crusts, filling each one almost to the top. To prevent cracking, place the muffin tin or ramekins in a larger baking dish filled with hot water, creating a water bath. Bake in the oven for about 25-30 minutes or until the edges are set but the centers slightly jiggle, indicating a creamy texture. Once done, remove the cheesecakes from the water bath and let them cool to room temperature.
Step 4: Chill and Enhance Flavor
After cooling, transfer your Mini Creme Brulee Cheesecakes to the refrigerator and let them chill for at least 4 hours or overnight. This chilling time is crucial, as it allows the flavors to meld beautifully and enhances the creamy texture. When ready to serve, the cheesecakes should be firm to the touch but still silky smooth inside, enticing anyone lucky enough to enjoy them.
Step 5: Caramelize the Top
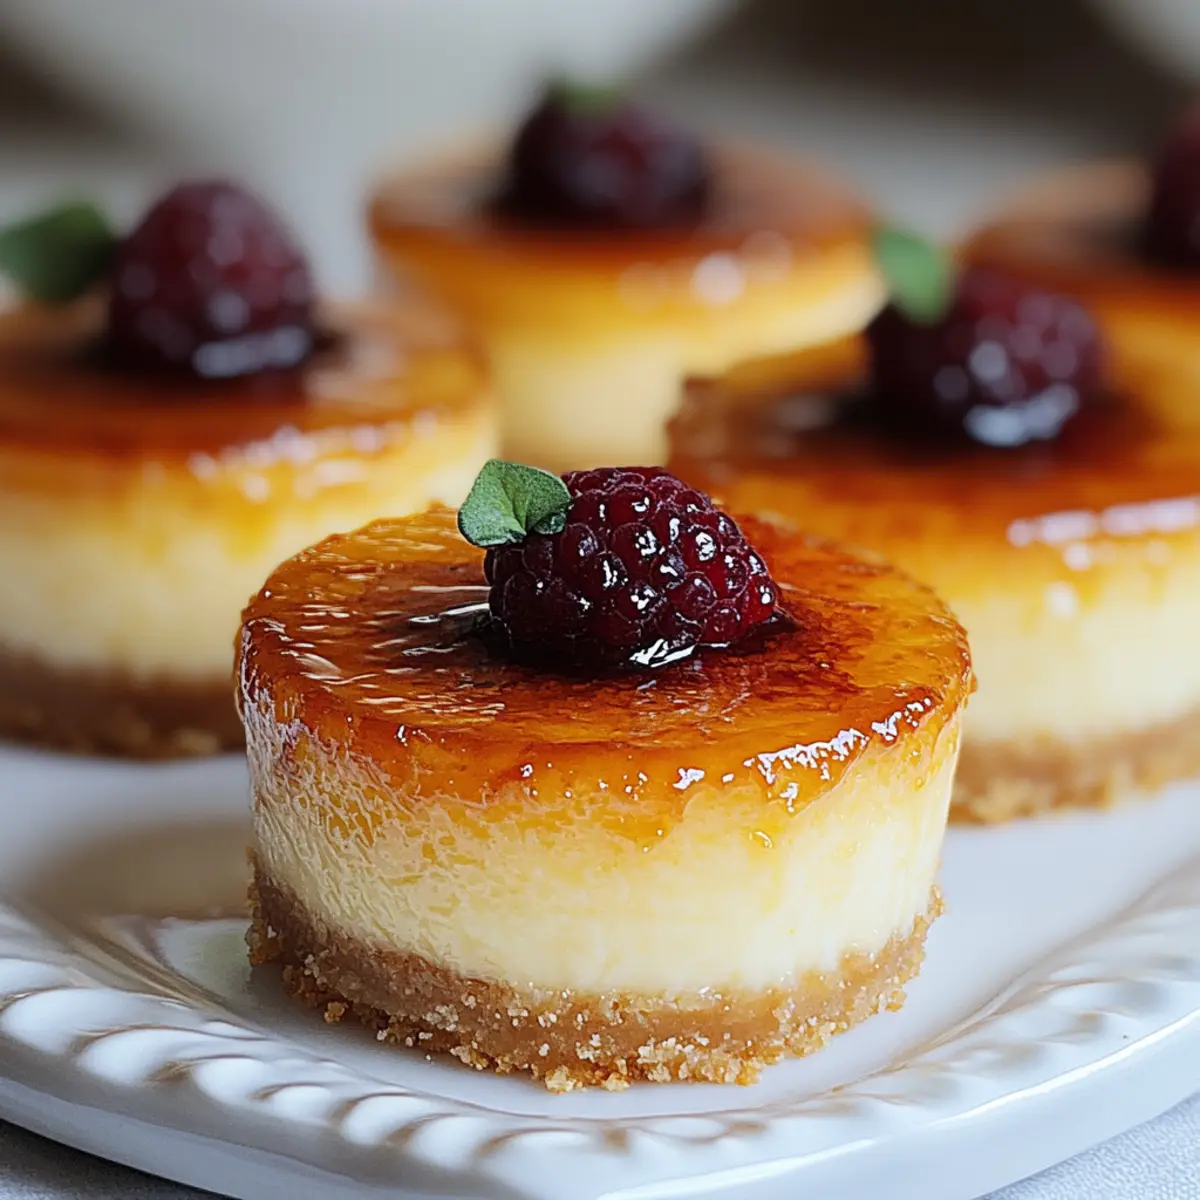
Once chilled, take the cheesecakes out and sprinkle a thin layer of granulated sugar evenly on top of each one. Use a kitchen torch to caramelize the sugar, moving it in small circles until it transforms into a golden, glassy crust. Keep a close eye to prevent burning, as this process should only take a minute or two. Allow the sugar to cool and harden, creating that delightful crunch atop your Mini Creme Brulee Cheesecakes.
Make Ahead Options
These Mini Creme Brulee Cheesecakes are perfect for meal prep, allowing you to enjoy decadent desserts without the last-minute fuss! You can prepare the crust and cheesecake filling up to 24 hours in advance—simply store the prepared crusts in an airtight container at room temperature and refrigerate the filling until ready to use. Once baked, cool the cheesecakes to room temperature and refrigerate for up to 3 days for optimal flavor and texture. Before serving, caramelize the sugar topping, as this maintains the delightful crunch and fresh taste. With these make-ahead tips, you’ll have a show-stopping dessert ready with minimal effort after a busy day!
Storage Tips for Mini Creme Brulee Cheesecakes
- Room Temperature: Allow your cheesecakes to cool completely before storage. They shouldn’t be left out for more than 2 hours to maintain freshness.
- Fridge: Store Mini Creme Brulee Cheesecakes in an airtight container for up to 3 days. This helps preserve their creamy texture and flavors.
- Freezer: For longer storage, wrap individual cheesecakes tightly in plastic wrap and place them in a freezer-safe container. They will stay fresh for up to 1 month.
- Reheating: Thaw frozen cheesecakes in the fridge overnight before serving. If desired, caramelize the sugar topping just before serving for that crunchy finish!
Mini Creme Brulee Cheesecakes Variations
Make these delightful treats your own with a few easy twists that bring even more magic to every bite!
-
Gluten-Free: Use gluten-free graham crackers instead of regular ones to enjoy a luscious dessert without gluten.
-
Dairy-Free: Swap cream cheese with a plant-based alternative and replace heavy cream with coconut cream for a dairy-free version that’s equally creamy.
-
Fruit-Infused: Add a swirl of fruit puree, such as raspberry or mango, into the cheesecake mixture before baking for a vibrant fruity twist.
-
Chocolate Lovers: Mix in cocoa powder or melted chocolate into the cheesecake filling for a rich, chocolaty experience that dreams are made of.
-
Spiced Up: Enhance flavor with spices – consider adding cinnamon or nutmeg to the crust for a warm, inviting aroma with each bite.
-
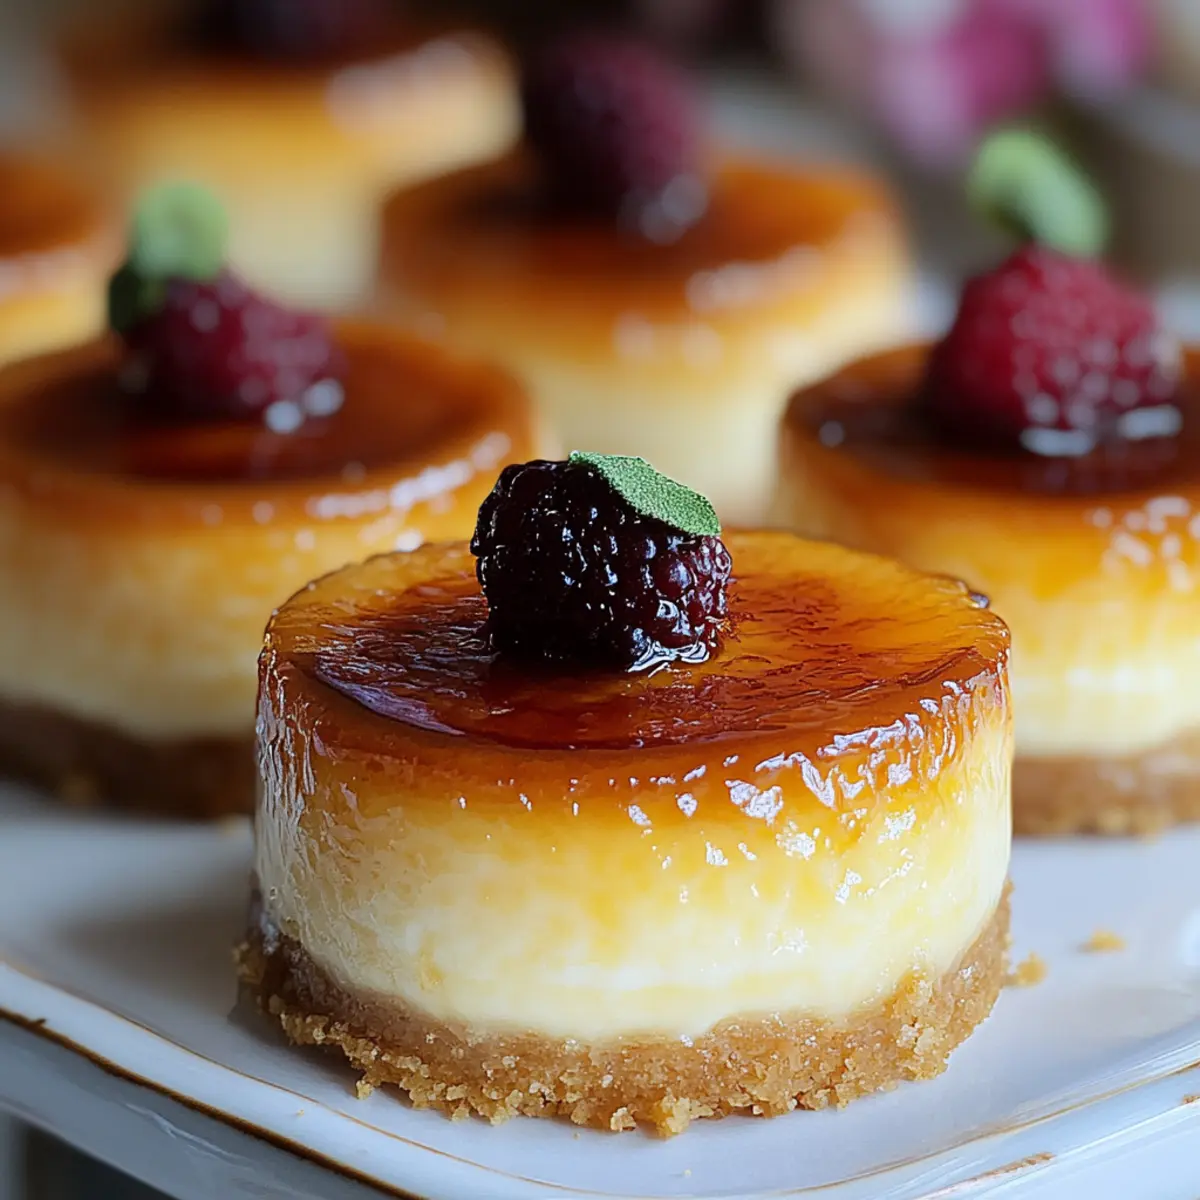
Top It Off: Instead of granulated sugar, use brown sugar to caramelize the top, adding a unique depth and flavor that pairs beautifully with the creamy filling.
-
Nutty Crunch: Crushed nuts, such as almonds or pecans, can be added to the crust for an added layer of crunch and a delightful nutty flavor.
-
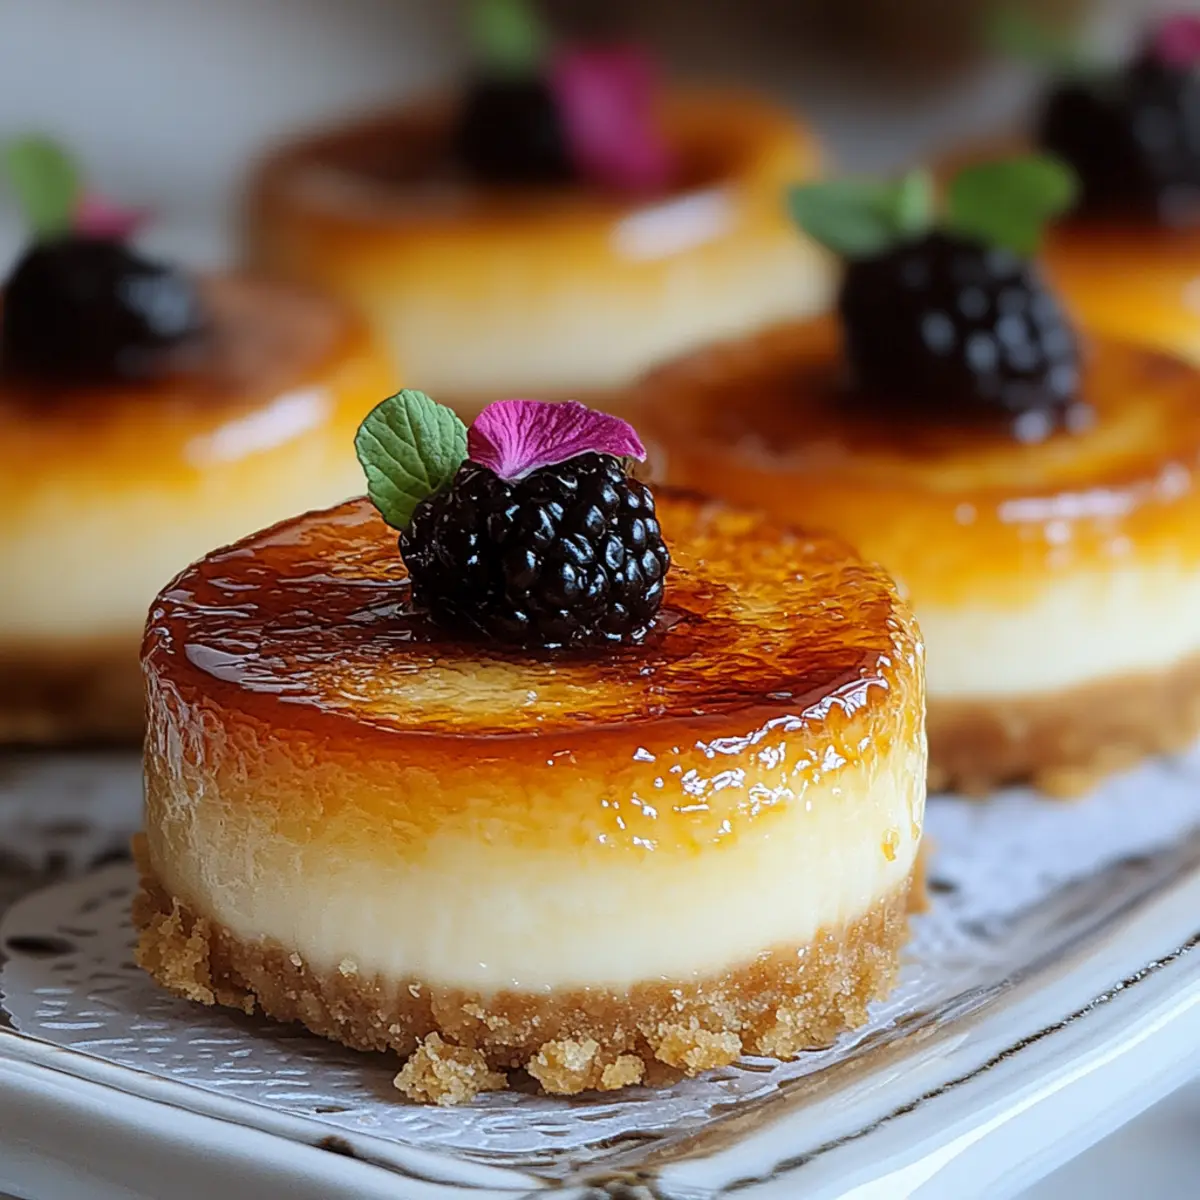
Elevated Presentation: Serve your cheesecakes topped with whipped cream, a sprinkle of edible gold dust, or fresh mint leaves for a truly elegant finish.
Feel free to mix and match these variations, making your Mini Creme Brulee Cheesecakes a stunning centerpiece at any gathering. For another delightful dessert, you might want to check out these Delightful Mini Pineapple cakes or add some protein to your treats with Protein Pancake Sausage mini muffins!
Expert Tips for Mini Creme Brulee Cheesecakes
-
Room Temperature Ingredients: Ensure your cream cheese is at room temperature. This makes blending smoother and prevents lumps in the filling.
-
Careful Caramelizing: Monitor the sugar closely while caramelizing. Too much heat can lead to burning, ruining that crunchy topping.
-
Water Bath Benefits: Always use a water bath during baking. This helps maintain moisture and prevents cracks in your Mini Creme Brulee Cheesecakes.
-
Chill for Flavor: Don’t skip the chilling step! Allowing the cheesecakes to rest enhances their flavors and gives a firmer, creamier texture.
-
Freshly Caramelized Top: For the best experience, caramelize the sugar just before serving. This keeps that delightful crunch intact!
What to Serve with Mini Creme Brulee Cheesecakes
Looking to create a memory-making feast? Pair these enchanting desserts with delightful additions that elevate the whole experience.
- Fresh Berries: Adds a burst of tartness to complement the creamy cheesecakes, enhancing their sweetness beautifully.
- Whipped Cream: Light and airy, a dollop of freshly whipped cream brings a lovely contrast to the buttery texture. It’s a classic pairing that never disappoints!
- Mint Leaves: This refreshing herb not only looks pretty but adds a bright, aromatic note that refreshes the palate after a rich bite.
- Chocolate Sauce: Drizzling a luscious chocolate sauce over the cheesecakes creates a sumptuous flavor profile that chocolate lovers will adore.
- Vanilla Ice Cream: Serve alongside a scoop of velvety vanilla ice cream for a delightful warmth that melts perfectly into the cheesecake, enhancing its flavors.
- Coffee or Espresso: A warm cup of coffee or espresso offers a friendly contrast, pulling out the flavors of the caramelized sugar and creamy filling, making every bite exquisite.
- Prosecco or Champagne: These bubbly drinks can elevate your dessert experience. Their lightness complements the cheesecakes while adding a celebratory touch to dessert time!
Mini Creme Brulee Cheesecakes Recipe FAQs
What kind of graham crackers should I use for the crust?
Absolutely! You can use any brand of graham crackers for the crust. If you need a gluten-free option, substitute them with gluten-free graham crackers or other gluten-free cookies you enjoy. Just ensure they are finely crushed to form a solid base.
How should I store Mini Creme Brulee Cheesecakes?
To store, place your cooled Mini Creme Brulee Cheesecakes in an airtight container in the refrigerator, where they’ll stay fresh for up to 3 days. If you have leftovers, they can be wrapped individually in plastic wrap and frozen for up to 1 month. Thaw frozen ones in the fridge overnight before serving to retain their creamy texture.
What’s the best way to freeze Mini Creme Brulee Cheesecakes?
Very! Start by allowing the cheesecakes to cool completely after baking. Next, wrap each cheesecake tightly in plastic wrap to prevent freezer burn. Place them in a freezer-safe container or a heavy-duty freezer bag, ensuring they’re well-sealed. For the best results, enjoy your frozen treats within 1 month for optimal flavor and texture.
What if my cheesecake cracks during baking?
Don’t worry; this can happen! Ensure you’re using a water bath during baking, as it helps maintain moisture and temperature. If you do see cracks, they’re easily hidden under the caramelized sugar topping. Just sprinkle a little more sugar to cover any imperfections!
Can I make this recipe dairy-free?
Yes, you can! For a dairy-free version of Mini Creme Brulee Cheesecakes, substitute the cream cheese with a dairy-free cream cheese alternative and use full-fat coconut milk in place of heavy cream. Just ensure to check labels for any hidden dairy ingredients if allergies are a concern.
Irresistible Mini Creme Brulee Cheesecakes for Every Occasion
Ingredients
Equipment
Method
- Preheat your oven to 350°F (175°C). Crush graham crackers into fine crumbs and mix with melted unsalted butter until fully combined. Firmly press the mixture into the base of a mini muffin tin or small ramekins and bake for about 10 minutes until golden. Let them cool.
- In a large mixing bowl, beat softened cream cheese and sugar until smooth, around 2-3 minutes. Gradually add eggs one at a time, mixing well after each addition. Stir in heavy cream and vanilla extract until combined.
- Pour the cheesecake filling over the prepared crusts, filling each one almost to the top. Bake in a water bath for about 25-30 minutes or until the edges are set but the centers jiggle slightly. Cool to room temperature.
- Transfer the cheesecakes to the refrigerator and chill for at least 4 hours or overnight. This allows the flavors to meld beautifully.
- Sprinkle a thin layer of granulated sugar on top of each cheesecake. Use a kitchen torch to caramelize the sugar until golden and glassy. Allow to cool and harden before serving.
Leave a Reply