
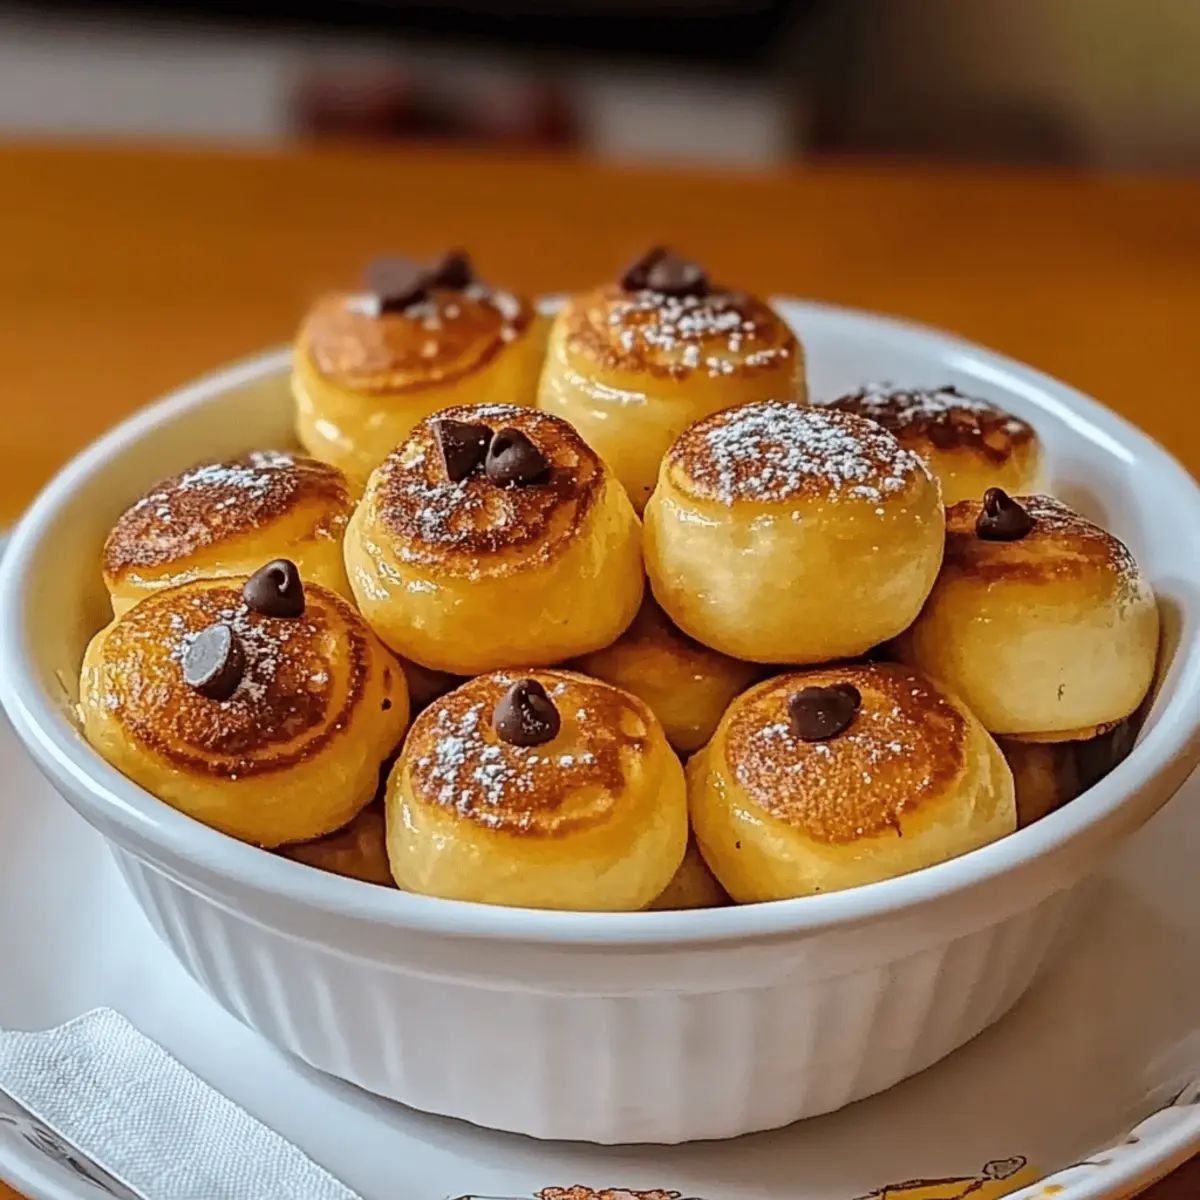
As I pulled the first batch of baked pancake poppers from the oven, the sweet aroma filled my kitchen—an instant reminder of childhood breakfasts that ignited joy. These delightful little bites, soft and fluffy on the inside with a crisp exterior, are the stars of my brunch table. Kid-friendly and customizable, pancake poppers come alive with your favorite fillings, whether chocolate chips, banana chunks, or even savory cheese, making them a perfect match for any palate. Embracing a healthier baked method rather than the usual frying means less mess and more time for savoring. Have you ever craved a fun twist on the traditional pancake? Let’s explore how to make these irresistible poppers that will have everyone coming back for more!
Why are Pancake Poppers so special?
Uniquely Customizable: These little delights offer endless variations! Mix and match fillings like chocolate chips or fresh fruit to suit every preference.
Kid-Friendly Fun: Perfect for family breakfast, kids will love picking their favorite toppings and fillings.
Baked Perfection: Enjoy all the flavor with none of the fuss—no flipping required, just bake and indulge!
Healthier Choice: With gluten-free options and the ability to substitute ingredients (think whole wheat flour or natural sweeteners), you can enjoy a guilt-free treat.
Quick and Easy: These come together in a breeze—ideal for busy mornings or last-minute brunch gatherings.
Crowd-Pleasing Appeal: Serve them warm with syrup or a sprinkle of powdered sugar, and watch them disappear! If you’re also interested in a healthier breakfast option, check out these High Protein Pancake muffins for a nutritious twist.
Pancake Poppers Ingredients
Discover the magic of pancake poppers with these simple ingredients!
For the Batter
- Flour – Provides structure and tenderness; substitute with whole wheat for added fiber or a gluten-free blend for a gluten-free option.
- Sugar – Adds sweetness; can be replaced with honey or maple syrup for a delicious natural sweetener.
- Baking Powder & Baking Soda – These leavening agents create fluffiness; ensure they are fresh for the best rise in your pancake poppers.
- Salt – Enhances flavor; don’t skip this step for a balanced taste.
- Buttermilk – Adds moisture and acidity for a fluffy texture; you can use regular milk mixed with vinegar or lemon juice as a substitute.
- Egg – Binds ingredients and adds richness; for an egg-free version, try a flax egg (1 tbsp ground flaxseed + 3 tbsp water).
- Butter – Offers richness and moisture; replace with coconut oil or dairy-free alternatives if desired.
- Mix-ins (e.g., chocolate chips, berries) – Provide flavor and endless customization—choose your favorites to create unique pancake poppers!
For Serving
- Toppings (e.g., syrup, powdered sugar, fresh fruit) – Enhance your pancake poppers’ flavor; it’s all about what makes your heart smile!
Step‑by‑Step Instructions for Pancake Poppers
Step 1: Preheat the Oven
Begin by preheating your oven to 375°F (190°C). While the oven warms up, take a moment to grease a mini muffin tin with butter or cooking spray to ensure easy removal later. This is an important step to achieving perfectly baked pancake poppers that come out effortlessly once cooked.
Step 2: Mix the Dry Ingredients
In a large mixing bowl, whisk together your dry ingredients: flour, sugar, baking powder, baking soda, and salt. Mixing these ingredients thoroughly allows the leavening agents to combine, ensuring that your pancake poppers will rise well during baking. Aim for a uniform mixture with no lumps, setting the stage for fluffy poppers.
Step 3: Combine the Wet Ingredients
In a separate bowl, combine the wet ingredients: buttermilk, egg, melted butter, and a splash of vanilla extract. Whisk everything together until smooth, allowing the butter to cool slightly before adding to avoid cooking the egg. This mixture adds moisture and richness, bonding perfectly to your dry ingredients in the next step.
Step 4: Mix Wet and Dry Ingredients
Slowly pour the wet ingredient mixture into the bowl with your dry ingredients. Gently fold them together until just combined, being careful not to overmix. Overmixing can cause your pancake poppers to become dense. You want a few small lumps to ensure that they stay light and fluffy as they bake.
Step 5: Prepare for Baking
Now it’s time to fill your muffin tin! Use a spoon or a measuring cup to fill each muffin cup about three-quarters full with batter. If you’d like to add any mix-ins, such as chocolate chips or fruit, sprinkle them directly into the batter before baking. This will create delightful flavors and textures in your pancake poppers.
Step 6: Bake the Pancake Poppers
Place the muffin tin in your preheated oven and bake the pancake poppers for 12-15 minutes. Keep an eye on them; they should be golden brown on the top, and a toothpick inserted into the center should come out clean. This visual cue is your assurance that they are perfectly baked and ready to come out of the oven!
Step 7: Cool and Remove
Once baked, let the pancake poppers cool in the tin for about 5 minutes. This cooling period allows them to firm up slightly, making removal easier. After cooling, gently run a butter knife around the edges of each popper, then carefully lift them out of the muffin tin to let them cool completely on a wire rack.
Step 8: Serve Warm
Finally, serve your delicious pancake poppers warm! Dust them with powdered sugar, drizzle with maple syrup, or top with fresh fruit, depending on your preferences. These little treats are perfect for any occasion, guaranteed to satisfy everyone’s sweet tooth!
Expert Tips for Pancake Poppers
• No Overmixing: Gently combine wet and dry ingredients—overmixing can lead to dense pancake poppers. Aim for a few small lumps for fluffiness.
• Optimal Greasing: Lubricate your muffin tin well with butter or cooking spray to ensure easy release of your baked pancake poppers without any sticking.
• Let the Batter Rest: Allow the batter to sit for about 5 minutes before baking. This helps enhance the rise and contributes to a lighter texture.
• Check Freshness: Use fresh baking powder and baking soda for best results. Stale leavening agents can negatively affect the fluffiness of your pancake poppers.
• Experiment Freely: Feel free to mix in different fillings! From chocolate chips to savory cheese and herbs, customize your pancake poppers to reflect your unique taste.
How to Store and Freeze Pancake Poppers
Room Temperature: Store cooled poppers in an airtight container for up to 2 days. They are best enjoyed fresh but can be kept at room temperature.
Fridge: Keep pancake poppers in the refrigerator for up to 4 days. Ensure they are in an airtight container to maintain their softness.
Freezer: For longer storage, freeze the poppers in a single layer on a baking sheet. Once frozen, transfer to a zip-top bag for up to 3 months.
Reheating: Reheat from frozen in the microwave for 30-45 seconds or in a 350°F (175°C) oven for 10-12 minutes until warmed through. Enjoy these pancake poppers at any time!
Make Ahead Options
These Pancake Poppers are perfect for busy mornings or last-minute brunch gatherings! You can prepare the batter up to 24 hours in advance by mixing the dry and wet ingredients separately, storing them in airtight containers in the refrigerator. The dry mix can remain fresh for about 3 days without losing quality. Just remember to combine them right before baking to prevent any loss of fluffiness. When you’re ready to serve, fill your greased muffin tin and bake as directed, enjoying the same delightful results without the morning rush. This way, you savor the homemade goodness with minimal effort!
What to Serve with Pancake Poppers
Elevate your pancake popper experience with delightful pairings that create a well-rounded meal full of flavor and joy.
- Maple Syrup: Drizzle over your poppers for that classic breakfast sweetness; it complements the tender, fluffy texture perfectly.
- Fresh Berries: Juicy strawberries, blueberries, or raspberries add a burst of freshness and vibrancy to each bite. Their tartness contrasts beautifully with the sweetness of the poppers, creating a delightful balance.
- Whipped Cream: A dollop of light, airy whipped cream gives a luxurious touch, making your poppers feel like a special treat. Mix in a splash of vanilla for extra flavor!
- Nut Butter Spread: Almond or peanut butter adds creamy richness and a dose of protein; it’s a filling option that pairs wonderfully with both sweet and savory fillings.
- Yogurt Parfait: Serve your pancake poppers alongside a yogurt parfait layered with granola and fresh fruits for a hearty breakfast option. The textures and flavors combine for a delightful morning feast.
- Hot Chocolate or Coffee: Warm beverages like a rich hot chocolate or a cup of coffee make for a comforting drink pairing that complements the sweet, fluffy bites.
- Coconut Chunks: Sprinkle toasted coconut flakes over your poppers for a tropical twist that adds a lovely crunch to the soft poppers.
- Chocolate Sauce: Drizzle or dip your pancake poppers in warm chocolate sauce for an indulgent dessert option; it’s easy to create a sweet experience in every bite!
Pancake Poppers Variations & Substitutions
Feel free to let your creativity shine as you tweak these pancake poppers to match your taste buds! The options are as delightful as the poppers themselves.
- Gluten-Free: Use a 1:1 gluten-free flour blend to make these pancake poppers safe for gluten-sensitive friends and family.
- Sweet Treat: Try adding chocolate chips to the batter for rich bursts of sweetness that melt perfectly, ensuring an indulgent treat for chocolate lovers. A sprinkle of sea salt enhances the flavors beautifully!
- Savory Delight: Incorporate shredded cheese and fresh herbs to create a savory rendition perfect for brunch gatherings. Imagine cheesy goodness with a hint of rosemary!
- Fruit-Infused: Fold in fresh berries or diced bananas for a fruity twist that adds natural sweetness and a burst of color. Each bite is a delightful explosion of flavors!
- Dairy-Free: Swap buttermilk with almond milk or coconut milk combined with vinegar for a fantastic dairy-free alternative, allowing everyone to indulge without worry.
- Nutty Flavor: Mix in your favorite nut butter, like almond or peanut butter, for a creamy texture and rich flavor. It’ll elevate these poppers to a whole new level!
- Protein Punch: Boost nutrition by adding a scoop of your favorite protein powder; it works seamlessly in the batter. If you’re leaning toward a healthy breakfast, check out these High Protein Pancake muffins for an extra nutritious twist!
- Spice it Up: Consider adding a pinch of cinnamon or vanilla extract for an aromatic depth of flavor that makes each bite feel indulgently cozy. Every popper becomes like a hug in dessert form!
There’s no wrong way to enjoy these charming pancake poppers, and every variation invites you to explore new taste sensations. Happy baking!
Pancake Poppers Recipe FAQs
How do I choose the right flour for pancake poppers?
Absolutely! For tender and fluffy pancake poppers, all-purpose flour works wonderfully. If you’re aiming for a healthier option, consider using whole wheat flour to add fiber. For a gluten-free version, a 1:1 gluten-free baking blend performs well, too, ensuring everyone can enjoy this delicious treat!
What are the best storage methods for leftover pancake poppers?
Very easy! Store any cooled pancake poppers in an airtight container at room temperature for up to 2 days for optimal freshness. If you’d like them to last a bit longer, refrigerate them in the same airtight container for up to 4 days. This way, you can keep them soft and perfect for indulging later!
Can pancake poppers be frozen? If so, how?
Yes, they can! To freeze pancake poppers, first, place them in a single layer on a baking sheet and freeze until solid, about 1-2 hours. Once frozen, transfer them to a zip-top freezer bag, removing as much air as possible, and store for up to 3 months. When you’re ready to enjoy them, simply reheat from frozen in the microwave for 30-45 seconds or in a preheated oven at 350°F (175°C) for 10-12 minutes until warmed through.
What should I do if the pancake poppers come out dense?
Don’t worry, it happens to the best of us! If you find that your pancake poppers are dense, the culprit may be overmixing the batter. When combining wet and dry ingredients, aim for minimal mixing—just enough to bring everything together, leaving a few small lumps. Also, make sure your baking powder and baking soda are fresh, as stale leavening agents can affect the fluffiness of your poppers. Remember, gentle handling is the key to staying light and fluffy!
Pancake Poppers: Fluffy Mini Treats for Every Sweet Tooth
Ingredients
Equipment
Method
- Preheat your oven to 375°F (190°C) and grease a mini muffin tin.
- In a large bowl, whisk together flour, sugar, baking powder, baking soda, and salt.
- In a separate bowl, combine buttermilk, egg, melted butter, and vanilla extract until smooth.
- Gently fold the wet mixture into the dry ingredients until just combined.
- Fill muffin cups about three-quarters full with batter, adding mix-ins if desired.
- Bake for 12-15 minutes until golden brown and a toothpick comes out clean.
- Let cool in the tin for 5 minutes before removing to a wire rack.
- Serve warm topped with powdered sugar, syrup, or fresh fruit.
Leave a Reply