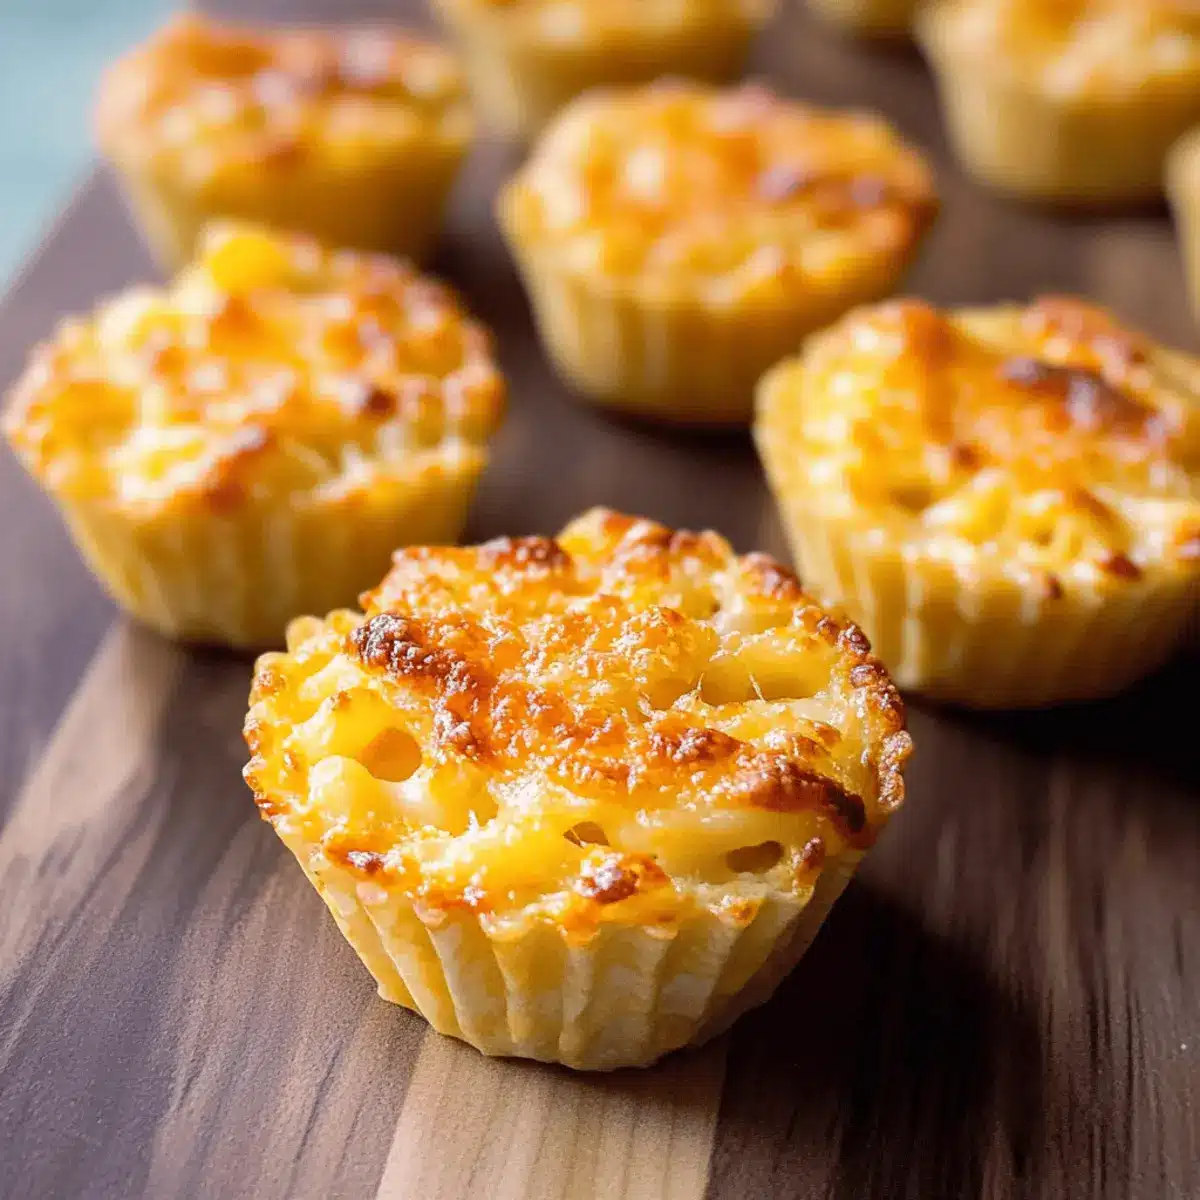
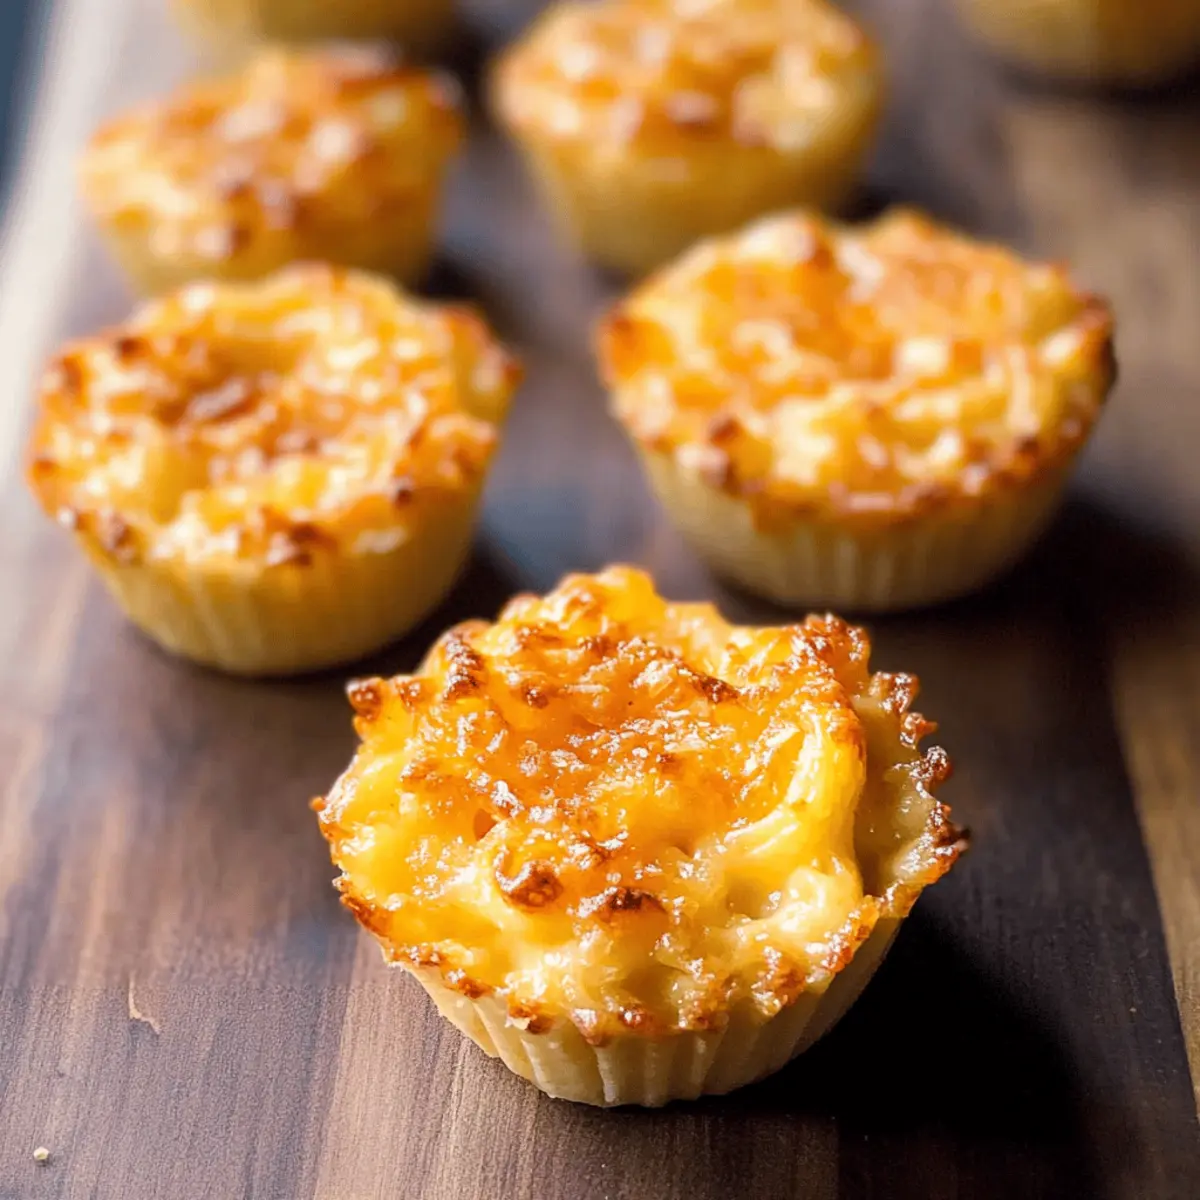
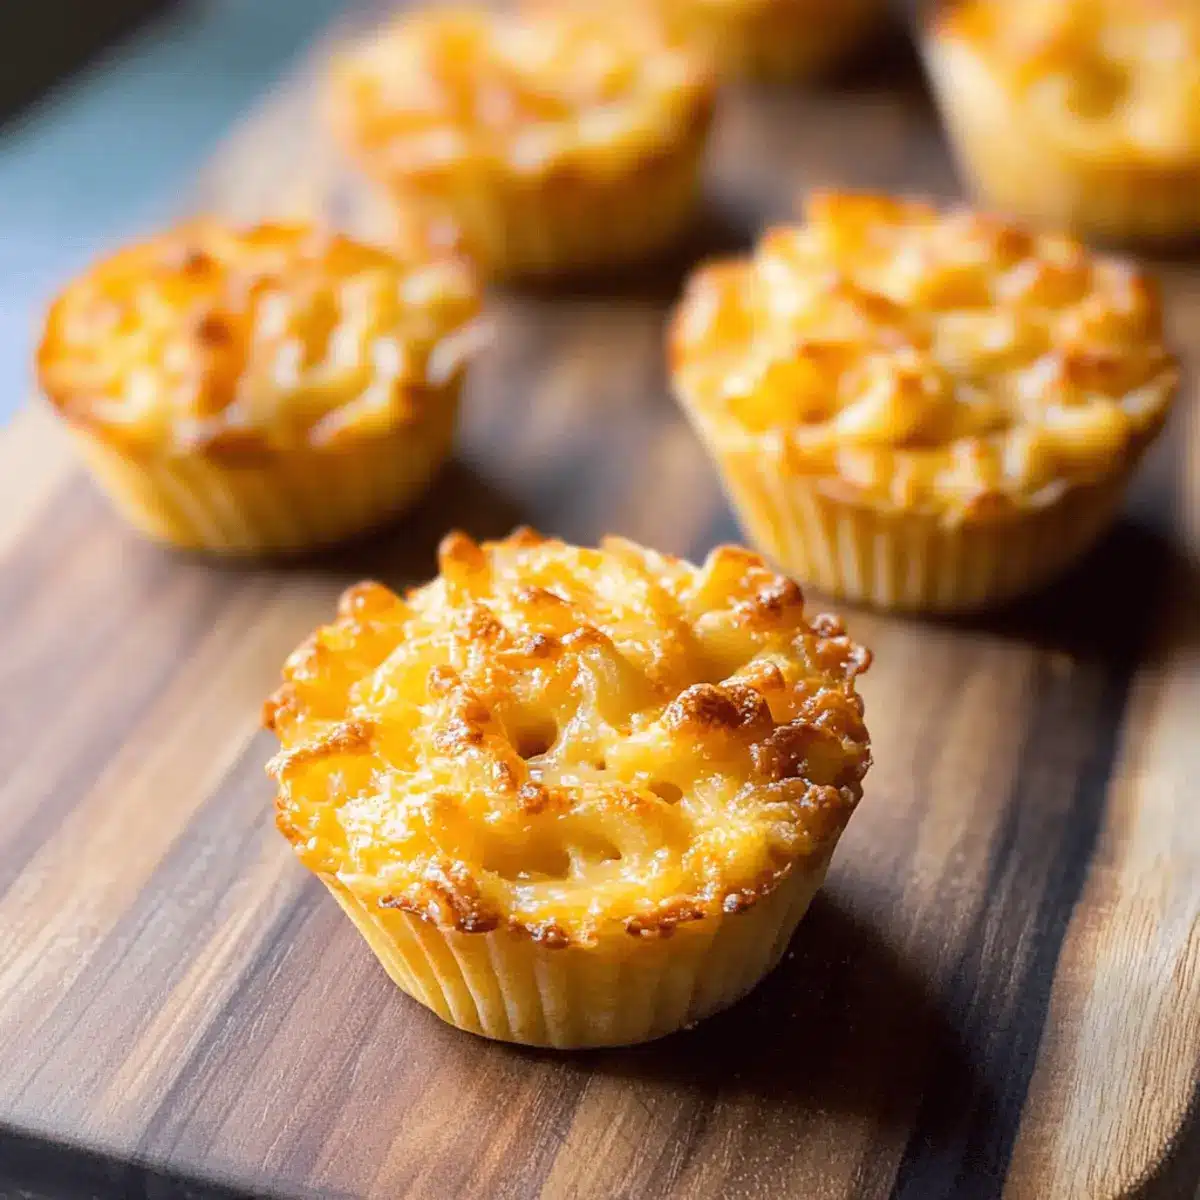
As I pulled the golden-brown Baked Mac and Cheese Cups from the oven, a wave of delicious warmth enveloped the kitchen. These bite-sized wonders aren’t just a playful twist on the classic comfort food; they’re perfect for a cozy dinner or as a showstopper at your next gathering. With their cheesy interior and crispy tops, they cater to both children and adults, making meal times a little more fun! Plus, they’re quick to prepare, meaning less time in the kitchen and more time enjoying the company around the table. With gluten-free adaptations available, everyone can dig in guilt-free. Ready to indulge in a delightful, cheesy creation? Let’s get cooking!

Why Will You Love These Baked Cups?
Cheesy, Comforting Excellence: Each bite bursts with rich cheddar, embodying the ultimate comfort food experience.
Kid-Approved Fun: Perfectly portioned, these cups are inviting for both kids and adults—everyone loves a bite-sized treat!
Quick & Easy: In just under an hour, you can whip up these delectable snacks for your next family dinner or gathering.
Customizable & Versatile: Feel free to experiment with different cheese or add veggies to cater to your taste—think of variations like Potato Egg Cheese for a wholesome twist.
Gluten-Free Options: With simple ingredient swaps, you can enjoy these tasty morsels regardless of dietary needs. Give them a try and pair them with a side of our Bacon Cream Cheese for a delicious combo!
Baked Mac and Cheese Cups Ingredients
For the Pasta
• Pasta – 8 ounces; opt for smaller shapes like shells or elbows for easier filling.
For the Cheese Sauce
• Butter – 3 tablespoons; for a dairy-free version, substitute with a suitable oil.
• Garlic – 2 cloves, minced; replace with garlic powder if you prefer.
• Salt – 1/2 teaspoon; adjust to taste for perfect flavor balance.
• Ground Black Pepper – 1/8 teaspoon; omit for a milder flavor if desired.
• All-Purpose Flour – 2 tablespoons; use cornstarch as a gluten-free thickening alternative.
• Whole Milk – 1 cup; choose a non-dairy milk for a lactose-free option.
• Shredded Cheddar Cheese – 2 cups; freshly grate from a block for best melting results.
For the Topping
• Breadcrumbs – 1/4 cup; select gluten-free breadcrumbs to maintain the gluten-free theme.
Dive into these Baked Mac and Cheese Cups, where the cheesy goodness meets a fun, portable format, making them a delight for any occasion!
Step‑by‑Step Instructions for Baked Mac and Cheese Cups
Step 1: Preheat the Oven
Begin by preheating your oven to 350°F (175°C). While the oven heats, grab a standard 12-cup muffin tin and generously grease each cup with butter or cooking spray to ensure easy release after baking.
Step 2: Cook the Pasta
In a large pot, bring salted water to a rolling boil. Add 8 ounces of your chosen pasta and cook according to the package instructions until al dente, typically 6-8 minutes. Once done, drain the pasta well and set it aside to cool slightly while you prepare the cheese sauce.
Step 3: Make the Cheese Sauce
In a medium-sized saucepan, melt 3 tablespoons of butter over medium heat. Once melted, add 2 cloves of minced garlic and sauté for about 1 minute until fragrant. Gradually whisk in 2 tablespoons of flour, salt, and pepper, creating a smooth paste.
Step 4: Thicken the Sauce
Slowly incorporate 1 cup of whole milk into the flour mixture while continuously stirring. Cook until the sauce thickens and just begins to bubble, which should take about 2-3 minutes. Remove the saucepan from the heat and stir in 2 cups of shredded cheddar cheese until fully melted and creamy.
Step 5: Combine Pasta and Sauce
Add the drained pasta directly into the cheese sauce, stirring gently to fully coat each piece. The result should be a rich, cheesy mixture of Baked Mac and Cheese Cups that looks heavenly.
Step 6: Fill the Muffin Tin
Using a spoon, carefully distribute the cheesy pasta evenly among the greased muffin cups, filling each to the top. To add a delightful crunch, sprinkle about 1/4 cup of breadcrumbs over the pasta in each cup, ensuring an even layer.
Step 7: Bake to Perfection
Place the muffin tin in the preheated oven and bake for 30-35 minutes. Keep an eye on them; the tops should turn golden brown and crispy, indicating they’re ready to come out.
Step 8: Cool and Serve
Once baked, remove the muffin tin from the oven and let the Baked Mac and Cheese Cups cool for about 5-10 minutes. This cooling period makes it easier to remove the cups from the tin. Gently run a butter knife around the edges of each cup before lifting them out. Enjoy!

Make Ahead Options
These Baked Mac and Cheese Cups are perfect for meal prep enthusiasts! You can prepare the cheese sauce and cook the pasta up to 24 hours in advance, refrigerating them separately to maintain quality. Just combine the two when you’re ready to bake. Furthermore, you can fill the muffin tins with the pasta mixture and breadcrumbs, then cover tightly and refrigerate for up to 3 days before baking. When you’re ready to serve, simply pop them in a preheated oven and bake until golden brown, allowing for a delicious meal with minimal stress. Enjoy comforting, cheesy goodness with a few simple steps!
Storage Tips for Baked Mac and Cheese Cups
Fridge: Store leftover Baked Mac and Cheese Cups in an airtight container in the refrigerator for up to 3 days. This keeps them fresh and ready to enjoy!
Freezer: For longer storage, freeze the cups individually wrapped in plastic wrap or in a freezer-safe bag. They’ll maintain quality for up to 3 months.
Reheating: When ready to eat, reheat from frozen in the oven at 350°F (175°C) for about 20-25 minutes or until heated through. If thawed, they’ll need around 10-15 minutes.
Enjoying Later: These cups can also be enjoyed cold, making them a perfect on-the-go snack! Just make sure to let them cool completely before storing.
What to Serve with Baked Mac and Cheese Cups
Transform your delightful Baked Mac and Cheese Cups into a complete meal with these scrumptious pairing ideas!
- Garden Salad: A fresh garden salad with crisp greens and colorful veggies offers a refreshing contrast, balancing out the richness of the mac and cheese.
- Roasted Vegetables: Roasted seasonal vegetables bring warmth and a touch of sweetness, complementing the cheesy goodness of the cups beautifully.
- Homemade Garlic Bread: Crispy garlic bread on the side adds another layer of flavor and provides that perfect satisfying crunch to your meal.
- Creamy Tomato Soup: The comforting embrace of a warm, creamy tomato soup creates a delightful dip for the mac and cheese cups, ideal for cozy nights.
- Steamed Broccoli: Lightly steamed broccoli not only adds a touch of vibrant color but also packs in nutrients, making your meal healthier.
- Sweet Potato Fries: The slight sweetness and crunch of sweet potato fries elevate the heartiness of the baked cups, creating a fun, playful combination.
- Savory Meatballs: Juicy meatballs in a tangy sauce add a protein boost to your meal, creating a festive, family-friendly feast.
- Apple Crisp: For dessert, a warm apple crisp with a scoop of vanilla ice cream brings a sweet, comforting end to your cheesy indulgence.
- Sparkling Lemonade: A sparkling lemonade or citrus-infused drink offers a light, refreshing sip that enhances the flavors of your meal and cleanses the palate.
Expert Tips for Baked Mac and Cheese Cups
• Fresh Cheese Matters: Always use freshly shredded cheese from a block for that creamy texture. Pre-shredded packages can contain starches that affect melting.
• Gluten-Free Swaps: To make your Baked Mac and Cheese Cups gluten-free, substitute regular pasta and breadcrumbs with their gluten-free versions for a delicious outcome.
• Cool Before Serving: Allow the cups to cool for about 5-10 minutes in the tin. This makes it easier to remove them without breaking—patience pays off!
• Mix It Up: Experiment with different cheese types, like mozzarella or pepper jack, to mix flavors. You can even toss in some chopped vegetables or bacon for extra flair.
• Watch the Bake Time: Keep an eye on the cups towards the end of the baking time. You want the tops to be golden brown but not burnt—perfectly crunchy and utterly irresistible!
Baked Mac and Cheese Cups Variations
Feel free to get creative with these Baked Mac and Cheese Cups—there’s endless potential for delicious twists!
- Gluten-Free: Substitute regular pasta and breadcrumbs with gluten-free versions for a guilt-free treat.
- Veggie Boost: Stir in cooked spinach, broccoli, or diced bell peppers for added nutrition and color.
- Bacon Delight: Add crispy bacon bits into the cheesy mixture for an irresistible savory crunch.
- Spicy Kick: Mix in jalapeños or hot sauce to bring a fiery twist to your cheesy cups.
- Cheese Variety: Experiment with different cheeses like mozzarella, gouda, or pepper jack for unique flavors.
- Herb Infusion: Toss in fresh herbs like thyme or basil to elevate the taste with fragrant freshness.
- Creamy Spin: For an extra indulgent touch, mix in a few tablespoons of cream cheese.
- Flavorful Toppings: Upgrade the breadcrumb topping with seasoned panko for extra crunch, or try a mix of Bacon Egg Cheese for those who enjoy a heartier meal.
Get ready to savor every bite as you try these delicious variations!

Baked Mac and Cheese Cups Recipe FAQs
How do I choose the right pasta for Baked Mac and Cheese Cups?
Absolutely! I recommend smaller pasta shapes like shells or elbows for these cups, as they are easier to fill and hold onto the cheese sauce. Ensure the pasta is cooked to al dente for the best texture once baked.
How should I store leftover Baked Mac and Cheese Cups?
Very simply! Store these cups in an airtight container in the refrigerator for up to 2-3 days. This keeps them fresh and ready for a quick snack or meal.
Can I freeze Baked Mac and Cheese Cups?
Absolutely! To freeze, wrap each cup tightly in plastic wrap, or place them in a freezer-safe bag. They can stay fresh for up to 3 months. When you’re ready to enjoy, reheat directly from frozen in a preheated oven at 350°F (175°C) for about 20-25 minutes, or 10-15 minutes if they’ve been thawed.
What if my cheese sauce turns out lumpy?
If your cheese sauce is lumpy, don’t worry! It may be from adding the milk too quickly or insufficiently whisking in the flour. To fix this, try straining the sauce through a fine-mesh sieve to catch the lumps. If the sauce is too thick, whisk in a little extra milk over low heat until smooth and creamy.
Are there any dietary considerations for making these Baked Mac and Cheese Cups?
Absolutely! For gluten-free adaptations, simply swap out the regular pasta and breadcrumbs for gluten-free versions. Additionally, you can use non-dairy milk and substitute butter with a suitable oil for a dairy-free option, ensuring everyone can enjoy these delightful bites!

Baked Mac and Cheese Cups: Cheesy Comfort in Every Bite
Ingredients
Equipment
Method
- Preheat your oven to 350°F (175°C) and grease a 12-cup muffin tin.
- Cook 8 ounces of pasta in salted water according to package instructions until al dente, then drain.
- Melt 3 tablespoons of butter in a medium saucepan, add 2 cloves minced garlic, and sauté for 1 minute.
- Whisk in 2 tablespoons of flour, 1/2 teaspoon salt, and 1/8 teaspoon pepper to form a paste.
- Slowly add 1 cup of whole milk, cooking until the sauce thickens, about 2-3 minutes, then stir in 2 cups of cheddar cheese until melted.
- Combine the drained pasta with the cheese sauce until well coated.
- Fill each greased muffin cup with the cheesy pasta and sprinkle with 1/4 cup of breadcrumbs.
- Bake in the preheated oven for 30-35 minutes until golden brown on top.
- Cool for 5-10 minutes before serving, gently removing the cups from the tin.

Leave a Reply