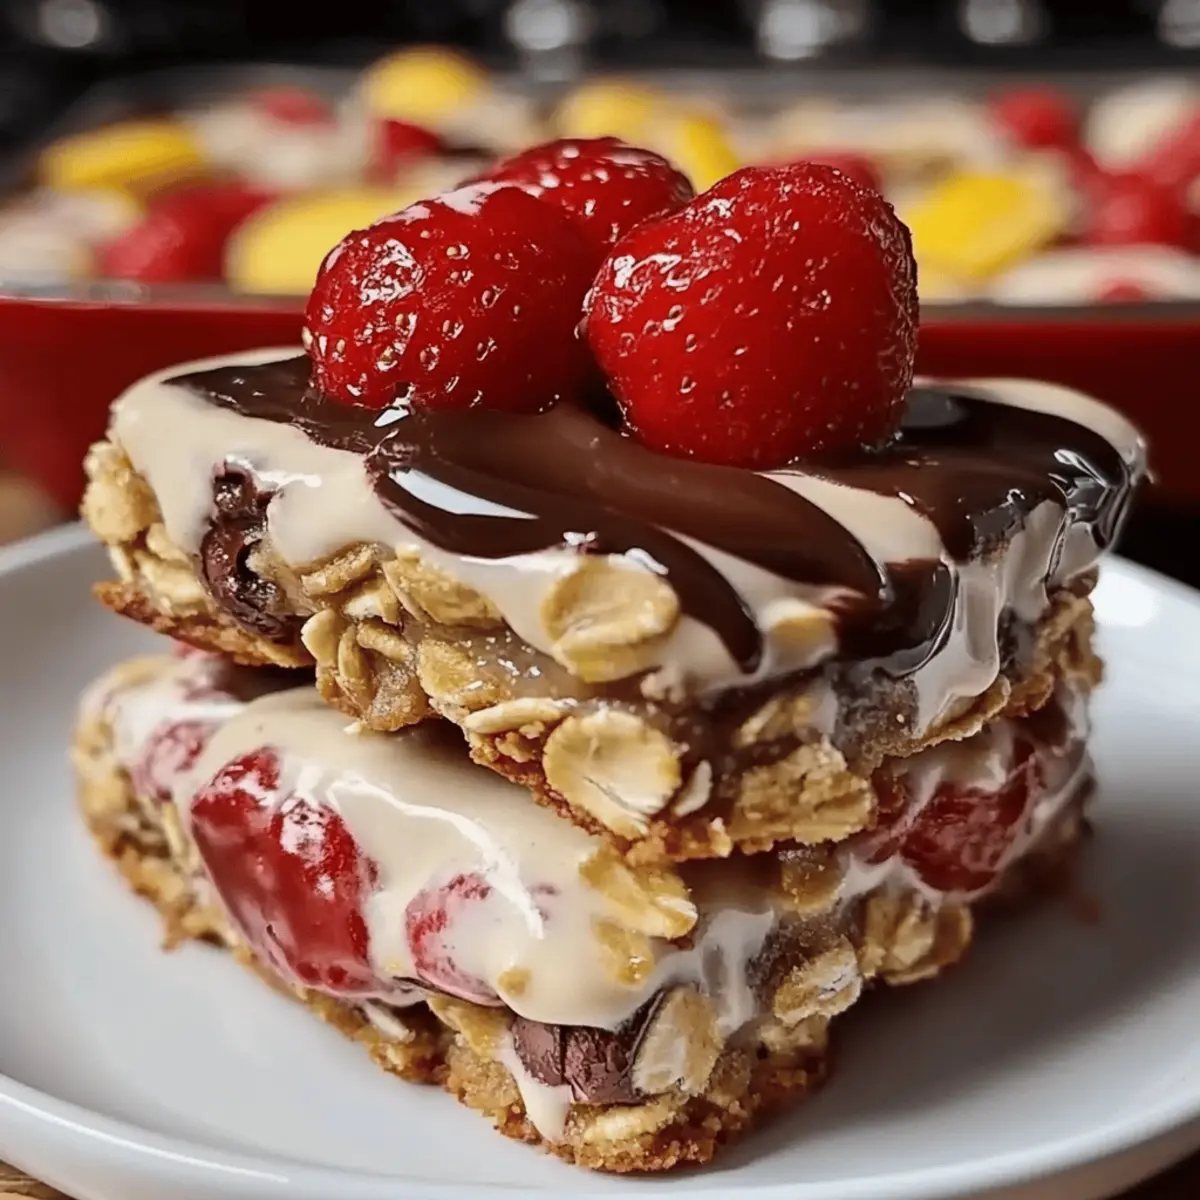
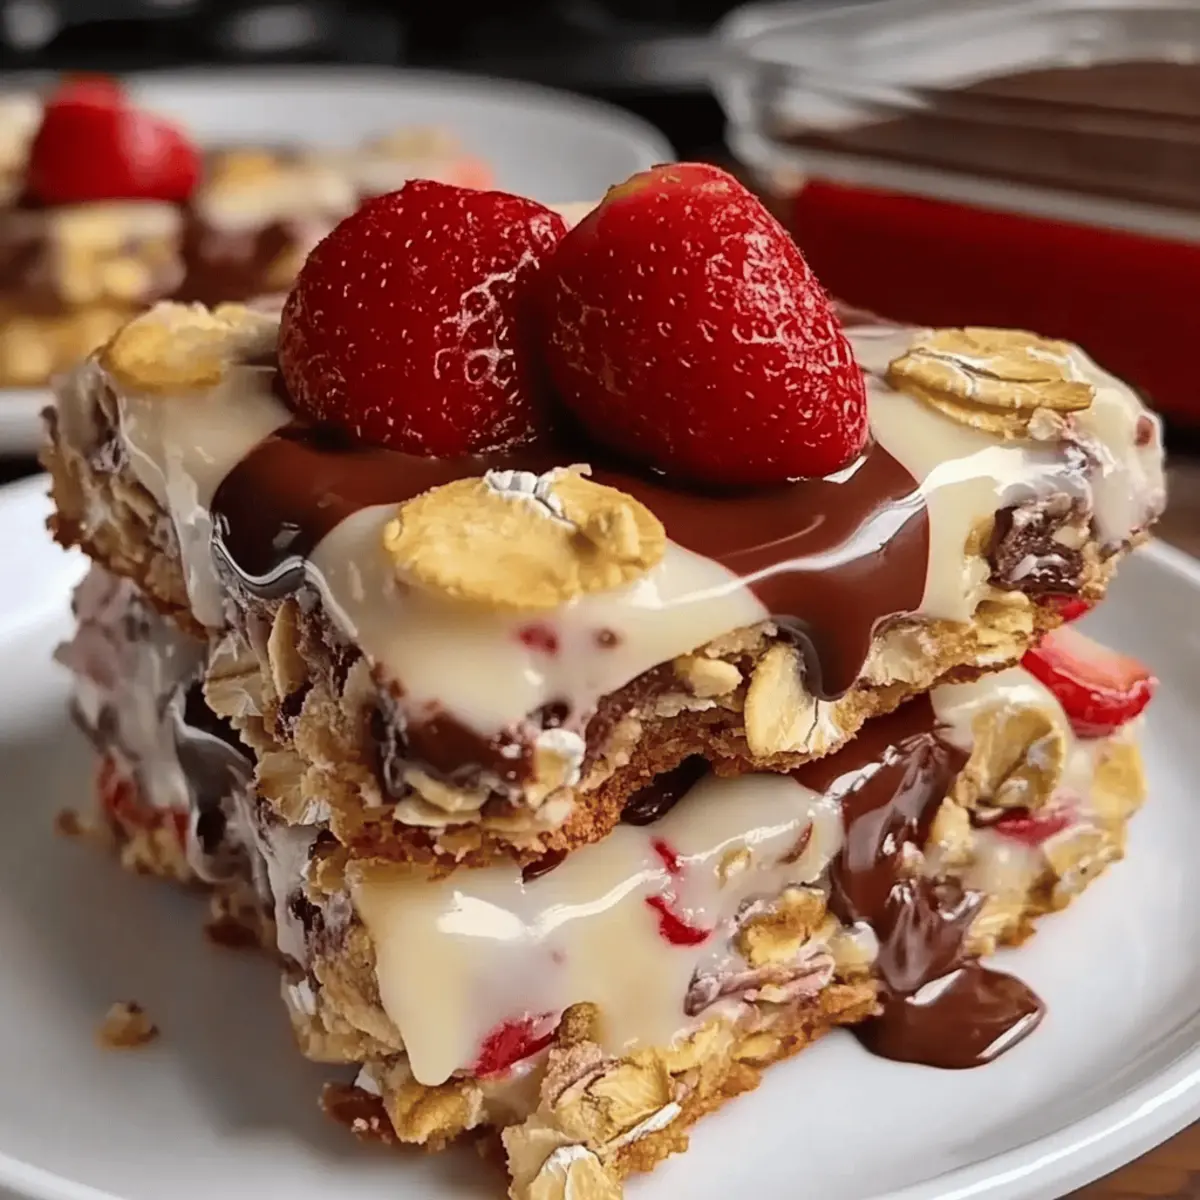
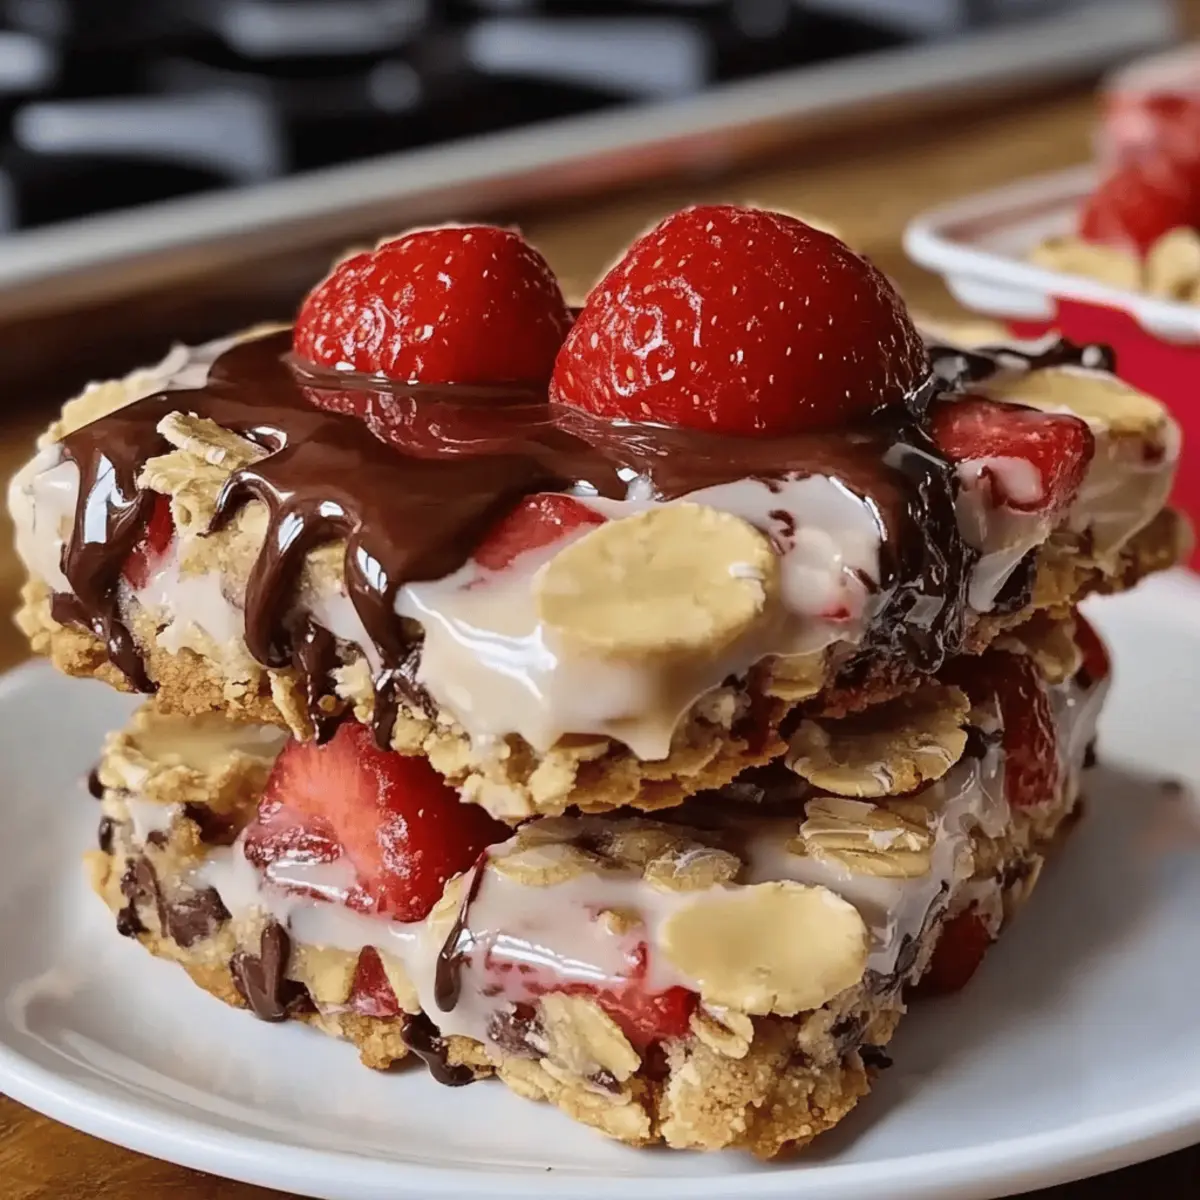
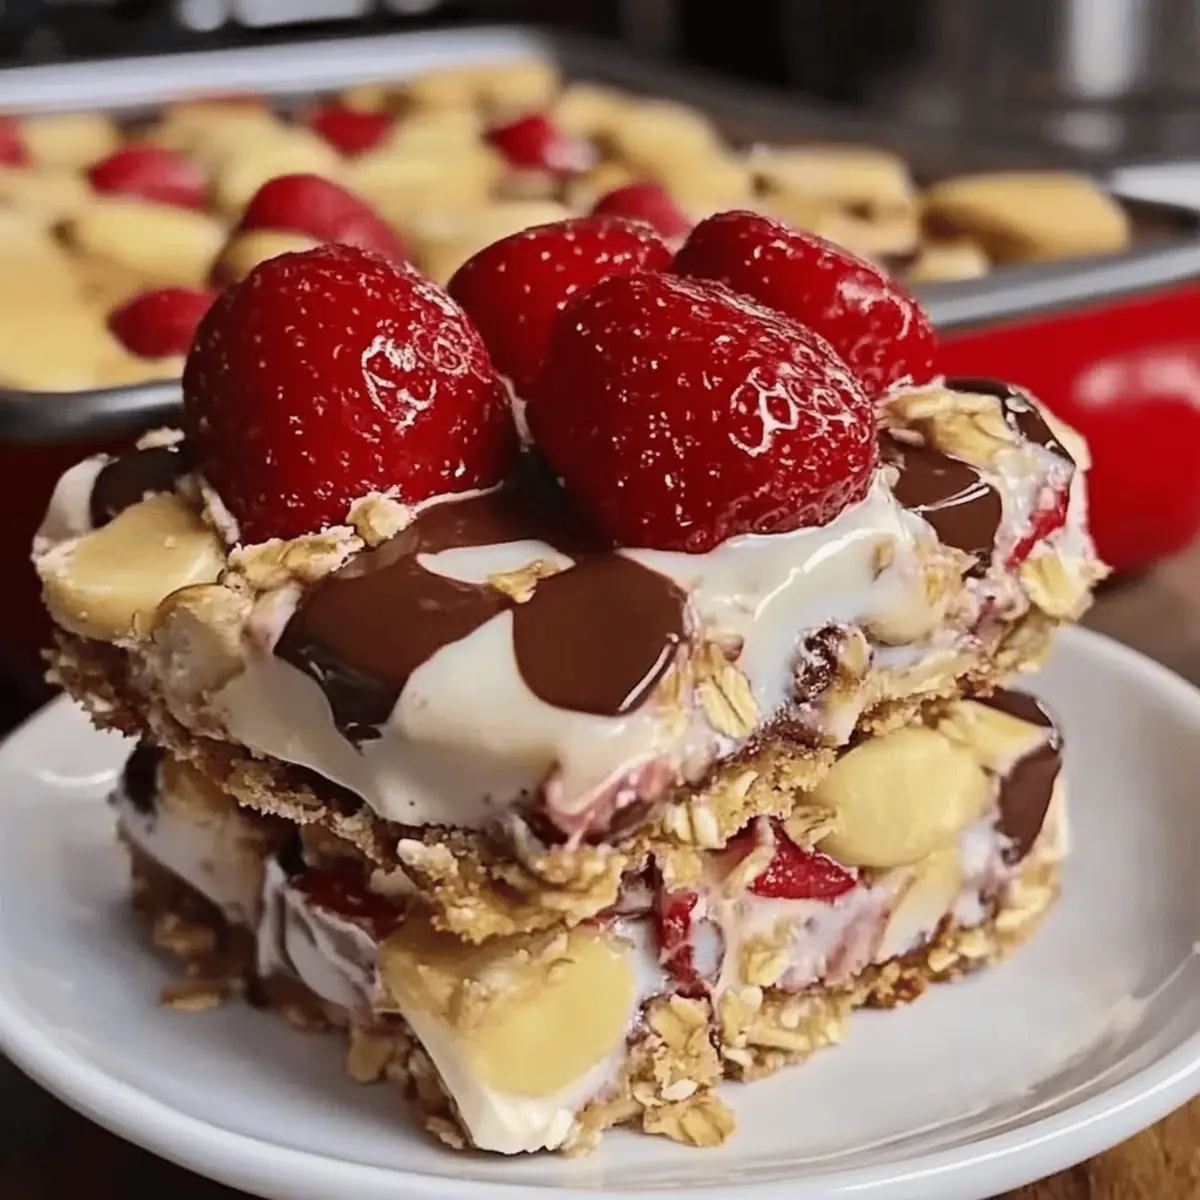
“Have you ever found yourself in need of a quick treat that feels as good as it tastes?” That’s exactly what these 4-Ingredient Crispy Chocolate Oat Cookies offer! With just four simple ingredients, this no-bake wonder combines the heartiness of oats, the creaminess of peanut butter, a touch of sweetness from honey, and, of course, the joy that comes from chocolate chips. These cookies are not only a delightful snack, perfect for any occasion, but they also serve as a guilt-free indulgence that’s gluten-free and easy to whip up. Whether you’re a parent juggling a busy schedule or a chocolate lover in search of a delicious solution, these cookies will satisfy cravings without the fuss. Curious how to make your own, and maybe even experiment with a few fun variations? Let’s dive in!

Why are these cookies so irresistible?
Simplicity, with only four ingredients, these cookies eliminate the stress of complicated recipes. Quick to make, they’re perfect for last-minute cravings or unexpected guests. Gluten-free goodness means everyone can enjoy them guilt-free! Versatile options allow you to swap ingredients for added protein or a nut-free version. For another easy treat, check out my delicious Strawberry Banana Pudding or try making some No-Bake Peanut Butter Chocolate Oat Bars for a different twist!
Chocolate Oat Cookies Ingredients
• Here are the essential ingredients to create your own 4-ingredient crispy chocolate oat cookies.
For the Cookie Base
- Oats – Rolled oats work best for a delightful texture that blends crunch and chewiness.
- Peanut Butter – Acts as a binder and adds richness; substitute with almond or sunflower seed butter for a nut-free option.
- Honey or Maple Syrup – Provides sweetness; choose maple syrup for a vegan-friendly treat.
- Chocolate Chips – Adds indulgence; go for semi-sweet or dark chocolate, or switch with raisins for a chewy, fruity twist.
Experimenting with these ingredients will lead to your own personalized version of the classic chocolate oat cookie!
Step‑by‑Step Instructions for 4-Ingredient Crispy Chocolate Oat Cookies
Step 1: Combine Oats and Peanut Butter
In a large mixing bowl, add 2 cups of rolled oats and 1 cup of peanut butter. Use a sturdy spatula to mix them together until they are well combined and form a thick, sticky base. This mixture will create the foundation of your delicious chocolate oat cookies, offering both structure and flavor.
Step 2: Sweeten the Dough
Next, drizzle in 1/2 cup of honey or maple syrup, choosing the sweetener that best fits your taste. Stir the mixture thoroughly, ensuring that the syrup is evenly incorporated throughout the dough. You should see a cohesive blend where the oats are coated, and the mixture is sticky yet manageable, ready for the chocolate chips.
Step 3: Fold in Chocolate Chips
Now, gently fold in 1 cup of chocolate chips into the mixture until they’re evenly distributed. This step is crucial as it adds that rich, indulgent flavor to your chocolate oat cookies. Aim for a good balance, so each bite contains a delightful burst of chocolate that will make these treats irresistible!
Step 4: Preheat the Oven
Preheat your oven to 350°F (175°C). While the oven warms up, line a baking sheet with parchment paper to prevent sticking. This preparation is key for achieving the perfect baked texture, ensuring your 4-ingredient crispy chocolate oat cookies come out golden and delicious without any fuss.
Step 5: Shape the Cookies
Using a tablespoon, scoop out portions of the dough and place them onto the prepared baking sheet, leaving about 2 inches of space between each cookie. Gently press them down to flatten slightly, which promotes even baking. This step transforms the mixture into recognizable cookies that will soon become your household favorite!
Step 6: Bake the Cookies
Slide the baking sheet into your preheated oven and bake for 10-12 minutes, or until the edges are golden brown. Keep an eye on them during the last few minutes—visual cues of doneness will help ensure they’re perfectly crisp! The delightful aroma wafting through your kitchen will have everyone eagerly awaiting their treat.
Step 7: Cool Before Enjoying
Once baked, remove the cookies from the oven and let them cool on the baking sheet for about 5 minutes; they will firm up as they cool. After a brief cooling period, gently transfer the cookies to a wire rack to cool completely. This step is important for achieving the ideal texture of your 4-ingredient crispy chocolate oat cookies, enhancing their taste and crunch.

Make Ahead Options
These 4-Ingredient Crispy Chocolate Oat Cookies are a lifesaver for meal prep enthusiasts! You can mix the cookie dough up to 24 hours in advance and store it in the refrigerator. This save-your-time approach means you can enjoy freshly baked cookies even on your busiest days. Simply prepare the dough according to the recipe, then wrap it tightly in plastic wrap or transfer it to an airtight container. When you’re ready to bake, just scoop the chilled dough onto your baking sheet and bake as directed; they will turn out just as delicious! This way, you can have homemade treats ready with minimal fuss, perfect for those unexpected cravings.
Expert Tips for Perfect Chocolate Oat Cookies
- Mixing Consistency: Ensure the dough isn’t too sticky; if it is, add a touch more oats to achieve the right texture for your chocolate oat cookies.
- Cooling Time: Allow cookies to cool completely before enjoying to enhance their crispness and prevent a gummy texture.
- Baking Space: Avoid overcrowding the baking sheet; give each cookie some space to ensure even baking and prevent them from merging together.
- Flavor Variations: Feel free to experiment with different nut butters or add-ins like nuts or dried fruits for a delightful twist on your chocolate oat cookies.
- Oven Watch: Keep an eye on the cookies during the last few minutes of baking; slight over-baking can lead to crispier edges than desired.
Storage Tips for Chocolate Oat Cookies
Room Temperature: Store cookies in an airtight container at room temperature for up to 7 days. This keeps them fresh while maintaining their delightful texture.
Fridge: For extended freshness, place the cookies in the fridge where they can last up to 2 weeks. Just allow them to come to room temperature before enjoying!
Freezer: Freeze cookies for up to 3 months in a freezer-safe bag or container. Lay parchment paper between layers to prevent sticking, making it easy to grab one at a time.
Reheating: When ready to enjoy frozen cookies, thaw them in the fridge overnight, and for a warm treat, pop them in the microwave for 10-15 seconds. The chocolate will be melty and delicious!
Variations & Substitutions for Chocolate Oat Cookies
Get ready to transform these cookies into something uniquely yours with just a few simple tweaks!
-
Nut-Free: Substitute peanut butter with sunflower seed butter to make it nut-free, perfect for school lunches or nut allergies.
-
Vegan Delight: Use maple syrup instead of honey to enjoy a fully vegan version of these chewy treats without sacrificing flavor.
-
Protein Boost: Mix in a scoop of your favorite protein powder for an extra power-packed snack that keeps you energized through the day.
-
Fruity Twist: Swap chocolate chips for dried fruits like cranberries or apricots to bring a fruity burst to each cookie bite. The sweetness adds a lovely contrast to the oats.
-
Crunchy Additions: Toss in some chopped nuts like almonds or walnuts for added crunch and texture; the nutty flavor complements the chocolate beautifully.
-
Flavor Infusion: Add a teaspoon of vanilla extract or a sprinkle of cinnamon for a warm, aromatic twist to elevate the flavor profile even more.
-
No-Bake Option: If you’re looking for a quick fix, skip the baking entirely! Simply refrigerate the dough until firm and scoop into balls for a satisfying no-bake cookie.
-
Coconut Bliss: Mix in shredded coconut for a tropical flair that brings a chewy texture and a hint of sweetness; it pairs wonderfully with chocolate!
Let your creativity soar as you experiment with these variations! You can enjoy these cookies with a glass of milk or take it up a notch by pairing them with delightful side treats, like my Strawberry Banana Pudding for an irresistible dessert duo.
What to Serve with 4-Ingredient Crispy Chocolate Oat Cookies
These crunchy yet chewy delights offer a mouthwatering experience, and pairing them with the right accompaniments can elevate snack time to new heights.
-
Cold Glass of Milk:
The classic pairing that balances the sweetness of the cookies while refreshing your palate. -
Cozy Cup of Coffee:
Rich, warm coffee complements the chocolatey goodness, making for a perfect afternoon pick-me-up. -
Fresh Berries:
Juicy strawberries or blueberries bring brightness and a pop of flavor, creating a delightful contrast. -
Creamy Yogurt:
Pair these cookies with a dollop of plain or flavored yogurt for a protein-packed snack that feels indulgent. -
Ice Cream Scoop:
A scoop of vanilla or chocolate ice cream transforms these cookies into a decadent dessert burrito. -
Nut Butter Dip:
A small bowl of almond or peanut butter for dipping enhances the nutty flavors in the cookies. -
Smoothie Bowl:
Serve alongside a fruity smoothie bowl for a wholesome and delicious brunch option, adding a refreshing crunch. -
Chilled Herbal Tea:
Floral or fruity herbal teas provide a refreshing complement, enhancing enjoyment with a light, aromatic sip. -
Chocolate Drizzle:
For a little extra indulgence, drizzle melted dark chocolate over the cookies for an upscale treat.

Chocolate Oat Cookies Recipe FAQs
How do I choose the right oats for this recipe?
Opt for rolled oats for the best texture in these chocolate oat cookies. They provide the perfect balance of chewiness and crunch! Avoid instant oats, as they may not yield the same outcome.
What is the best way to store leftover cookies?
Store your chocolate oat cookies in an airtight container at room temperature for up to 7 days. This keeps them soft and fresh. If you’d like to extend their shelf life, you can refrigerate them for up to 2 weeks.
Can I freeze these cookies? How?
Absolutely! To freeze your chocolate oat cookies, place them in a single layer in a freezer-safe bag or container, separating layers with parchment paper to prevent sticking. They will keep well for up to 3 months. When you’re ready to enjoy, simply thaw them in the fridge overnight. For a warm dessert, microwave them for about 10-15 seconds!
What should I do if my cookie dough is too sticky?
If you find your cookie dough is too sticky to work with after mixing, don’t worry! Just add a little more rolled oats, one tablespoon at a time, until it reaches a manageable consistency. This will help improve the texture, making it easier to scoop and shape.
Are these cookies suitable for pets?
While these cookies are made from wholesome ingredients, they should not be given to pets, particularly due to peanut butter content. Always check with your vet before sharing any human food with your furry friends.
Can I modify this recipe for allergies?
Definitely! If you need a nut-free version, simply substitute the peanut butter with sunflower seed butter. For a vegan version, use maple syrup instead of honey. There’s plenty of room for customization, so feel free to experiment with ingredients to make them suitable for your dietary needs!

Strawberry Banana Pudding Dream: A Creamy Delight Awaits
Ingredients
Equipment
Method
- In a large mixing bowl, combine oats and peanut butter.
- Drizzle in honey or maple syrup and stir until combined.
- Gently fold in chocolate chips until evenly distributed.
- Preheat the oven to 350°F (175°C) and prepare a baking sheet with parchment paper.
- Scoop dough onto the baking sheet, leaving space between cookies.
- Bake for 10-12 minutes or until edges are golden brown.
- Cool on the baking sheet for 5 minutes before transferring to a wire rack.

Leave a Reply