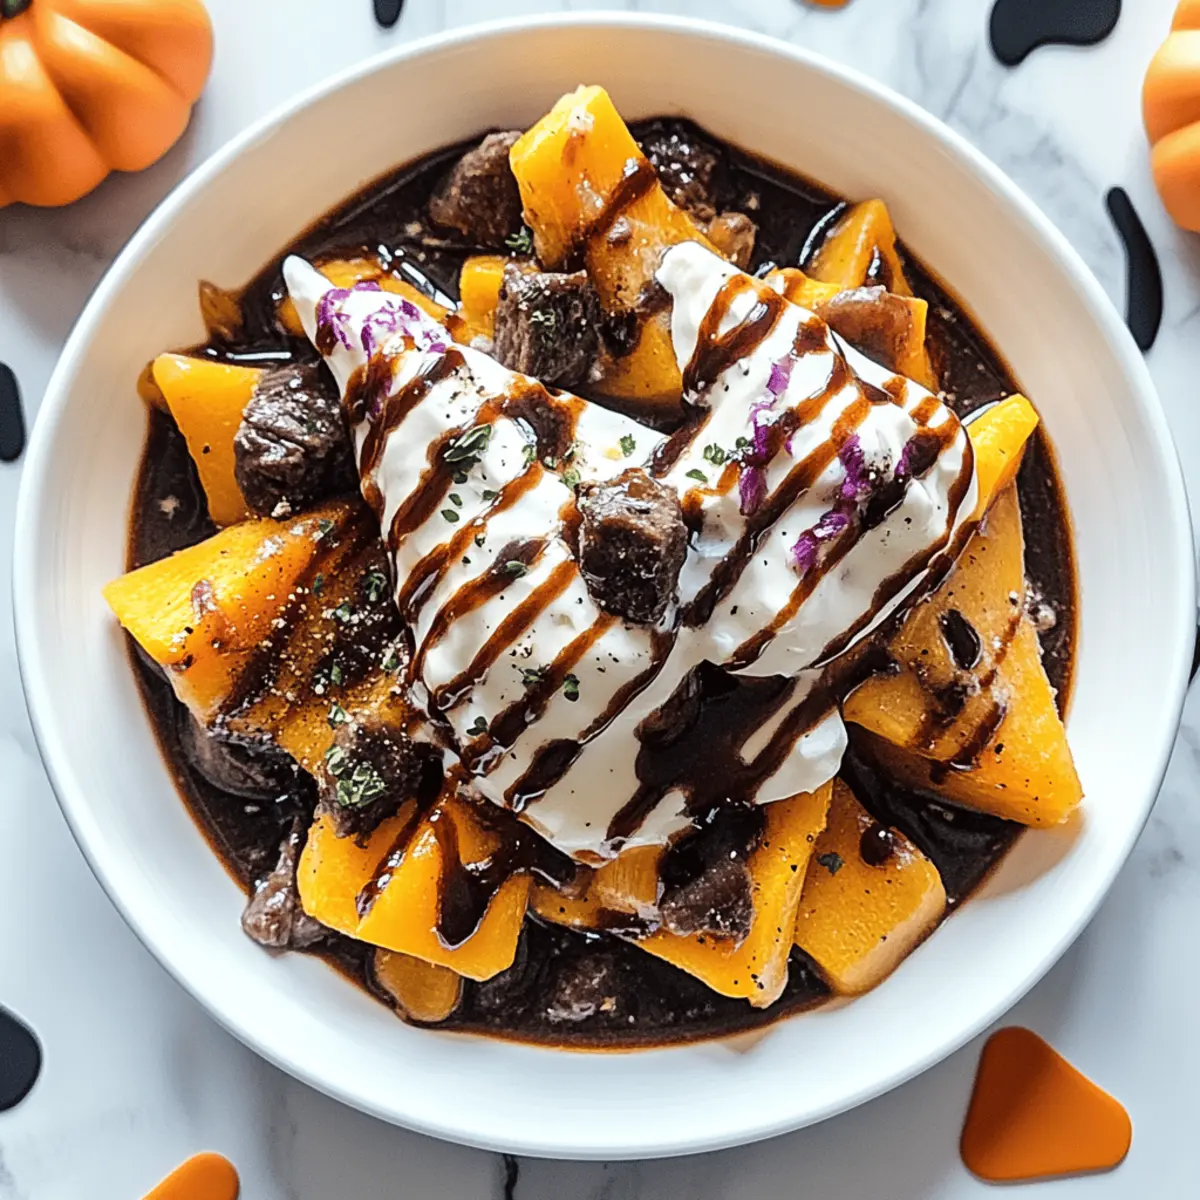
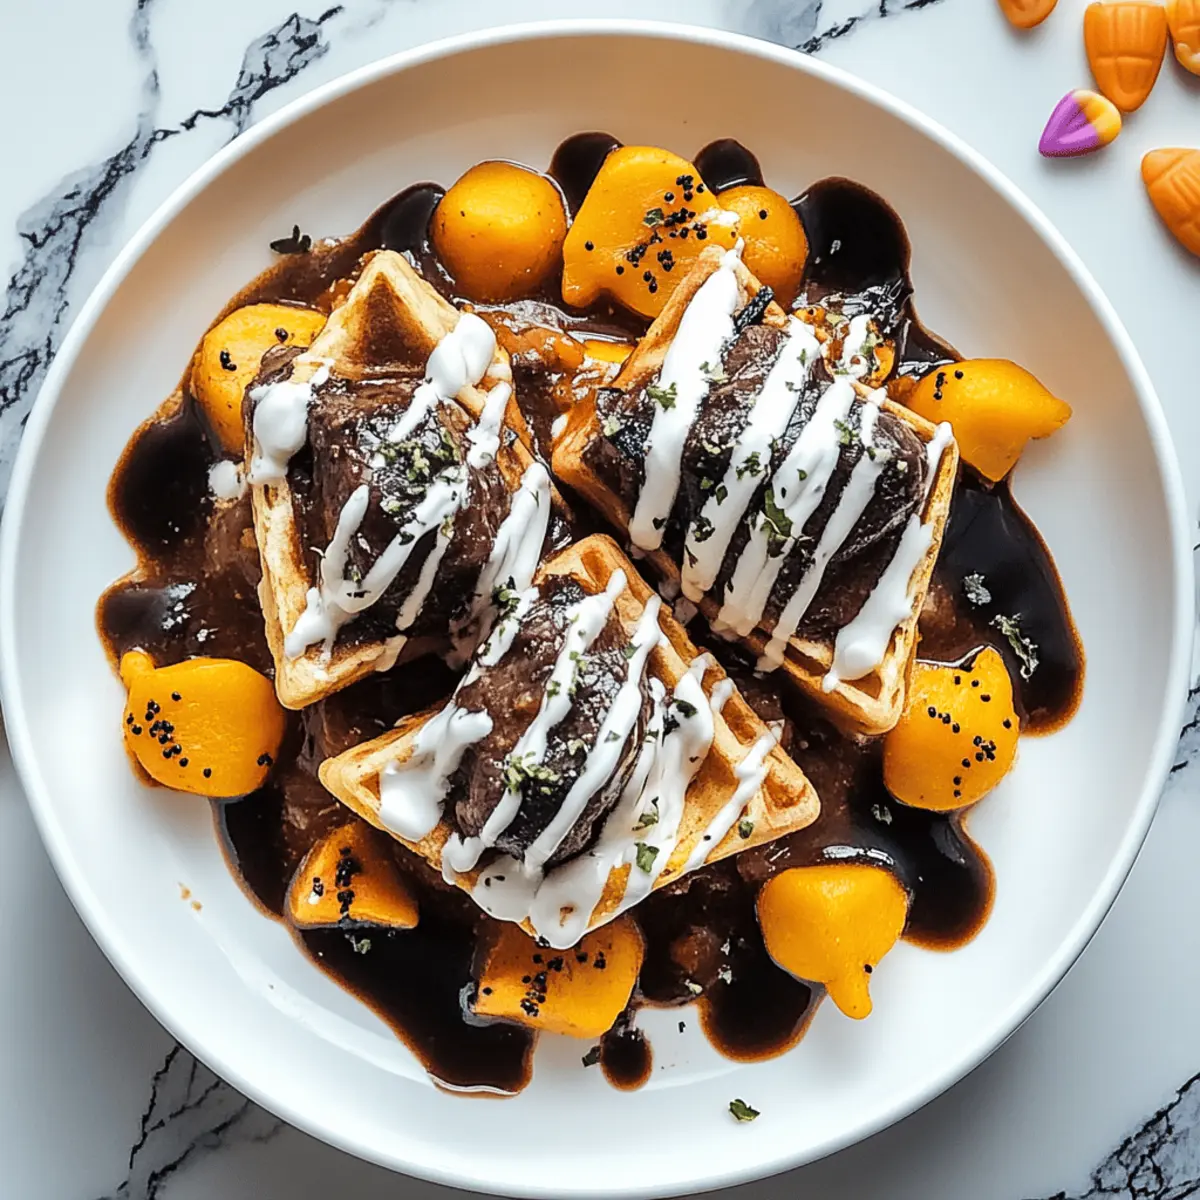
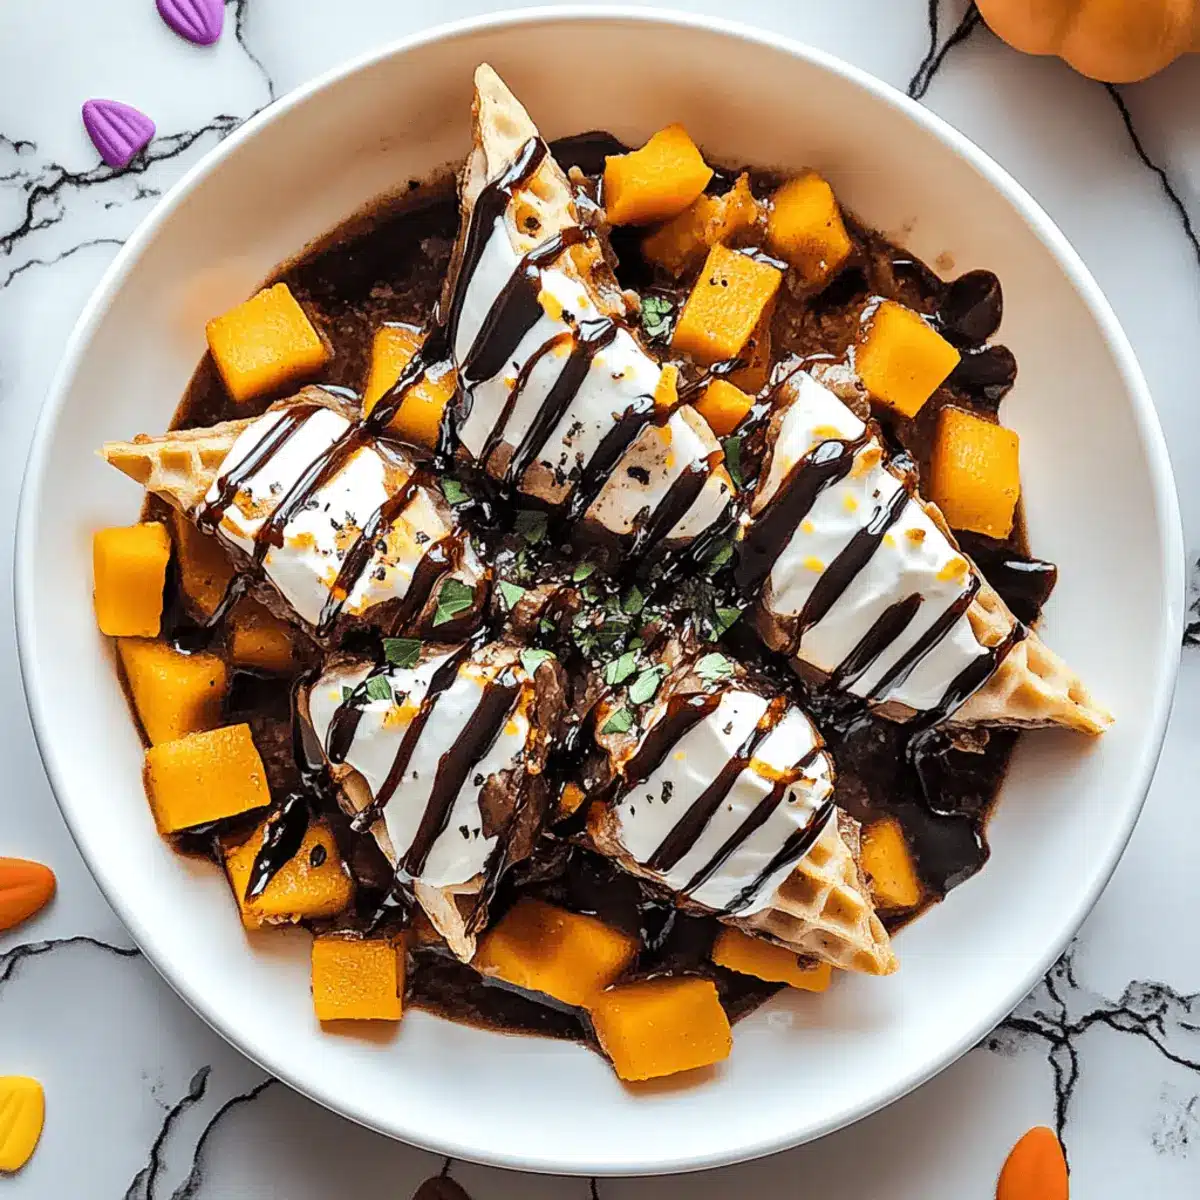
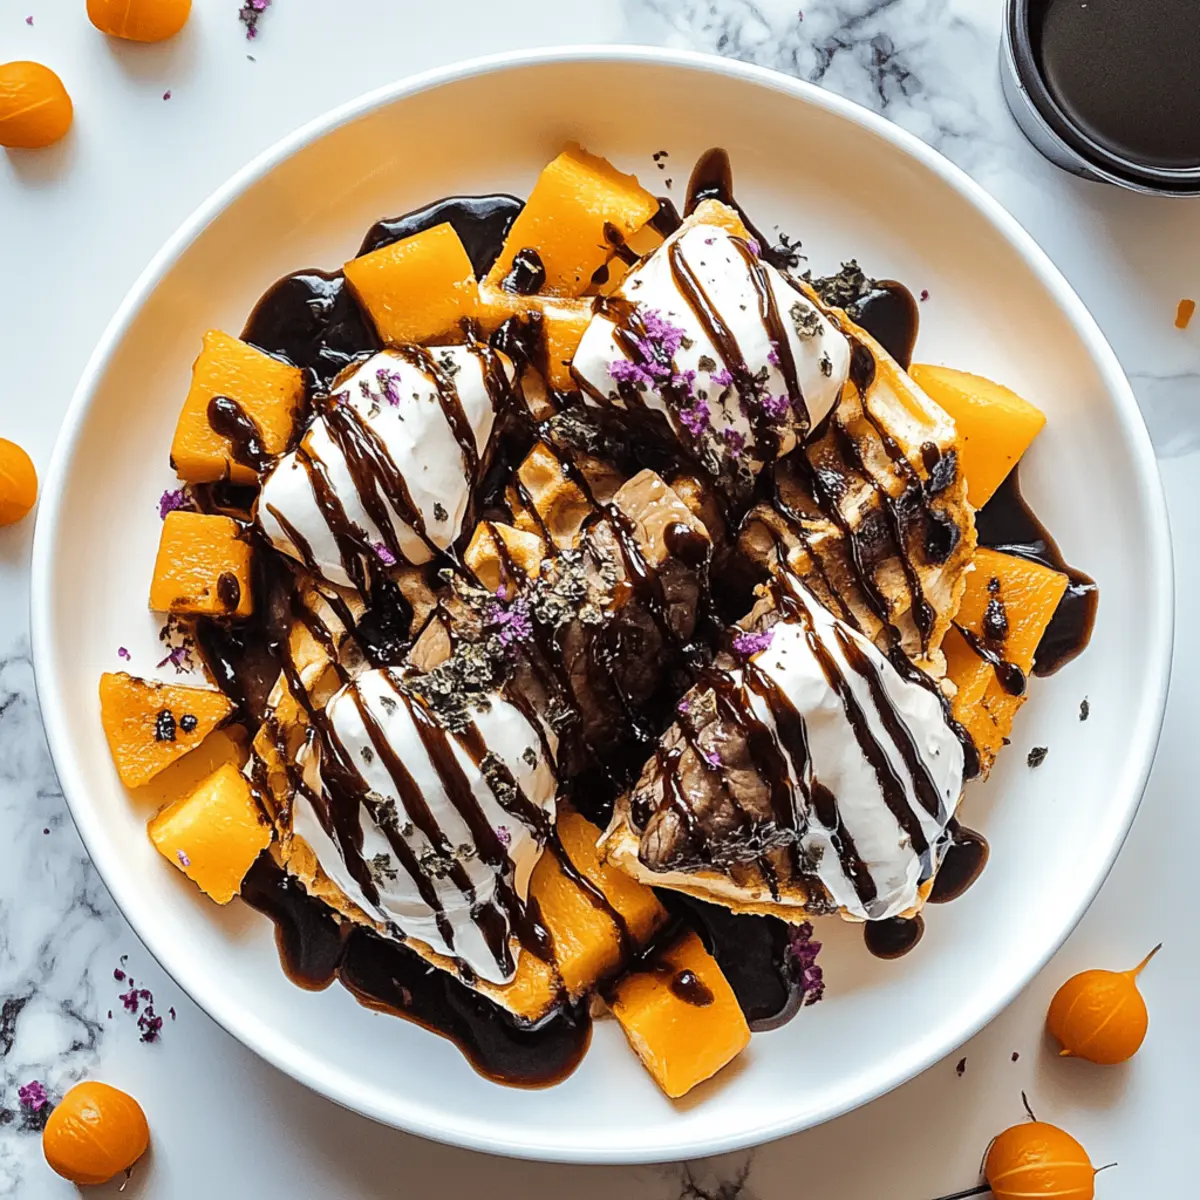
As I stirred the bubbling cauldron of my favorite Halloween stew, a wave of nostalgia washed over me—every October conjures memories of family gatherings filled with laughter, mischief, and, of course, unforgettable food. This year, I’m excited to share my Witch Hat Waffles, an eerie yet delightful twist that will enchant both kids and adults alike. These whimsical waffles aren’t just a feast for the eyes; they’re quick to whip up and perfect for impressing guests at your Halloween dinner party. Whether you’re planning an intimate gathering or a spirited soirée, these spooky creations will transform your table into a hauntingly beautiful spread. Are you ready to stir up some Halloween magic in your kitchen? Let’s get crafting these deliciously themed treats!

Why Witch Hat Waffles Will Delight You
Whimsical Appeal: These Witch Hat Waffles are not just breakfast; they’re a centerpiece guaranteed to spark joy at your Halloween gatherings.
Quick to Make: You’ll love how effortlessly you can whip up these spooktacular delights, making them perfect for any busy Halloween morning or festive evening.
Kid-Friendly Fun: Both children and adults will enjoy crafting their own unique witch hats, creating memories while indulging in deliciousness.
Versatile Serving: Serve them drizzled with chocolate or topped with fruit, giving you options that cater to all tastes—similar to how you’d jazz up your 4-Ingredient Chocolate Oat cookies!
Comforting Flavor: The waffles combine crispy exteriors with fluffy interiors, making every bite a comforting treat that pairs perfectly with spooky appetizers.
Showstopper Presentation: With their creative design, these waffles elevate any Halloween table, just like a well-baked No-Bake Keto Cheesecake would! Don’t miss the chance to impress your guests with these tasty and charming treats.
Witch Hat Waffle Ingredients
For the Waffle Batter
• All-Purpose Flour – A classic base that ensures a fluffy texture; gluten-free flour works as a great substitute if needed.
• Baking Powder – Helps the waffles rise beautifully, creating a light and airy bite.
• Sugar – Adds sweetness; feel free to adjust for your preferred taste.
• Eggs – Provides structure and richness; flax eggs can replace them for a vegan version.
• Milk – Moistens the batter; almond milk can be used for a dairy-free option.
• Vanilla Extract – Infuses a warm, lovely flavor; optional, but highly recommended for added depth.
For the Witch Hat Decoration
• Chocolate Hazelnut Spread – Perfect for creating that spooky ‘hat’ effect; use any nut butter for a different flavor.
• Ice Cream Cones – The iconic cone shape resembles a witch’s hat; mini cones can bring extra charm.
• Black Sprinkles – Adds a touch of spooky flair and visual delight to the presentation.
Feel the Halloween spirit with these Witch Hat Waffle ingredients, and let your creativity fly as you bring these delightful treats to life!
Step‑by‑Step Instructions for Witch Hat Waffles
Step 1: Prepare the Waffle Batter
In a large mixing bowl, whisk together 2 cups of all-purpose flour, 1 tablespoon of baking powder, and ¼ cup of sugar until evenly blended. In a separate bowl, beat 2 eggs with 1 ¾ cups of milk and 1 teaspoon of vanilla extract. Gradually combine the wet ingredients with the dry mixture, stirring gently until just combined. Let the batter rest for about 5 minutes for the best texture.
Step 2: Preheat the Waffle Iron
While the batter rests, preheat your waffle iron according to the manufacturer’s instructions, aiming for a medium-high temperature. Coat the iron lightly with cooking spray to prevent sticking. You’ll know it’s ready when a drop of water sizzles upon contact. This step is crucial to achieving crispy, golden Witch Hat Waffles.
Step 3: Cook the Waffles
Pour ½ cup of the batter into the preheated waffle iron, spreading it evenly. Close the lid and cook for 3-5 minutes, or until the waffles are golden brown and crisp. Carefully remove the waffles using a fork, and place them on a wire rack to cool slightly while you continue with the cooking process. Remember to keep the waffles warm by covering them with a clean kitchen towel.
Step 4: Assemble the Witch Hats
Once all your waffles are cooked and slightly cooled, it’s time to create the witch hats. Take an ice cream cone and spread a generous layer of chocolate hazelnut spread around the top third. Next, place the cone upside down, standing on the waffle, to create the classic witch hat look. Repeat this for all your waffles, making sure they all have that spooky flair.
Step 5: Add the Finishing Touches
To enhance the magical presentation of your Witch Hat Waffles, sprinkle black sprinkles or edible glitter around the cone and on top for that extra spooky effect. You might want to drizzle additional chocolate hazelnut spread over the waffles to create a rich contrast. This step not only adds flavor but also ensures your Halloween guests are visually entranced by your festive creations.
Step 6: Serve and Enjoy Your Spooktacular Treats
Now that your Witch Hat Waffles are beautifully assembled, present them on a decorative platter for everyone to admire. You can serve them with fresh fruit or whipped cream on the side for added fun and flavor. Enjoy these delightful treats at your Halloween gathering, sharing in the laughter and joy they inspire as both kids and adults get ready to dig in!

Make Ahead Options
These Witch Hat Waffles are perfect for meal prep enthusiasts! You can prepare the waffle batter up to 24 hours in advance by whisking together all the dry ingredients and storing the wet ingredients separately in the refrigerator to maintain their freshness. When the time comes to serve, simply combine them, let the batter rest for a few minutes, and cook them in your preheated waffle iron. To prevent the finished waffles from becoming soggy, store them in an airtight container and reheat them in the oven at 350°F (175°C) for about 5-7 minutes before assembling with ice cream cones and chocolate hazelnut spread. This way, you’ll have charming, delicious Witch Hat Waffles ready to impress your guests without the last-minute rush!
Variations & Substitutions for Witch Hat Waffles
Feel free to unleash your creativity and customize these spooky waffles to your heart’s content!
- Gluten-Free: Use a gluten-free flour blend for the batter to make these delightful treats for those with gluten sensitivities.
- Vegan: Swap out eggs for flax eggs and use plant-based milk to cater to vegan diets—everyone can enjoy these spooky snacks!
- Flavor Boost: Add a pinch of cinnamon or pumpkin spice to the batter for a warm, seasonal flavor that enhances the festive appeal.
- Mini Witch Hats: Use mini ice cream cones for bite-sized waffles, perfect for little hands and creating a fun appetizer platter.
- Different Sauces: Instead of chocolate hazelnut spread, try caramel or berry compote for a fun twist on the traditional witch hat design.
- Seasonal Add-ins: Finish with a sprinkle of crushed candy corn or seasonal nuts on top, echoing the flavors of Halloween while adding texture.
- Stuffed Waffles: Add chocolate chips or chopped nuts to the batter before cooking for an extra surprise in each waffle—just like layering flavors in a hearty stew!
- Fruit Toppings: Serve with fresh berries or banana slices for a delightful contrast, making it a more wholesome treat that pairs well with these spooktacular delights!
With these variations, you can make each breakfast magical, giving everyone something new to love each time you whip up your Witch Hat Waffles!
What to Serve with Witch Hat Waffles
Elevate your spooky breakfast table with delightful accompaniments that enchant both taste buds and imaginations.
- Pumpkin Spice Syrup: This cozy syrup infused with warm spices adds a seasonal sweetness that complements the waffles beautifully.
- Fruity Monster Eyes: Create fun fruit kabobs with edible “eyes” to give your plate a playful twist—with strawberries and blueberries making the perfect creepy combo!
- Whipped Cream Goblin Toppers: Fluffy whipped cream adds a rich creaminess, enhancing the flavors while allowing you to mold it into spooky shapes. The combination resonates with the whimsical theme of the event.
- Crispy Bacon Broomsticks: Salty, crispy bacon balances the sweetness, adding a savory delight to your plate and making it a more filling meal.
- Colorful Fruit Salad: A vibrant mix of seasonal fruits adds freshness and a burst of color, ensuring a balanced meal that guests will admire and enjoy.
- Halloween-Themed Smoothies: Blend spinach with bananas and berries for a spooky green potion that’s nutritious and fun—a perfect drink that resonates with the occasion.
- Chocolate-Covered Strawberries: Dressed as creepy creatures, these treats offer a luxurious bite before the main event, enticing guests with their look and flavor.
- Chai Tea Latte: Warm, fragrant, and creamy, this drink pairs perfectly with your Witch Hat Waffles and will have everyone enchanted right from the first sip.
How to Store and Freeze Witch Hat Waffles
Room Temperature: Store leftover Witch Hat Waffles in an airtight container for up to 2 days at room temperature, ensuring they remain fresh and delicious.
Fridge: For longer freshness, place the waffles in the refrigerator for up to 5 days. Layer them with parchment paper to prevent sticking and preserve texture.
Freezer: If you want to save these spooky treats, freeze the waffles for up to 2 months. Wrap them individually in plastic wrap and place in a freezer-safe bag.
Reheating: When ready to enjoy, reheat in a toaster or oven at 350°F (175°C) until warm and crispy again, ready to impress your guests once more!
Tips for the Best Witch Hat Waffles
• Proper Batter Balance: Ensure your wet and dry ingredients are mixed just until combined. Overmixing can lead to dense waffles instead of light, fluffy goodness.
• Preheat Wisely: Allow your waffle iron to fully preheat before pouring in the batter. This step is crucial for achieving that perfectly crispy exterior on your Witch Hat Waffles.
• Cone Care: When assembling, gently press the ice cream cones into the waffles to keep them stable. Try not to overdo the chocolate spread; just enough to give that witchy look without overwhelming the waffle.
• Texture Check: Trust your waffle iron’s timing. Every machine is different; take a mental note on cooking times for future Witch Hat Waffle batches.
• Decorate Creatively: Use a variety of toppings for the black sprinkles to wow your guests. You could even incorporate seasonal fruits or edible glitter for an extra festive flair.
• Make Ahead: You can prepare the batter in advance and store it in the fridge for up to 24 hours. Just give it a good stir before cooking to keep your Witch Hat Waffles fresh!

Witch Hat Waffles Recipe FAQs
What type of flour is best for Witch Hat Waffles?
You can use all-purpose flour for light and fluffy Witch Hat Waffles. If you have gluten sensitivities, gluten-free flour works excellently as a substitute without sacrificing texture.
How should I store leftover Witch Hat Waffles?
Leftover waffles can be stored at room temperature in an airtight container for up to 2 days. For longer freshness, refrigerate them for up to 5 days, ensuring you layer them with parchment paper to prevent sticking.
Can I freeze Witch Hat Waffles?
Absolutely! You can freeze these delightful waffles for up to 2 months. Wrap each waffle individually in plastic wrap and place them in a freezer-safe bag. When you’re ready to enjoy, simply reheat them in a toaster or oven at 350°F (175°C) until they’re warm and crispy again.
What if my waffle batter is too thick?
If your batter seems too thick, add a splash of milk, a tablespoon at a time, until you achieve the desired consistency. Remember, the perfect batter should be smooth, flowing easily but not too runny.
Are there any allergy considerations with Witch Hat Waffles?
Yes, for those with egg allergies, flax eggs make a great vegan alternative; combine 1 tablespoon of ground flaxseed with 2.5 tablespoons of water to replace one egg. Additionally, substitute dairy milk with almond or oat milk for a dairy-free option. Always check ingredients for allergies, especially with the chocolate hazelnut spread used for decorating.

Witch Hat Waffles: Spooktacular Breakfast Magic
Ingredients
Equipment
Method
- In a large mixing bowl, whisk together flour, baking powder, and sugar.
- In a separate bowl, beat eggs, milk, and vanilla extract. Gradually combine with the dry mixture.
- Let the batter rest for about 5 minutes.
- Preheat the waffle iron and lightly coat with cooking spray.
- Pour batter into the preheated waffle iron and cook for 3-5 minutes.
- Remove waffles and keep warm.
- Spread chocolate hazelnut spread on the top third of an ice cream cone.
- Place the cone upside down on the waffle to resemble a witch hat.
- Repeat for all waffles.
- Sprinkle black sprinkles around the cone and on top for decoration.
- Optionally drizzle additional chocolate hazelnut spread over the waffles.
- Present on a decorative platter and serve with fresh fruit or whipped cream.

Leave a Reply