
As I opened my fridge, the colorful array of ingredients spoke to me, hinting at a delicious creation waiting to happen. I couldn’t resist whipping up a batch of Simple Jalapeño Cheese Squares, which are just the ticket for igniting your taste buds! Crispy on the outside, gooey inside, they marry the warmth of spicy jalapeños with the creaminess of melted cheese—a true crowd-pleaser for any gathering. The beauty of this recipe lies not just in its quick prep time, but in how easily you can customize them to satisfy any palate. Whether you’re planning game day snacks or simply craving a delightful treat, these squares are sure to become a family favorite. What variations can you imagine trying out for your next batch?
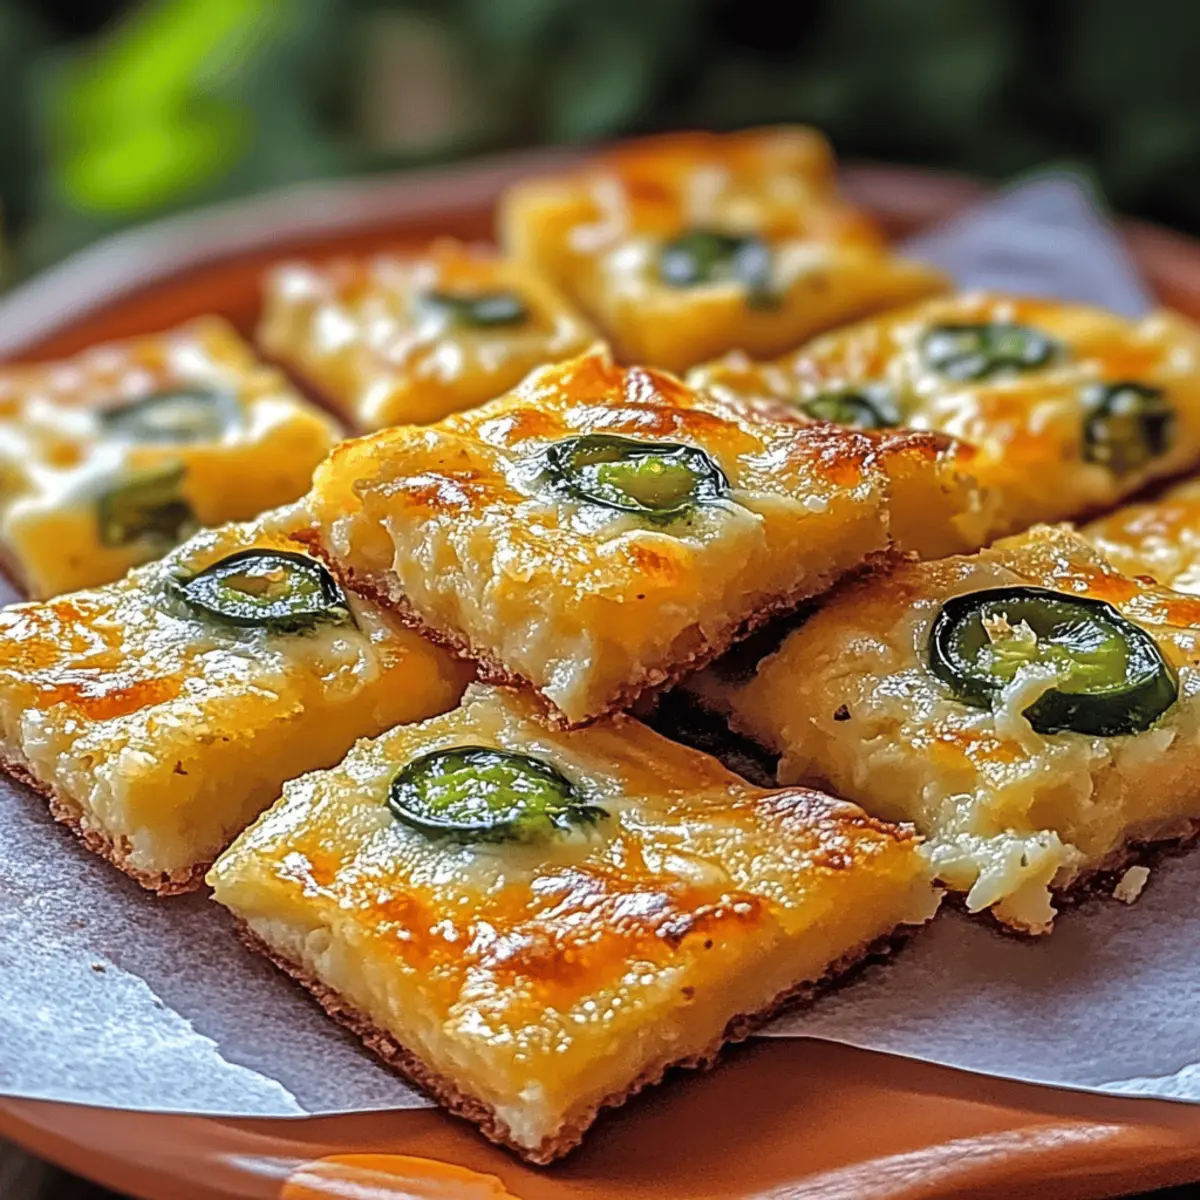
Why Are These Jalapeño Cheese Squares Irresistible?
Bold flavor comes from the perfect combination of sharp cheddar and Monterey Jack, creating a taste explosion with every bite. Customizable options allow you to explore different cheeses or make it vegetarian with bell peppers! Simple preparation means these can be in the oven in no time, making them a go-to for last-minute gatherings. Perfect snack for any occasion—serve them warm with salsa or guacamole for a delightful twist. Whether hosting a party or enjoying a quiet night at home, these squares will elevate your snack game!
Simple Jalapeño Cheese Squares Ingredients
Get ready to create these Simple Jalapeño Cheese Squares with a few delightful ingredients!
For the Cheese Mixture
• Sharp Cheddar Cheese – Provides a tangy flavor and richness; you can substitute with medium cheddar for a milder taste.
• Monterey Jack Cheese – Offers a gooey melt and creamy texture; feel free to swap in mozzarella for extra pull.
• Crumbled Bacon – Adds a salty crunch and umami flavor; omit for a vegetarian option or use turkey bacon for a healthier take.
• Pickled Jalapeños – Introduces spicy flavor and tang; fresh jalapeños can be used for more heat.
For the Binding
• All-Purpose Flour – Binds the mixture together, providing structure to the squares; gluten-free flour is a great substitute for those with dietary restrictions.
• Evaporated Milk – Creates a creamy consistency; regular milk can work too, but the texture will differ.
• Eggs – Essential for binding the ingredients; flax eggs can be used as a vegan alternative for a plant-based version.
With this ingredient list, you’ll be on your way to delicious Simple Jalapeño Cheese Squares that please any crowd!
Step‑by‑Step Instructions for Simple Jalapeño Cheese Squares
Step 1: Preheat the Oven
Begin by preheating your oven to 350°F (175°C). This ensures that it’s hot enough to give your Simple Jalapeño Cheese Squares that perfect golden-brown crust. While the oven warms, gather your tools, including a large mixing bowl, a whisk, and a greased 9×13-inch baking dish.
Step 2: Combine the Cheeses
In a large mixing bowl, combine shredded sharp cheddar cheese, Monterey Jack cheese, crumbled bacon, and diced pickled jalapeños. Mix everything together until well distributed, allowing the flavors to meld. This cheesy goodness will create the delectable filling of your Simple Jalapeño Cheese Squares.
Step 3: Prepare the Wet Mixture
In a separate bowl, whisk together the evaporated milk, all-purpose flour, and eggs until the mixture is smooth and consistent. This wet combination is essential for binding your ingredients together and giving the squares their creamy texture. It should be thick but easily spreadable, showcasing the lusciousness that awaits.
Step 4: Combine Wet and Dry Mixtures
Pour the wet mixture over the cheese mixture and stir everything together with a spatula. Ensure that all ingredients are thoroughly combined, creating a uniform mixture. This step is crucial as it guarantees the rich creaminess and cheesy flavor will be consistent throughout your Simple Jalapeño Cheese Squares.
Step 5: Transfer to Baking Dish
Grease your 9×13-inch baking dish to prevent sticking, then carefully pour the combined mixture into it. Use a spatula to spread the mixture evenly across the dish, ensuring even cooking. The surface should be relatively flat as this will help your cheese squares bake uniformly.
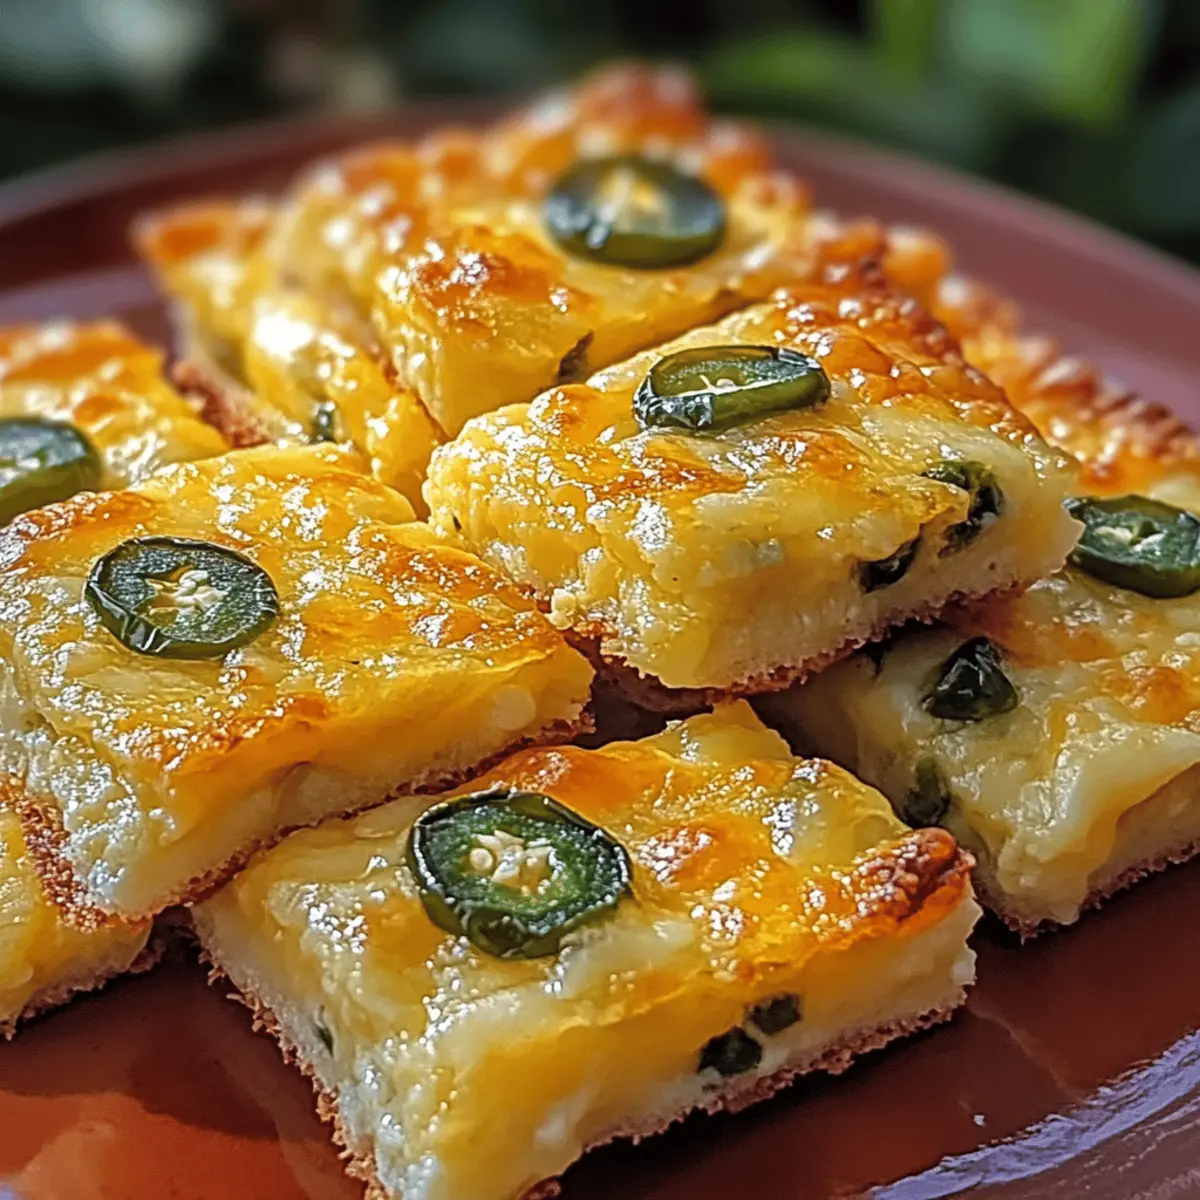
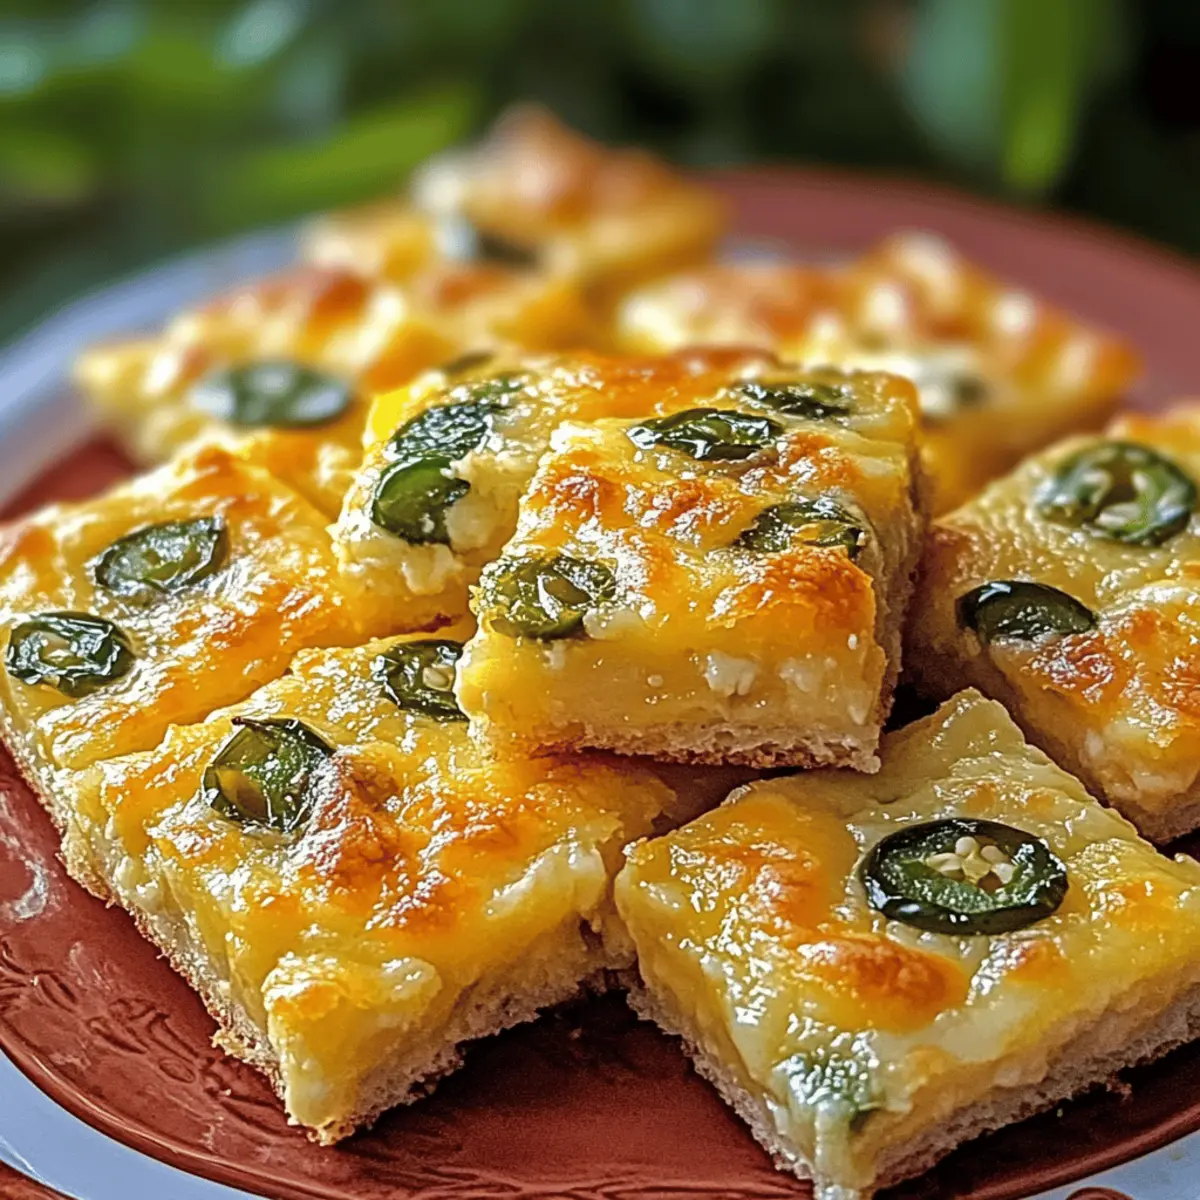
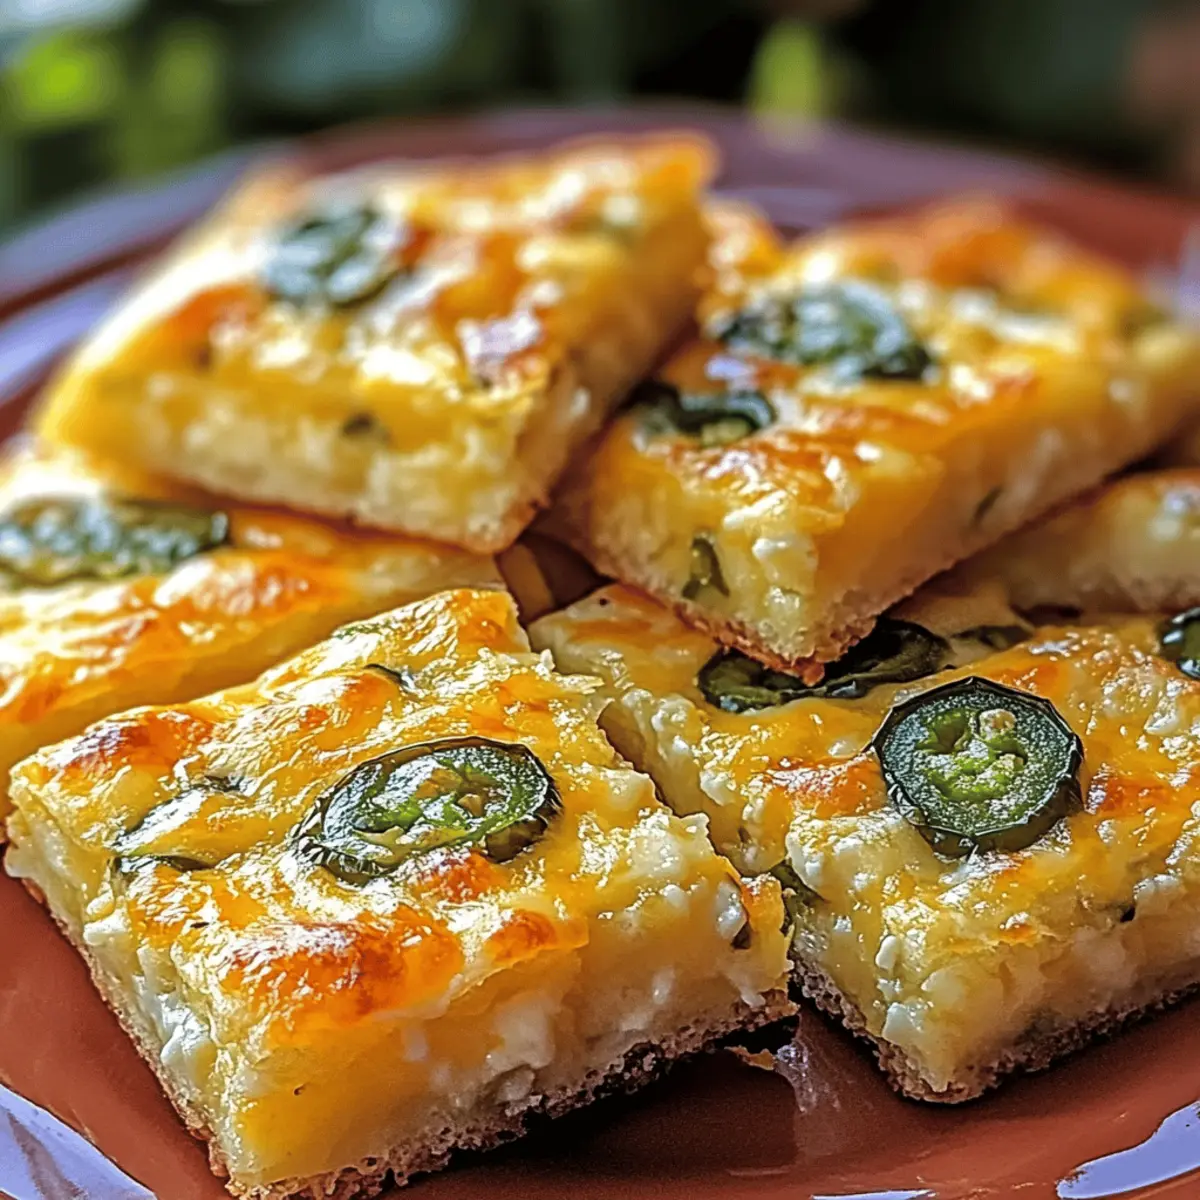
Step 6: Bake Until Golden
Place the dish in the preheated oven and bake for 35-40 minutes. Keep an eye on the squares; they are done when the top is golden brown and the edges are bubbly. You can check doneness by inserting a toothpick—it should come out clean when they are ready to be savored.
Step 7: Cool and Slice
Once baked, remove the dish from the oven and allow the Simple Jalapeño Cheese Squares to cool for about 10 minutes. This cooling time helps them firm up, making it easier to slice them into perfect squares without falling apart. After cooling, slice them into squares and prepare to serve!
Simple Jalapeño Cheese Squares Variations
Feel the joy of creativity as you adapt these squares to suit your taste buds and dietary needs!
-
Vegetarian Delight: Replace crumbled bacon with diced bell peppers to create a vibrant, veggie-packed version that’s just as satisfying!
-
Cheese Swap: Try using gouda or pepper jack for a unique spin. Each cheese brings its own character, enhancing the flavor adventure.
-
Extra Heat: Add fresh jalapeño slices for an extra kick—perfect for those who crave a fiery bite! The smoky warmth will surely tantalize your senses.
-
Healthier Twist: Fold in cooked spinach or mushrooms for added nutrients and an earthy flavor. It’s a sneaky way to boost your veggie intake!
-
Gluten-Free Version: Substitute all-purpose flour with a gluten-free blend. Your squares will still be deliciously gooey and satisfying without the gluten.
-
Spice it Up: Incorporate a pinch of chili powder or cayenne pepper for a more robust flavor. You can adjust the heat level to suit everyone’s preference.
-
Savory Add-In: Mix in some cooked sausage or ham for a protein-packed treat. The meat enhances the savory flavor profile and keeps everyone coming back for more!
-
Dippable Fun: Serve these squares with a side of comfortable ranch dressing or zesty guacamole for a lush experience. The dipping options can turn your snack into a full-on fiesta!
Thinking about trying out some of these variations? You might also enjoy pairing your creations with some delightful dips like Bacon Cream Cheese for an unforgettable snack spread!
Storage Tips for Simple Jalapeño Cheese Squares
Fridge: Store any leftover Simple Jalapeño Cheese Squares in an airtight container for up to 3 days. This will keep them fresh and ready for snacking!
Freezer: You can freeze the squares for up to 3 months. Wrap them individually in plastic wrap and then place them in a freezer-safe bag to prevent freezer burn.
Reheating: For the best texture, reheat in the oven at 350°F (175°C) for about 10-15 minutes until warmed through. This helps restore their crispy exterior.
Make-Ahead Tip: Prepare the mixture a day in advance and refrigerate. When ready to serve, simply bake for a deliciously quick snack!
Expert Tips for Simple Jalapeño Cheese Squares
- Cheese Blend: Use a mix of sharp cheddar and Monterey Jack for optimal flavor and gooeyness. Experiment with other cheeses for unique variations!
- Measure Carefully: Accurately measure your ingredients to avoid overly dry or wet squares. Consistency is key for perfect Simple Jalapeño Cheese Squares!
- Cool Time Matters: Allow your squares to cool briefly before slicing. This helps them set properly, preventing them from crumbling when you cut into them.
- Watch the Bake: Keep an eye on your oven as baking times can vary. You want them bubbly and golden, but not overcooked.
- Customize Wisely: When adding vegetables or alternatives, ensure they’re finely chopped to blend well into the mixture without affecting the baking time.
Make Ahead Options
These Simple Jalapeño Cheese Squares are perfect for busy cooks looking to streamline meal prep! You can prepare the cheese mixture up to 24 hours in advance by combining the shredded cheeses, bacon, and jalapeños, then refrigerate it in an airtight container. Additionally, you can whisk together the wet ingredients (evaporated milk, flour, and eggs) separately and store them in the fridge as well. When you’re ready to bake, simply combine the two mixtures, pour them into your greased baking dish, and bake as directed. This step ensures a seamless process, allowing you to enjoy the same delicious flavor and texture while saving time. Just remember to allow the squares to cool before slicing for optimal results!
What to Serve with Simple Jalapeño Cheese Squares
These delightful squares are perfect for creating an unforgettable meal, whether it’s a casual get-together or a festive gathering with family and friends.
-
Zesty Salsa: This refreshing accompaniment enhances the spicy notes of the squares, adding a vibrant zing that is hard to resist.
-
Guacamole: Creamy and rich, guacamole perfectly balances the spiciness of the squares and offers a refreshing contrast that will keep everyone coming back for more.
-
Crunchy Vegetable Platter: A mix of crunchy veggies adds a fresh element to the meal, providing a crisp texture that complements the softness of the cheese squares.
-
Crisp Green Salad: A light salad with a tangy vinaigrette refreshes the palate and adds a healthy touch, making it a well-rounded meal.
-
Homemade Ranch Dressing: Serve alongside for dipping; its cool creaminess pairs wonderfully with the warmth and spice of the cheese squares.
-
Sweet Cornbread: The sweet, moist cornbread adds a delightful contrast to the spicy jalapeño squares, making each bite a burst of flavor.
-
Craft Beer: A nice hoppy beer cuts through the richness and spice, making it an excellent pairing for any gathering.
-
Lemonade: An ice-cold glass offers a refreshing sweetness that offsets the heat, perfect for cooling off while enjoying your favorite snack.
Simple Jalapeño Cheese Squares Recipe FAQs
What type of jalapeños should I use?
You can use pickled jalapeños for a tangy flavor and milder spice, or fresh jalapeños if you want to crank up the heat! Just remember that fresh jalapeños will give a more intense kick, so adjust based on your spice tolerance.
How should I store leftover Simple Jalapeño Cheese Squares?
Store any leftovers in an airtight container in the fridge for up to 3 days. This will keep them fresh and ready for a quick snack! If you want to enjoy them later, you can also freeze them.
Can I freeze Simple Jalapeño Cheese Squares?
Absolutely! To freeze, wrap each square individually in plastic wrap, then place them in a freezer-safe bag. They’ll stay good for up to 3 months. When ready to enjoy, simply reheat them in the oven at 350°F (175°C) for about 10-15 minutes.
What if my cheese mixture is too thick or too runny?
If you find your cheese mixture too thick, add a bit more evaporated milk to reach a spreadable consistency. On the other hand, if it’s too runny, add a little more flour, mixing until you achieve a nice balance. This will ensure your Simple Jalapeño Cheese Squares come out perfectly!
Any dietary considerations I should be aware of?
Yes! If you’re making these squares for someone with dietary restrictions, consider using gluten-free flour for a gluten-free option and flax eggs for a vegan version. They can be just as delicious while accommodating different diets!
How can I add more veggies to the recipe?
Feel free to incorporate finely chopped vegetables like spinach or mushrooms! Just ensure that they’re well-drained to prevent excess moisture in the mixture. This way, your Simple Jalapeño Cheese Squares will remain deliciously cheesy without compromising their structure.
Simple Jalapeño Cheese Squares to Spice Up Your Snack Game
Ingredients
Equipment
Method
- Preheat your oven to 350°F (175°C).
- In a large mixing bowl, combine shredded sharp cheddar cheese, Monterey Jack cheese, crumbled bacon, and diced pickled jalapeños. Mix together until well distributed.
- In a separate bowl, whisk together the evaporated milk, all-purpose flour, and eggs until smooth.
- Pour the wet mixture over the cheese mixture and stir together with a spatula until thoroughly combined.
- Grease your 9x13-inch baking dish, then pour the combined mixture into it. Spread evenly with a spatula.
- Bake for 35-40 minutes until the top is golden brown and edges are bubbly.
- Once baked, allow the squares to cool for about 10 minutes, then slice into squares.
Leave a Reply