
As I stirred the pot, the rich aroma of chocolate enveloped the kitchen, whisking me back to my childhood, where every spoonful of homemade chocolate pudding was a warm hug on a rainy day. This quick and easy homemade chocolate pudding is not just a nostalgic treat; it’s made from simple, real ingredients, and you can whip it up in just 15 minutes! With its velvety texture and deep chocolate flavor, it’s a guaranteed crowd-pleaser — especially among the little ones who practically chase it down for a taste. Whether you’re looking for a last-minute dessert or just want to indulge in a comforting bowl of chocolate goodness, this recipe has you covered. Ready to discover how to create this delightful dessert?
Why is This Pudding So Irresistible?
Quick Prep Time: Ready in just 15 minutes, this homemade chocolate pudding is perfect for those spontaneous dessert cravings!
Real Ingredients: Crafted from scratch, you won’t find any boxed mixes here. This pudding shines with the rich flavors of real cocoa and vanilla.
Kid-Friendly Fun: Get the kids involved! They’ll love whisking the ingredients together, and the end result is a guaranteed favorite.
Versatile Toppings: Top with whipped cream or fresh berries for a delightful twist. For something extra special, consider layering it with crushed cookies like in my Strawberry Banana Pudding Dream!
Comforting Classic: This pudding evokes fond memories, making it not just a dessert but a sweet experience that takes you back to simpler times.
Indulge yourself and your loved ones in a bowl of pure bliss!
Chocolate Pudding Ingredients
For the Pudding Base
- Milk – The creamy foundation that hydrates the pudding; substitute with almond milk for a delightful dairy-free option.
- Granulated Sugar – Sweetens the dessert perfectly; consider using brown sugar for an added depth of flavor.
- Unsweetened Cocoa Powder – The star ingredient that provides the rich chocolate flavor; be sure it’s well-sifted to avoid pesky clumps.
- Cornstarch – This thickening agent ensures a smooth texture; if needed, flour can be used as an alternative at double the amount.
- Salt – A pinch enhances all flavors; feel free to omit for a lower-sodium pudding.
- Butter – Adds richness and a creamy finish; substitute coconut oil for a fresh twist that’s also dairy-free.
- Vanilla Extract – Elevates the overall flavor profile; swap with almond extract for an interesting variation.
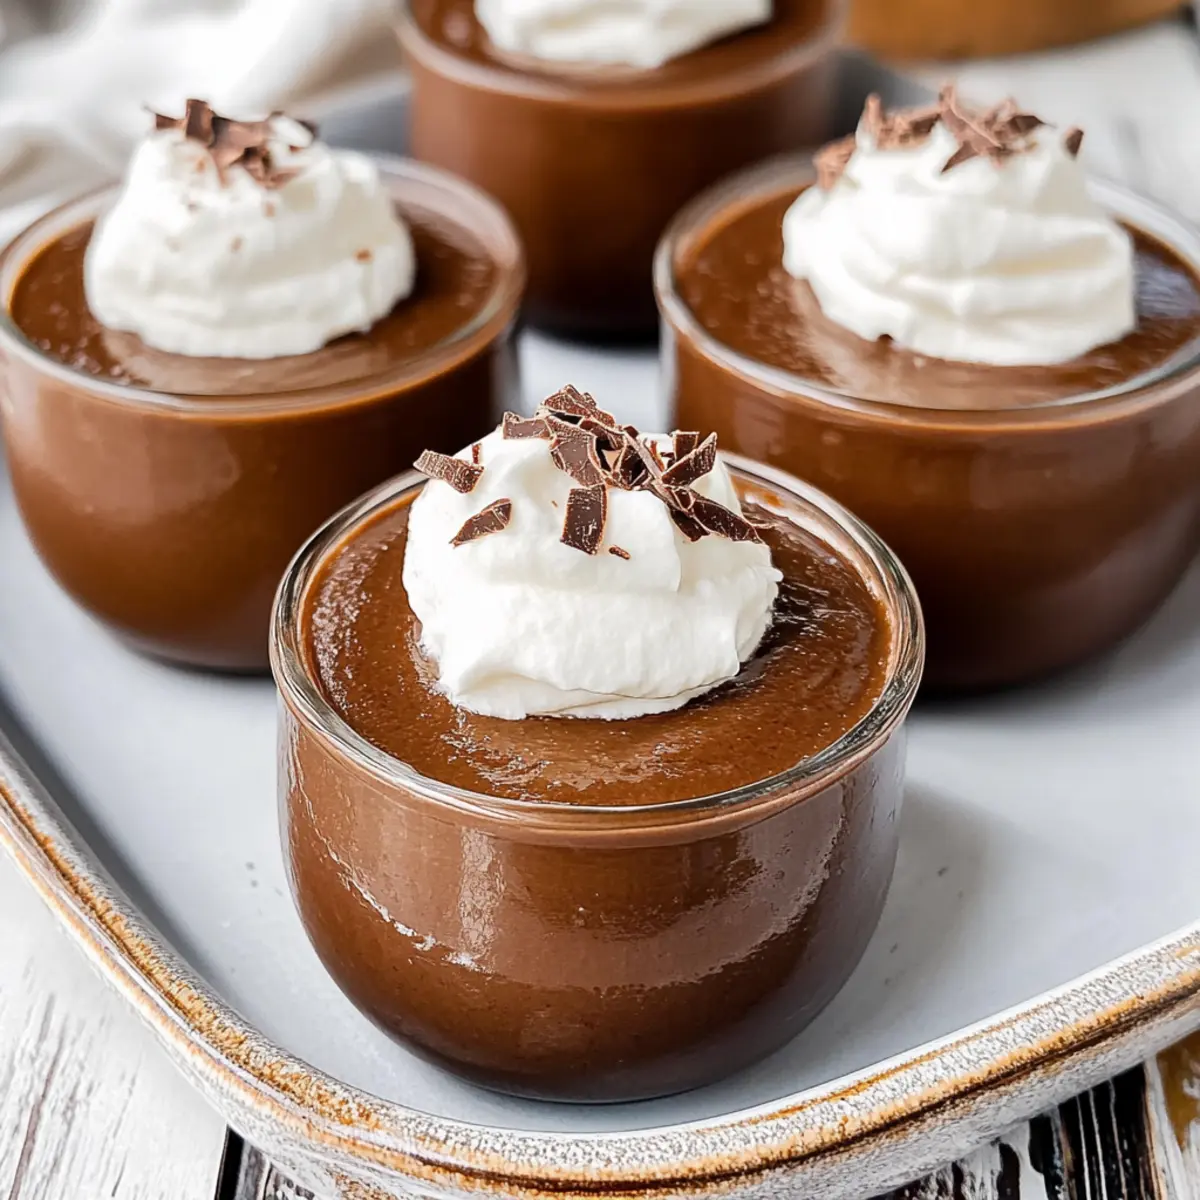
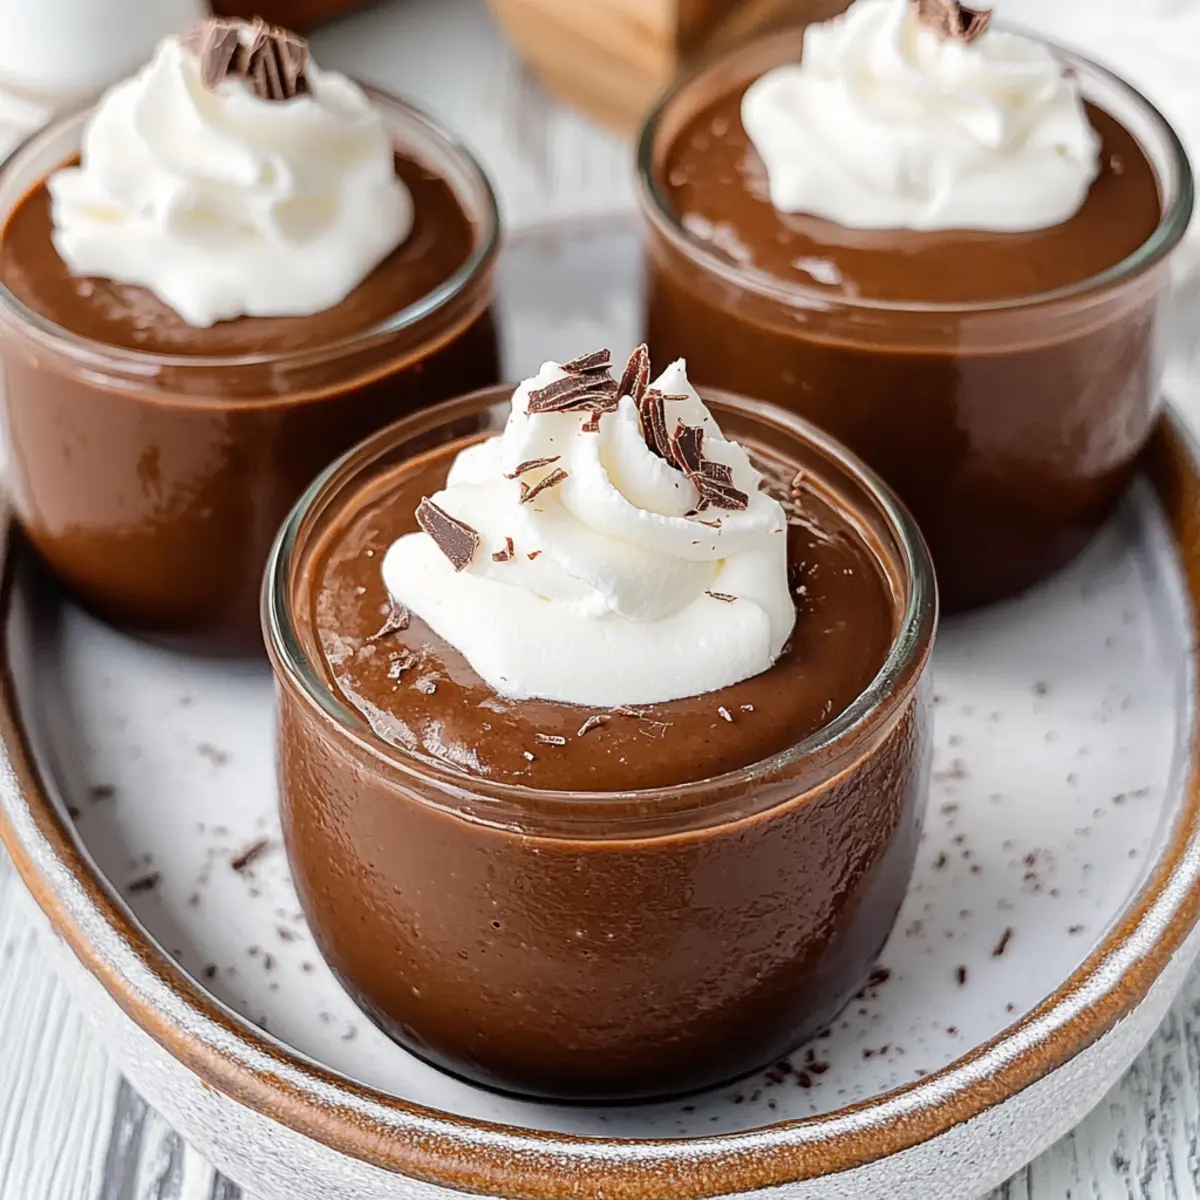
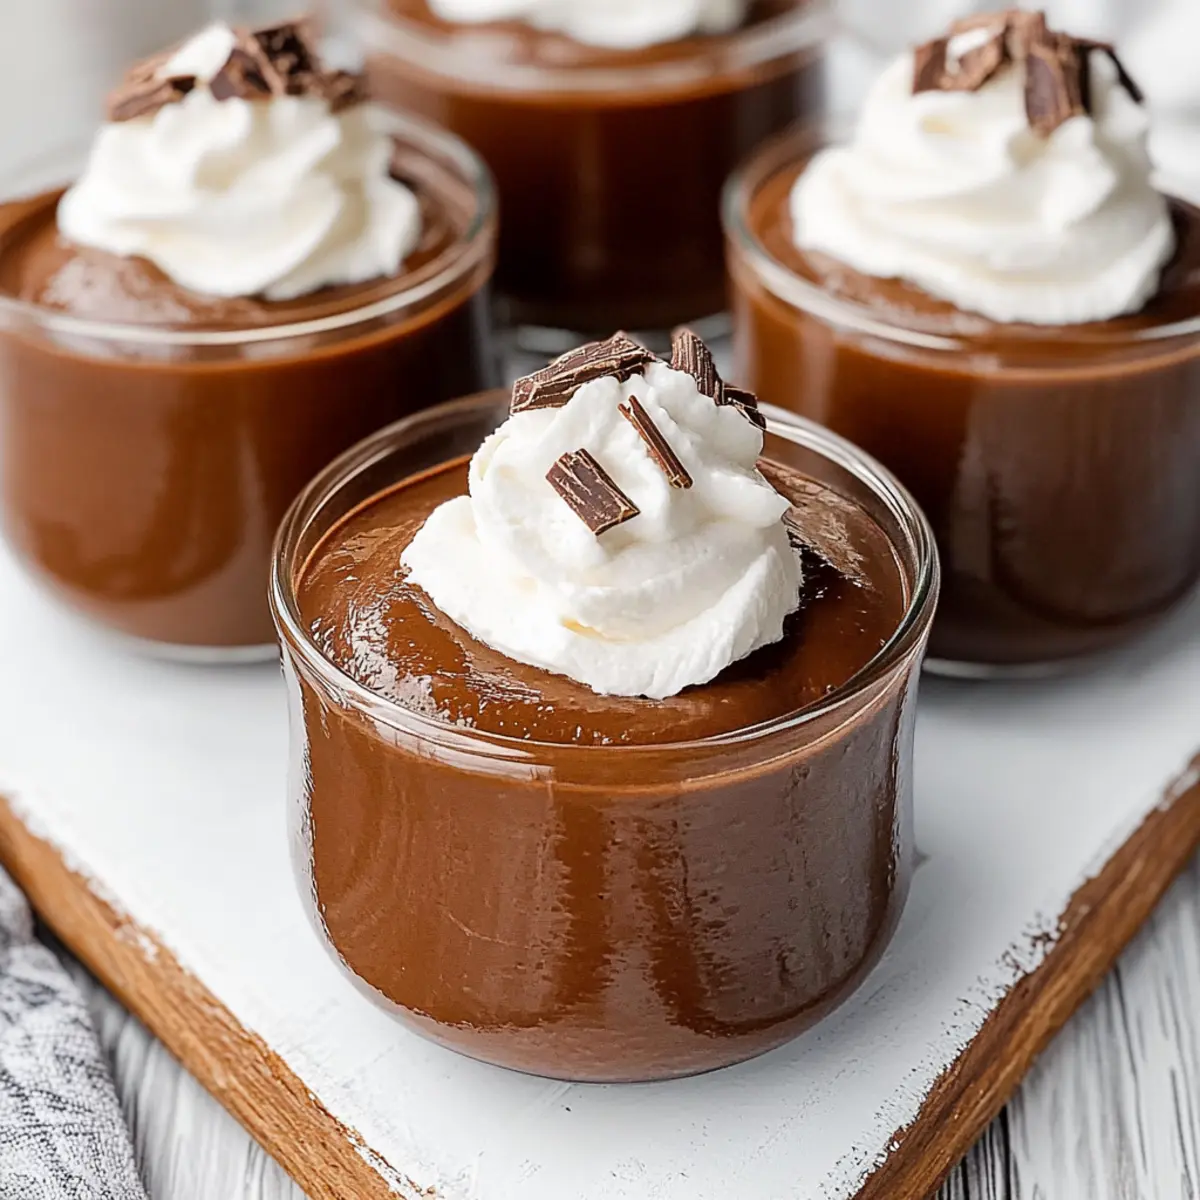
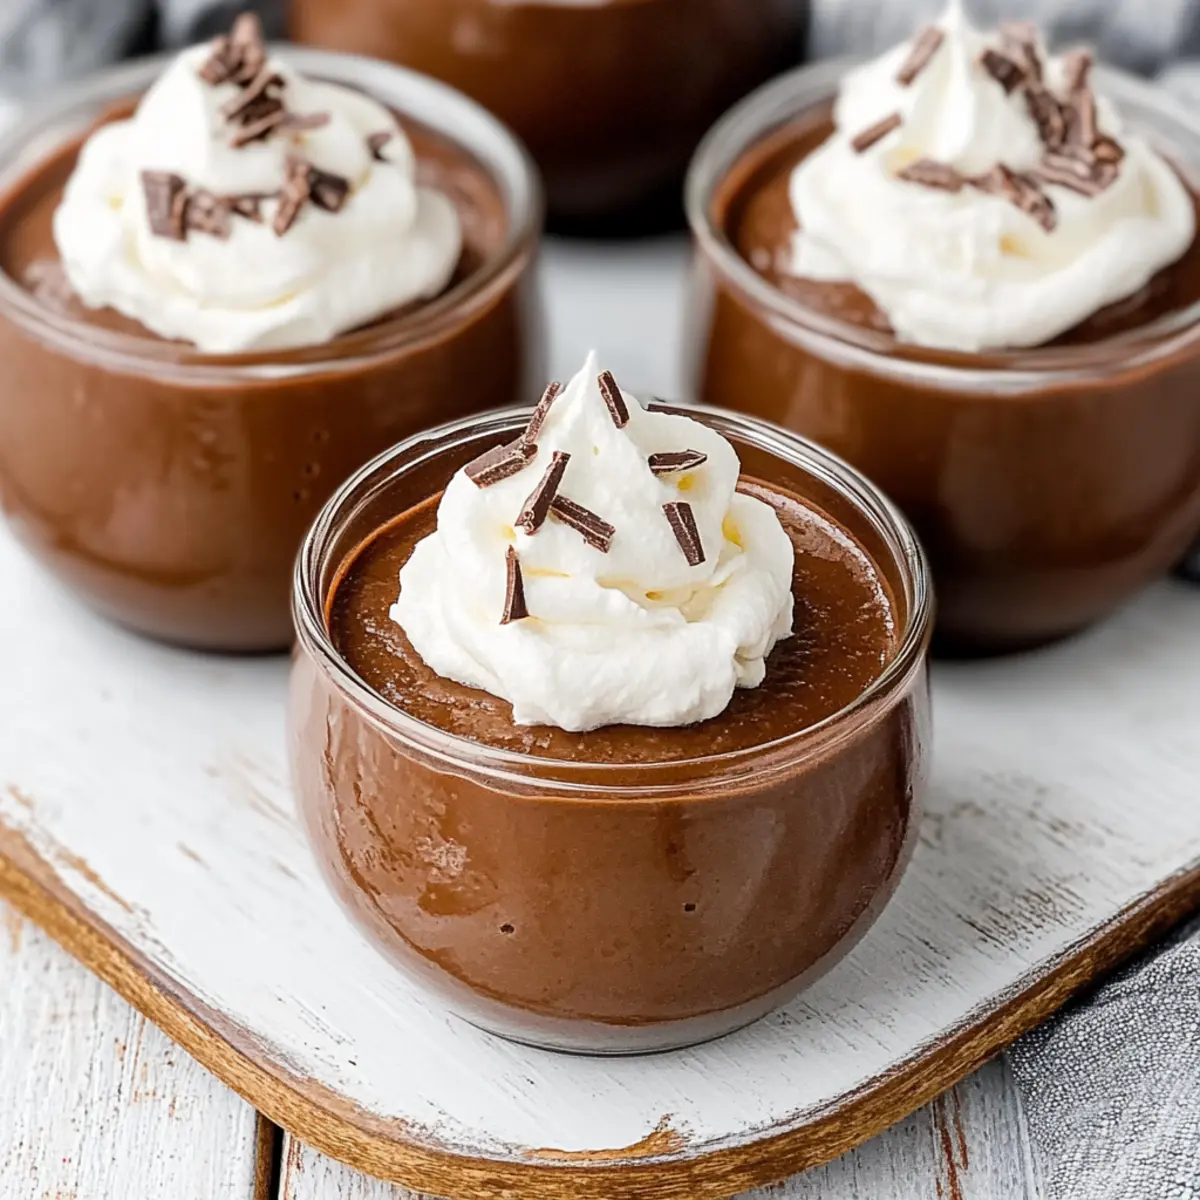
Feel free to enjoy your homemade chocolate pudding with toppings that tickle your fancy—like whipped cream or fresh berries!
Step‑by‑Step Instructions for Chocolate Pudding
Step 1: Combine Dry Ingredients
In a medium saucepan, start by whisking together 1/2 cup granulated sugar, 1/3 cup unsweetened cocoa powder, 1/4 cup cornstarch, and a pinch of salt until they are evenly combined. This mixture is the foundation of your chocolate pudding, so ensure there are no lumps by breaking up any clumps as you go.
Step 2: Add Milk
Gradually pour in 2 3/4 cups of milk while continuously whisking, ensuring the mixture achieves a completely smooth consistency. This step is crucial for integrating the milk with the dry ingredients and preventing any clumping. Take your time, as this is where the rich chocolate flavor begins to form beautifully.
Step 3: Heat the Mixture
Place the saucepan over medium heat, stirring constantly with a wooden spoon or whisk. Continue to cook while stirring until the mixture thickens and begins to bubble, which will take about 5-7 minutes. Watch for a slight simmer; this indicates that the pudding is thickening nicely and is on its way to becoming that decadent treat you desire.
Step 4: Cook Until Thickened
Once the pudding reaches a gentle boil, keep stirring and cook for an additional minute. This step helps ensure the cornstarch fully activates and your chocolate pudding achieves its velvety thickness. You should see clear bubbles breaking the surface as the mixture thickens; this is your cue to proceed.
Step 5: Finish the Pudding
Remove the saucepan from heat and stir in 2 tablespoons of butter and 1 teaspoon of vanilla extract until both are completely melted and incorporated into the pudding. This enriches the flavor and adds a silky texture to your homemade chocolate pudding. You’ll notice the glossy finish as everything blends perfectly.
Step 6: Chill or Serve Warm
Spoon the chocolate pudding into individual bowls or dessert cups. If you want to chill it, press a piece of plastic wrap directly onto the surface to prevent a skin from forming. Allow it to set at room temperature for a few minutes before refrigerating. Enjoy your homemade chocolate pudding warm or chilled—either way, it will be a delightful treat!
Make Ahead Options
These homemade chocolate pudding cups are perfect for busy home cooks looking to save time during the week! You can prepare the pudding up to 24 hours in advance, allowing you to serve a delicious dessert without the last-minute rush. To prep ahead, simply follow the recipe and spoon the pudding into individual bowls, pressing plastic wrap directly onto the surface to prevent skin from forming. Store them in the refrigerator overnight. When you’re ready to serve, just remove the wrap and add your favorite toppings, like whipped cream or fresh berries for that extra touch. Your rich and velvety chocolate pudding will be just as delicious as if you made it fresh!
Chocolate Pudding Variations & Substitutions
Explore these delightful options to make your chocolate pudding experience even more personalized and enjoyable!
-
Dairy-Free: Substitute milk with almond or oat milk to create a rich, creamy pudding that everyone can enjoy. A splash of vanilla almond milk can add a lovely twist!
-
Sweetener Switch: Try using brown sugar instead of granulated sugar for a deeper, more caramel-like flavor. It will give a unique richness that pairs beautifully with chocolate.
-
Flavor Boost: Add a tablespoon of your favorite liqueur, like Kahlúa or Irish cream, to infuse a delightful adult twist. Just imagine the warmth of chocolate blended with that hint of something special!
-
Extra Richness: Instead of butter, swap in coconut oil for an exotic flavor and a dairy-free alternative. You’ll still achieve that velvety texture everyone loves, but with a tropical touch.
-
Texture Twist: For added crunch, fold in crushed cookies or nuts just before chilling your pudding. It provides a delightful contrast and makes every spoonful a little surprise!
-
Spice it Up: A dash of cinnamon or a hint of espresso powder can elevate the chocolate flavor, giving your pudding a sophisticated edge. One taste, and you’ll feel like you’re in a gourmet dessert gallery!
-
Elegant Presentation: Layer the pudding with whipped cream or fresh fruit in a parfait glass for a stunning dessert table centerpiece. Try pairing it with some homemade Chocolate Chip Banana Bread for a deliciously decadent treat!
-
Heated Delight: Serve your pudding warm and top it with a scoop of ice cream for a hot-and-cold sensation that is simply divine. The contrasts in temperature really enhance the experience!
Embrace these variations and make your chocolate pudding uniquely yours! Each twist opens doors to new culinary adventures—so don’t hesitate to get creative!
Storage Tips for Chocolate Pudding
Fridge: Store your homemade chocolate pudding in an airtight container in the refrigerator for up to 3-4 days to maintain its fresh taste and creamy texture.
Room Temperature: It’s best not to leave chocolate pudding at room temperature for more than 2 hours, as it can spoil quickly.
Freezer: While freezing is not recommended for this pudding, if you must, place it in a freezer-safe container with a tight seal for up to 2 months. Thaw in the fridge overnight before serving.
Reheating: For a comforting treat, gently reheat your pudding in the microwave at medium power for 15-30 seconds, stirring occasionally to regain its smooth consistency.
What to Serve with Homemade Chocolate Pudding?
Indulging in a bowl of homemade chocolate pudding is a treat, but pairing it with the right accompaniments can elevate your dessert experience to new heights.
-
Whipped Cream: A fluffy dollop balances the rich chocolate, adding airy sweetness with every spoonful.
-
Fresh Berries: Juicy strawberries or raspberries bring a burst of freshness and slight tartness, contrasting beautifully with the velvety pudding.
-
Crushed Cookies: Whether you opt for Oreos or graham crackers, the crunchy texture adds delightful contrast alongside the silky smoothness of the pudding.
Layering crushed cookies within parfait cups with pudding creates an enticing visual, not to mention a dessert that’s twice as fun to eat!
-
Ice Cream: A scoop of vanilla or chocolate ice cream creates a delightful pairing, bringing creaminess and indulgence that’s impossible to resist.
-
Chocolate Shavings: For the chocolate lover, sprinkling shavings on top not only enhances the flavor but also adds an elegant touch.
-
Banana Slices: Sweet banana slices lend a natural sweetness and soft texture that pairs perfectly with the pudding’s richness.
-
Nutty Topping: Chopped hazelnuts or pecans introduce a crunchy finish, providing a nutty flavor that complements the chocolate.
These combinations enhance the joy of each bite, turning your chocolate pudding into a splendid dessert affair!
Helpful Tricks for Chocolate Pudding
-
Smooth Mixing: Start by thoroughly whisking the dry ingredients before adding milk. This prevents pesky clumps and ensures a silky chocolate pudding base.
-
Stir Constantly: Once heated, stir without pause to prevent the cornstarch from scorching. This step is crucial for achieving that velvety texture!
-
Avoid Pudding Skin: To keep your chocolate pudding smooth and skin-free while cooling, press plastic wrap directly onto the surface. This simple trick takes care of that pesky layer!
-
Taste Adjustment: If you find your pudding too rich, a small pinch of salt can enhance sweetness and balance the flavors beautifully, making it more enjoyable for everyone.
-
Storage Secrets: Store any leftovers in an airtight container to maintain freshness for 3-4 days. It’s perfect for snacking or a quick dessert!
Homemade Chocolate Pudding Recipe FAQs
What type of milk should I use for the best chocolate pudding?
I recommend using whole milk for the richest and creamiest texture, but you can easily substitute with almond milk for a dairy-free version. Just ensure any alternative milk is unsweetened to maintain the dessert’s sweetness.
How do I store leftover chocolate pudding?
Store your homemade chocolate pudding in an airtight container in the refrigerator for up to 3-4 days. This will keep it fresh and maintain its smooth texture. Be sure to cover the surface with plastic wrap to prevent any skin from forming.
Can I freeze chocolate pudding?
While freezing isn’t ideal for this pudding, if you want to save some, it can be done! Pour the pudding into a freezer-safe container, leaving some space at the top for expansion, and seal it tightly. It can be frozen for up to 2 months. When you’re ready to enjoy, thaw it overnight in the fridge and give it a good stir to bring back that velvety consistency.
What can I do if my chocolate pudding is too thick?
If your pudding turns out thicker than desired, don’t worry! You can whisk in a little bit of milk, one tablespoon at a time, until you reach your preferred texture. Gently heating it on the stove while stirring can also help loosen it up for that perfect silky finish.
Is chocolate pudding safe for kids with allergies?
This homemade chocolate pudding contains milk and butter, which are common allergens. If you’re preparing it for children with allergies, consider using dairy alternatives like almond milk and coconut oil. Always check labels for any additional allergens, especially cocoa powder and vanilla extract.
How can I prevent a “skin” from forming on my chocolate pudding?
To avoid that pesky pudding skin, press plastic wrap directly onto the surface of the pudding while it cools. This barrier keeps air out and helps maintain a smooth, creamy surface, ensuring that each bite is indulgently silky!
Decadent Chocolate Pudding That's Ready in Just 15 Minutes
Ingredients
Equipment
Method
- Whisk together granulated sugar, cocoa powder, cornstarch, and salt in a medium saucepan until evenly combined.
- Gradually pour in milk while continuously whisking until smooth.
- Place saucepan over medium heat, stirring constantly until mixture thickens and bubbles.
- Once it reaches a gentle boil, continue stirring and cook for an additional minute.
- Remove from heat and stir in butter and vanilla extract until melted and well combined.
- Spoon into bowls or cups. Cover with plastic wrap for cooling or serve warm.
Leave a Reply