
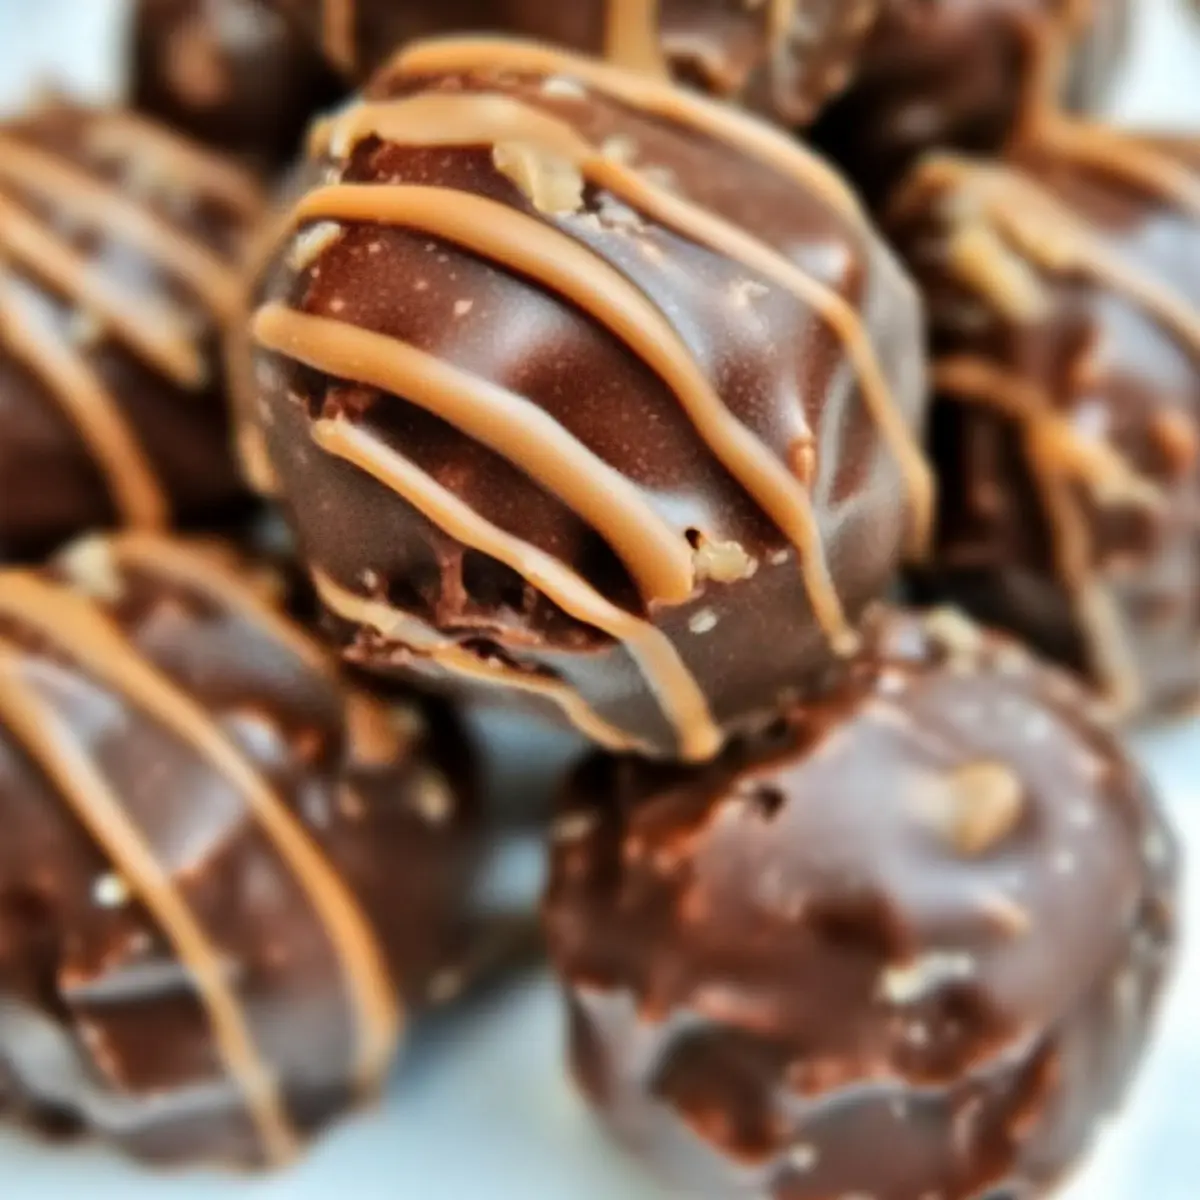
There’s something magical about the combination of chocolate and crunch that instantly lifts my spirits. These No-Bake 3-Ingredient KitKat Truffles encapsulate that feeling perfectly, making every bite a delightful escape into sweetness. With just three simple ingredients, this quick and easy recipe is a lifesaver for those busy days when you still crave something homemade and indulgent. Imagine whipping up a bowl of decadent truffles that mirror the classic taste of KitKat bars, all without turning on the oven! Not only are these treats incredibly simple to make, but they also stay fresh in your fridge for up to two weeks—perfect for sharing or keeping all to yourself. Are you ready to elevate your dessert game with these irresistible truffles? Let’s dive in!

Why are KitKat Truffles a must-try?
Simplicity at Its Best: With just three ingredients, the process is both quick and effortless, making it ideal for novice cooks and baking enthusiasts alike.
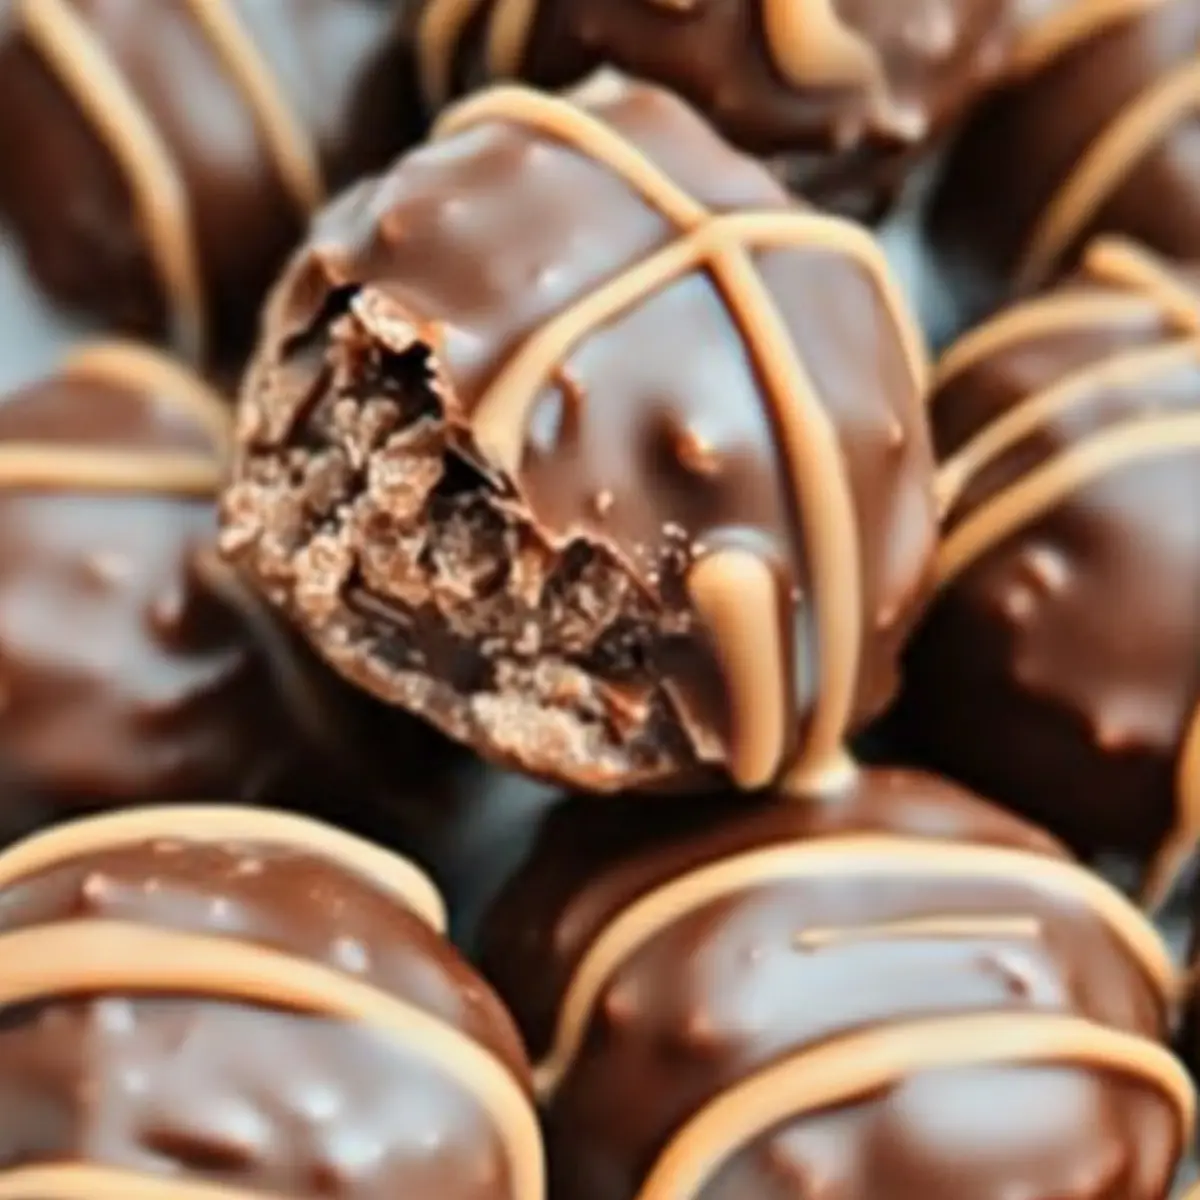
Decadent Flavor: The blend of chocolate and crunch creates an indulgent treat that mirrors the beloved KitKat bars we all know and love.
No Bake Required: Forget about preheating the oven—these no-bake truffles come together in just a few simple steps, allowing you more time to relax.
Perfect for Any Occasion: Whether it’s a party or a casual gathering, these truffles are sure to impress and satisfy any sweet tooth!
Make Ahead and Store: You can prepare these delightful bites in advance and store them in your fridge for up to two weeks. Try pairing them with your favorite coffee, or enjoy them as a special treat throughout the week!
Excited to get started? Let’s jump into this easy recipe!
KitKat Truffles Ingredients
For the Truffle Mixture
- KitKats – The star of the show, these sweet chocolate wafers provide that unmistakable KitKat flavor and texture.
- Sweetened Condensed Milk – Acts as the glue to bring the truffles together with a smooth, gooey consistency; don’t skip this ingredient!
For the Chocolate Coating
- Milk or Dark Chocolate – Choose your favorite to cover the truffles, with milk chocolate offering extra sweetness and dark chocolate delivering a richer taste.
Dive into this delightful no-bake recipe and let the magic of KitKat Truffles bring joy to your kitchen!
Step‑by‑Step Instructions for KitKat Truffles
Step 1: Crush the KitKats
Begin by unwrapping your KitKats and placing them in a resealable plastic bag. Use a rolling pin or your hands to crush the candies into fine crumbs, ensuring there are no large pieces. This should take about 5 minutes. Once crushed, transfer the KitKat crumbs to a medium-sized mixing bowl, ready to form the base of your delicious KitKat Truffles.
Step 2: Combine with Condensed Milk
Pour the sweetened condensed milk into the bowl with the crushed KitKats. Using a spatula or wooden spoon, mix the ingredients thoroughly until they form a cohesive, gooey mixture. This should take about 2-3 minutes. The consistency should be moist and slightly sticky, making it easy to roll into balls for your KitKat Truffles.
Step 3: Shape the Truffles
With clean hands or a cookie scoop, take small amounts of the KitKat mixture and roll them into bite-sized balls, approximately 1 inch in diameter. Place each formed ball onto a non-stick baking sheet lined with parchment paper, giving them a little space apart. You should be able to create about 20 truffles, all ready for chilling.
Step 4: Chill the Truffles
Once all the truffles are shaped, place the baking sheet in the freezer for about 30 minutes. This will help them firm up, making them easier to coat later. While they chill, you can prepare your chocolate coating for the next step, ensuring your KitKat Truffles maintain their shape as you work.
Step 5: Melt the Chocolate
In a microwave-safe bowl, heat your chosen milk or dark chocolate in short bursts of 20-30 seconds, stirring in between to prevent burning. The chocolate should be smooth and glossy after about 1-2 minutes, ideal for dipping the chilled KitKat Truffles. Be sure to let it cool slightly before use, ensuring a perfect coating.
Step 6: Dip the Truffles
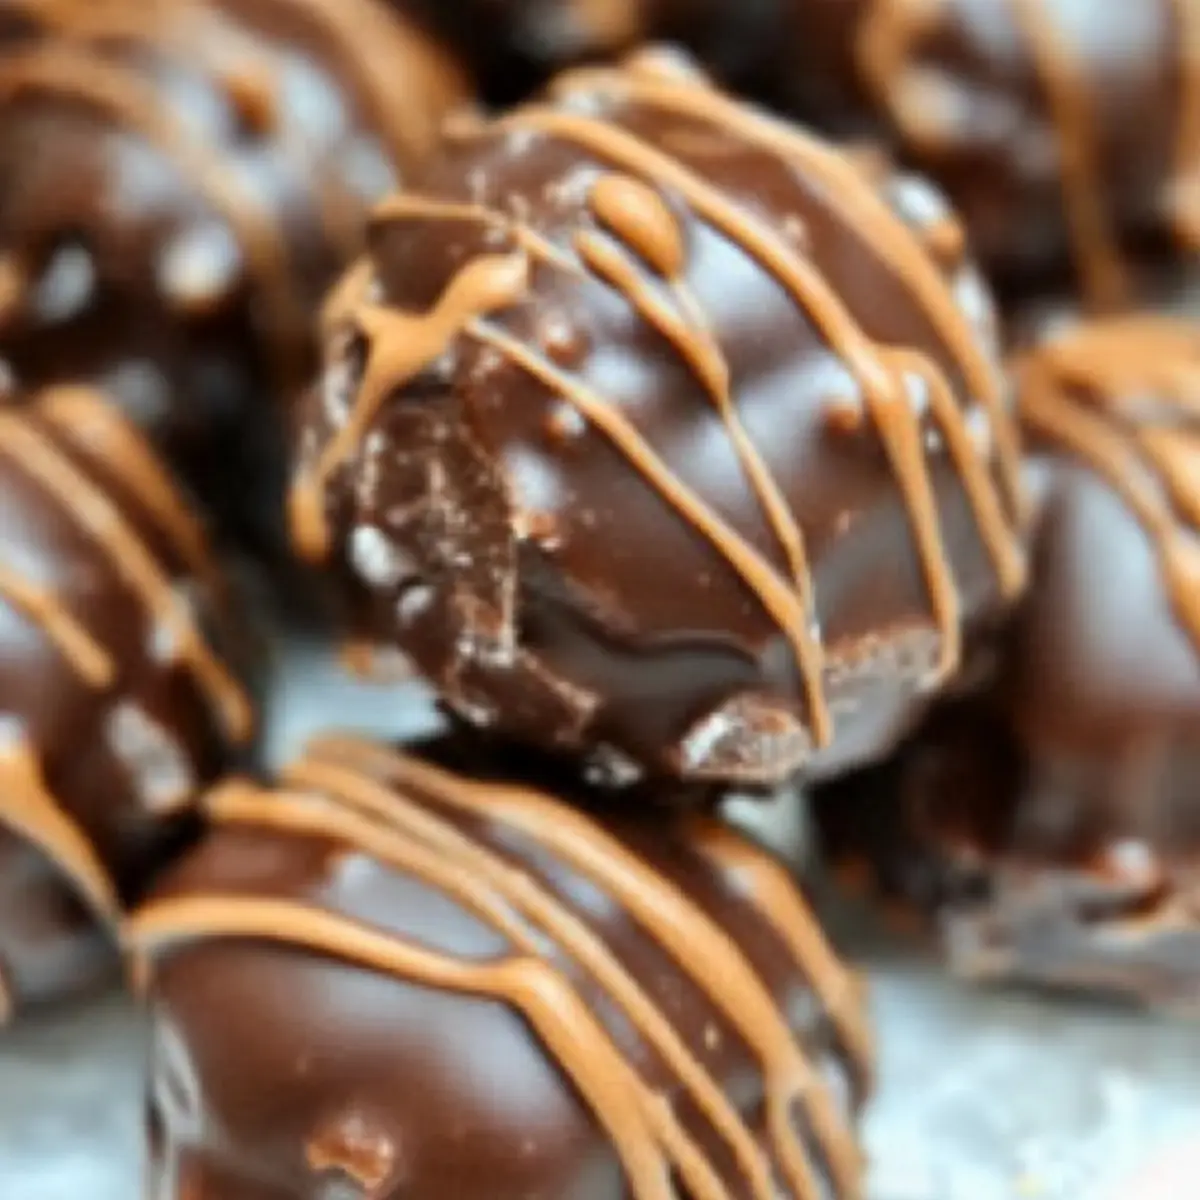
Take each chilled KitKat ball and dip it into the melted chocolate, using a fork to ensure an even coating. Allow any excess chocolate to drip off before returning the truffle to the parchment-lined baking sheet. Repeat this process for all truffles, until each is coated in a delicious layer of chocolate, creating the perfect finish for your KitKat Truffles.
Step 7: Set the Truffles
Once coated, place the tray of truffles in the refrigerator for about 30 minutes or until the chocolate has fully set. This step is crucial for achieving that lovely, firm exterior around your KitKat Truffles. When set, they will be ready to enjoy or store for later!
Step 8: Store the Truffles
To keep your KitKat Truffles fresh, store them in an airtight container in the refrigerator. They can be enjoyed for up to two weeks, making them the perfect make-ahead treat for special occasions or just a sweet indulgence during the week. Enjoy these delightful bites whenever you crave something sweet!
What to Serve with KitKat Truffles
Imagine treating your loved ones to a sweet post-dinner delight paired with perfect companions that balance flavors and textures.
- Fresh Berries: Juicy strawberries or raspberries provide a tart contrast, enhancing the sweetness of the truffles and adding a burst of freshness.
- Coffee or Espresso: A warm cup of coffee elevates the chocolate experience, with its rich acidity cutting through the sweetness for a balanced treat.
- Vanilla Ice Cream: Creamy vanilla ice cream offers a lovely temperature contrast, making each bite of the truffle even more delightful.
- Nutty Biscotti: For a crunchy texture, serve these delightful truffles alongside nutty biscotti, creating a lovely dunking experience.
- Chocolate Dipping Sauce: A drizzle of warm chocolate sauce on the side invites extra indulgence that chocolate lovers will simply adore.
- Milkshake: A rich chocolate milkshake complements the dessert beautifully, turning your serving into a nostalgic treat reminiscent of childhood.
- Assorted Nuts: Add a bowl of crunchy almonds or hazelnuts for an unexpected flavor twist, balancing the softness of the truffles with delightful crunch.
- Caramel Sauce: Serve with a side of luscious caramel sauce; the sweet and salty combo amplifies the KitKat flavor in every indulgent bite!
KitKat Truffles: Fun Variations to Try
Discover delightful and creative twists to personalize your KitKat Truffles with these exciting variations!
-
Nutty Swirl:
Add crushed hazelnuts or almonds to the mixture for a satisfying crunch and rich flavor that complements the chocolate beautifully. Each bite will deliver a nutty surprise. -
Dairy-Free Delight:
Swap the sweetened condensed milk for coconut condensed milk and use dairy-free chocolate for an indulgent vegan version that everyone can enjoy. -
Peanut Butter Bliss:
Incorporate a couple of tablespoons of creamy peanut butter into the mixture. This will add a rich, nutty flavor, making your truffles even more decadent. -
Minty Fresh:
Mix in a few drops of peppermint extract to the truffle mixture for a refreshing mint chocolate twist. This variation is perfect for the holiday season and has a festive touch. -
Spicy Kick:
Add a pinch of cayenne pepper to the melted chocolate for a surprising kick of heat that nicely contrasts with the sweetness of the truffles. Just enough to tantalize your taste buds! -
Cookie Crumble Topping:
Roll your finished truffles in crushed cookies (like Oreos or Graham crackers) instead of chocolate for a fun texture and added flavor. They’ll have a delightful crunchy exterior. -
Fruit Fusion:
Mix in finely chopped dried fruits, such as cherries or cranberries, for a chewy burst of flavor in every bite. This option adds an unexpected twist while keeping it sweet and satisfying.
For even more fun, consider drizzling your truffles with melted white chocolate for a lovely aesthetic! Or check out how to make No-Bake Chocolate Cheesecake for a delightful dessert pairing!
Expert Tips for KitKat Truffles
-
Moisture Check: Ensure the KitKat mixture is moist and gooey; if it feels too crumbly, incorporate a splash more sweetened condensed milk for perfect consistency.
-
Smooth Rolling: To make rolling easier, slightly wet your hands or use a cookie scoop; this prevents the mixture from sticking and helps maintain uniform truffle sizes.
-
Chocolate Melting: Be cautious while melting the chocolate for coating; heat it in short bursts and stir frequently to avoid burning—a smooth melt yields a luscious finish.
-
Chill Time: Don’t skip the chilling step! Freezing the truffles for 30 minutes makes them firmer and much easier to dip in chocolate, ensuring a perfect bite.
-
Creative Coatings: For a fun twist, consider adding sprinkles or crushed nuts to the melted chocolate before coating, giving your KitKat Truffles a unique touch and extra texture!
Storage Tips for KitKat Truffles
Fridge: Store your KitKat Truffles in an airtight container in the refrigerator, where they will stay fresh for up to two weeks, ready for whenever your sweet cravings hit.
Freezer: If you want to enjoy your truffles over a longer period, freeze them in a single layer on a baking sheet for about 1 hour, then transfer to an airtight container. They’ll last up to 3 months in the freezer!
Reheating: For best texture, enjoy your KitKat Truffles chilled straight from the fridge or freezer. There’s no need to reheat; simply take them out and indulge in their deliciousness!
Make Ahead Options
These KitKat Truffles are a game changer for busy home cooks looking to streamline dessert prep! You can roll the truffle mixture into balls up to 3 days in advance and store them in an airtight container in the refrigerator. To maintain their delicious texture, just ensure they are well-covered to prevent drying out. When you’re ready to indulge, simply chill the rolled truffles for about 15 minutes before dipping them in melted chocolate, allowing for a smooth coating. This method not only saves you time on your busy days but also ensures you have sweet, homemade delights ready to share or enjoy at a moment’s notice. Just as delicious every time!
KitKat Truffles Recipe FAQs
How do I choose the right KitKats for the truffles?
Absolutely! When selecting your KitKats, look for fresh bars with no visible dark spots or damage on the packaging. The fresher, the better, as they will contribute to the overall flavor and texture of your truffles.
How should I store the KitKat Truffles?
You can store your KitKat Truffles in an airtight container in the refrigerator for up to two weeks. Make sure they are properly sealed to prevent them from absorbing any unwanted odors or flavors from the fridge.
Can I freeze KitKat Truffles?
Yes, you can! To freeze your KitKat Truffles, place them in a single layer on a baking sheet and freeze for about 1 hour. Once firm, transfer them to an airtight container or freezer bag. They can be stored in the freezer for up to 3 months—just remember to label the container with the date!
What do I do if the KitKat mixture is too crumbly?
If you find your KitKat mixture is too crumbly and won’t hold together, no need to worry! Simply add an extra tablespoon or two of sweetened condensed milk and mix thoroughly until you achieve a gooey consistency. This will make rolling your truffles much easier.
Are KitKat Truffles okay for my gluten-sensitive friends?
While the classic KitKat contains gluten due to wheat flour in the wafers, you can easily adjust this recipe! There are gluten-free wafer options available that you can use in place of regular KitKat bars. Be sure to check the labels carefully when selecting your ingredients.
How do I give my KitKat Truffles a unique flair?
To add a little pizzazz to your truffles, consider incorporating crushed nuts or cookie crumbles directly into the KitKat mixture. You can also drizzle colored chocolate over the set truffles for a decorative touch. The more the merrier!
Irresistible KitKat Truffles: 3 Ingredients for No-Bake Bliss
Ingredients
Equipment
Method
- Crush the KitKats by unwrapping them and placing in a resealable bag; crush into fine crumbs.
- Combine with Sweetened Condensed Milk in a bowl, mixing until a cohesive mixture forms.
- Shape the mixture into 1-inch balls and place them on a non-stick baking sheet lined with parchment paper.
- Chill the truffles in the freezer for about 30 minutes to firm them up.
- Melt the Milk or Dark Chocolate in short bursts in a microwave-safe bowl, stirring frequently.
- Dip each chilled truffle into the melted chocolate, allowing excess to drip off.
- Set the coated truffles in the refrigerator for about 30 minutes to allow the chocolate to fully set.
- Store in an airtight container in the refrigerator for up to two weeks.
Leave a Reply