
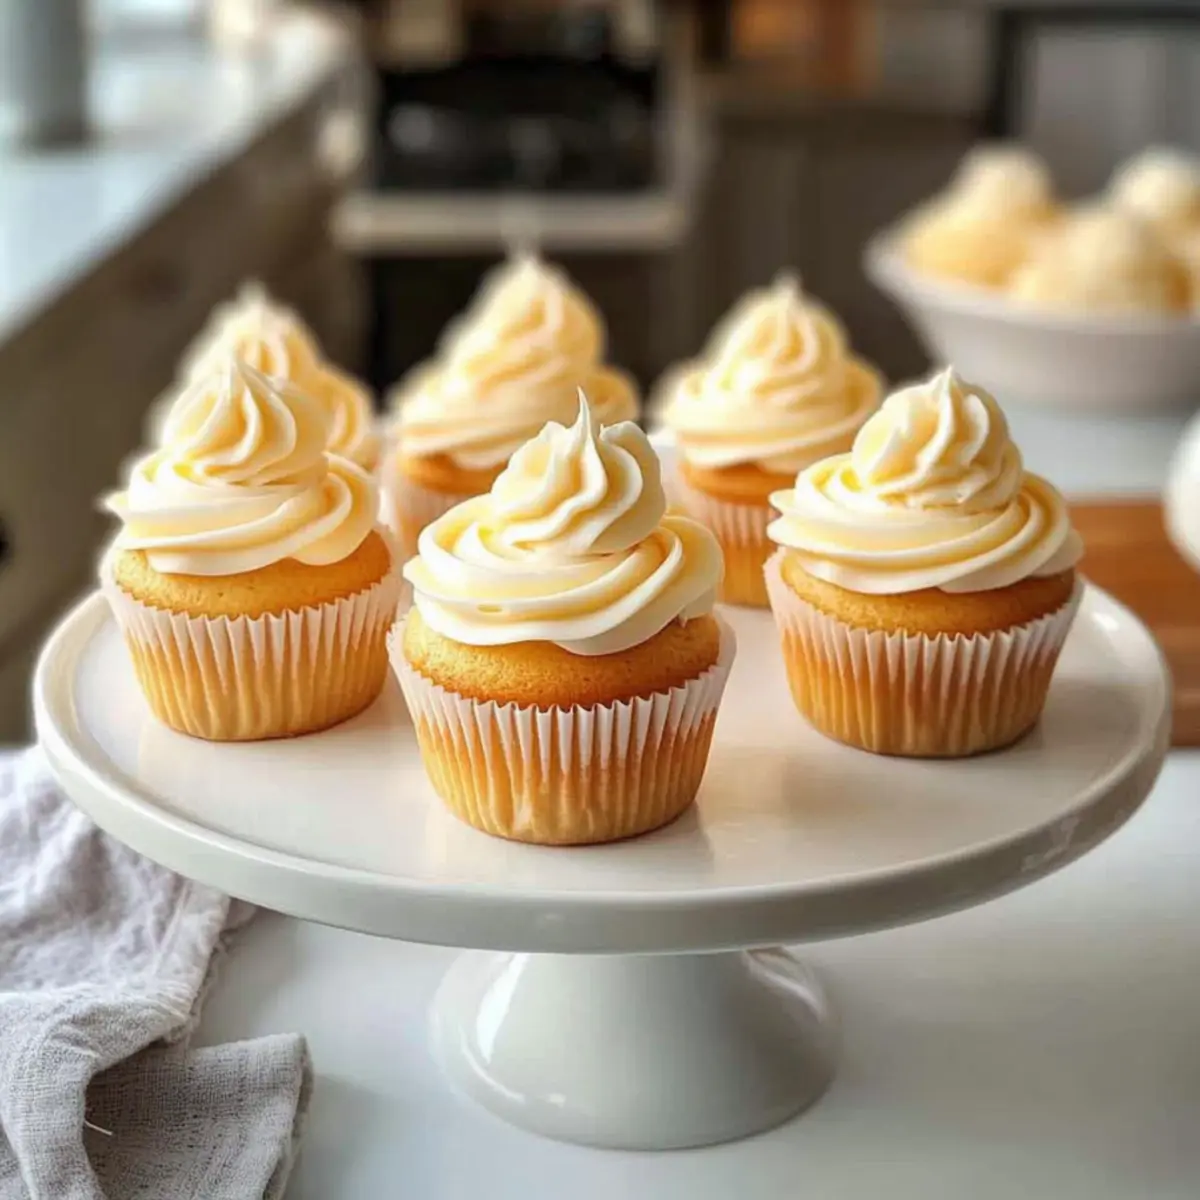
As I sifted through my pantry, I stumbled upon a delightful discovery: a half-empty bag of flour just waiting to be transformed into something magical. That’s the moment I decided to whip up a batch of Classic Vanilla Cupcakes—a treat that embodies the pure joy of baking at home. These cupcakes are not only light and fluffy, but they also work wonders for brightening up any occasion, be it a birthday bash or a simple weekday pick-me-up. With a buttery undertone and smooth vanilla frosting, they offer a lovely balance of sweetness that will keep you coming back for more. Plus, they’re easy to prepare, making them a perfect choice for both novice bakers and seasoned enthusiasts alike. Ready for a sweet adventure in the kitchen? Let’s dive into the scrumptious world of vanilla cupcakes!

Why Are Vanilla Cupcakes So Irresistible?
Light and Fluffy: These cupcakes feature a tender crumb that feels like a cloud in your mouth, making them perfect for every sweet tooth.
Easily Customizable: Whether you want to add sprinkles, chocolate chips, or a hint of citrus, the options are endless!
Time-Saving: Quick to whip up, you can have these beauties ready in less than an hour.
Perfect for All Occasions: Whether it’s a birthday party or a cozy tea time, these cupcakes seamlessly fit any celebration.
Beginner-Friendly: Perfect for those new to baking, you’ll impress everyone with minimal effort.
Explore more delightful ideas like these by checking out our Gluten Free Cupcakes for another tasty twist on a classic!
Vanilla Cupcake Ingredients
• Let’s gather everything you need for these delightful vanilla cupcakes!
For the Batter
- All-Purpose Flour – Provides the structure for the cupcakes; feel free to use gluten-free flour for a safe option.
- Granulated Sugar – Adds sweetness and contributes to the light texture; coconut sugar can be used for a less sweet alternative.
- Baking Powder – Ensures the cupcakes rise nicely and remain fluffy; no direct substitutes recommended.
- Salt – Enhances the flavor and balances the sweetness.
- Unsalted Butter – Adds richness and moisture; melted coconut oil works well for a dairy-free version.
- Eggs – Bind the ingredients together and provide moisture; substitute with flax eggs for a vegan option (1 tbsp ground flaxseed + 2.5 tbsp water per egg).
- Vanilla Extract – Infuses the cupcakes with a classic vanilla flavor that makes them special.
- Milk – Offers moisture and helps achieve a tender crumb; almond milk or oat milk are perfect dairy-free substitutes.
These ingredients will make your vanilla cupcake journey an absolute delight!
Step‑by‑Step Instructions for Vanilla Cupcake
Step 1: Preheat the Oven
Begin by preheating your oven to 350°F (175°C). While the oven is warming up, line a muffin tin with colorful cupcake liners to add a fun touch. This step is crucial for ensuring even baking, so make sure your oven is fully preheated before you start mixing the batter.
Step 2: Combine Dry Ingredients
In a large mixing bowl, whisk together 2 cups of all-purpose flour, 2 teaspoons of baking powder, and a pinch of salt. This mixture forms the backbone of your vanilla cupcakes, providing structure and lightness. Ensure the dry ingredients are well combined, as this helps in the even distribution of baking powder for a fluffy texture.
Step 3: Cream Butter and Sugar
In a separate bowl, use an electric mixer to beat together 1 cup of unsalted butter and 1 ½ cups of granulated sugar for about 2-3 minutes, until the mixture is light and fluffy. This process incorporates air into the butter, creating a delightful texture in your vanilla cupcakes. You’ll know it’s ready when it appears pale and creamy.
Step 4: Incorporate Eggs and Vanilla
Add in 3 large eggs, one at a time, mixing well after each addition to ensure they’re fully incorporated. After the eggs, stir in 1 tablespoon of pure vanilla extract to infuse your batter with a rich, sweet aroma. The mixture should become silky and smooth at this point, giving you a delectable base for your vanilla cupcakes.
Step 5: Mix Dry Ingredients and Milk
Gradually add the dry ingredient mixture to the wet mixture, alternating with 1 cup of milk. Start and end with the dry ingredients, mixing until just combined. Be careful not to overmix, as this can lead to dense cupcakes. The batter should be thick but pourable, showcasing the beautiful vanilla flavor you’re creating.
Step 6: Fill the Cupcake Liners
Use a scoop or a spoon to fill each cupcake liner about two-thirds full with the batter. This allows enough space for the cupcakes to rise beautifully without overflowing. Take a moment to ensure each cup is filled evenly, which helps them bake uniformly and look great when finished.
Step 7: Bake the Cupcakes
Place the muffin tin in the preheated oven and bake for 18-20 minutes. Keep an eye on them, and they are done when a toothpick inserted in the center comes out clean. Your vanilla cupcakes should be lightly golden and spring back when gently pressed. This is the moment you start smelling that delightful fragrance!
Step 8: Cooling the Cupcakes
Once baked, remove the cupcakes from the oven and let them cool in the tin for about 5 minutes. This helps them set before transferring to a wire rack. Carefully move them onto the rack to cool completely, allowing you to frost them later without the icing melting into the warm cupcake.

Expert Tips for the Best Vanilla Cupcake
Room Temperature Ingredients: Ensure all your ingredients are at room temperature for better mixing, which helps achieve the light and fluffy texture in your vanilla cupcake.
Avoid Overmixing: Gently mix the batter until just combined to prevent dense cupcakes. Overmixing can lead to tough, chewy results.
Use Fresh Ingredients: Fresh baking powder is crucial for achieving the perfect rise. If it’s past the expiration date, your cupcakes may not rise as expected.
Measure Flour Correctly: Use the spoon-and-level method for flour—scoop it with a spoon and level it off with a knife. This ensures you don’t end up with too much flour, which can make cupcakes dry.
Cooling Time: Allow the cupcakes to cool completely on a wire rack before frosting to avoid melting your icing. This step is key for perfect presentation.
Taste Test Variations: Don’t hesitate to experiment with add-ins like sprinkles or citrus zest. Each variation can enhance the delightful vanilla flavor of your cupcakes!
Make Ahead Options
These Classic Vanilla Cupcakes are perfect for meal prep, saving you time on busy days! You can prepare the cupcake batter up to 24 hours in advance by mixing the dry ingredients and storing them separately in an airtight container while refrigerating the wet ingredients. When you’re ready to bake, just combine everything and fill the liners. Additionally, you can bake the cupcakes up to 3 days ahead; simply cool them completely, then store in an airtight container at room temperature. Frost just before serving to maintain their delightful texture, ensuring these vanilla cupcakes remain as light and fluffy as ever!
Vanilla Cupcake Variations & Substitutions
Feel free to let your creativity shine by customizing these cupcakes to suit your taste and dietary needs!
-
Gluten-Free: Substitute all-purpose flour with gluten-free flour blend for a safe, delicious treat.
-
Dairy-Free: Use coconut oil instead of unsalted butter, and almond or oat milk instead of dairy milk for a lovely rich flavor.
-
Reduced Sugar: Swap out granulated sugar for coconut sugar for a less sweet but still delightful cupcake.
-
Vegan Option: Replace eggs with flax eggs (1 tbsp ground flaxseed + 2.5 tbsp water per egg) to keep this recipe plant-based.
-
Flavor Boost: Add 1 tablespoon of lemon zest along with your vanilla for a refreshing citrus twist. It’s a surprisingly uplifting surprise!
-
Chocolate Chip Delight: Toss in a handful of chocolate chips for a delightful chocolatey twist that will surely steal the spotlight.
-
Fancy Frostings: Instead of traditional vanilla frosting, try cream cheese frosting or chocolate ganache for a unique finish that will wow your guests.
-
Sprinkle Surprise: Top with colorful sprinkles or edible glitter for extra fun and excitement, making every bite a colorful celebration!
If you’re looking to expand your baking repertoire, consider checking out our Gluten Free Cupcakes for even more delightful options! Your baked goods will never feel boring with all these tempting variations at your fingertips!
What to Serve with Classic Vanilla Cupcakes
These delightful treats can transform any occasion into a sweet celebration that tantalizes the senses.
-
Creamy Vanilla Ice Cream: This classic pair enhances the sweetness of vanilla cupcakes, making every bite a luscious experience of flavor.
-
Fresh Berries Medley: Juicy strawberries, blueberries, and raspberries add a burst of freshness, perfectly balancing the rich sweetness of the cupcakes.
-
Whipped Cream Topping: Light and airy, whipped cream adds a creamy texture that complements the fluffy nature of the cupcakes, creating a dream-like dessert.
-
Coffee or Tea Pairing: A cup of freshly brewed coffee or herbal tea provides a warm, comforting contrast to the sweet delight, perfect for afternoon treats.
-
Chocolate Ganache Dipping Sauce: For the chocolate lovers, a silky ganache drizzled over the cupcakes brings an indulgent richness that elevates the entire dessert.
-
Lemonade or Iced Tea: Refreshing beverages with a hint of tartness offer a delightful contrast to the moist, sweet cupcakes, making them even more enjoyable on warm days.
Indulge in these pairings, and watch as your Classic Vanilla Cupcakes transform into a full-fledged dessert experience that the whole family will adore!
How to Store and Freeze Vanilla Cupcakes
Room Temperature: Store unfrosted vanilla cupcakes in an airtight container at room temperature for up to 3 days. If they’re frosted, enjoy them within 2 days for best texture.
Fridge: If you want to keep your frosted cupcakes longer, store them in the fridge for up to 5 days. Just cover them lightly to prevent the frosting from becoming hard.
Freezer: For longer storage, freeze the unfrosted vanilla cupcakes in an airtight container or freezer bag for up to 3 months. Allow them to cool completely before freezing.
Reheating: When ready to enjoy, let them thaw at room temperature. For a warm treat, pop them in the microwave for a few seconds before frosting.
Vanilla Cupcake Recipe FAQs
How do I select ripe ingredients for these cupcakes?
Absolutely! For the freshest and best flavor, choose room temperature ingredients. Eggs should be bubbly and smooth, while butter should be soft to the touch but not greasy. If your butter has dark spots all over, it’s probably past its prime. Ensuring your milk isn’t expired also plays a key role in achieving that light, fluffy texture.
What’s the best way to store leftover vanilla cupcakes?
Very! Unfrosted vanilla cupcakes can be stored in an airtight container at room temperature for up to 3 days. If they have had frosting added, it’s best to enjoy them within 2 days for the freshest taste. For storage in the fridge, they can last up to 5 days but be sure to cover them lightly to keep the frosting from hardening.
Can I freeze vanilla cupcakes? If so, how?
Absolutely! To freeze your vanilla cupcakes, let them cool completely first. Place the unfrosted cupcakes in an airtight container or a freezer bag, ensuring no air is left inside, and freeze for up to 3 months. When you’re ready to enjoy, simply remove them and let them thaw at room temperature. If you like, microwave them for a few seconds for a warm treat right before frosting.
What should I do if my cupcakes are dense?
Very! If your cupcakes turn out dense, there might be a few reasons. Check if you overmixed the batter; this can lead to the gluten in the flour becoming too developed. Always mix gently until just combined! Also, ensure that your baking powder is fresh—it should bubble when added to liquid. Lastly, measuring your flour correctly—using the spoon-and-level method—is crucial to avoid using too much flour.
Can these cupcakes be made gluten-free?
Absolutely! You can substitute all-purpose flour with gluten-free flour in this vanilla cupcake recipe. Just make sure to select a blend that works well for baking, and you might also want to add a teaspoon of xanthan gum if it’s not already included in your blend. This will help provide the right texture and structure to your cupcakes.
Are there any allergies I should be aware of with this recipe?
Very! This cupcake recipe contains common allergens like gluten, dairy, and eggs. For a dairy-free version, use coconut oil in place of butter and almond or oat milk instead of regular milk. As for eggs, you can substitute with flax eggs (1 tablespoon ground flaxseed mixed with 2.5 tablespoons water per egg) for a vegan option. Always check ingredient labels for any specific allergies or sensitivities.
Irresistible Vanilla Cupcake Recipe for Effortless Baking Fun
Ingredients
Equipment
Method
- Preheat your oven to 350°F (175°C) and line a muffin tin with cupcake liners.
- In a large bowl, whisk together 2 cups of all-purpose flour, 2 teaspoons of baking powder, and a pinch of salt.
- Beat 1 cup of unsalted butter and 1 ½ cups of sugar for about 2-3 minutes until light and fluffy.
- Mix in 3 large eggs one at a time and add 1 tablespoon of vanilla extract until smooth.
- Alternately mix the dry ingredients with 1 cup of milk, being careful not to overmix.
- Fill each cupcake liner about two-thirds full with batter.
- Bake for 18-20 minutes, or until a toothpick inserted comes out clean.
- Allow the cupcakes to cool in the tin for 5 minutes, then transfer to a wire rack to cool completely.
Leave a Reply