
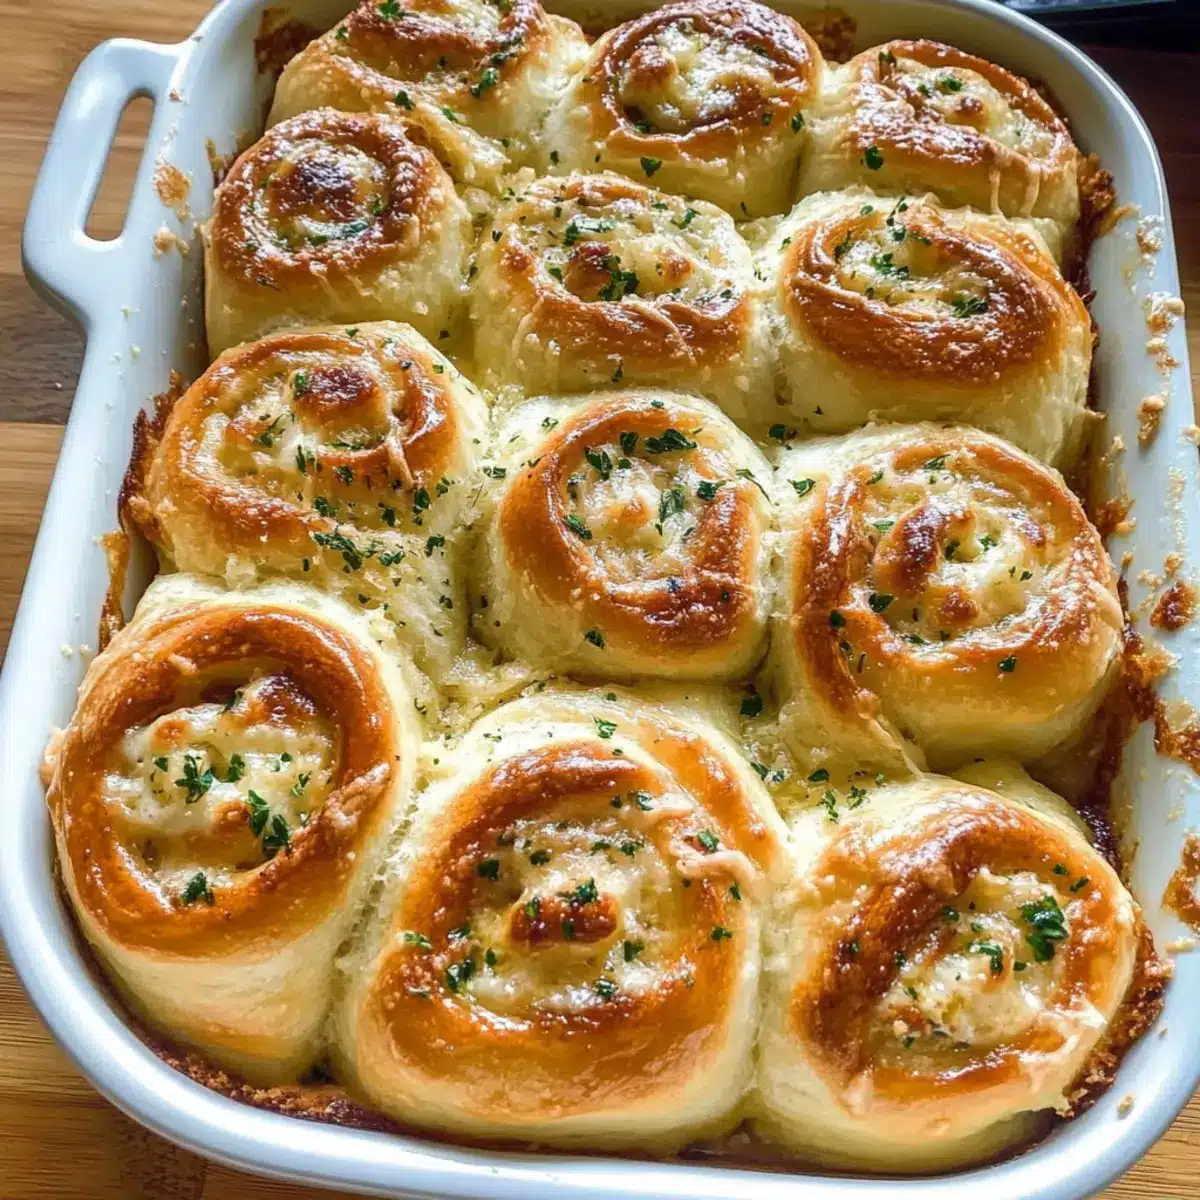
As I pulled the golden-brown rolls from the oven, the warm aroma of garlic and melted cheese enveloped my kitchen, eliciting an instant smile. These Soft and Fluffy Cheesy Garlic Rolls are my go-to comfort food, combining a pillowy texture with a savory filling of aromatic garlic butter and gooey mozzarella and parmesan. Not only are they incredibly easy to whip up, but they also make a fantastic side for any meal or a crowd-pleasing showstopper at gatherings. Whether enjoyed fresh out of the oven or as a delightful addition to a cozy dinner, these rolls are sure to become a staple in your home. Ready to dive into the world of cheesy, garlicky goodness? Let’s get started on making these irresistible rolls!
Why Are These Rolls Irresistible?
Comforting Warmth: Freshly baked, these rolls provide the cozy, soothing vibe of homemade goodness.
Ease of Preparation: With simple ingredients and straightforward steps, you’ll have these on your table in no time!
Cheesy Goodness: Overflowing with melty mozzarella and savory parmesan, every bite is deliciously indulgent.
Versatile Delight: Perfect as a side for pasta or a party platter, these rolls appeal to everyone.
Flavor Boosting Options: Experiment with herbs or different cheeses to personalize your cheesy garlic rolls, making each batch uniquely yours! Enjoy with our Cheesy Garlic Bread or Garlic Butter Steak Bites for a complete meal!
Cheesy Garlic Rolls Ingredients
• Prepare your taste buds for these delightful rolls that perfectly blend cheesy goodness with aromatic garlic flavor!
For the Dough
- All-Purpose Flour – Provides structure; can substitute with bread flour for a chewier texture.
- Active Dry Yeast – Leavens the dough; ensure it’s fresh for best results.
- Granulated Sugar – Feeds the yeast to enhance browning; avoid if using a sugar-free alternative.
- Salt – Enhances flavor and is essential for taste balance.
- Egg – Adds richness and helps bind; for a vegan option, use a flax egg.
- Whole Milk – Hydrates and enriches the dough; substitute with non-dairy milk for a lactose-free version.
- Unsalted Butter – Adds flavor and moisture; dairy-free butter works for a vegan version.
For the Garlic Filling
- Minced Garlic – Provides distinctive flavor; fresh garlic is recommended for the best taste.
- Fresh Parsley – Adds freshness and color; omit if unavailable or substitute with dried parsley.
For the Cheese Filling
- Mozzarella Cheese – Creates a gooey texture; swap with a cheese of your choice for variation.
- Parmesan Cheese – Adds umami flavor depth; nutritional yeast can be used for a vegan option.
For the Egg Wash
- Egg & Water – Gives the rolls a shiny golden finish; for vegans, use milk or non-dairy milk as a wash.
Step‑by‑Step Instructions for Cheesy Garlic Rolls
Step 1: Activate Yeast
In a mixing bowl, combine 1 cup of warm milk (about 100-110°F), 2 tablespoons of sugar, and 2 teaspoons of active dry yeast. Let this mixture sit for 8-10 minutes until it becomes frothy, indicating that the yeast is active. This bubbly stage is essential for your Cheesy Garlic Rolls to rise properly.
Step 2: Mix Dough Ingredients
Add 1 beaten egg, 3 cups of all-purpose flour, and 1 teaspoon of salt to the yeast mixture. Using a stand mixer fitted with a dough hook, blend the ingredients on low speed until just combined. Gradually pour in 4 tablespoons of softened unsalted butter, mixing until the dough comes together and begins to pull away from the sides of the bowl.
Step 3: Knead Dough
Transfer the dough to a floured surface and knead for about 5-6 minutes until it is smooth and slightly tacky. As you knead, feel for that soft elasticity; it’s a sign your dough is on track for those fluffy Cheesy Garlic Rolls. If it’s too sticky, sprinkle a little more flour as needed.
Step 4: First Rise
Place the kneaded dough in a greased bowl, turning it to coat all sides lightly. Cover the bowl with a clean kitchen towel or plastic wrap and let it rise in a warm place until it has doubled in size, approximately 60-90 minutes. Look for the dough to puff up beautifully, promising airy rolls ahead.
Step 5: Prepare Garlic Butter
In a separate bowl, mix together 4 tablespoons of softened butter, 3-4 cloves of minced garlic, 2 tablespoons of chopped fresh parsley, and a pinch of salt and pepper. This aromatic garlic butter will infuse flavor into your Cheesy Garlic Rolls and create a delightful filling that’s hard to resist.
Step 6: Roll Out Dough
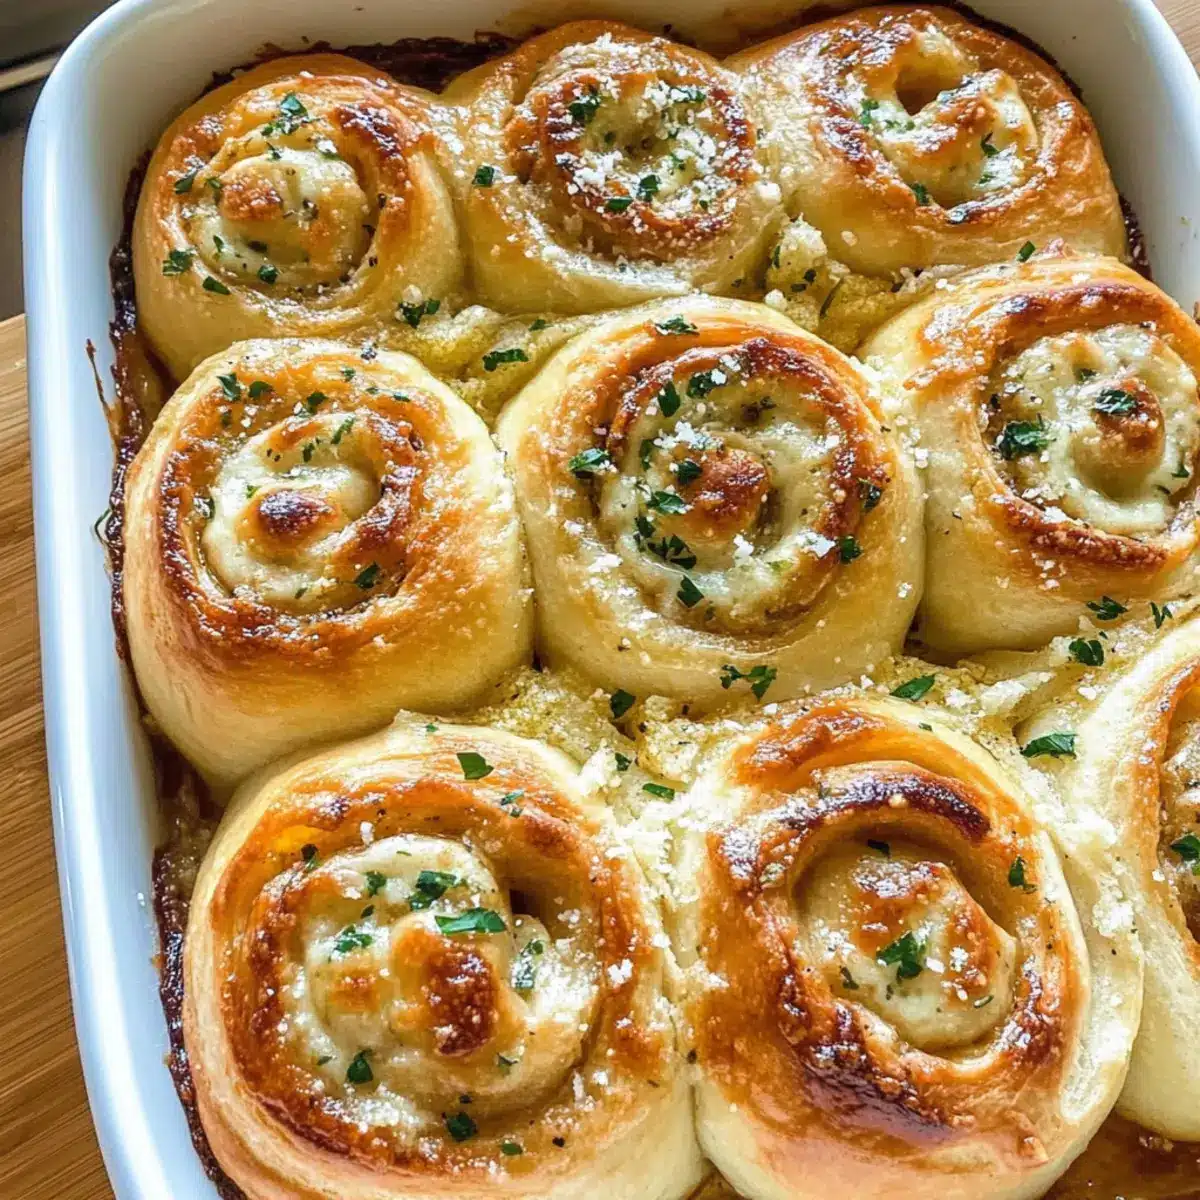
Once the dough has risen, gently punch it down to release excess air, then let it rest for 5 minutes. Roll out the dough on a floured surface into a rectangle about 1/4-inch thick. Spread about 2/3 of the prepared garlic butter evenly over the surface, then sprinkle with 1 cup of shredded mozzarella and 1/2 cup of grated Parmesan cheese before rolling the rectangle into a tight log.
Step 7: Cut Rolls
Using a sharp knife or kitchen scissors, slice the rolled dough into 8 equal pieces. Place the cut rolls snugly in a greased 9×13-inch baking pan, ensuring they have a bit of space to rise. Cover the pan with a kitchen towel and allow the rolls to rise again for 25-35 minutes until they’re puffy and nearly touching, setting the stage for fluffy Cheesy Garlic Rolls.
Step 8: Preheat Oven
About 10 minutes before the second rise is complete, preheat your oven to 350°F. This will ensure the rolls are ready to be baked at the right temperature, creating that golden brown exterior and soft interior that makes Cheesy Garlic Rolls so delicious.
Step 9: Egg Wash and Bake
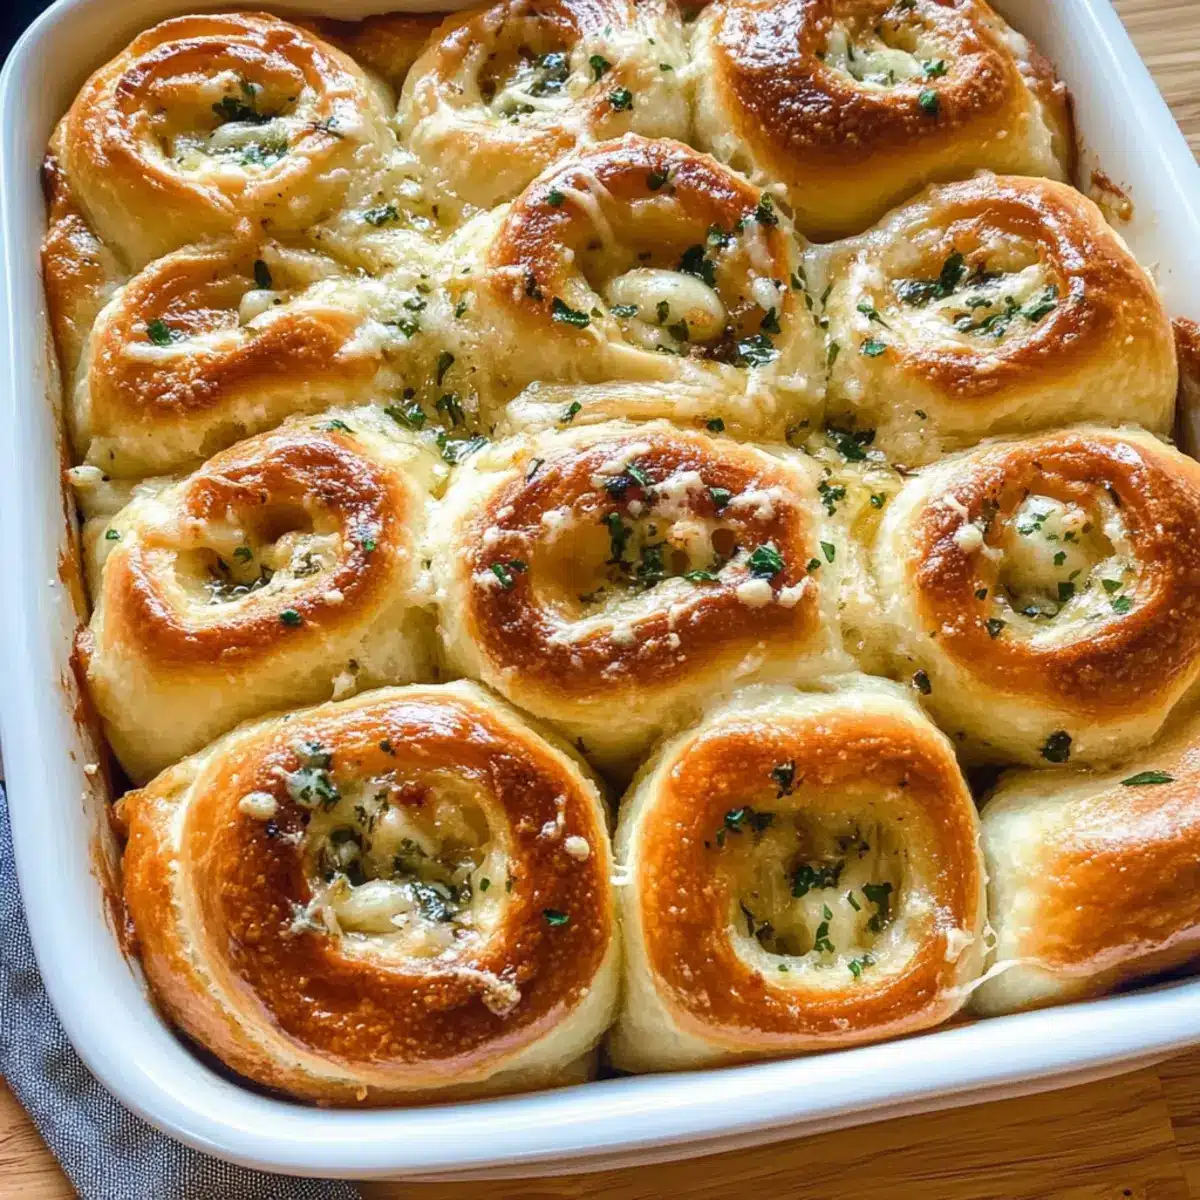
Once the rolls have risen, brush the tops with an egg wash made from 1 beaten egg mixed with a splash of water. This gives the rolls a beautiful, shiny finish. Bake in the preheated oven for 25-30 minutes or until they turn a golden brown and your kitchen fills with that tantalizing aroma of baked garlic and cheese.
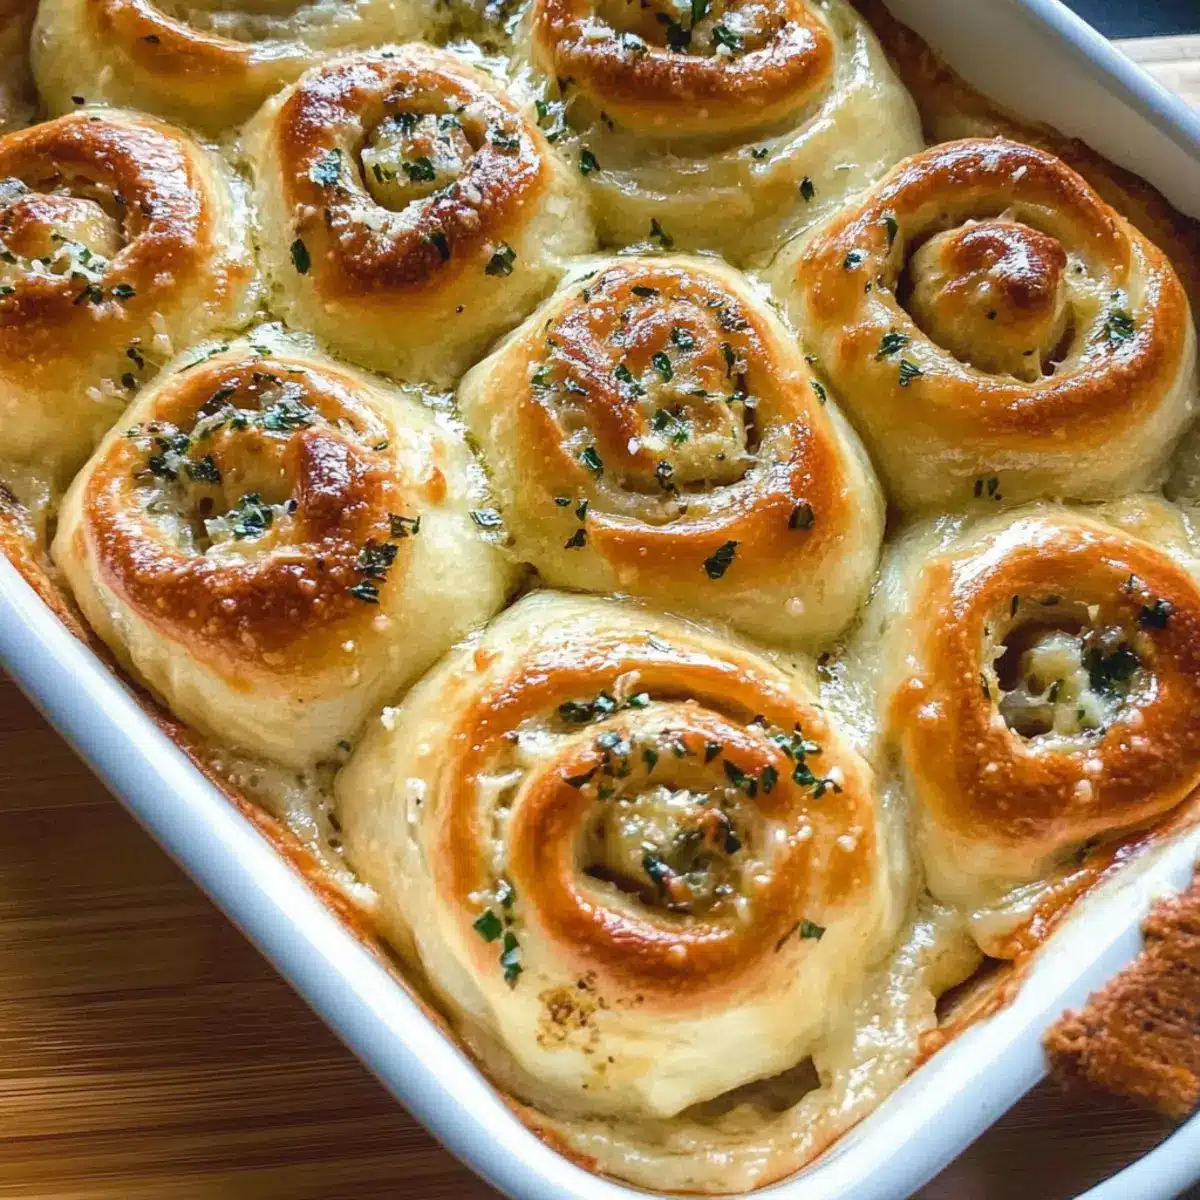
Step 10: Brush with Remaining Garlic Butter
After removing the rolls from the oven, brush them with the remaining garlic butter for an extra burst of flavor. Allow them to cool slightly before serving warm, and revel in the mouthwatering softness of your freshly baked Cheesy Garlic Rolls!
What to Serve with Soft and Fluffy Cheesy Garlic Rolls
These delightful rolls are the perfect centerpiece for a comforting meal, adding warmth and joy to your dining experience.
-
Creamy Tomato Soup: Its tangy, creamy flavor pairs perfectly with the savory richness of the rolls. A dip into the soup creates a comforting bite.
-
Caesar Salad: Crisp romaine and zesty dressing provide a refreshing contrast to the soft, cheesy rolls. The crunchy elements enhance every chew.
-
Garlic Butter Shrimp: These succulent shrimp echo the garlic flavors of the rolls while introducing a delightful seafood note that elevates your meal.
-
Roasted Vegetables: Colorful roasted veggies add a nutritious, earthy touch. Their slight caramelization complements the soft texture of the rolls, creating a satisfying balance.
-
Mediterranean Pasta Salad: This vibrant dish with olives, feta, and cherry tomatoes brings a zesty brightness that dances alongside the cheesy richness, making for a delightful combo.
-
Balsamic Glazed Chicken: The tangy glaze contrasts beautifully with the buttery rolls, while the juicy chicken provides a hearty protein source for a well-rounded meal.
-
Sparkling Lemonade: A refreshing sip on the side, the citrusy sparkle complements the rich flavors of the rolls, making your taste buds sing with joy.
-
Chocolate Lava Cake: End your meal on a sweet note with this warm, gooey dessert that pairs wonderfully with a scoop of vanilla ice cream, creating a perfect comforting finish.
Storage Tips for Cheesy Garlic Rolls
Room Temperature: Store leftover cheesy garlic rolls in an airtight container at room temperature for up to 2 days to maintain their soft texture.
Fridge: If you need to extend their freshness, you can keep them in the fridge for up to 5 days. Wrap them well to avoid drying out.
Freezer: For longer storage, freeze individual rolls by wrapping each tightly in plastic wrap and placing them in a freezer bag for up to 3 months.
Reheating: To enjoy your cheesy garlic rolls, reheat them in a preheated oven at 350°F for about 10-15 minutes until warmed through and the cheese is gooey again.
Cheesy Garlic Rolls Variations
Invite your culinary creativity to shine by customizing these delightful rolls to suit your taste buds!
- Herb-Infused: Add oregano or thyme to the garlic butter for a fragrant twist that packs even more flavor.
- Cheese Swap: Try using cheddar or gouda instead of mozzarella to introduce a new dimension of meltiness to your rolls.
- Veggie Boost: Fold in some cooked spinach or sun-dried tomatoes into the filling for added nutrition and flavor.
- Spicy Touch: Mix in red pepper flakes with your garlic butter to give your rolls a delectable kick that spice lovers will adore.
- Sweet & Savory: Add a drizzle of honey on top of the rolls before baking for a surprising touch of sweetness that beautifully contrasts the savory elements.
- Nutty Flavor: Incorporate toasted pine nuts into the cheese filling for added crunch and a nutty richness that enhances every bite.
- Whole Wheat Option: Substitute half of the all-purpose flour for whole wheat flour to add a nutty flavor and extra fiber.
- Gluten-Free: Use a gluten-free all-purpose flour blend to make these rolls suitable for gluten-sensitive guests without sacrificing flavor or texture.
For the perfect accompaniment, serve these rolls alongside some of our delicious recipes like Garlic Butter Steak Bites or offer your guests a crunchy bite with our Cheesy Parmesan Mozzarella Bites. Your creation will surely impress everyone at the table!
Expert Tips for Cheesy Garlic Rolls
- Lukewarm Milk: Make sure your milk is at the right temperature (100-110°F) to ensure the yeast activates properly for fluffy Cheesy Garlic Rolls.
- Kneading Technique: Don’t over-knead the dough; it should remain slightly tacky for the best texture. A well-kneaded dough ensures softness.
- Adjustment for Size: If you prefer larger rolls, be mindful to adjust the baking time accordingly to avoid undercooking within.
- Prevent Overbrowning: If your rolls are browning too quickly, tent them with foil while baking to prevent burning.
- Flour Balance: Start with the listed flour but feel free to adjust as needed—too much flour can lead to dry rolls while too little can make them too sticky.
Make Ahead Options
These Soft and Fluffy Cheesy Garlic Rolls are a fantastic option for meal prep enthusiasts! You can prepare the dough and shape the rolls up to 24 hours in advance by placing them in a greased pan, covering tightly, and refrigerating after the second rise. This overnight method allows the flavors to develop while saving you time on busy days. When you’re ready to bake, simply let them come to room temperature for about 30 minutes, brush with the egg wash, and pop them in the oven. With this prep-ahead strategy, you’ll have freshly baked rolls that are just as delicious and fluffy, perfect for any meal!
Cheesy Garlic Rolls Recipe FAQs
How do I choose the best garlic for the filling?
Absolutely! Fresh garlic is the best choice for a vibrant flavor, so look for firm cloves without any dark spots or sprouting. If you must use pre-minced garlic, opt for high-quality products to enhance the overall taste of your cheesy garlic rolls.
What’s the best way to store leftover cheesy garlic rolls?
Very simple! Store your leftover rolls in an airtight container at room temperature for up to 2 days. If you’d like them to last longer, you can refrigerate them for up to 5 days. Just make sure they’re well-wrapped to keep them soft and tasty.
Can you freeze cheesy garlic rolls?
Yes, definitely! You can freeze your cheesy garlic rolls for up to 3 months. To do this, wrap each roll tightly in plastic wrap and then place them in a freezer bag. When you’re ready to enjoy them again, just thaw in the fridge overnight and reheat in a preheated oven at 350°F for 10-15 minutes.
What should I do if my dough doesn’t rise properly?
If your dough doesn’t seem to rise, it could be due to inactive yeast. Make sure your yeast is fresh, and check that the milk you used was lukewarm (around 100-110°F). If your dough remains flat after the first rise, try letting it sit in a warm spot, covered, for a little longer to help encourage that much-needed puff!
Are these cheesy garlic rolls suitable for a vegan diet?
Yes! You can easily adapt this recipe for a vegan diet. Replace the egg with a flax egg, use dairy-free butter in the dough and garlic filling, and switch the cheese for vegan options or nutritional yeast. Yum! Your cozy, cheesy garlic rolls can be enjoyed by everyone!
What can I serve with cheesy garlic rolls?
The more the merrier! These rolls are fantastic on their own but shine even more as a side dish for comforting meals like pasta, soups, or tossed salads. Enhance your feast by featuring these delightful rolls on a warm bread platter along with dips or spreads for a cozy gathering.
Heavenly Cheesy Garlic Rolls You Can’t Resist
Ingredients
Equipment
Method
- In a mixing bowl, combine 1 cup of warm milk, 2 tablespoons of sugar, and 2 teaspoons of active dry yeast. Let sit for 8-10 minutes until frothy.
- Add 1 beaten egg, 3 cups of all-purpose flour, and 1 teaspoon of salt to the yeast mixture. Blend on low speed until combined.
- Transfer to a floured surface and knead for about 5-6 minutes until smooth and slightly tacky.
- Place the kneaded dough in a greased bowl and let it rise in a warm place until doubled in size, approximately 60-90 minutes.
- Mix together 4 tablespoons of softened butter, 3-4 cloves of minced garlic, 2 tablespoons of chopped fresh parsley, and a pinch of salt and pepper.
- Roll out the dough into a rectangle about 1/4-inch thick, spread 2/3 of garlic butter, sprinkle mozzarella and parmesan, then roll it into a log.
- Slice into 8 pieces and place in a greased baking pan, cover, and let rise for 25-35 minutes.
- Preheat your oven to 350°F about 10 minutes before the second rise ends.
- Brush tops with an egg wash and bake for 25-30 minutes until golden brown.
- Brush with remaining garlic butter after baking and serve warm.
Leave a Reply