
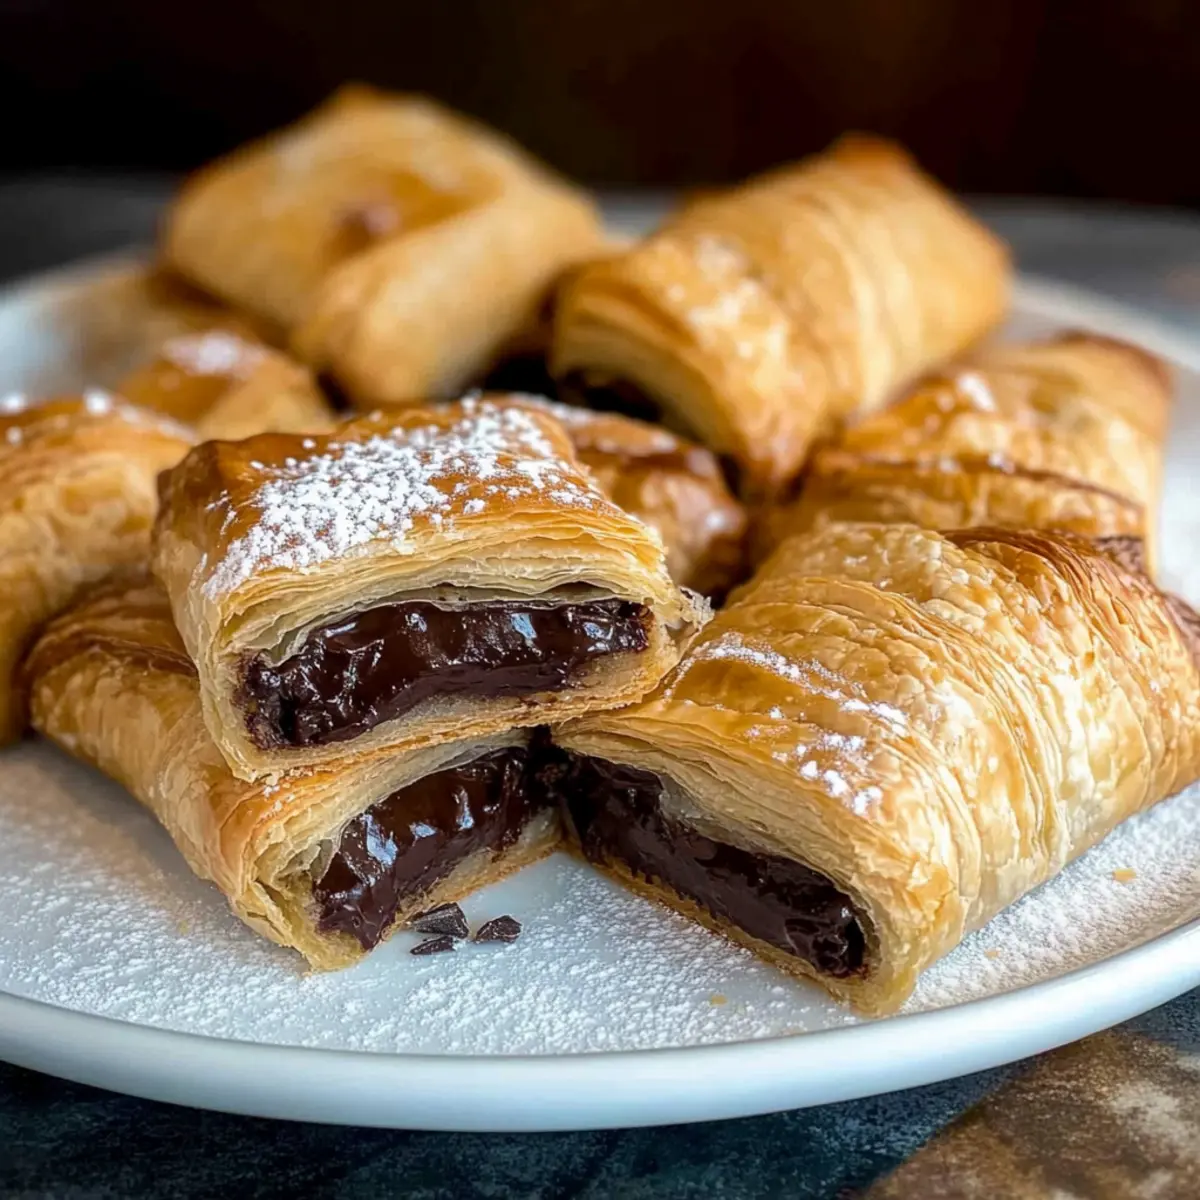
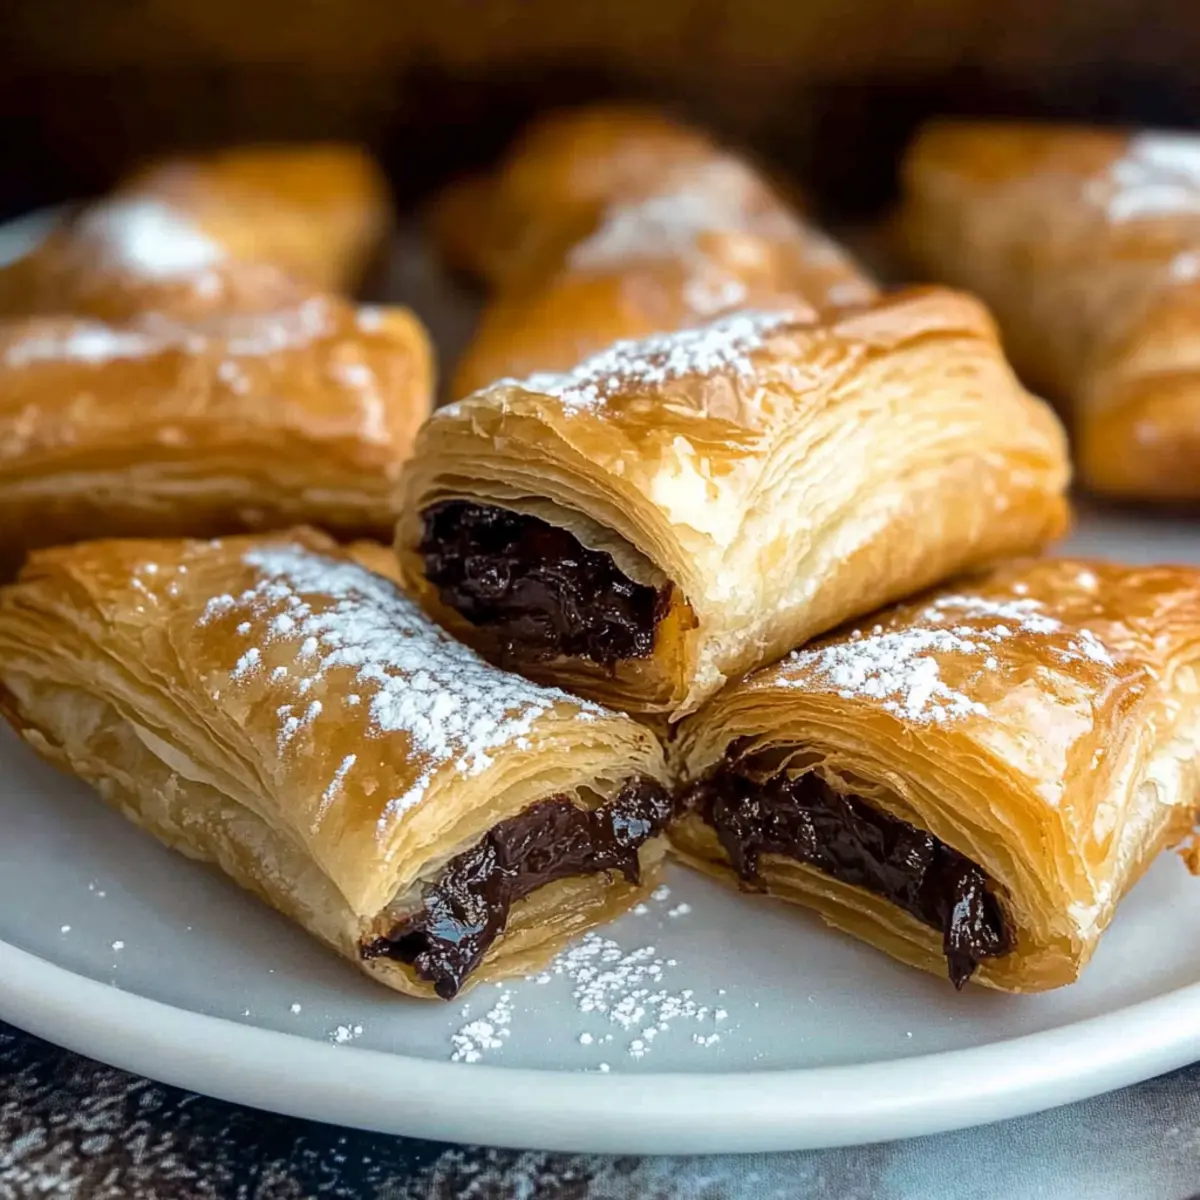
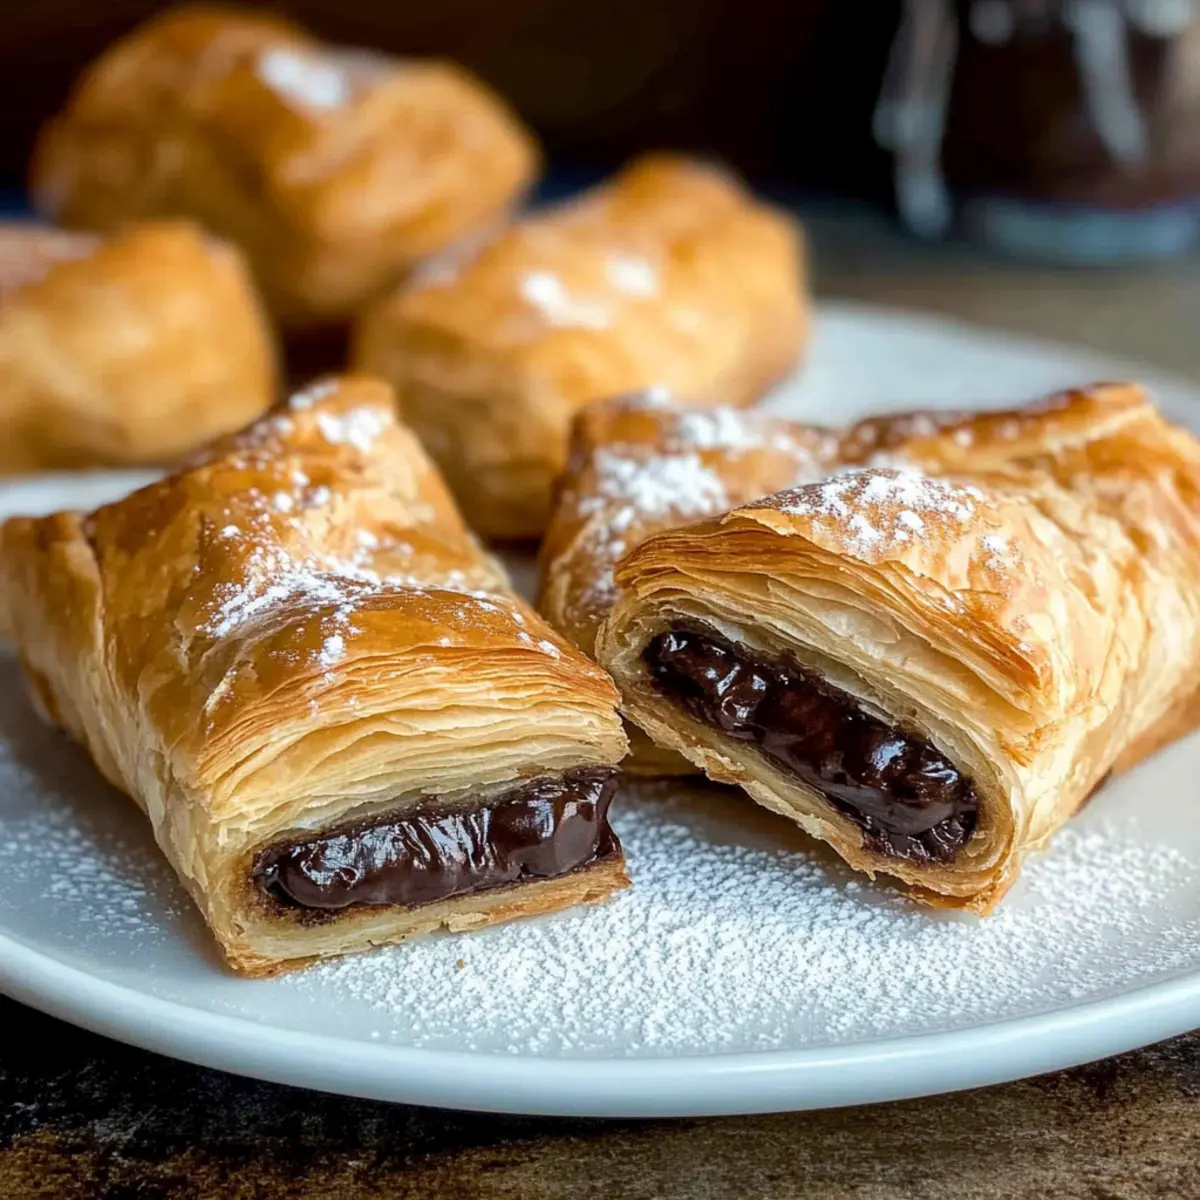
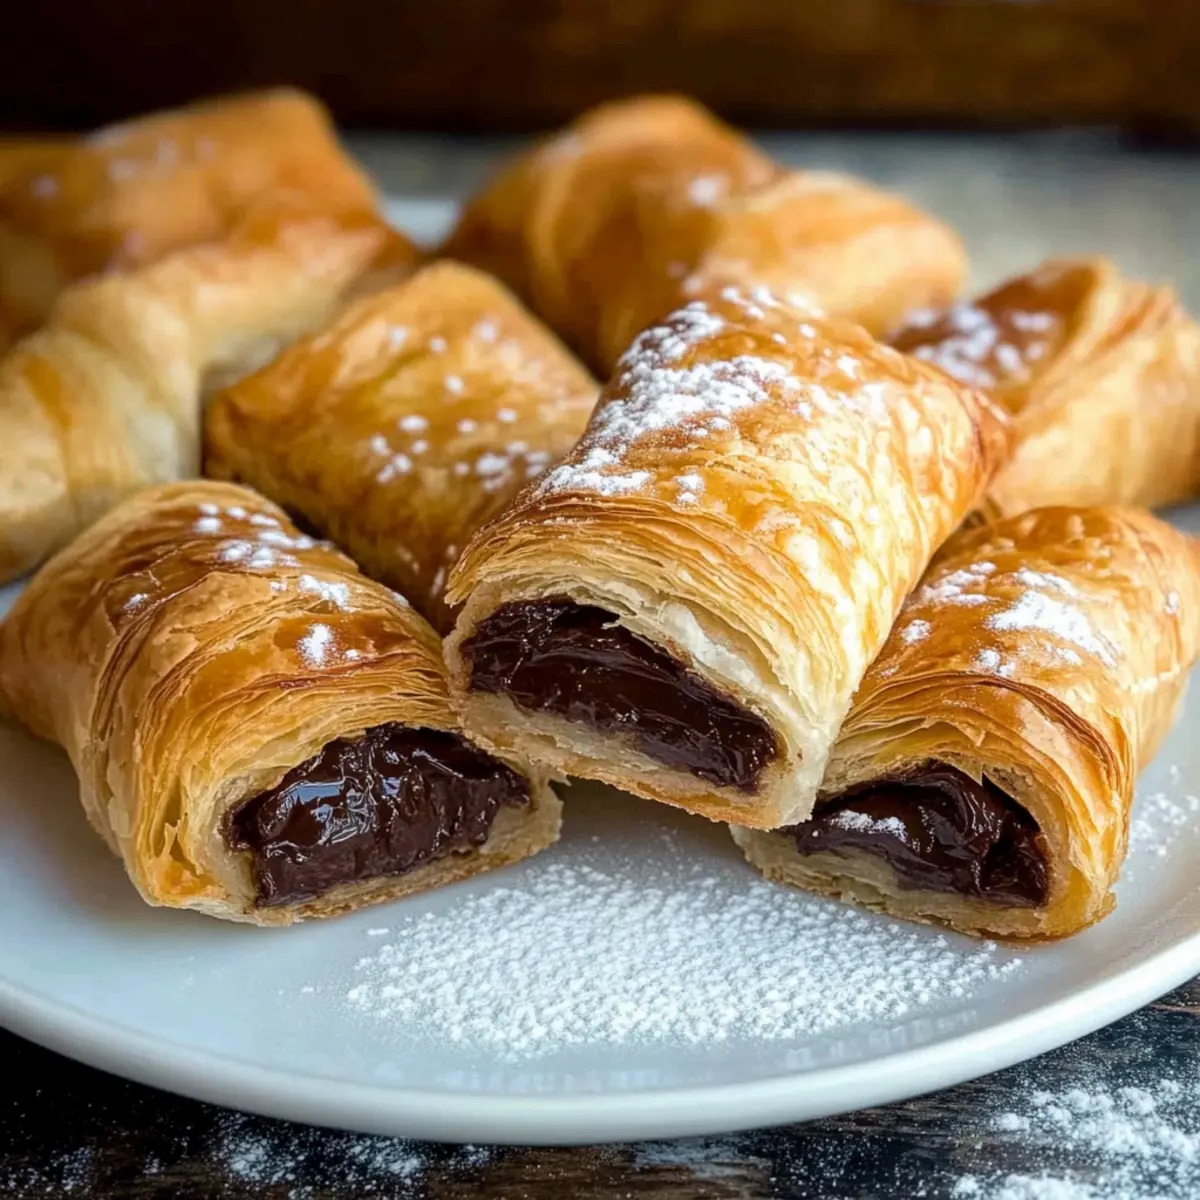
As I stood in my kitchen, the savory aroma of baked treats filled the air, transporting me to the charming cafés of Europe. That’s when I decided to whip up a batch of Chocolate Puff Pastry. This delightful dessert is a quick, 3-ingredient wonder that transforms simple ingredients into a luxurious indulgence in just 25 minutes. Flaky and golden on the outside, these pastries embrace rich, melted chocolate on the inside, making them the perfect treat for breakfast or an elegant after-dinner delight. Plus, anyone can master this easy recipe, no culinary degree required! Would you believe such a delectable delight can come from just three basic ingredients? Let’s dive into creating this irresistible chocolate experience together!
Why is Chocolate Puff Pastry a Must-Try?
Irresistibly Simple: With only three ingredients, this dessert comes together effortlessly, making it perfect for any home cook looking to impress without the fuss.
Quick Satisfaction: In just 25 minutes, you can indulge in a warm pastry filled with rich chocolate, perfect for satisfying those sweet cravings.
Flaky Texture: The golden-brown puff pastry creates a wonderfully flaky exterior that perfectly partners with the gooey chocolate inside, reminiscent of fancy bakeries.
Versatile Treat: Enjoy them as a delightful breakfast option or serve them as an elegant addition to your dinner party, ensuring they’re a crowd favorite.
Great for Customization: Feel free to experiment with chocolate types or add a sprinkle of sea salt for a uniquely gourmet flavor, similar to what you’ll find in my other recipes like Rocky Road Chocolate and Peanut Butter Chocolate.
Always a Hit: Whether you’re new to baking or a seasoned chef, this Chocolate Puff Pastry is sure to impress your family and friends, proving that dessert doesn’t have to be complicated to be delicious!
Chocolate Puff Pastry Ingredients
• Discover the magic with these essentials!
For the Pastry
- Frozen Puff Pastry – Essential for creating a flaky, layered texture; choose a quality brand for the best result.
- Dark Chocolate Chips – Provides a rich, semi-sweet flavor; feel free to substitute with your favorite chocolate type, including baking chocolate or chopped bars.
For the Dusting
- Powdered Sugar – Dusts the finished pastries for added sweetness and a lovely appearance; you can also use sanding sugar for extra crunch.
Step‑by‑Step Instructions for Chocolate Puff Pastry
Step 1: Thaw Puff Pastry
Begin by laying out the frozen puff pastry sheets on a clean countertop, following the package instructions for thawing. Keep the sheets in their wrapper until ready to use, ensuring they remain cold. Allow them to defrost completely for about 30 minutes, as working with cold pastry helps create that delightful, flaky texture.
Step 2: Preheat Oven
While the pastry thaws, preheat your oven to 400ºF (200ºC). Meanwhile, prepare a baking sheet by lining it with parchment paper to prevent sticking and ensure even baking. This heat is crucial for achieving the golden-brown color of your Chocolate Puff Pastry, so don’t skip this step!
Step 3: Cut and Fill
Once the puff pastry is thawed, use a sharp knife to cut each sheet into six rectangles, creating uniform pieces for even baking. Scatter half the dark chocolate chips onto each rectangle, ensuring they’re evenly distributed. Roll the pastry tightly from the short end to encase the chocolate, creating a snug and delicious filling.
Step 4: Prepare for Baking
With the rolled pastries ready, carefully place them seam side down on the prepared baking sheet. Leave a little space between each pastry to allow for puffing and expansion during baking. This arrangement will help achieve the perfect, airy texture in your Chocolate Puff Pastry.
Step 5: Bake
Slide the baking sheet into your preheated oven and let the pastries bake for approximately 20 minutes. Keep an eye on them as they rise; the goal is to achieve a beautiful golden-brown color and a crisp texture. The aroma of chocolate will fill your kitchen, promising delightful treats ahead!
Step 6: Cool and Dust
After baking, gently transfer your Chocolate Puff Pastry to a cooling rack, allowing them to sit for a few minutes. Once they’re comfortably cool, generously dust the pastries with powdered sugar for a touch of sweetness and a visually appealing finish. This final step enhances the dessert, making it irresistible!
Make Ahead Options
These Chocolate Puff Pastries are fantastic for meal prep enthusiasts! You can prepare the dough and roll the pastries up to 24 hours in advance; just wrap them tightly in plastic wrap and store them in the refrigerator to maintain their flakiness. Additionally, you can go the extra mile by cutting the puff pastry into rectangles and filling them with chocolate up to 3 days ahead. To prevent browning, keep the unbaked pastries covered in the fridge until you’re ready to bake. When ready to serve, simply preheat your oven, pop them in, and bake according to the instructions for warm, delicious pastries with no extra hassle. Enjoy the comforting convenience of having these delightful treats ready to go for busy weeknights!
What to Serve with Quick and Easy Chocolate Puff Pastry
Imagine savoring a warm, flaky pastry while sipping on a perfectly brewed drink or enjoying a fresh fruit pairing that heightens the flavors.
- Italian Espresso: Elevate your experience with a rich, bold espresso that perfectly complements the sweet, chocolatey notes of the pastry.
- Vanilla Ice Cream: A scoop of creamy vanilla ice cream adds a delightful contrast to the warm, gooey chocolate filling, creating a decadent dessert experience.
- Fresh Berries: Bright, juicy berries provide a refreshing burst of flavor, balancing the richness of the puff pastry and adding a touch of color.
- Whipped Cream: Light and airy whipped cream serves as the ideal topping, enhancing each bite with its sweet creaminess and making it even more indulgent.
- Mint Tea: A calming herbal mint tea not only cleanses the palate but also infuses a gentle freshness that complements the dessert’s richness beautifully.
- Chocolate Sauce Drizzle: For the true chocolate lover, a drizzle of warm chocolate sauce intensifies the treat and makes it even more divine.
- Cheese Plate: A light cheese platter featuring creamy brie or tangy goat cheese can create a refined touch, balancing out the sweetness with savory elements.
These delightful offerings will not only complement your Chocolate Puff Pastry but will also create an unforgettable dining experience!
Chocolate Puff Pastry Variations
Feel free to get creative and customize your Chocolate Puff Pastry to suit your taste and occasion!
-
Milk Chocolate: Substitute dark chocolate chips with milk chocolate for a sweeter, creamier filling that brings a different dimension to your pastries.
-
White Chocolate Delight: Use white chocolate chips to create a dreamy, sweet version that pairs beautifully with a hint of vanilla or almond extract. It’s a delightful twist for those who prefer something sweeter.
-
Nutty Addition: Add a sprinkle of chopped nuts, such as walnuts or hazelnuts, inside the pastry for an extra crunchy texture and nutty flavor. Each bite will provide a satisfying contrast to the melted chocolate.
-
Fruity Flavor Boost: Incorporate a few slices of fresh strawberries or raspberries with the chocolate. The tartness of the berries complements the rich chocolate splendidly and adds a lovely burst of color.
-
Spiced Up: Add a dash of cinnamon or a pinch of chili powder inside the filling for a warm, spicy kick that surprises the palate. This unexpected twist can make all the difference!
-
Sea Salt Sprinkle: Before baking, finish with a light dusting of flaky sea salt on top of the pastries for a gourmet touch. The salt enhances the chocolate flavor while providing a satisfying contrast.
-
Caramel Drizzle: Once your pastries are baked and cooled, drizzle with melted caramel for that extra layer of sweetness and elegance. This easy addition will make them even more decadent.
-
Stuffed Pastries: For a fun twist, stuff the pastry with a mix of chocolate and peanut butter, giving it a rich flavor reminiscent of classic desserts. Enjoying this treat may just remind you of my High Protein Chocolate recipe!
Expert Tips for Chocolate Puff Pastry
Keep it Cold: Ensure your puff pastry stays chilled until you’re ready to bake. Warm pastry can become too soft, leading to less puffing and a denser texture.
Quality Ingredients Matter: Opt for a high-quality frozen puff pastry and good dark chocolate chips. Quality yields a significantly better taste and texture in your Chocolate Puff Pastry.
Even Baking: Space pastries evenly on the baking sheet to allow for proper puffing. Overcrowding can lead to uneven baking and soggy bottoms.
Watch the Oven: Keep an eye on them while baking. Ovens vary, so check a few minutes early to avoid over-browning or burning.
Dust After Cooling: Always wait for the pastries to cool before dusting with powdered sugar. This ensures the sugar doesn’t melt into the warm pastry, keeping that charming appearance.
How to Store and Freeze Chocolate Puff Pastry
Room Temperature: Store baked Chocolate Puff Pastry in an airtight container at room temperature for up to 1 day to maintain its crispy texture.
Fridge: If you have leftovers, refrigerate them for up to 2 days. To keep them crisp, place the pastries in a container lined with paper towels.
Freezer: For longer storage, freeze unbaked Chocolate Puff Pastry. Wrap the rolled pastries tightly in plastic wrap and store in a freezer bag for up to 3 months.
Reheating: To reheat, bake thawed pastries at 350ºF (175ºC) for 10-12 minutes until warm and crispy.
Chocolate Puff Pastry Recipe FAQs
What type of puff pastry should I use for this recipe?
Absolutely! I highly recommend using a high-quality frozen puff pastry for the best results. Look for brands that list butter as a primary ingredient, as this contributes to that beautiful flaky texture we’re aiming for. You’ll want to keep it cold until just before baking to ensure maximum puffing.
How should I store leftover Chocolate Puff Pastry?
To maintain the crispness of your baked Chocolate Puff Pastry, store them in an airtight container at room temperature for up to 1 day. If you need to keep them longer, refrigerate them for up to 2 days in a container lined with paper towels, which helps absorb moisture and keeps the pastry crisp.
Can I freeze Chocolate Puff Pastry before baking?
Very much so! You can freeze unbaked Chocolate Puff Pastry to enjoy later. After rolling them up, wrap each pastry tightly in plastic wrap. Place them in a freezer bag and store in the freezer for up to 3 months. When you’re ready to bake, just thaw them in the fridge overnight before popping them straight into the oven at 400ºF (200ºC) for that fresh-out-of-the-oven taste.
What should I do if my puff pastry doesn’t rise?
If your Chocolate Puff Pastry doesn’t puff up as expected, it could be due to a few factors. First, ensure you kept the pastry cold before baking; warm dough can lead to flat pastries. Secondly, check your oven’s temperature with an oven thermometer to make sure it’s accurate. Baking for the right amount of time is critical too—keep an eye on them as they bake, aiming for that perfect golden brown color.
Is Chocolate Puff Pastry safe for pets?
While the ingredients in Chocolate Puff Pastry aren’t toxic to dogs or cats, especially the puff pastry itself, the chocolate poses an undeniable risk. Chocolate is harmful to pets, so it’s essential to keep these treats out of their reach. Always prioritize your furry friend’s safety!
Can I use different types of chocolate?
The more the merrier! You can definitely experiment with different types of chocolate in your Chocolate Puff Pastry. Milk chocolate or white chocolate can be delightful alternatives. Just bear in mind that the sweetness and melting properties will change slightly, which could lead to a different overall flavor and texture. Add a sprinkle of sea salt for a gourmet touch!
Decadent Chocolate Puff Pastry in Just 25 Minutes
Ingredients
Equipment
Method
- Thaw the frozen puff pastry sheets on a clean countertop as per package instructions for about 30 minutes.
- Preheat oven to 400ºF (200ºC) and line a baking sheet with parchment paper.
- Cut each thawed puff pastry sheet into six rectangles and fill them with dark chocolate chips.
- Roll the pastry tightly, seam side down on the baking sheet, leaving space between each.
- Bake in the preheated oven for approximately 20 minutes or until golden brown.
- Let cool on a rack and dust with powdered sugar before serving.
Leave a Reply