
As I stood in my kitchen, the sun pouring in, I caught a whiff of something magical—sweet vanilla calling me back to lazy summer days of my childhood. That’s when I realized it was time to whip up a batch of my no-cook homemade vanilla ice cream. This delightful treat not only captures the essence of nostalgia but is astonishingly simple to prepare. With just a few ingredients and no cooking required, it’s perfect for family gatherings or those warm evenings on the patio. Imagine satisfying your cravings for a delicious dessert while keeping things effortless and fun! Plus, you have the flexibility to customize it with your favorite mix-ins or enjoy it as is. So, are you ready to scoop up a little happiness?
Why is No-Cook Vanilla Ice Cream a Must-Try?
Simplicity at its best: With no cooking required, this recipe is perfect for anyone looking to whip up a sweet treat quickly.
Endless customization options: Feel free to stir in your favorite mix-ins like fresh fruits or chocolate chips for a unique twist.
Rich, creamy texture: The use of heavy cream and whole milk creates an indulgent, super creamy ice cream that rivals gourmet varieties.
Nostalgic flavors: This no-cook vanilla ice cream evokes memories of childhood summers, making it a delightful addition to family gatherings.
Quick indulgence: No baking means you can enjoy this delicious dessert within hours, perfect for unexpected guests.
Add a scoop to your pie or serve it alongside a classic Garlic Butter Sauce for a memorable meal!
Vanilla Ice Cream Ingredients
- For the Ice Cream Base
- Heavy Cream – Provides richness and a smooth texture; substitute with half-and-half for a lighter option.
- Whole Milk – Adds creaminess and ensures scoopability; low-fat milk works, though the texture may vary.
- Sugar – Sweetens the mix; granulated sugar is standard, but honey or agave syrup can be used for a different flavor.
- Salt – Balances flavors; using sea salt gives a more complex taste.
- Vanilla Extract – Offers that classic vanilla flavor; pure vanilla extract is best, or use vanilla bean paste for a more intense profile.
This no-cook vanilla ice cream recipe will not only satisfy your cravings but also bring joyful memories of summer days on every scoop!
Step-by-Step Instructions for No-Cook Homemade Vanilla Ice Cream
Step 1: Mix the Ingredients
In a large mixing bowl, add 2 cups of heavy cream, 1 cup of whole milk, 3/4 cup of granulated sugar, a pinch of salt, and 2 teaspoons of pure vanilla extract. Whisk together vigorously for about 2-3 minutes until the sugar is fully dissolved, and the mixture is smooth. The consistency should be slightly thickened, and you’ll notice the rich aroma of vanilla wafting through.
Step 2: Pour into Ice Cream Maker
Once your mixture is well combined, carefully pour it into the ice cream maker’s bowl. Make sure not to exceed the maximum fill line indicated by your machine. Secure the lid of your ice cream maker and place it in the freezer. Depending on your model, it usually takes about 20-30 minutes to churn until it reaches a soft-serve consistency.
Step 3: Achieve Soft-Serve Texture
As the ice cream maker processes the mixture, keep an eye on its texture. You’ll know it’s ready when it looks fluffy and slightly holds its shape when scooped with a spatula. This step is crucial for your homemade vanilla ice cream, as achieving the right consistency makes all the difference for a delightful treat.
Step 4: Firm Up the Ice Cream
For a firmer texture, transfer your soft-serve ice cream into a lidded container after churning. Smooth the top with a spatula and seal it tightly. Place the container in the freezer for at least 4 hours, or until it hardens to your desired consistency. When finished, the ice cream should be creamy yet scoopable, ready for serving.
Step 5: Customize with Mix-Ins (Optional)
Before freezing, if you want to add a personal twist to your no-cook vanilla ice cream, now is the time! Stir in your favorite mix-ins, like chocolate chips, crushed fruit, or nuts, ensuring they are evenly distributed throughout the mixture. This adds a delightful burst of flavor and texture to your creamy treat.
Step 6: Serve and Enjoy
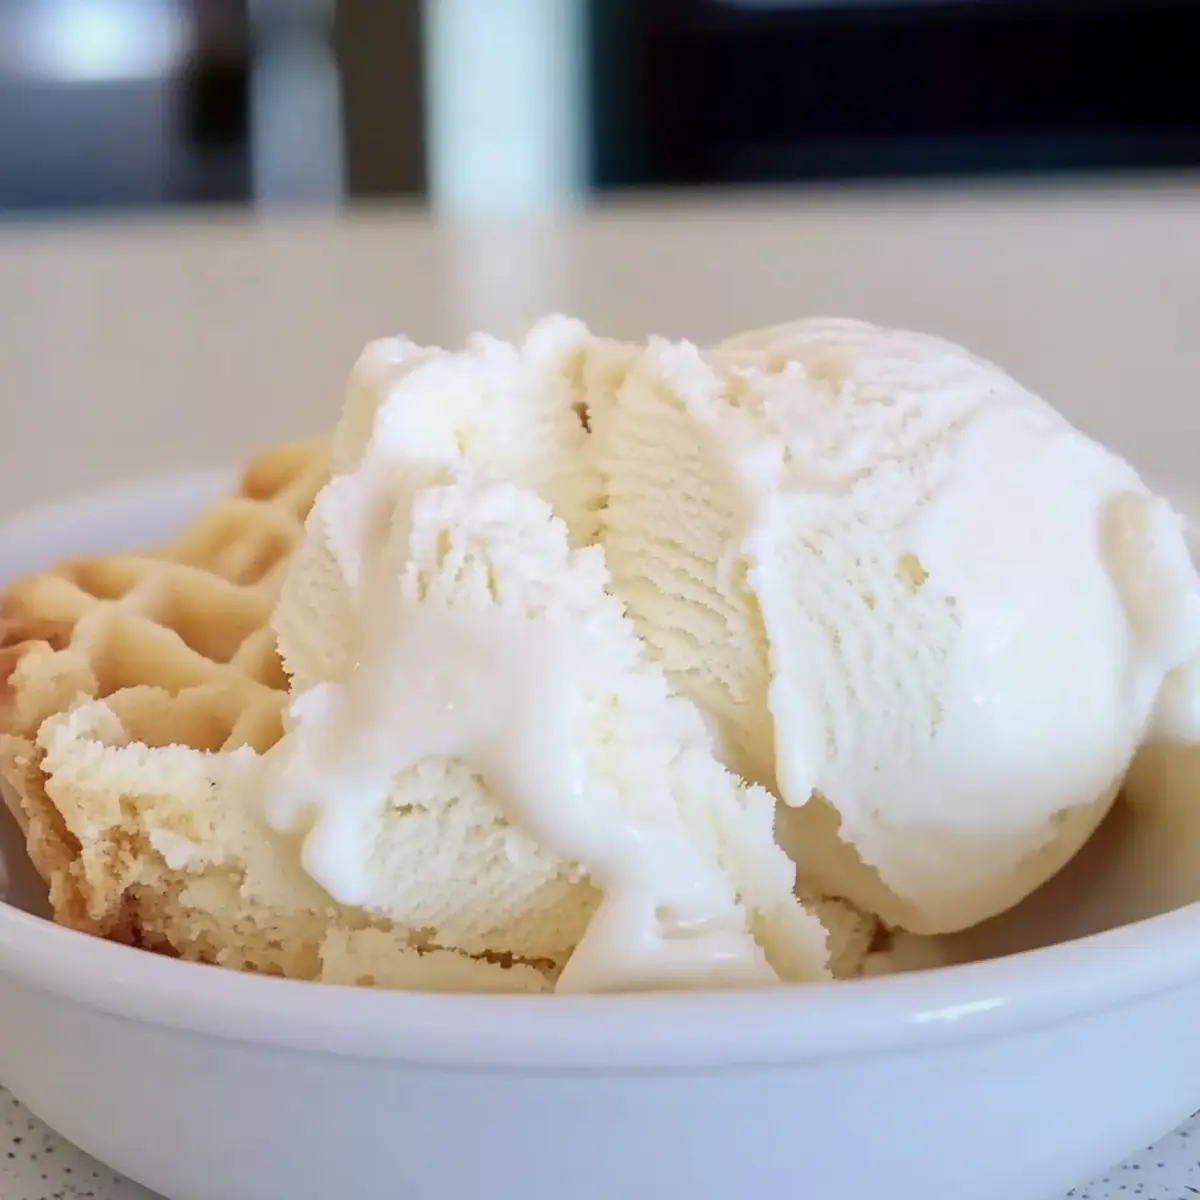
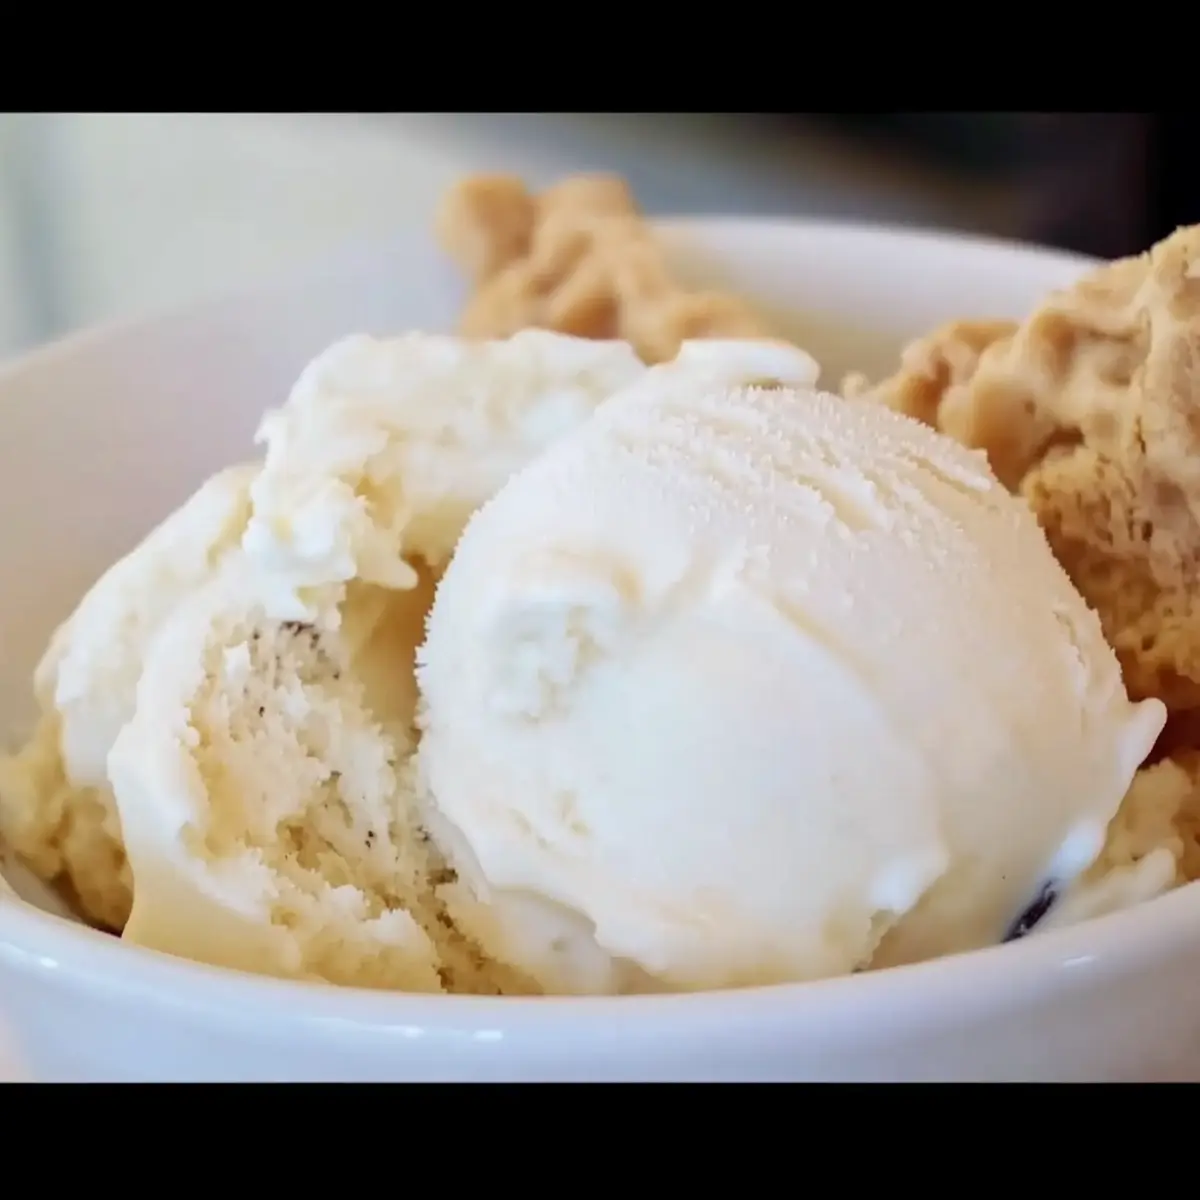
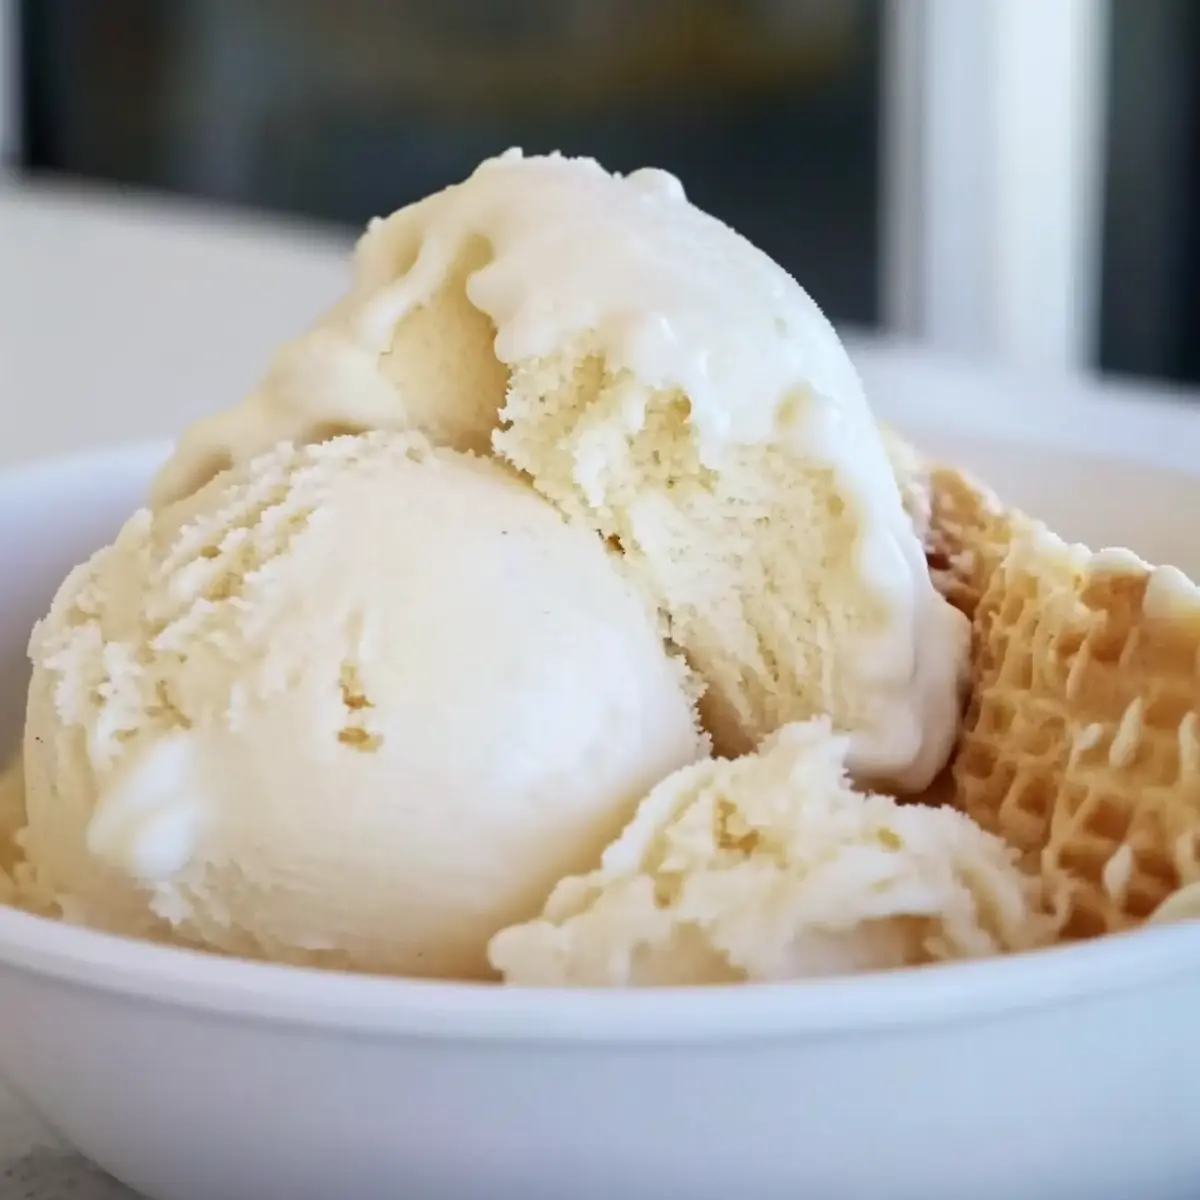
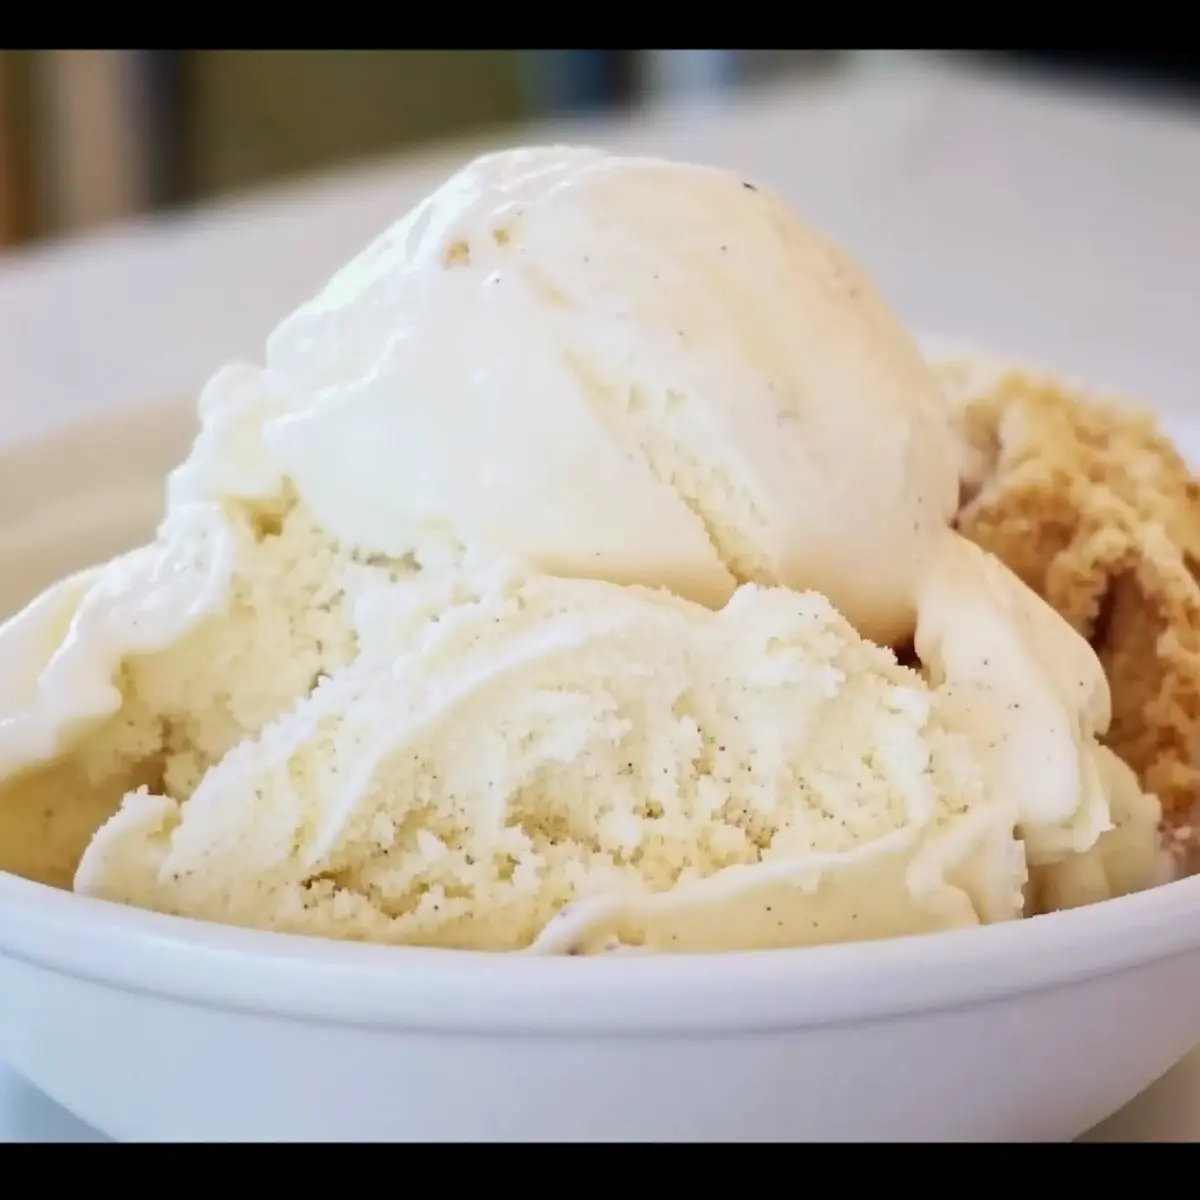
Once the vanilla ice cream has set, scoop it into bowls or cones for serving. For an extra touch, drizzle with chocolate syrup or top with fresh fruit if desired. Your homemade vanilla ice cream is now ready to be enjoyed, perfectly capturing the sweet essence of summer in every bite!
Vanilla Ice Cream Variations & Substitutions
Dive into the delicious world of customization with your vanilla ice cream—there’s so much to explore!
- Dairy-Free: Substitute heavy cream and whole milk with coconut cream and almond milk for a delightful vegan twist.
- Low-Calorie: Swap sugar with stevia or a sugar substitute to lighten up your creamy indulgence without sacrificing flavor.
- Add a Twist: Experiment with mix-ins! Stir in swirls of caramel, peanut butter, or crushed cookies for an exciting texture.
- Fruity Delight: Incorporate fresh fruit purees, like strawberry or raspberry, for a luscious flavor burst that invigorates your ice cream.
- Nutty Addition: Toss in some finely chopped nuts, such as pistachios or walnuts, to add a delightful crunch to your creamy creation.
- Fancy Flavors: For a gourmet touch, infuse your mixture with herbal notes like lavender or mint to elevate your vanilla ice cream.
- Decadent Chocolate: Create a chocolate version by adding cocoa powder or melted chocolate directly into the base. A chocolate lover’s dream!
- Italian Style: Fold in a splash of espresso for a coffee-flavored treat that tantalizes the taste buds, reminiscent of a classic affogato.
Once you try these variations, you might find a new favorite! And if you ever want to complement your ice cream with something savory, consider serving it alongside a beautiful roast chicken drizzled with a Herb Roasted Sauce for a well-rounded meal!
Tips for the Best Vanilla Ice Cream
-
Quality Ingredients: Use high-quality heavy cream and pure vanilla extract. They make all the difference in the flavor of your homemade vanilla ice cream.
-
Mix Thoroughly: Ensure all ingredients are well combined before freezing. This prevents graininess and ensures a smooth texture.
-
Monitor Freezing Time: Different ice cream makers vary in processing time. Watch closely as it churns, so your vanilla ice cream reaches the perfect soft-serve consistency without overdoing it.
-
Avoid Overcrowding: Don’t overfill your ice cream maker; this can affect the churning process. Always adhere to the manufacturer’s recommended fill line.
-
Let it Rest: If your vanilla ice cream is too hard after freezing, let it sit at room temperature for a few minutes before scooping. This will make serving easier!
Make Ahead Options
Preparing this no-cook homemade vanilla ice cream ahead of time is a fantastic way to save time for busy evenings or family gatherings! You can mix the ice cream base in advance—up to 24 hours—and store it in the refrigerator for optimal flavor enhancement. Just remember to whisk the mixture well before pouring it into the ice cream maker. If you’d like to add any mix-ins, such as chocolate chips or fruits, do this right after churning for the best freshness. Once the ice cream is completed, transfer it to a lidded container and freeze for up to 2 weeks; however, for the best quality, consume within a week. This way, you’ll still enjoy that creamy, delightful vanilla ice cream that feels just as special as if you had made it fresh!
How to Store and Freeze Vanilla Ice Cream
Airtight Container: Store your homemade vanilla ice cream in an airtight container to prevent freezer burn and maintain its rich, creamy texture for up to two weeks.
Optimal Freshness: For the best flavor and quality, aim to consume the ice cream within one week. This ensures you enjoy it at its freshest with that delightful homemade taste.
Reheating Tips: If your ice cream becomes too hard, simply let it sit at room temperature for about 5-10 minutes before scooping. This will soften it, making it easier to serve.
Freezer Placement: Store the container towards the back of the freezer where temperatures are most consistent, ensuring your vanilla ice cream stays delicious and creamy.
What to Serve with No-Cook Homemade Vanilla Ice Cream
Indulging in creamy no-cook vanilla ice cream opens a world of delightful pairings that elevate your dessert experience.
-
Fresh Berries: Juicy strawberries, raspberries, or blueberries add a burst of freshness and acidity that beautifully contrasts the ice cream’s richness.
-
Chocolate Sauce: A drizzle of warm chocolate sauce creates a luscious harmony, turning each scoop into a decadent treat that feels indulgent yet comforting.
-
Waffle Cones: Crunchy waffle cones offer a delightful crunch that complements the silky smoothness of the ice cream, making every bite a joy.
Let’s not forget the crispy texture! Adding flavored or plain waffle cones adds a playful element to your dessert experience—ideal for summertime gatherings or cozy evenings at home.
-
Espresso: A shot of hot espresso creates a delightful affogato, blending coffee with ice cream for a delightful combination of flavors and temperatures.
-
Homemade Brownies: Rich, fudgy brownies contrast the ice cream’s creaminess, delivering an unforgettable chocolate experience that’s hard to resist.
Pairing them together results in a super satisfying dessert that brings warmth and joy to any gathering.
-
Toasted Nuts: Almonds or hazelnuts add a satisfying crunch and nutty flavor, enhancing the creamy vanilla ice cream with delightful texture.
-
Coconut Whipped Cream: The light, airy texture of coconut whipped cream compliments the vanilla flavor while adding a tropical twist that feels like a sweet vacation.
-
Caramel Sauce: A drizzle of homemade or store-bought caramel adds depth and richness, enhancing the vanilla’s character and creating an upscale dessert experience.
Enjoy exploring these pairings as you create memorable moments with your homemade vanilla ice cream!
No-Cook Homemade Vanilla Ice Cream Recipe FAQs
What kind of cream is best for vanilla ice cream?
Absolutely! I recommend using heavy cream for a rich and smooth texture. However, if you’re looking for a lighter option, half-and-half can be a great substitute. Just keep in mind that it may slightly alter the creaminess.
How should I store homemade vanilla ice cream?
To store your delicious vanilla ice cream, place it in an airtight container to keep it from developing freezer burn. It will maintain its quality for up to two weeks, but for the best flavor, try to enjoy it within one week!
Can I freeze the ice cream if I want to make it ahead of time?
Yes, you can definitely freeze your homemade vanilla ice cream! After churning, transfer it to a lidded container and freeze for at least 4 hours. If you want to store it longer, it should stay good for up to 3 months. Just let it sit at room temperature for about 5-10 minutes to soften before scooping.
What should I do if my vanilla ice cream is too hard to scoop?
That can happen sometimes! If your ice cream becomes too hard, simply let it sit at room temperature for 5-10 minutes to soften slightly. This will make it much easier to scoop and serve. You could also use a warm scooper to help with this!
Are there any dietary considerations for this recipe?
Definitely! If you’re making this for someone with dietary restrictions, consider using lactose-free heavy cream and whole milk to accommodate lactose intolerance. Additionally, you could replace granulated sugar with a sugar substitute like agave syrup if someone needs a lower-sugar option.
How can I customize my no-cook vanilla ice cream?
The more, the merrier! Before freezing, feel free to stir in your favorite mix-ins like chopped fruits, chocolate chips, or nuts. This allows you to create a personalized ice cream flavor that fits your taste perfectly!
Creamy No-Cook Vanilla Ice Cream That'll Delight Your Taste Buds
Ingredients
Equipment
Method
- In a large mixing bowl, add the heavy cream, whole milk, sugar, salt, and vanilla extract. Whisk together for 2-3 minutes until fully combined and smooth.
- Pour the mixture into the ice cream maker's bowl and churn according to the manufacturer's instructions, typically 20-30 minutes until a soft-serve texture.
- Transfer the soft-serve ice cream into a lidded container and smooth the top. Freeze for at least 4 hours to firm up.
- Optional: Stir in mix-ins like chocolate chips or crushed fruit before freezing.
- Once firm, scoop the ice cream into bowls or cones and enjoy.
Leave a Reply