
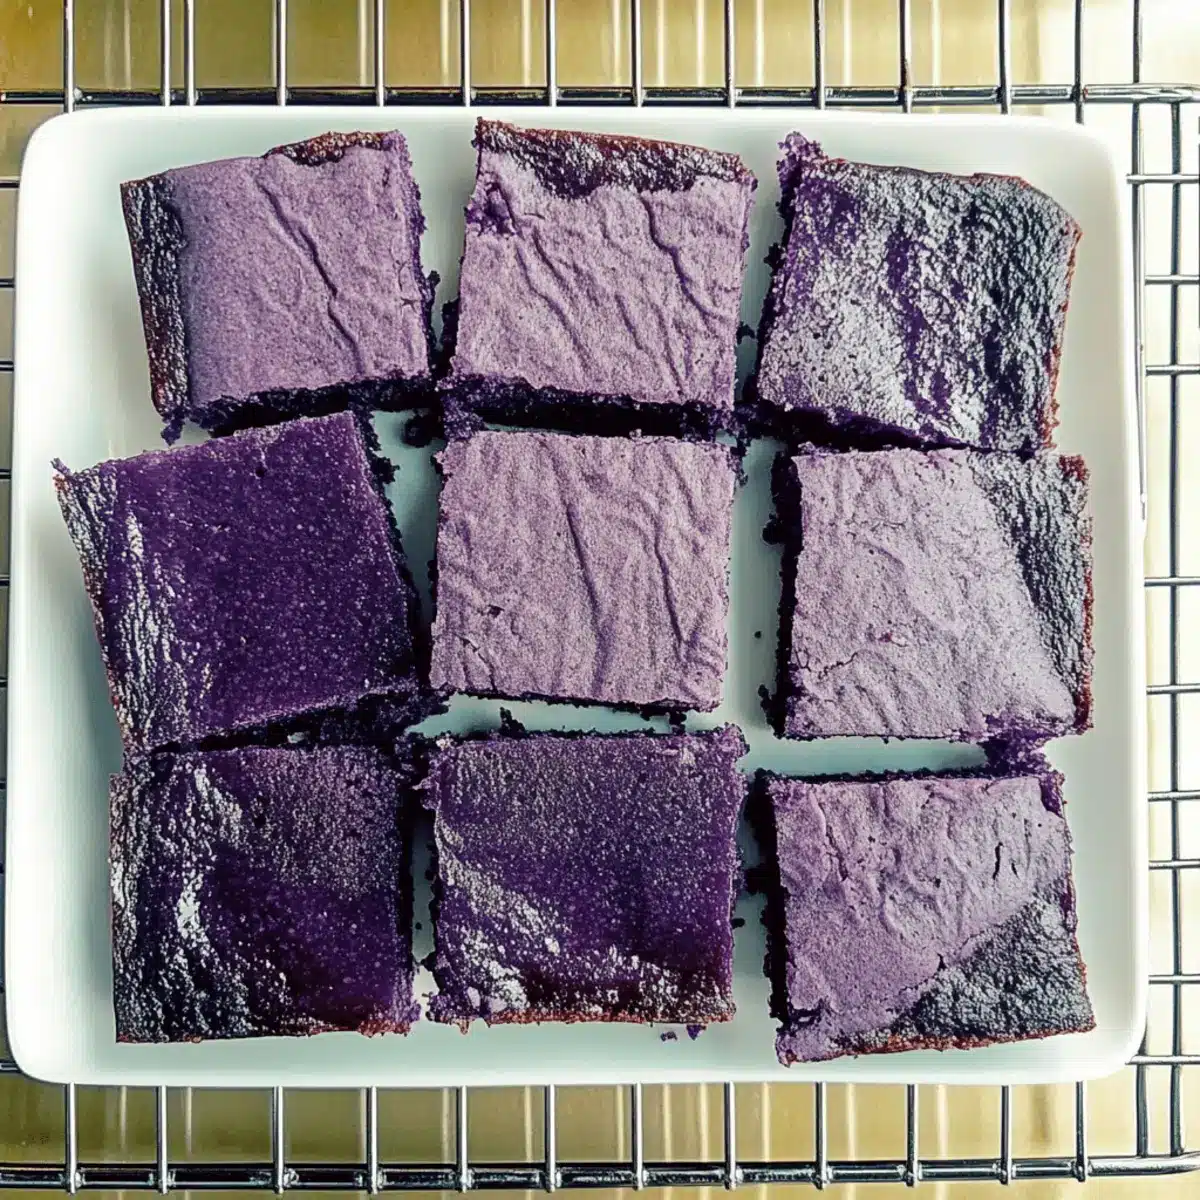
As I flipped through my favorite recipe book, I stumbled upon a gem that whisked me back to childhood gatherings—Bouncy Chewy Gluten Free Ube Mochi Cake. This delightful Filipino treat is more than just a dessert; it’s a celebration wrapped in a vibrant purple hue and a unique chewiness that’s hard to resist. Best of all, it’s a breeze to whip up in just 10 minutes with no stand mixer required! This recipe not only caters to those embracing a gluten-free lifestyle, but it also serves as a quick and easy baking adventure for anyone tired of fast food. Whether you’re planning a cozy family dinner or simply craving something sweet, this mochi cake promises to be a showstopper. Are you ready to experience the joyful taste of ube in your own kitchen?
Why is Ube Mochi Cake So Special?
Uniqueness: This bouncy chewy ube mochi cake stands out with its vibrant purple hue and rich, authentic flavors derived from Filipino ube.
Quick Prep Time: With just 10 minutes to prepare, this cake caters to those who crave homemade treats but lack time.
Gluten-Free Delight: Perfect for gluten-free diets, it allows everyone to indulge without worry, making it a crowd favorite at any gathering.
Irresistible Texture: The bouncy, chewy consistency is reminiscent of traditional mochi, providing a delightful experience in each bite.
Endless Customizations: Feel free to experiment by adding nuts, chocolate chips, or even different flavorings to make it uniquely yours.
With all these qualities, this recipe is not only a dessert but an adventure! If you’re interested in trying out more delightful treats, consider checking out our guide on quick and easy baking ideas.
Ube Mochi Cake Ingredients
- For the Batter
• Mochiko sweet rice flour – Provides the base for a chewy texture, vital for that authentic mochi experience.
• Baking powder – Adds leavening to create a light and airy crumb; ensure to use fresh baking powder for best results.
• Kosher salt – Enhances flavor balance in the cake; can substitute with regular table salt in equal measure.
• Unsalted butter (melted) – Adds richness and moisture to the cake; use coconut oil for a dairy-free version if desired.
• Granulated sugar – Sweetens the cake; brown sugar can be used for a deeper flavor profile.
• Large eggs (room temperature) – Provides structure and moisture; essential that eggs are at room temperature to prevent curdling the batter.
• Ube halaya jam – Contributes ube flavor and vibrant color; if unavailable, use extra ube extract.
• Ube extract – Intensifies the ube flavor; ensure it’s a pure extract for the most authentic taste.
• Purple food coloring – Enhances the cake’s visual appeal; optional, can omit for a more natural look.
• Coconut milk – Adds creaminess and moisture; use full-fat coconut milk for richer flavor or almond milk for a lighter option.
With this luxurious blend of ingredients, you’re on your way to creating a standout Ube Mochi Cake that not only delights the palate but also warms the heart!
Step‑by‑Step Instructions for Bouncy Chewy Gluten Free Ube Mochi Cake
Step 1: Preheat and Prepare Pan
Begin by preheating your oven to 350°F (175°C). While the oven warms up, take an 8-inch square baking pan and generously coat it with cooking spray. For added ease, line the bottom with parchment paper, leaving some overhang on the sides. This will help you effortlessly lift the mochi cake out later.
Step 2: Mix Dry Ingredients
In a small mixing bowl, combine 1 ½ cups of mochiko sweet rice flour, 2 teaspoons of baking powder, and ½ teaspoon of kosher salt. Whisk these ingredients together until well blended, ensuring there are no lumps. This dry mixture creates the foundation of your bouncy chewy ube mochi cake, so make sure to give it a good mix.
Step 3: Blend Wet Ingredients
In a medium-sized bowl, whisk together ½ cup of melted unsalted butter and 1 cup of granulated sugar until the mixture is smooth and uniform. Next, introduce 2 room temperature large eggs, adding them one at a time and mixing well after each. Stir in 1 cup of ube halaya jam, 1 teaspoon of ube extract, and a few drops of purple food coloring if desired, followed by 1 cup of coconut milk, ensuring everything is fully incorporated.
Step 4: Combine Mixtures
Gradually pour your dry ingredients into the wet mixture, stirring gently with a spatula or whisk until just combined. Be careful not to overmix; a few lumps are perfectly fine. This step is crucial to achieving a tender texture in your ube mochi cake, so blend until the dry ingredients are absorbed but leave some air in the batter.
Step 5: Bake the Cake
Pour the thick batter into the prepared pan, smoothing out the top with your spatula for an even surface. Place the pan into your preheated oven and bake for 48-50 minutes, or until a toothpick inserted in the center comes out with a few crumbs attached. Your cake should have a lovely golden hue with a slightly puffy appearance on the edges.
Step 6: Cool and Serve
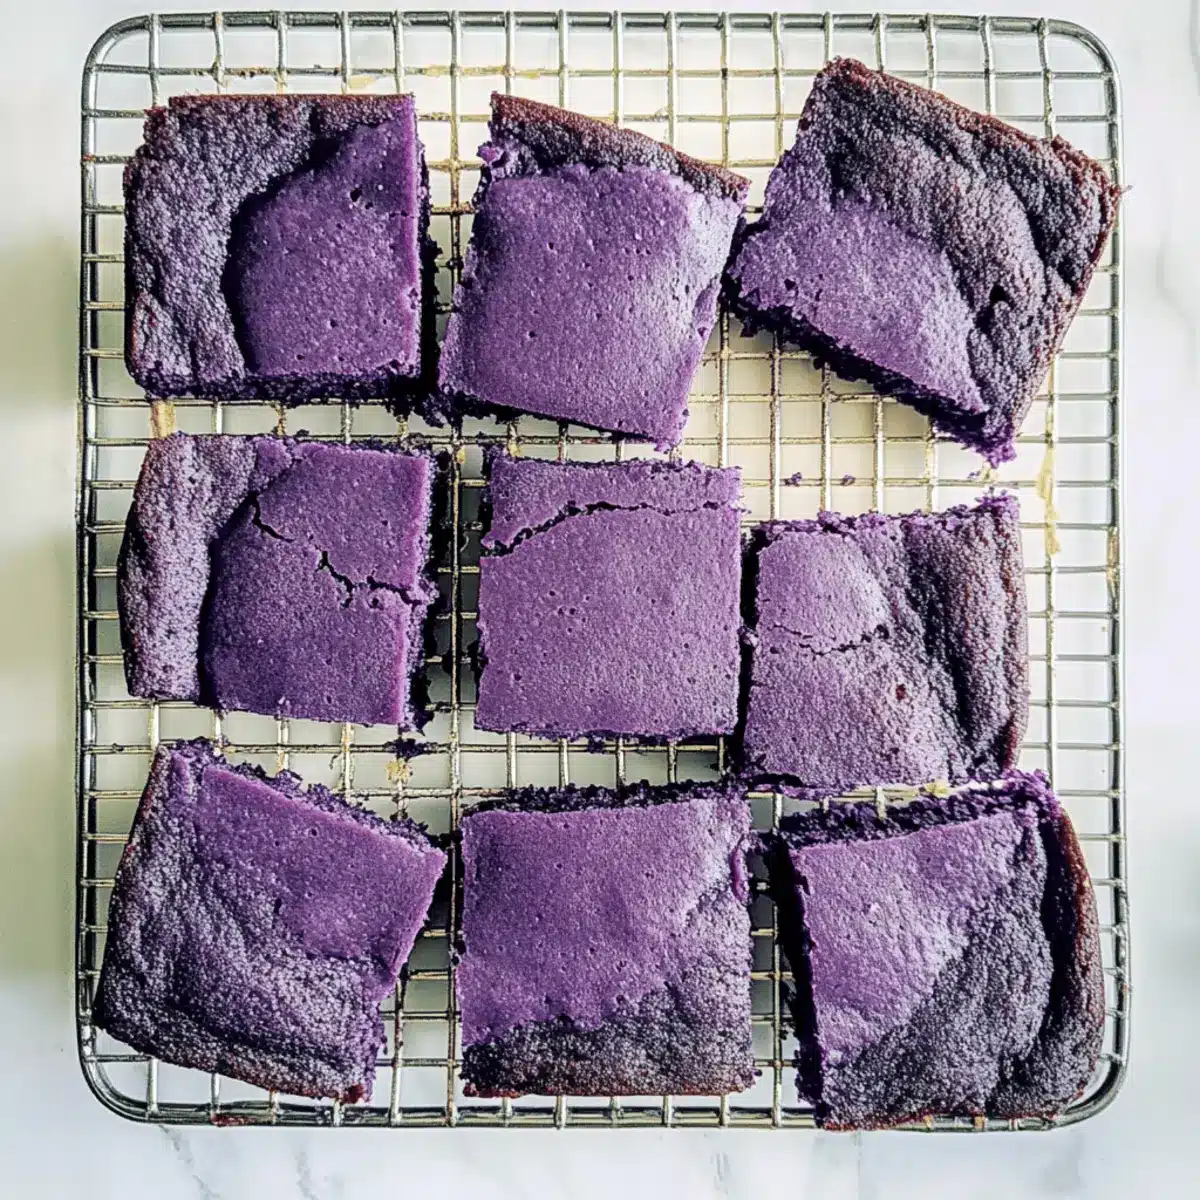
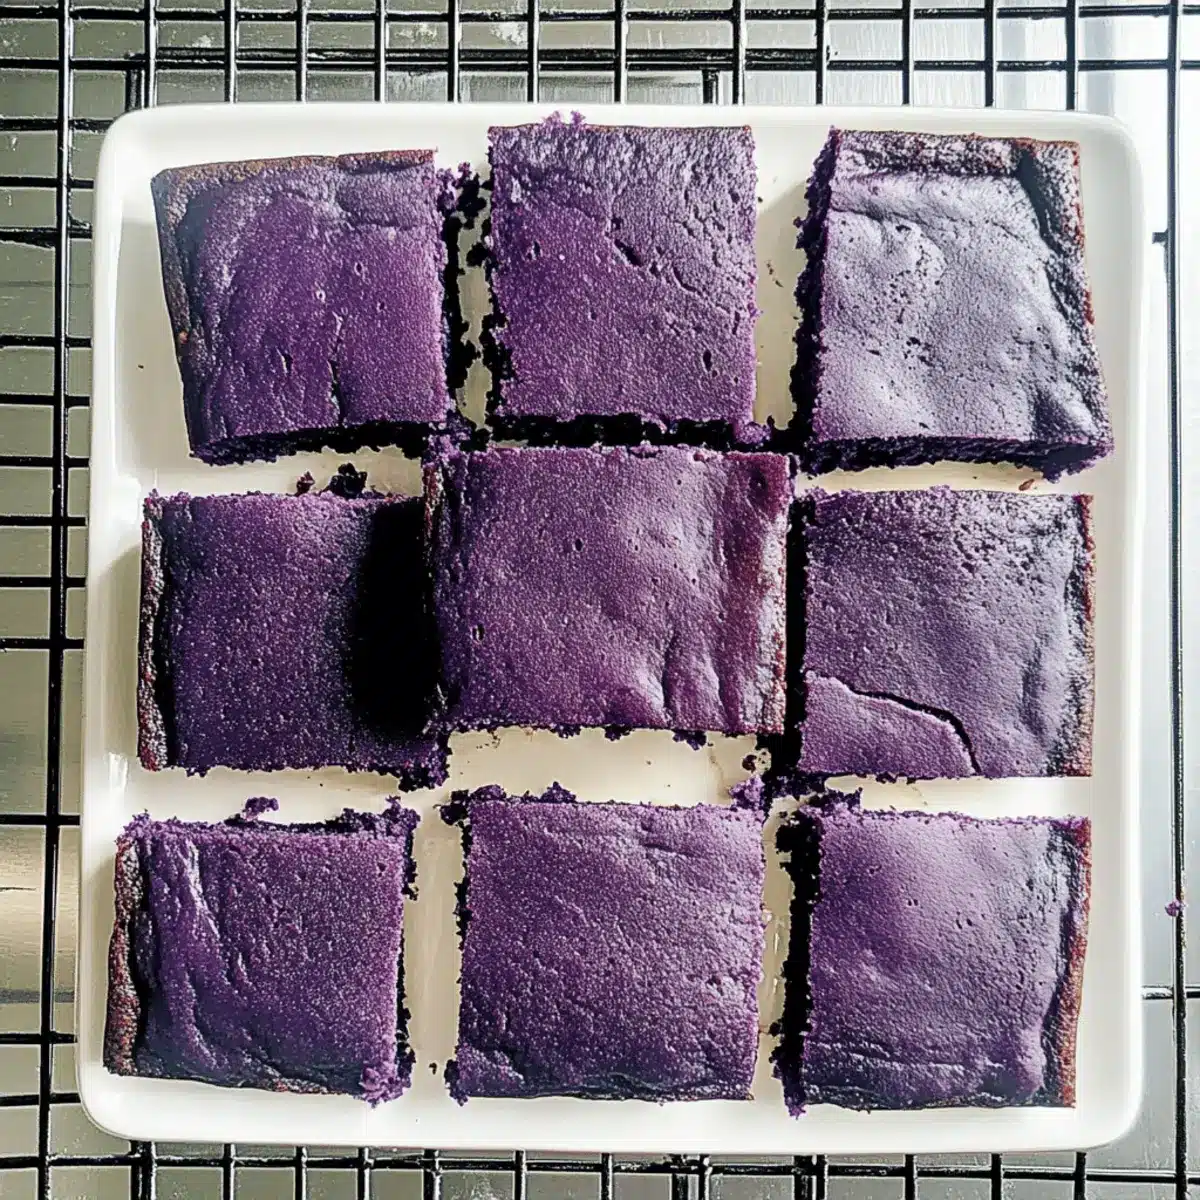
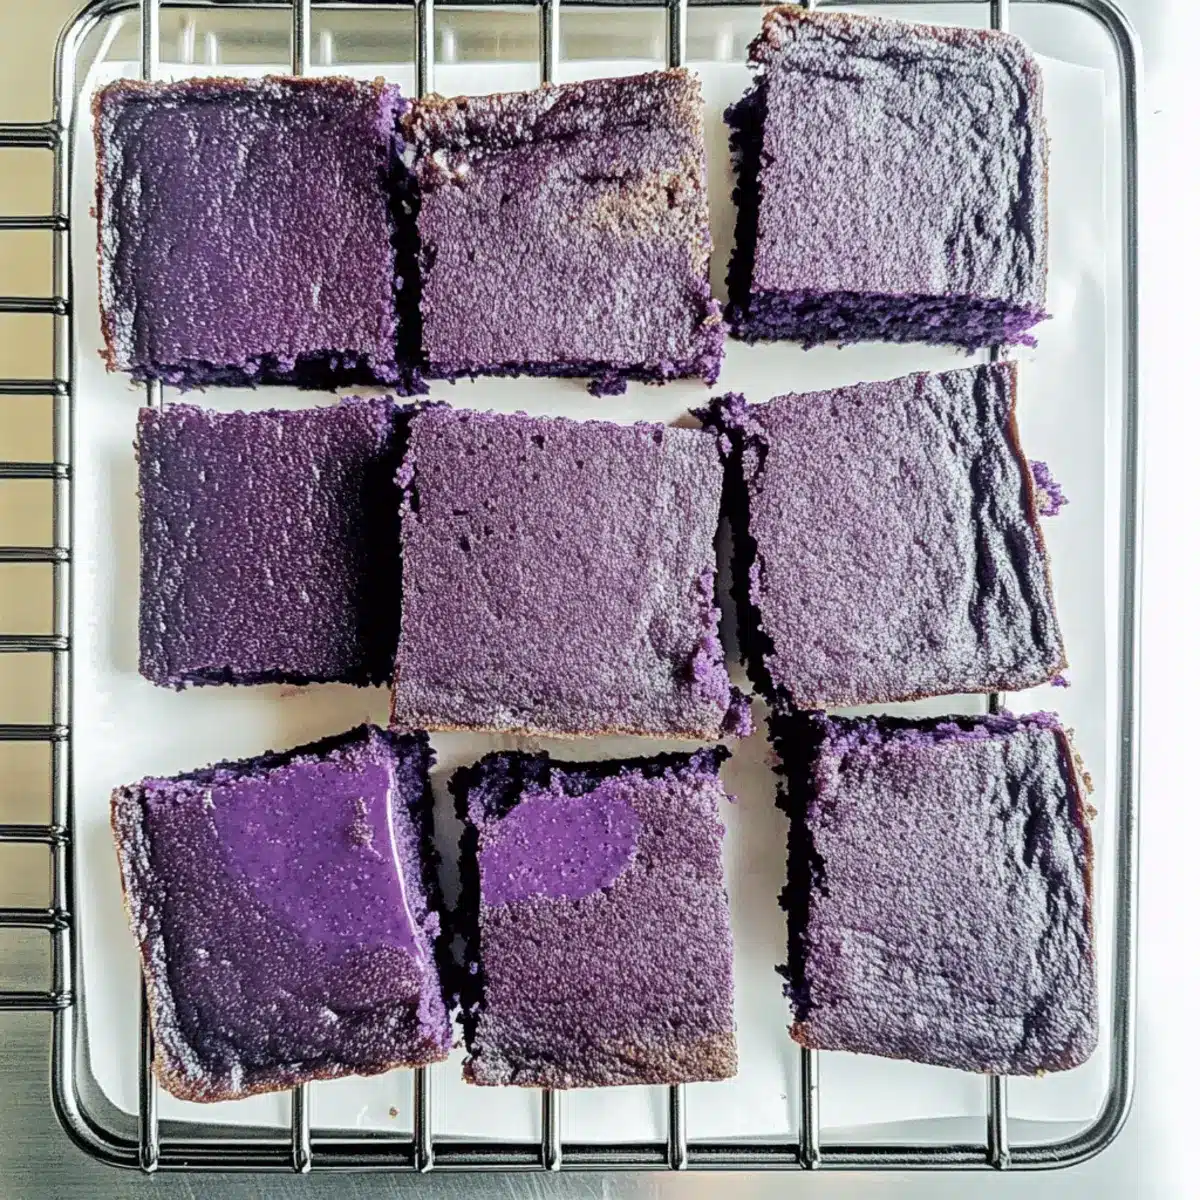
Once baked, carefully remove the ube mochi cake from the oven and allow it to cool in the pan for about 10 minutes. After that, transfer the cake to a wire rack to cool completely. Once cooled, cut into squares for serving, enjoying the delightful chewy texture that makes this dessert a crowd-pleaser! Best served fresh, the ube mochi cake can be stored at room temperature in an airtight container for up to three days.
Make Ahead Options
These Bouncy Chewy Gluten Free Ube Mochi Cakes are a fantastic option for meal prep! You can mix the dry ingredients (1 ½ cups mochiko flour, 2 teaspoons baking powder, and ½ teaspoon salt) and store them in an airtight container for up to 3 days. The wet ingredients can also be prepared a day ahead—just whisk together the melted butter, sugar, eggs, ube halaya, and coconut milk, then refrigerate overnight. When you’re ready to bake, simply combine the dry and wet mixtures, and pour into the prepared pan. This approach ensures your cake is just as delicious while saving valuable time on busy days!
What to Serve with Bouncy Chewy Gluten Free Ube Mochi Cake
Indulging in a slice of this vibrant mochi cake is just the beginning; pair it with delightful sides and drinks for a complete feast.
-
Whipped Coconut Cream: This luscious topping adds a creamy texture and tropical hint, perfectly contrasting the moist cake.
-
Fresh Tropical Fruits: Juicy mango slices or sweet pineapple can elevate the flavor profile, refreshing your palate with each bite.
-
Matcha Tea: The earthy tones of matcha bring out the cake’s flavors beautifully and offer a calming drink to enjoy alongside.
-
Coconut Sorbet: Light and cool, this dessert pairs well with the chewy mochi, providing an extra delightful layer of coconut flavor.
-
Charcoal-Infused Coffee: The bold notes of coffee blend harmoniously with the sweetness of the ube cake, making it an invigorating pairing.
-
Filter Coffee: A classic choice! The rich, warm flavor of brewed coffee balances the cake’s sweetness, perfect for a cozy afternoon.
-
Pandan Chiffon Cake: Adding another layer of texture, this soft, fluffy cake complements the chewiness of the ube mochi and is simply delightful.
-
Korean Sweet Red Bean Paste: A small dollop brings a hint of nuttiness and earthiness that beautifully contrasts with the sweet cake.
-
Mochi Ice Cream: Keeping it in the family, this dessert elevates the mochi experience and adds an indulgent creamy contrast.
-
Chai Latte: The spices in chai enhance the flavor of the cake, making it an ideal drink for an afternoon treat or a cozy gathering.
Ube Mochi Cake Variations & Substitutions
Feel free to experiment and personalize your ube mochi cake to your heart’s content! The possibilities are vibrant and delicious.
- Dairy-Free: Use coconut oil instead of unsalted butter to enjoy a rich, dairy-free version of this delightful cake.
- Sugar Swap: Replace granulated sugar with brown sugar for a deeper, caramel-like flavor that complements the ube beautifully.
- Nutty Texture: Add chopped walnuts or pecans to the batter for a delightful crunch and nutty flavor that enhances each bite.
- Chocolate Lovers: Toss in some semi-sweet or dark chocolate chips for a sweet surprise that pairs perfectly with the ube’s flavor.
- Alternative Flavors: Swap the ube extract for matcha or vanilla extract for a completely different flavor profile, making it your own!
- Extra Creamy: Substitute coconut milk with heavy cream or oat milk for varying textures and flavor profiles depending on your preference.
- Fruit Infusion: Mix in some chopped fresh fruits like mango or berries to add a burst of freshness and sweetness that contrasts beautifully with the mochi texture.
- Spicy Kick: For those who enjoy a little heat, add a pinch of cayenne pepper or red pepper flakes for an unexpected spicy twist that tantalizes the taste buds.
Should you find yourself looking for more baking inspiration, you might want to explore our guide on quick and easy baking ideas or check out some delicious ways to incorporate other flavors into your desserts. Happy baking!
Expert Tips for Ube Mochi Cake
-
Room Temperature Eggs: Ensure your eggs are at room temperature to avoid curdling when mixed with melted butter, which helps achieve a smooth batter.
-
Don’t Overmix: Gently combine wet and dry ingredients until just blended. Overmixing can result in a dense texture, straying from that desired bouncy chewiness in your ube mochi cake.
-
Check for Fresh Baking Powder: Using fresh baking powder is essential for the right rise. Old baking powder may lead to a flat cake, so always check the expiration date!
-
Cooling Time: Allow the ube mochi cake to cool completely in the pan before slicing. This helps set the texture and prevents it from crumbling.
-
Storage Tips: For the best taste, enjoy your cake the day it’s baked. If storing, keep it in an airtight container for up to three days to maintain its delicious chewy goodness.
Storage Tips for Ube Mochi Cake
-
Room Temperature: Store your ube mochi cake in an airtight container at room temperature for up to 3 days to maintain its delightful chewy texture.
-
Freezer: For longer storage, tightly wrap the cooled cake in plastic wrap or aluminum foil and freeze for up to 3 months. Thaw overnight in the refrigerator before enjoying.
-
Reheating: To refresh the texture, lightly warm slices in the microwave for about 10-15 seconds, or enjoy it at room temperature for the best flavor experience.
-
Crispiness Concern: For a crispy edge, enjoy the cake fresh on the day of baking, as it may lose its crispy texture over time when stored.
Bouncy Chewy Gluten Free Ube Mochi Cake Recipe FAQs
What is the best way to select ripe ube for this recipe?
When selecting ube for your mochi cake, look for firm, unblemished tubers without dark spots or wrinkles. The skin should be smooth and vibrant in color, indicating freshness. Ideally, choose medium-sized ube for consistency in flavor and texture.
How should I store leftover ube mochi cake?
To keep your ube mochi cake fresh, store it in an airtight container at room temperature for up to 3 days. If you need to keep it longer, wrap it tightly in plastic wrap or aluminum foil and freeze for up to 3 months. Just remember, thaw it overnight in the refrigerator before serving!
Can I freeze ube mochi cake? If so, how?
Absolutely! To freeze your ube mochi cake, first allow it to cool completely. Then, cut it into squares for easy portioning. Wrap each piece individually in plastic wrap, and then place them in a resealable freezer bag. It can be stored for up to 3 months. When you’re ready to enjoy it, just thaw overnight in the refrigerator and reheat slices as needed.
What should I do if my mochi cake doesn’t have the right chewy texture?
If your mochi cake didn’t come out chewy, check if you used mochiko sweet rice flour, as this is essential for that signature chewy texture. Also, be careful not to overmix your batter, which can lead to a denser cake. Lastly, ensure your wet ingredients were at room temperature to avoid any curdling, which could affect the texture.
Are there any dietary restrictions to consider with ube mochi cake?
Yes, it’s essential to note that this cake is gluten-free, making it suitable for those with gluten sensitivities. However, it does contain eggs and dairy (through butter or coconut milk). For dairy-free needs, consider using coconut oil in place of butter. Always double-check ube’s source if you have allergies, and consult ingredient labels to ensure they are allergy-friendly for safe enjoyment!
Can my pet eat ube mochi cake?
While ube itself is non-toxic to dogs, mochi cake contains sugar, butter, and eggs, which are not suitable for pets. It’s best to keep ube mochi cake as a treat for humans only, ensuring your furry friends stick to their pet-friendly snacks!
Decadent Ube Mochi Cake for Chewy Dessert Lovers
Ingredients
Equipment
Method
- Preheat your oven to 350°F (175°C) and prepare an 8-inch square baking pan with cooking spray and parchment paper.
- In a small bowl, whisk together the mochiko sweet rice flour, baking powder, and kosher salt until well blended.
- In a medium bowl, whisk together the melted butter and granulated sugar until smooth, then add the eggs, followed by ube halaya jam, ube extract, and coconut milk, mixing well.
- Gradually combine the dry ingredient mixture into the wet mixture, stirring gently until just blended without overmixing.
- Pour the batter into the prepared pan and smooth the surface, then bake for 48-50 minutes until a toothpick comes out with a few crumbs.
- Allow the cake to cool in the pan for about 10 minutes before transferring to a wire rack to cool completely before cutting.
Leave a Reply