
In the midst of a whirlwind week filled with meetings and errands, I stumbled upon a clever way to bring excitement back to lunch—Easy Tuna Rice Balls. These delightful bites are not only budget-friendly but also incredibly versatile, making them a go-to for any home chef looking to unleash their creativity in the kitchen. By combining pantry staples like canned tuna and leftover rice, you can effortlessly whip up satisfying snacks that are perfect for on-the-go or a cozy meal at home. Plus, with the option to make them vegetarian or vegan, everyone can join in on the fun! Ready to elevate your lunch game? Let’s dive into the world of Tuna Rice Balls!
What Makes Tuna Rice Balls So Special?
Quick and Easy: These tuna rice balls come together in minutes, making them a lifesaver for busy weeknights or packed lunches.
Customizable Delight: With simple swaps, you can easily transform them into a vegetarian or vegan option; think chickpeas or tofu instead of tuna!
Flavor Explosion: The combination of creamy mayo and savory sesame oil creates a mouthwatering flavor profile that will have you reaching for seconds.
Budget-Friendly: Made from pantry staples, these rice balls won’t break the bank, allowing you to enjoy delicious meals without compromising on quality.
Perfect for pairing with dipping sauces or enjoyed on their own, these Easy Tuna Rice Balls are sure to satisfy! If you’re on the hunt for more ideas, check out our Chinese Fried Rice or Butter Shrimp Rice for creative meal inspiration.
Tuna Rice Balls Ingredients
For the Rice Base
• Cooked Rice – This provides the essential structure; use leftover sushi rice, brown rice, or quinoa for added health benefits.
• Sesame Oil – Enhances flavor with a hint of nuttiness; you can omit it for a lighter dish.
For the Filling
• Canned Tuna – The star ingredient that adds protein and flavor; you can substitute with mashed chickpeas or crumbled firm tofu for a vegetarian or vegan option.
• Mayonnaise – Offers creaminess and richness; opt for plant-based mayo if you’re looking for a vegan alternative.
For Garnishing
• Seaweed/Nori Flakes – Adds umami flavor and a touch of authenticity; though optional, they are recommended for that traditional twist.
These Tuna Rice Balls are not just easy to make; they also provide a delightful variety that can cater to various dietary needs!
Step‑by‑Step Instructions for Tuna Rice Balls
Step 1: Prepare the Rice Mixture
In a large mixing bowl, combine 2 cups of cooked rice with 2 tablespoons of sesame oil, 3 tablespoons of mayonnaise, and 1 can of drained canned tuna. Use a spatula to blend the ingredients thoroughly until the mixture is cohesive and creamy, about 2-3 minutes. Ensure there are no lumps of tuna or rice, creating a homogeneous blend.
Step 2: Adjust Consistency
After mixing, assess the creaminess of your Tuna Rice Balls mixture. If it feels too dry, gradually add another tablespoon of mayonnaise, mixing well until you reach a desirable texture. The mixture should hold together but remain soft enough to form into shapes. This creamy base is essential for the delightful taste and satisfying texture of the rice balls.
Step 3: Shape the Mixture
Flatten the combined mixture in the bowl until it forms an even surface, approximately 1-2 inches thick. Using a sharp knife, cut the mixture into 8 triangular portions, similar to pizza slices. Each slice should be roughly equal in size, ensuring uniform cooking and presentation when forming the Tuna Rice Balls later.
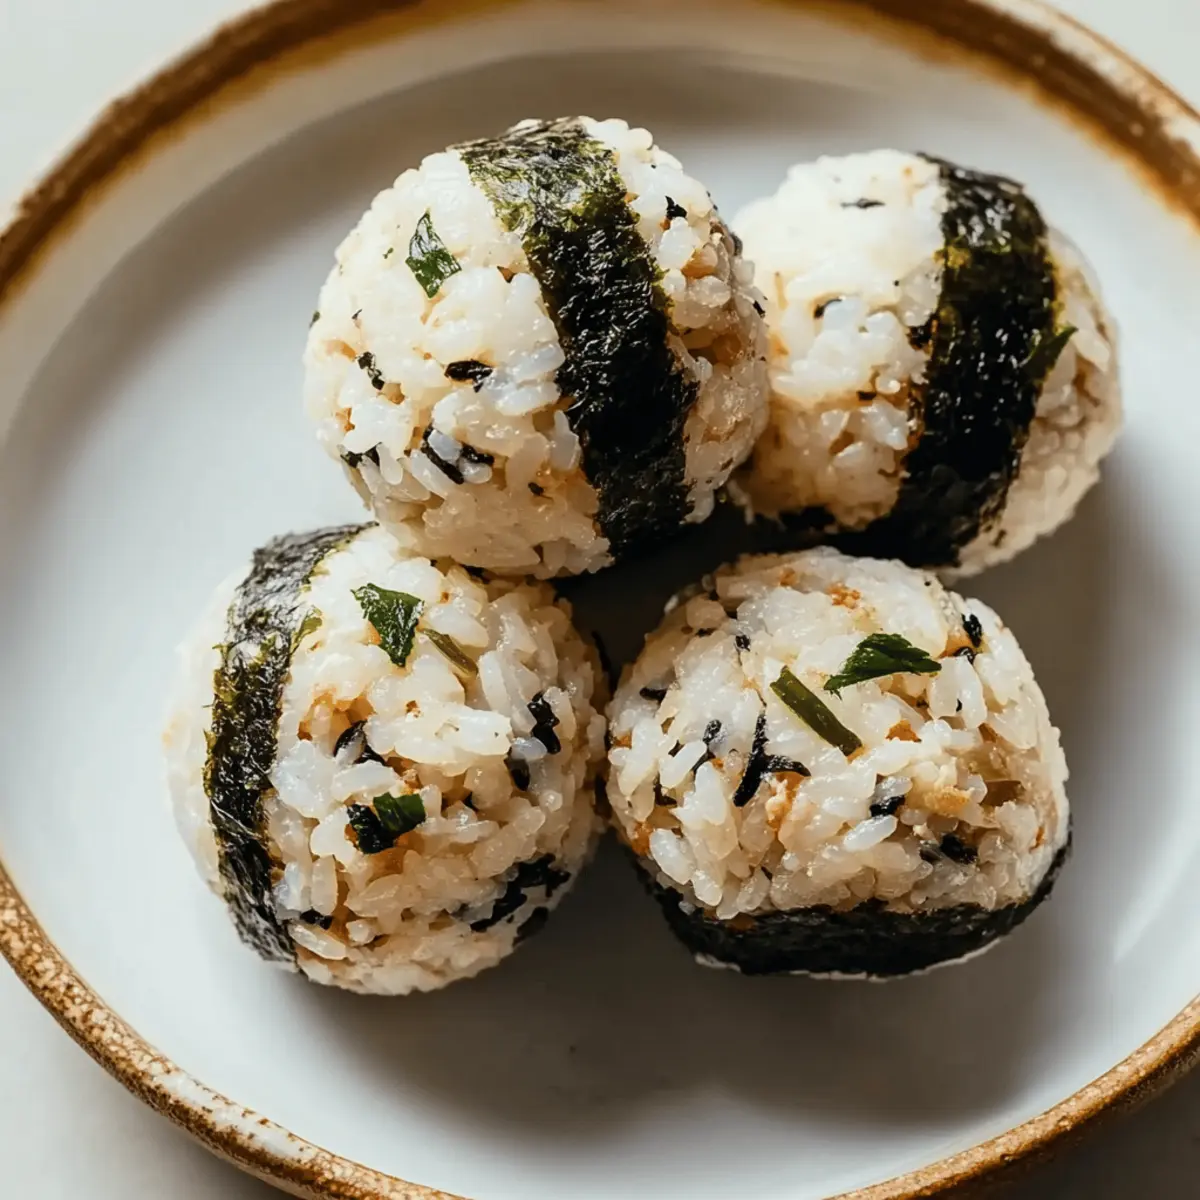
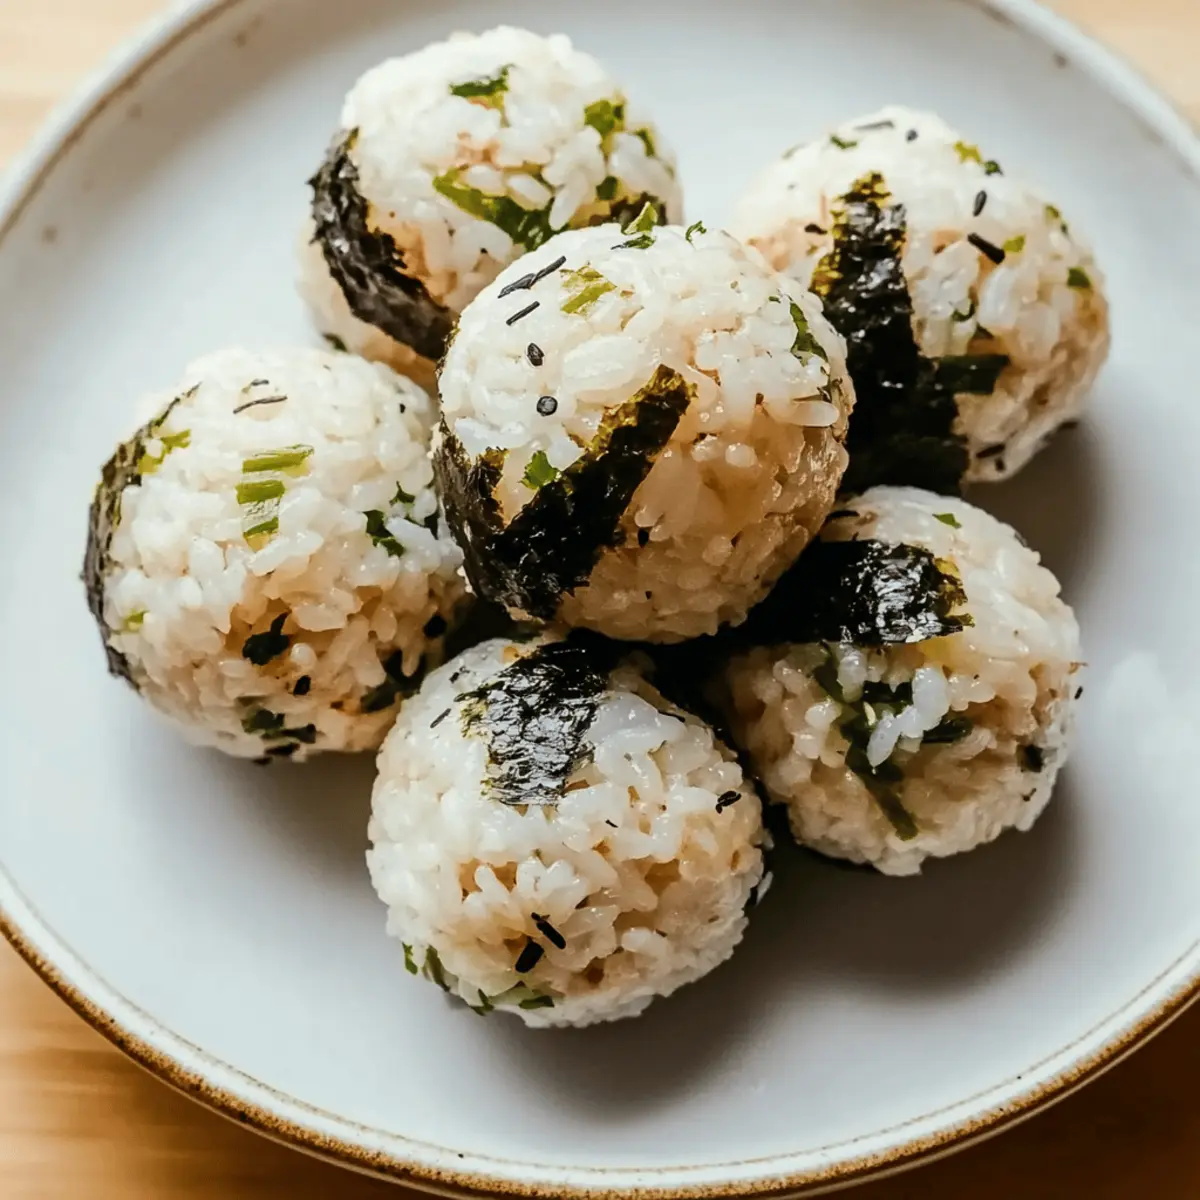
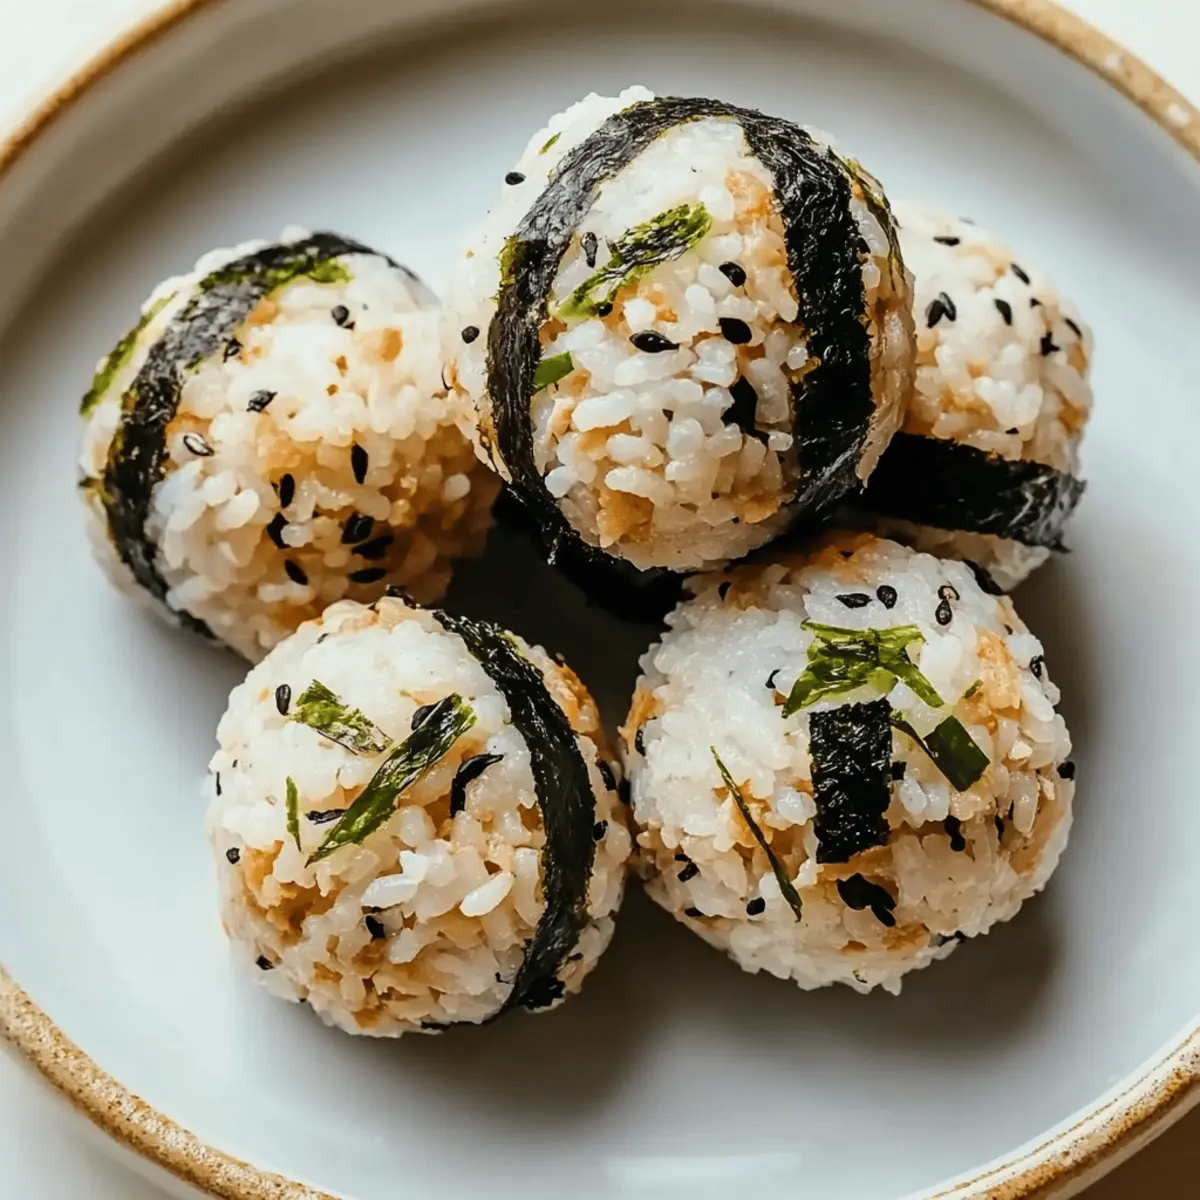
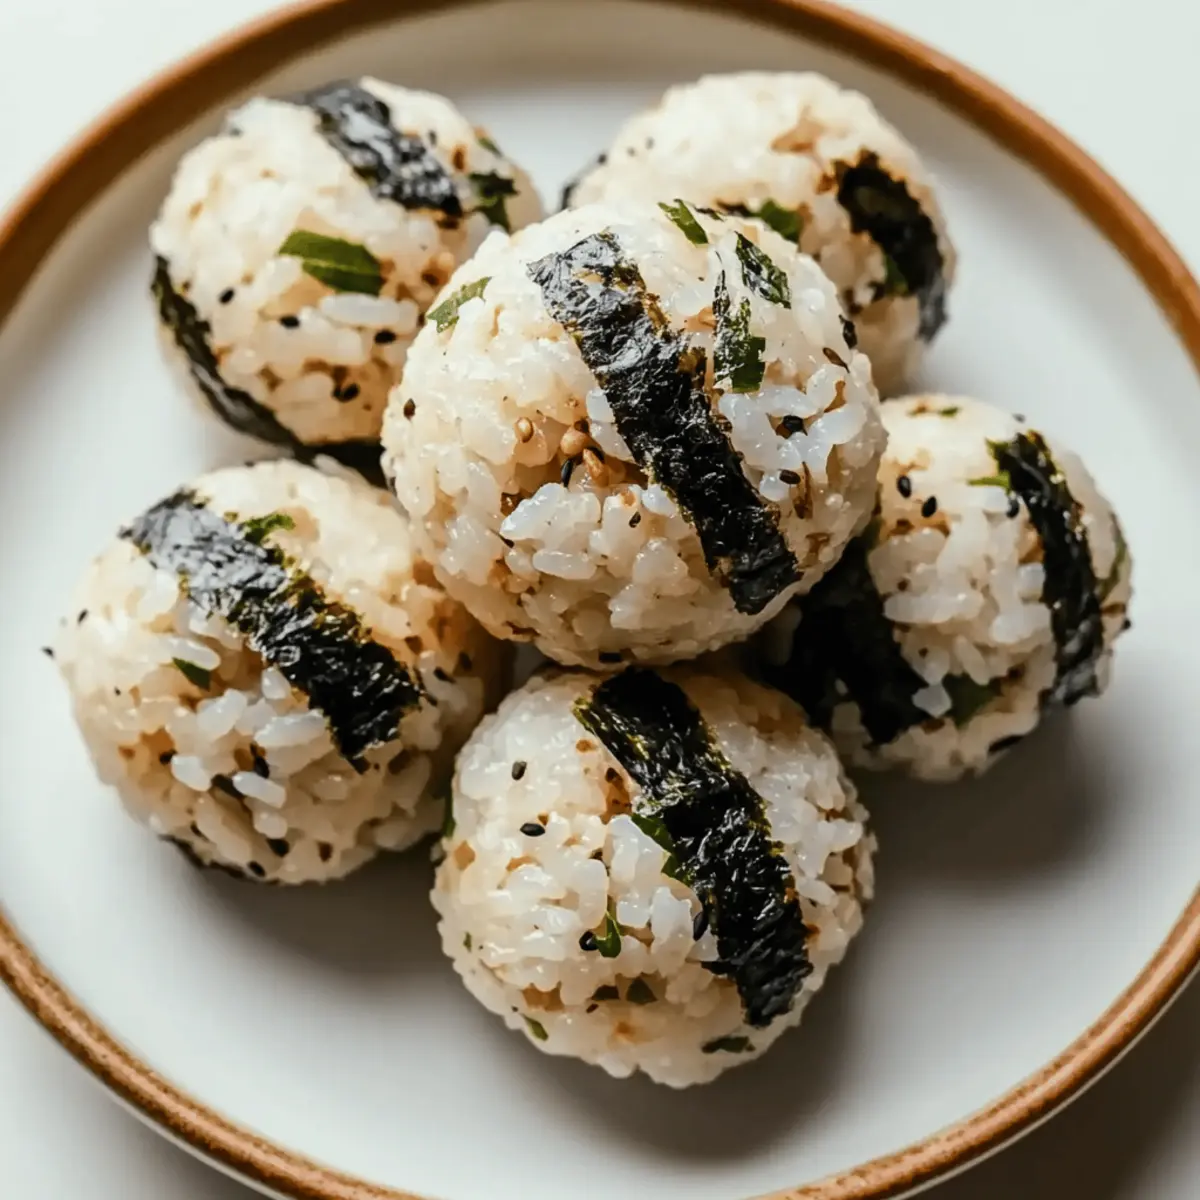
Step 4: Form the Balls
With clean hands or gloves, gently roll each triangular portion into a tightly packed ball. Aim for a sphere with a firm texture, approximately the size of a golf ball. Repeat this process for each piece until all the Tuna Rice Balls are shaped. The firm pressure will help the rice balls maintain their shape and ensure they hold together during cooking or serving.
Step 5: Serve or Store
You can enjoy the Tuna Rice Balls immediately, as they taste best fresh. Serve them on a plate for a delightful snack or meal. If you prefer to save some for later, place them in an airtight container and refrigerate for up to 2 days. When ready to eat, they can be packed for lunch or served alongside your favorite dipping sauce like soy sauce or spicy mayo.
Make Ahead Options
These Easy Tuna Rice Balls are fantastic for meal prep, allowing you to whip up a delicious snack without the last-minute rush. You can prepare the rice mixture up to 24 hours in advance, combining 2 cups of cooked rice, 2 tablespoons of sesame oil, 3 tablespoons of mayonnaise, and 1 can of drained canned tuna. Ensure the mixture is well combined and refrigerate in an airtight container to maintain freshness. When you’re ready to serve, simply mold the mixture into balls as described in the recipe. This way, you’ll enjoy restaurant-quality Tuna Rice Balls with minimal effort, making your busy days a little brighter!
What to Serve with Easy Tuna Rice Balls
Elevate your dining experience with delightful accompaniments that perfectly complement these sushi-inspired bites.
-
Soy Sauce: A classic choice that adds a savory umami kick, making each rice ball even more flavorful.
-
Spicy Mayo: This creamy dip brings the heat and richness that enhances the overall taste, perfect for thrill-seekers.
-
Fresh Cucumber Salad: Crisp, refreshing cucumbers provide a bright contrast to the richness of the tuna rice balls, balancing flavors beautifully.
-
Steamed Edamame: Lightly salted edamame adds a fun textural component and is a nutritious side that pairs well with any Asian-inspired meal.
-
Pickled Ginger: This tangy side cleanses the palate and adds a delightful burst of flavor, enhancing the umami goodness of the rice balls.
For a complete meal, consider enjoying the rice balls alongside a warm bowl of miso soup, which offers a comforting warmth and depth that will wrap you in its embrace. Each pairing echoes the humble yet satisfying nature of these Easy Tuna Rice Balls, making every bite a delightful experience.
How to Store and Freeze Tuna Rice Balls
Fridge: Store your Tuna Rice Balls in an airtight container for optimal freshness. They will keep well for up to 2 days, perfect for quick lunches or snacks.
Freezer: If you want to save them for later, freeze the rice balls on a baking sheet first, then transfer them to a freezer-safe bag. They can last in the freezer for up to 3 months.
Reheating: To reheat from frozen, place the tuna rice balls in the oven at 350°F (175°C) for about 15-20 minutes, or microwave for 1-2 minutes until heated through.
Serving Tip: For the best texture, enjoy Tuna Rice Balls fresh, but if you’re storing them, remember to let them cool completely before sealing to keep them from getting soggy.
Tuna Rice Balls Variations & Substitutions
You can easily customize your tuna rice balls to suit your taste. Let your creativity shine through with these delicious twists!
-
Vegetarian: Substitute canned tuna with mashed chickpeas or crumbled firm tofu for a tasty vegetarian version. It will deliver on texture and protein!
-
Vegan: Use plant-based mayo instead of regular mayo for a fully vegan-friendly dish. You’ll still enjoy the same creamy goodness!
-
Spicy Kick: Mix in some sriracha or chopped jalapeños for an unforgettable heat. You might just discover a new favorite flavor profile.
-
Nutty Flavor: Swap sesame oil with toasted peanut oil for a different nutty twist. It adds richness and depth to each bite.
-
Herby Delight: Add chopped fresh herbs like cilantro or parsley to the rice mixture for a refreshing herbal touch. It pairs beautifully with the tuna.
-
Crunch Factor: Incorporate diced bell peppers or green onions for an added crunch. It not only elevates the texture but also brightens up the overall dish.
-
Asian Twist: For a more authentic taste, sprinkle some furikake (Japanese rice seasoning) over the rice balls before serving. It’s a flavor-packed finishing touch!
-
Baked Option: Instead of frying or serving raw, try baking the rice balls at 375°F (190°C) for 20 minutes for a healthier alternative. They’ll be just as delightful!
With these variations, your tuna rice balls can become whatever you desire. If you’re feeling adventurous, why not experiment with some delicious sides? They pair wonderfully with soy sauce or spicy mayo. For other delicious rice inspirations, check out our Sauce Fried Rice for some more fun meal ideas. Enjoy the culinary journey!
Expert Tips for Tuna Rice Balls
-
Cool the Rice: Ensure your cooked rice is completely cool before mixing; warm rice can lead to mushy balls.
-
Adjust the Creaminess: If the mixture feels too dry while preparing your Tuna Rice Balls, don’t hesitate to add extra mayonnaise until the desired consistency is achieved.
-
Add Visual Appeal: Roll your formed rice balls in finely chopped herbs or sesame seeds before serving. It not only enhances flavor but also adds a lovely texture contrast.
-
Uniform Sizing: When cutting your mixture into portions, make sure each piece is about the same size to ensure even shaping and cooking.
-
Storage Strategy: Keep your rice balls fresh by storing them in an airtight container in the fridge, but they are best enjoyed within 2 days.
These simple tips will help you master your Tuna Rice Balls and elevate your cooking game!
Tuna Rice Balls Recipe FAQs
How do I choose the right rice for my Tuna Rice Balls?
For the best texture, I recommend using leftover sushi rice, brown rice, or quinoa, as they create a firmer structure. If you’re looking to replicate sushi-style rice, cook your grains with less water and add a splash of rice vinegar and a sprinkle of sugar for that signature flavor!
How should I store my Tuna Rice Balls?
To keep your Tuna Rice Balls fresh, store them in an airtight container in the fridge, where they will last for up to 2 days. For longer storage, you can freeze them—just be sure to place them in a single layer on a baking sheet first, then transfer to a freezer-safe bag once frozen.
Can I freeze Tuna Rice Balls?
Absolutely! For optimal freezing, lay the shaped rice balls on a baking sheet and freeze them for about 1-2 hours until solid. Afterward, you can transfer them to a freezer-safe bag. They will maintain their quality for up to 3 months. When ready to eat, reheat them in the oven at 350°F (175°C) for 15-20 minutes, or microwave for just 1-2 minutes.
What if my rice balls fall apart?
If you find your Tuna Rice Balls are falling apart, it might be due to dry ingredients. To troubleshoot, try adding an additional tablespoon of mayonnaise to improve binding. Ensure also that the rice is sufficiently cool but not too dry, as properly cooked, sticky rice helps create that ideal texture.
Are Tuna Rice Balls safe for my pet?
While the ingredients in Tuna Rice Balls are generally safe for humans, it’s important to be cautious with pets. Tuna can be fed to pets in moderation, but always consult your veterinarian to ensure it’s appropriate for your specific pet, especially concerning seasoning and other additives like mayonnaise, which may not be suitable.
What if I have allergies to certain ingredients?
If you’re allergic to any ingredients commonly found in Tuna Rice Balls such as fish or eggs, you can easily substitute canned tuna with mashed chickpeas or crumbled firm tofu for a delicious vegetarian or vegan option. Always make sure to read labels for any hidden allergens in processed ingredients like mayonnaise.
These Tuna Rice Balls are not only easy to make but also versatile enough to accommodate various dietary needs—perfect for anyone looking to explore new culinary delights!
Tuna Rice Balls: Easy, Delicious Bites for Busy Days
Ingredients
Equipment
Method
- In a large mixing bowl, combine cooked rice, sesame oil, mayonnaise, and canned tuna. Mix until cohesive.
- If the mixture is too dry, add more mayonnaise until desired texture is achieved.
- Flatten the mixture and cut into 8 triangular portions.
- Roll each triangular portion into a tightly packed ball.
- Serve immediately or refrigerate in an airtight container for up to 2 days.
Leave a Reply