
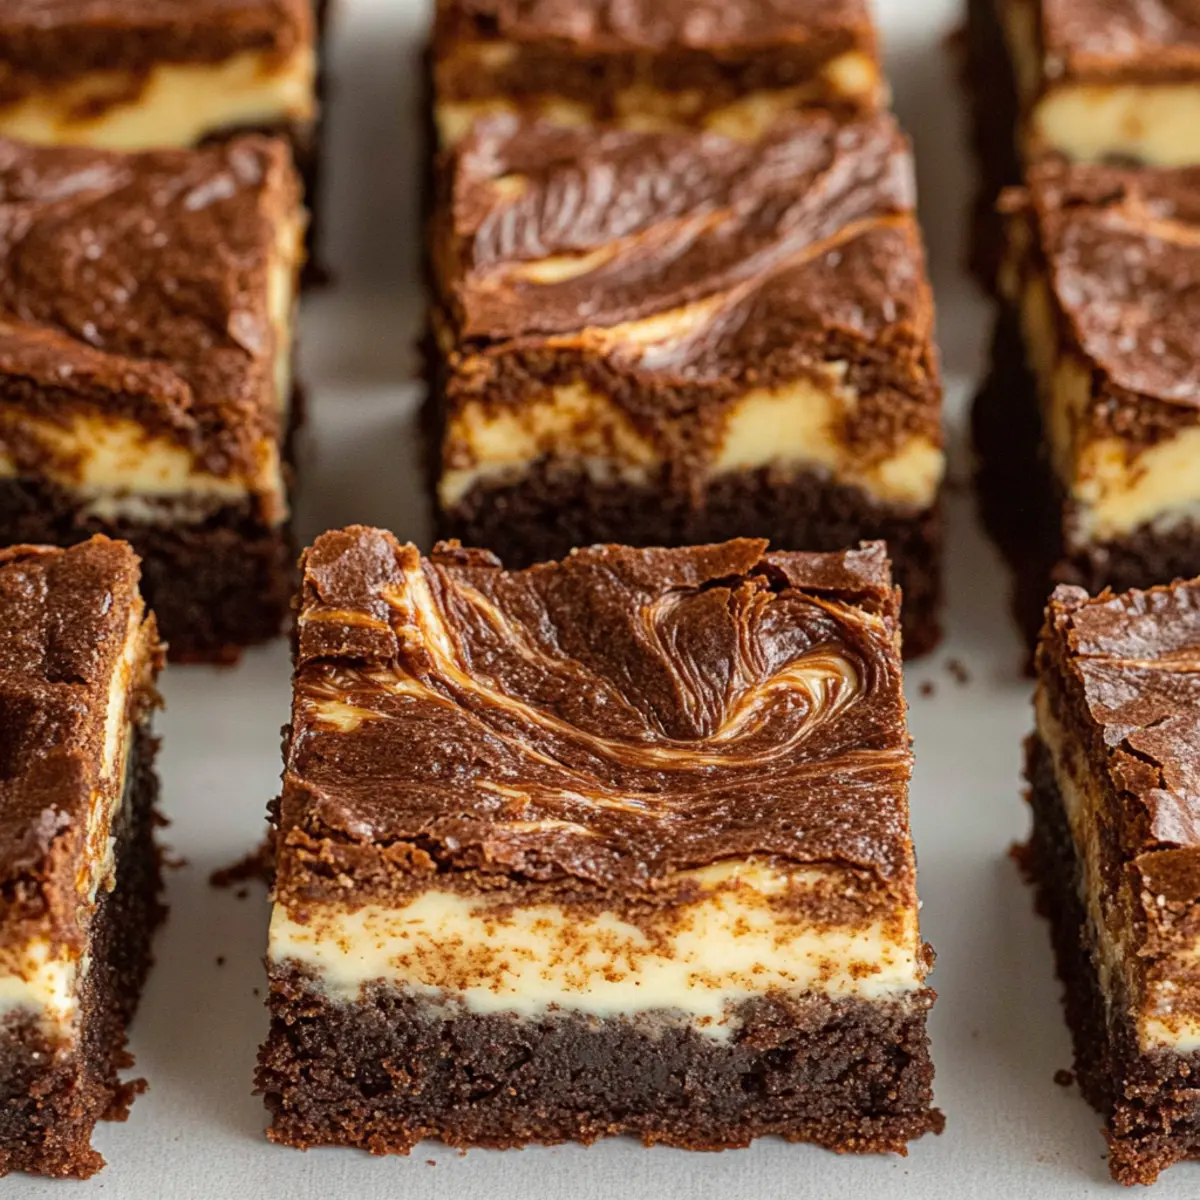
As the aroma of freshly brewed coffee swirls through my kitchen, the anticipation builds for something truly special: Fudgy Tiramisu Brownies. This delightful twist on a classic dessert combines the rich, chocolatey flavors of brownies with the indulgent charm of tiramisu. The result? A decadent treat full of texture and taste, featuring coffee-soaked Ladyfingers and a velvety mascarpone layer. The best part? These brownies come together quickly, making them a fantastic option for a busy weeknight dessert or a sweet surprise for guests. Whether you’re a novice baker or a seasoned pro, you’ll find these brownies are not just delicious but also a great way to level up your dessert game. Ready to dive into a chocolatey coffee paradise? Let’s get baking and share the joy of this delightful creation!
Why Are These Tiramisu Brownies a Must-Try?
Decadent Flavors: Each bite offers a rich chocolate experience that perfectly intertwines with coffee and mascarpone.
Textural Delight: Enjoy a fudgy brownie base alongside the melt-in-your-mouth Ladyfingers soaked in coffee.
Easy to Make: With simple steps and minimal fuss, even beginner bakers can impress with this crowd-pleaser.
Versatile Treat: These brownies are perfect for any occasion, from weeknight desserts to special celebrations.
Serve and Impress: Dust with cocoa powder or drizzle with chocolate sauce for an elegant finishing touch. For more delicious variations, check out Gluten Free Brownies and elevate your baking skills!
Tiramisu Brownies Ingredients
Discover the essentials for creating indulgent Tiramisu Brownies that satisfy your sweet tooth!
For the Brownie Base
- Unsalted Butter – Provides moisture and richness; using unsalted keeps control over flavor.
- Semi-Sweet Chocolate – The main source of chocolate flavor; opt for high-quality chocolate for the best results.
- Brown Sugar – Adds both moisture and a lovely caramel flavor; light or dark can work here.
- Granulated Sugar – Sweetens while contributing to texture; feel free to reduce if you prefer less sweetness.
- Eggs – Binds ingredients and adds richness; use room temperature eggs for increased incorporation.
- Vanilla Extract – Enhances the overall flavor; always choose pure vanilla extract for the best quality.
- All-Purpose Flour – Provides structure to the brownies; ensure accurate measuring for optimum texture.
- Salt – Balances out the sweetness and enhances flavor; omit only if using salted butter.
For the Tiramisu Layer
- Mascarpone Cheese – This creates the creamy layer we love; can substitute with cream cheese if desired.
- Ladyfingers – Delivers a wonderful texture contrast that absorbs coffee flavor; any brand will do.
- Strong Brewed Coffee – Infuses your brownies with rich coffee flavor; espresso works beautifully here.
Glance over these ingredients and prepare to make Tiramisu Brownies that your family and friends will rave about!
Step‑by‑Step Instructions for Tiramisu Brownies
Step 1: Preheat and Prepare the Pan
Begin by preheating your oven to 350°F (177°C). While the oven heats, line an 8-inch square baking pan with aluminum foil, allowing excess to overhang for easy removal later. Lightly spray the foil with nonstick cooking spray to ensure the finished brownies come out smoothly.
Step 2: Melt the Chocolate and Butter
In a medium saucepan over medium heat, combine the unsalted butter and chopped semi-sweet chocolate. Stir continuously until the mixture is smooth and completely melted—the chocolate should be glossy and free of lumps. Once melted, remove from heat and let it cool down for about 10 minutes to avoid cooking the eggs later.
Step 3: Prepare the Mascarpone Mixture
In a separate bowl, beat together the mascarpone cheese, sugar, one egg, and a pinch of salt using a hand mixer or whisk until you achieve a smooth and creamy consistency. Set this mixture aside, as it will contribute richness to your Tiramisu Brownies.
Step 4: Combine Sugars with Chocolate
Once the chocolate mixture has cooled, whisk in both brown sugar and granulated sugar until well combined. Then, add the remaining two eggs, one at a time, mixing thoroughly after each addition before adding the pure vanilla extract. This will create a silky base for your brownies.
Step 5: Fold in Dry Ingredients
Gently fold the all-purpose flour and salt into the chocolate mixture using a spatula until just combined. Be careful not to overmix; the batter should remain thick and fudgy. This step is crucial for achieving that gooey brownie texture that pairs perfectly with the tiramisu elements.
Step 6: Layer the Brownie Mixture
Reserve about ⅓ cup of the brownie batter and pour the remaining batter into the prepared baking pan, spreading it evenly. This will serve as the base layer of your Tiramisu Brownies, providing a rich chocolaty canvas for the coffee-soaked Ladyfingers.
Step 7: Add the Ladyfingers and Coffee
Carefully press the Ladyfinger cookies into the brownie batter in a single layer, ensuring they are evenly distributed. Then, pour the strong brewed coffee over the Ladyfingers, making sure each cookie absorbs some of the flavorful liquid, enhancing the tiramisu experience in your brownies.
Step 8: Spread the Mascarpone Layer
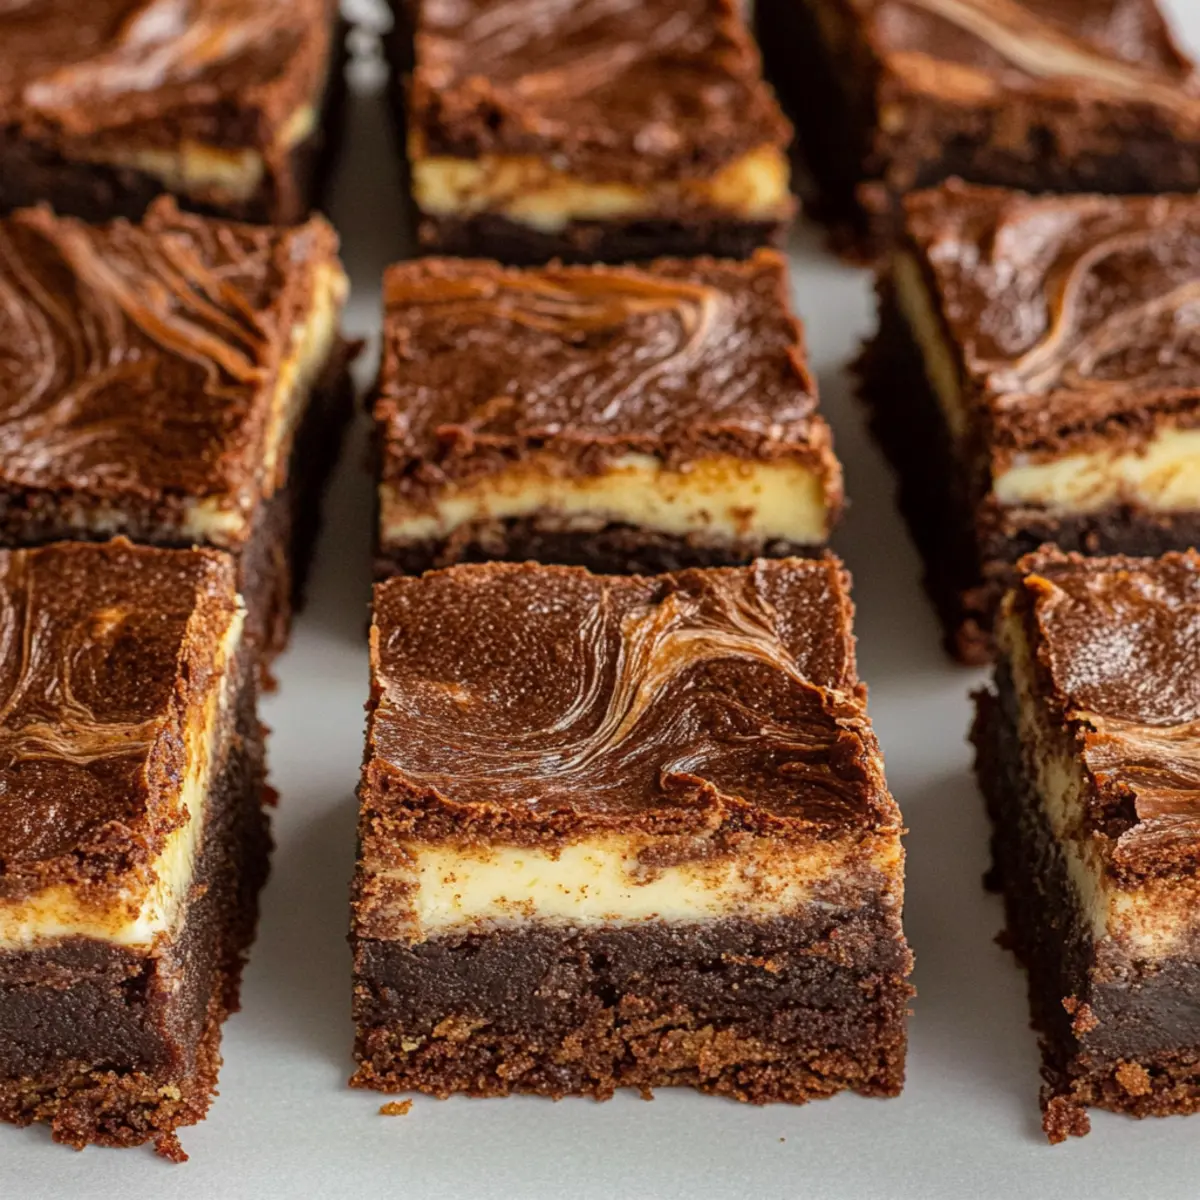
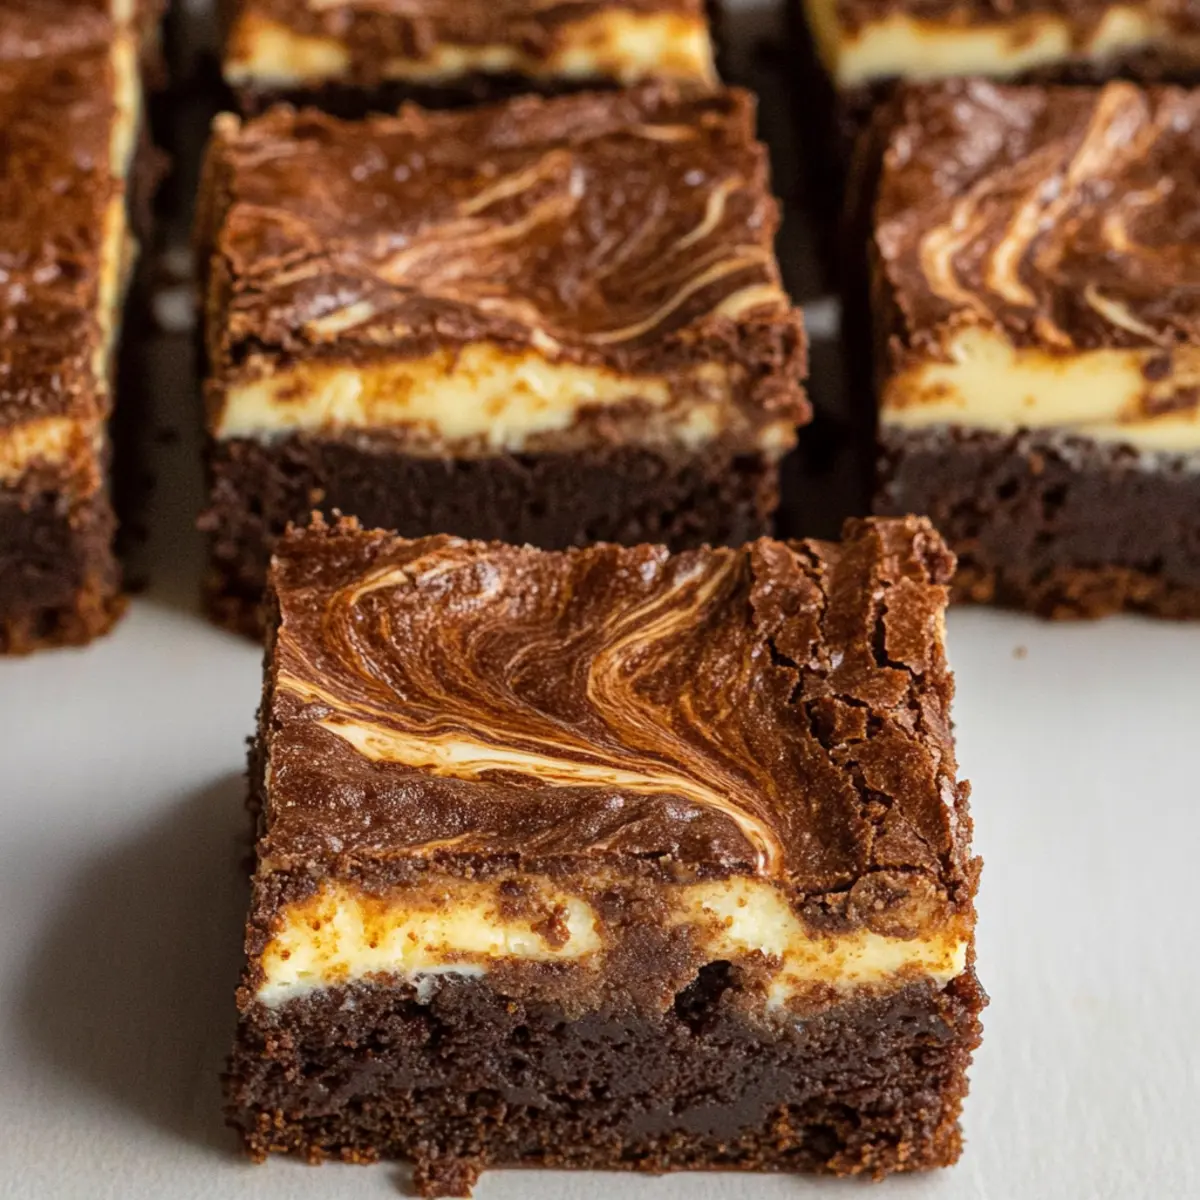
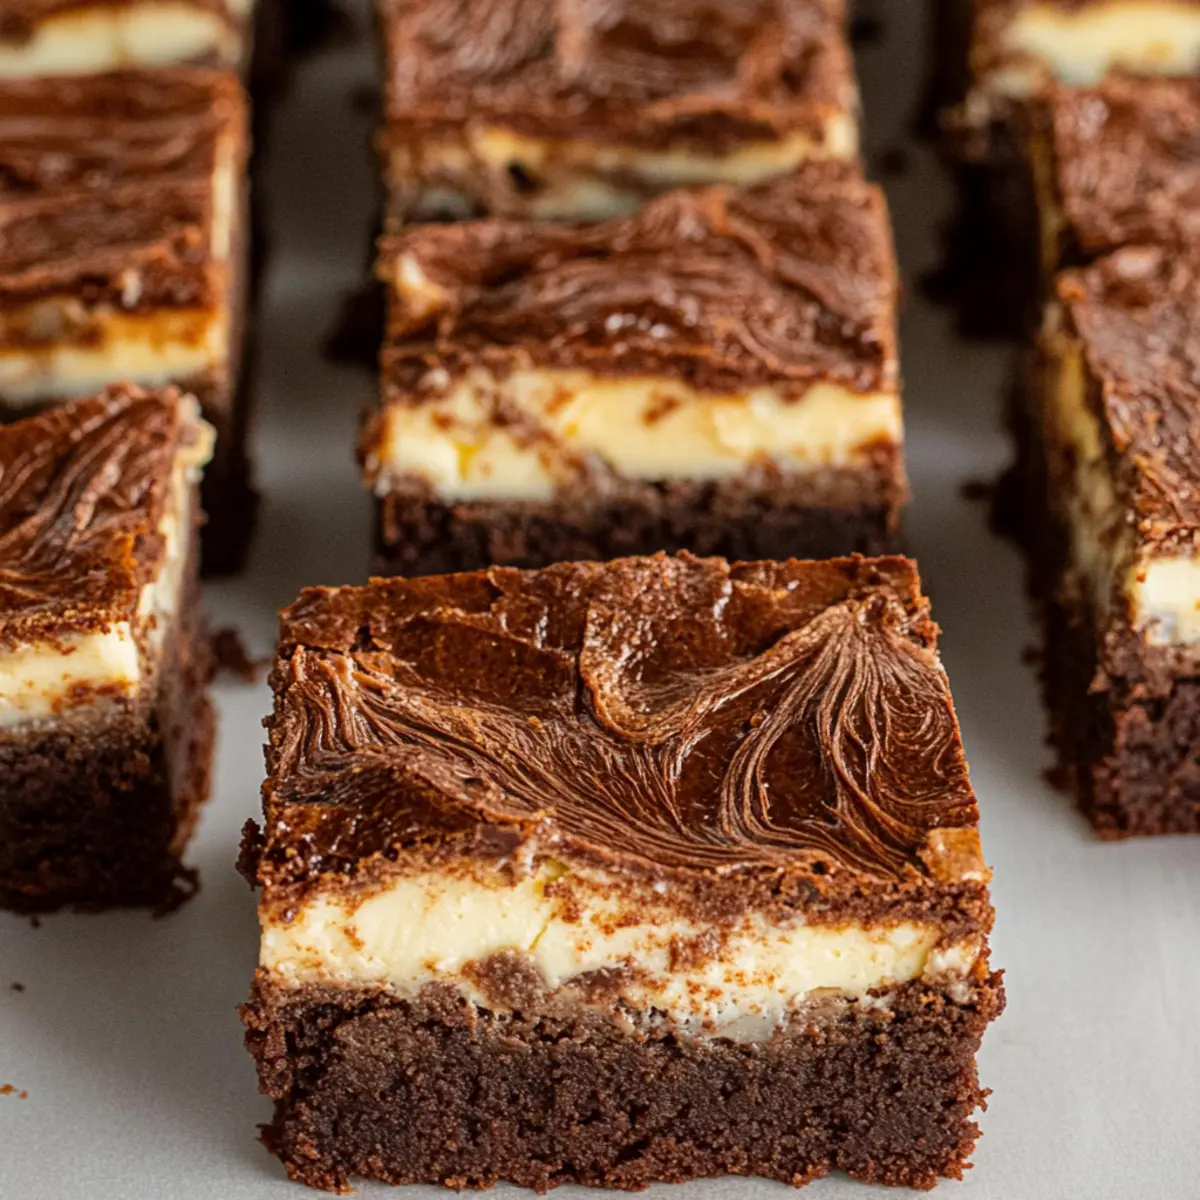
Spoon the mascarpone cheese mixture over the Ladyfingers and spread it evenly using a spatula. To finish, drop spoonfuls of the reserved brownie batter on top and use a knife or skewer to swirl the mixtures together gently, creating a beautiful marbled effect in your Tiramisu Brownies.
Step 9: Bake to Perfection
Place the assembled brownies in the preheated oven and bake for 38–42 minutes. Keep an eye out for doneness; a toothpick inserted into the center should come out with moist crumbs—not wet batter. This ensures your brownies are fudgy yet fully cooked.
Step 10: Cool and Serve
Once baked, remove the Tiramisu Brownies from the oven and let them cool in the pan for at least 10 minutes. Then, using the overhanging foil, lift the brownies out and let them cool completely on a wire rack before cutting into squares to serve. Enjoy the delightful layers!
What to Serve with Tiramisu Brownies
Indulging in these fudgy delights opens the door to a world of delicious pairings that enhance the coffee and chocolate experience.
- Espresso Shot: A small cup of strong espresso elevates the coffee flavor, creating a luxurious dessert moment that’s hard to resist.
- Whipped Cream: Add a dollop of lightly sweetened whipped cream for a velvety contrast that complements the rich chocolate and mascarpone.
- Vanilla Ice Cream: The creamy sweetness of vanilla ice cream pairs beautifully with the brownies, adding a delightful chill to each bite.
- Chocolate Sauce Drizzle: A warm drizzle of chocolate sauce enhances the rich flavors, leaving a decadent trail of chocolate bliss.
- Fresh Berries: Tangy berries such as raspberries or strawberries offer a fresh, juicy contrast, cutting through the richness of the brownies.
- Chocolate Affogato: Serve a scoop of vanilla ice cream drowned in hot espresso for a delightful twist, merging two classic desserts into one.
Each of these suggestions not only amplifies the flavors of the Tiramisu Brownies but also adds a personal touch to your dessert presentation.
Expert Tips for Tiramisu Brownies
- Perfect Timing: Bake until a toothpick inserted in the center shows moist crumbs. Overbaking will lead to dry brownies, so keep an eye on them!
- Chill Before Serving: Allow your brownies to sit at room temperature for a few minutes post-baking. This enhances the chocolate and coffee flavors, creating a richer experience.
- Quality Matters: Use high-quality semi-sweet chocolate for the best flavor. Avoid chocolate chips, which can lead to inconsistent texture in your Tiramisu Brownies.
- Adjust Texture: If substituting cream cheese for mascarpone, add a bit of whipped cream to achieve a creamier consistency similar to that of mascarpone.
- Explore Variations: Consider adding coffee liqueur to the mascarpone layer for an extra kick of flavor and indulgence.
- Measuring Flour: Make sure to measure your flour accurately using the spoon-and-level method. Too much flour can make brownies dense and dry, while the right amount guarantees that fudgy, rich texture!
Make Ahead Options
These Tiramisu Brownies are perfect for meal prep, allowing you to enjoy a delicious dessert without the last-minute rush! You can prepare the brownie base and mascarpone layer up to 24 hours in advance; simply store them separately in the refrigerator. For best results, assemble the layers just before baking to keep the Ladyfingers perfectly soft. If you’re short on time, you can also soak the Ladyfingers in coffee up to 3 days beforehand. When you’re ready to bake, layer the prepared components, swirl the reserved brownie batter on top, and bake as directed. This way, you’ll have rich, fudgy Tiramisu Brownies that taste just as delightful as if made fresh!
How to Store and Freeze Tiramisu Brownies
Fridge: Keep your Tiramisu Brownies covered in an airtight container for up to one week. This will maintain their rich flavors and fudgy texture.
Freezer: For longer storage, freeze the brownies for up to two months. Wrap them individually in plastic wrap, then place them in a zip-top bag to prevent freezer burn.
Thawing: Allow frozen brownies to thaw at room temperature for about 30 minutes before serving. This helps restore their delightful texture and flavors.
Reheating: If you prefer warm brownies, simply microwave them for about 10-15 seconds, ensuring they’re not too hot to maintain the creaminess of the mascarpone layer.
Tiramisu Brownies Variations and Substitutions
Feel free to put your own spin on these delightful brownies and let your creativity shine!
- Coffee Liqueur: Add a splash of coffee liqueur to the mascarpone mixture for an adult twist that enhances the coffee flavor.
- Nutty Variation: Substitute almond extract for vanilla extract, introducing a beautiful nutty undertone that perfectly complements the chocolate.
- Gluten-Free Option: Replace all-purpose flour with a gluten-free blend or almond flour; just be sure to adjust the baking time as needed.
- Rich Chocolate Flavor: Use dark chocolate instead of semi-sweet for a more intense chocolate hit that will satisfy even the strongest cravings.
- Fruity Delight: Add a layer of fresh raspberries or strawberries on top before serving to introduce a refreshing contrast to the rich brownies.
- Extra Creaminess: If you’re using cream cheese, fold in a bit of whipped cream to mimic the silky texture of mascarpone in your brownies.
- Vegan Twist: Swap eggs with flaxseed meal (1 tbsp flaxseed mixed with 2.5 tbsp water) and use a plant-based butter alternative for a delicious vegan rendition.
- Add Some Heat: For a spicy kick, sprinkle a pinch of cayenne or paprika into the brownie batter for a surprising warmth that contrasts beautifully with the richness.
No matter the variation you choose, these Tiramisu Brownies are sure to be a hit! And if you’re looking for more scrumptious desserts, don’t forget to explore these delightful Gluten Free Brownies or other indulgent recipes. Happy baking!
Tiramisu Brownies Recipe FAQs
How should I select ripe ingredients for my Tiramisu Brownies?
Absolutely! For the best results, ensure that your eggs are at room temperature. This helps with incorporation into the batter. When selecting your chocolate, opt for high-quality semi-sweet chocolate. If you’re using butter, unsalted is best for control over flavor.
How should I store my Tiramisu Brownies, and how long will they last?
Keep your Tiramisu Brownies stored in an airtight container in the refrigerator for up to one week. This helps maintain their rich flavors and fudgy texture. If you want to enjoy them longer, you can freeze them for up to two months, just remember to wrap each piece individually in plastic wrap!
Can I freeze Tiramisu Brownies, and what’s the best method?
Yes, you can freeze Tiramisu Brownies! First, allow them to cool completely, then wrap each brownie tightly in plastic wrap. After that, place them in a zip-top freezer bag, removing as much air as possible to prevent freezer burn. They can stay fresh for up to two months. When you’re ready to enjoy them, simply thaw them at room temperature for about 30 minutes.
What if my Tiramisu Brownies come out too dry?
Very! If your brownies turn out dry, it’s likely due to overbaking. I recommend checking them a few minutes early; they should be removed from the oven when the toothpick inserted shows moist crumbs. If you find yourself with dry brownies, try serving them warm with a scoop of ice cream or drizzle them with warm chocolate sauce to add moisture back in.
Are there any dietary considerations I should keep in mind for Tiramisu Brownies?
Yes! If you’re concerned about allergies, be aware that the recipe includes eggs, dairy in the form of mascarpone cheese, and gluten from the all-purpose flour. For a gluten-free version, you can substitute the flour with a gluten-free blend, just make sure to adjust the baking time accordingly. If you have pets, keep in mind that chocolate is toxic to dogs, so store the brownies securely out of their reach!
Irresistible Tiramisu Brownies for Ultimate Dessert Bliss
Ingredients
Equipment
Method
- Preheat your oven to 350°F (177°C) and line an 8-inch square baking pan with aluminum foil. Lightly spray with nonstick cooking spray.
- In a medium saucepan, melt the unsalted butter and chopped semi-sweet chocolate over medium heat, stirring until smooth.
- In a bowl, beat together mascarpone cheese, sugar, one egg, and a pinch of salt until smooth and creamy.
- Once cooled, whisk in brown sugar and granulated sugar to the chocolate mixture, then add the remaining eggs and vanilla extract.
- Fold in the all-purpose flour and salt until just combined, being careful not to overmix.
- Reserve about ⅓ cup of brownie batter, then pour the rest into the prepared pan, spreading evenly.
- Press the Ladyfingers into the brownie batter, ensuring even distribution, then pour the brewed coffee over them.
- Spread the mascarpone mixture over the Ladyfingers, then dollop the reserved brownie batter on top, swirling together.
- Bake the brownies for 38-42 minutes, until a toothpick inserted comes out with moist crumbs.
- Let the brownies cool in the pan for 10 minutes, then lift out using the foil, letting them cool completely before cutting.
Leave a Reply