
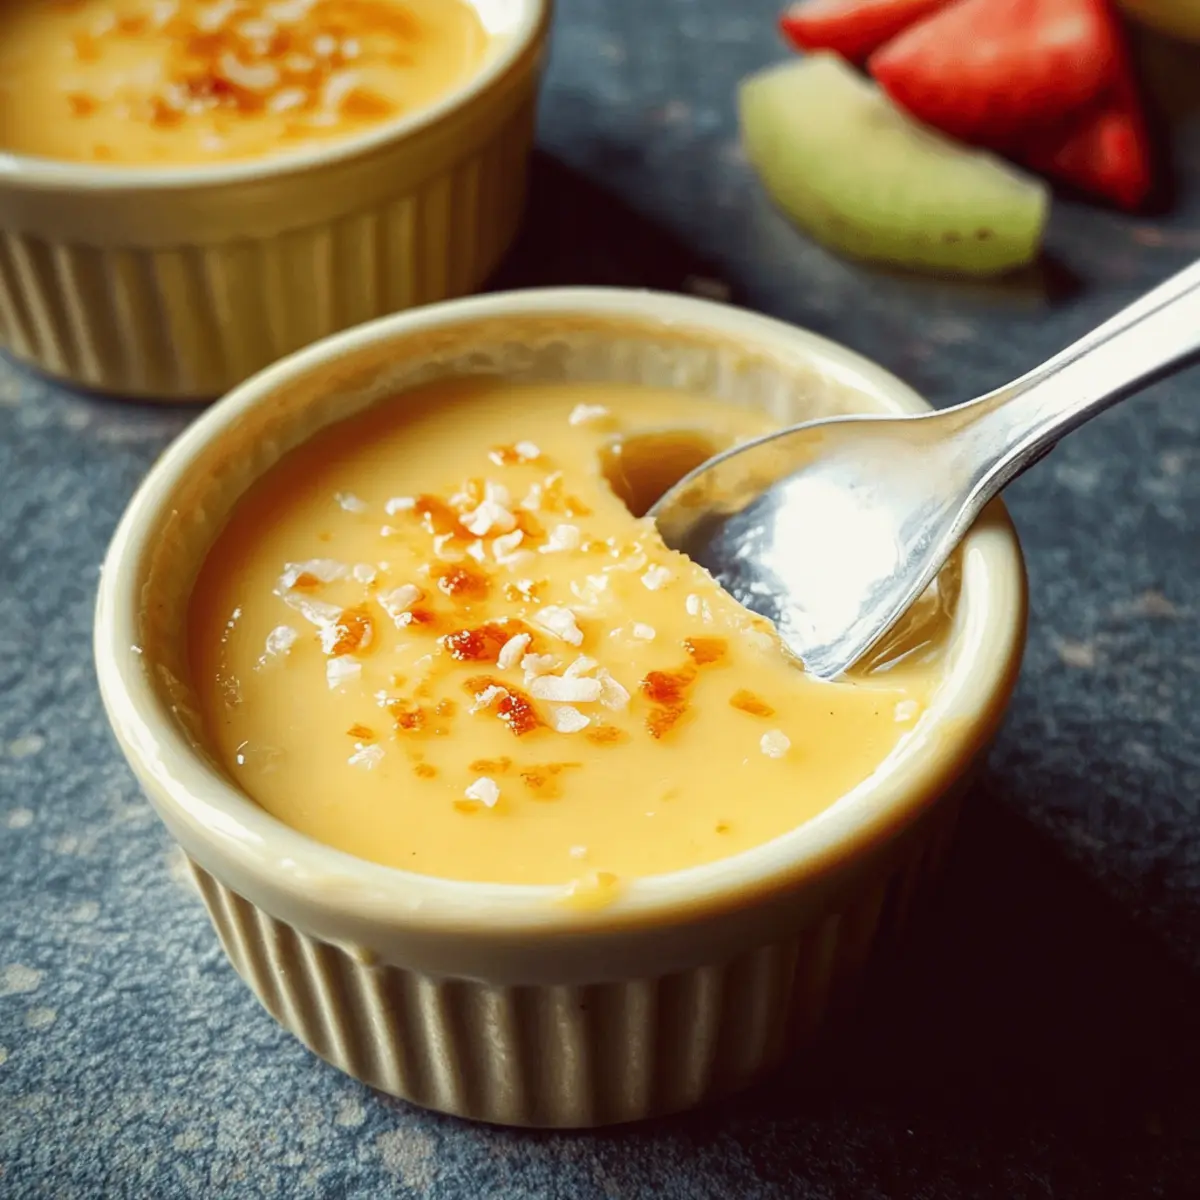
As I savored the last rays of golden sunlight, I stumbled upon a delightful secret of Thai cuisine: the exquisitely smooth Thai Coconut Custard, also known as Sangkaya. This gluten-free and dairy-free dessert effortlessly combines the richness of coconut milk with the delicate sweetness of palm sugar, creating a treat that’s not only quick to prepare but also a knockout at any gathering. Elevating your dessert game, this custard is perfect for those cozy nights in or even as a standout offering at your next dinner party. Want to discover how simple it is to bring a taste of Thailand to your table? Keep reading to unveil the magic behind this delightful dessert!
Why is Thai Coconut Custard So Irresistible?
Simplicity at its core: With just four ingredients, this custard shines without complicated steps, making it a breeze for any home chef.
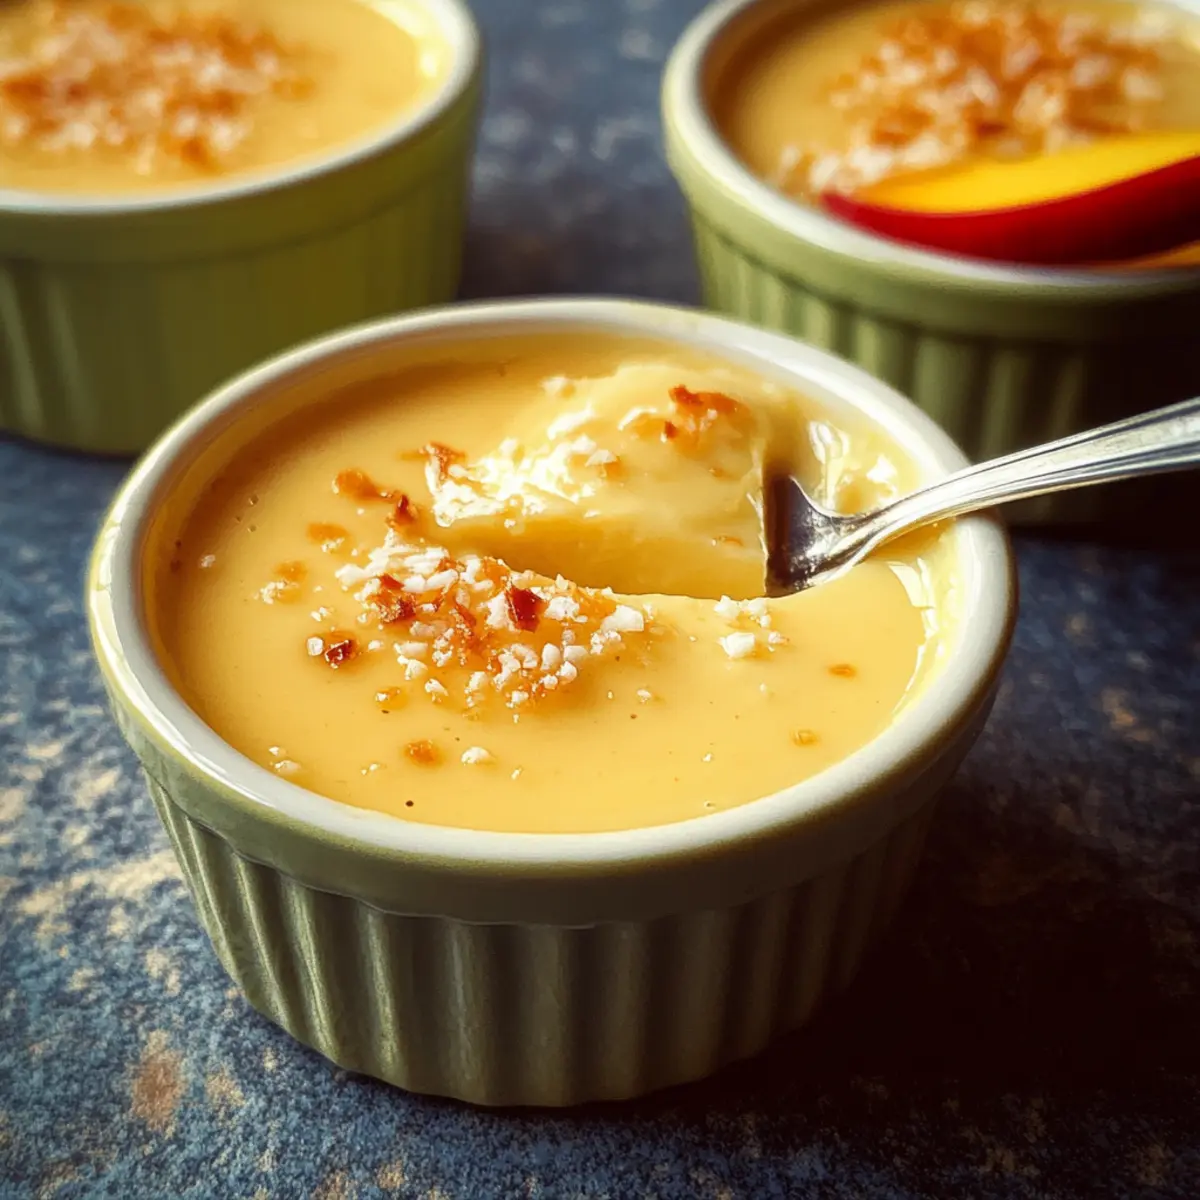
Rich, Creamy Texture: Indulge in the velvety smoothness of coconut milk paired with the sweet earthiness of palm sugar; a true flavor explosion.
Versatile Use: Enjoy it on its own or with sweet sticky rice for a traditional twist, or even tucked between layers of sponge cake for a delicious custard cake variation.
Crowd-Pleasing: This dessert is sure to impress your friends at dinner parties; who can resist a slice of tropical paradise?
Healthy Delight: Gluten-free, dairy-free, and filled with natural ingredients, it’s a guilt-free indulgence everyone can savor! If you’re looking for other tasty desserts, check out these Breakfast Granola Cups or explore the flavors in Pineapple Coconut Dream.
Thai Coconut Custard Ingredients
For the Custard
• Eggs – Provide structure and richness; consider using one less for a softer texture.
• Palm Sugar – Adds an earthy sweetness; can be substituted with brown sugar for a similar flavor.
• Coconut Milk – The main flavor source for a creamy custard; coconut cream works for a richer texture, but may require dilution.
• Jasmine Extract/Pandan Juice – Adds fragrant notes; use pandan for a unique green hue and natural vanilla-like aroma.
• Salt – Balances the sweetness; a small pinch enhances the flavor without overpowering.
For Serving
• Sticky Rice – A comforting classic pairing that complements the custard beautifully.
• Toasted Coconut – Adds a delightful crunch and extra flavor contrast when sprinkled on top.
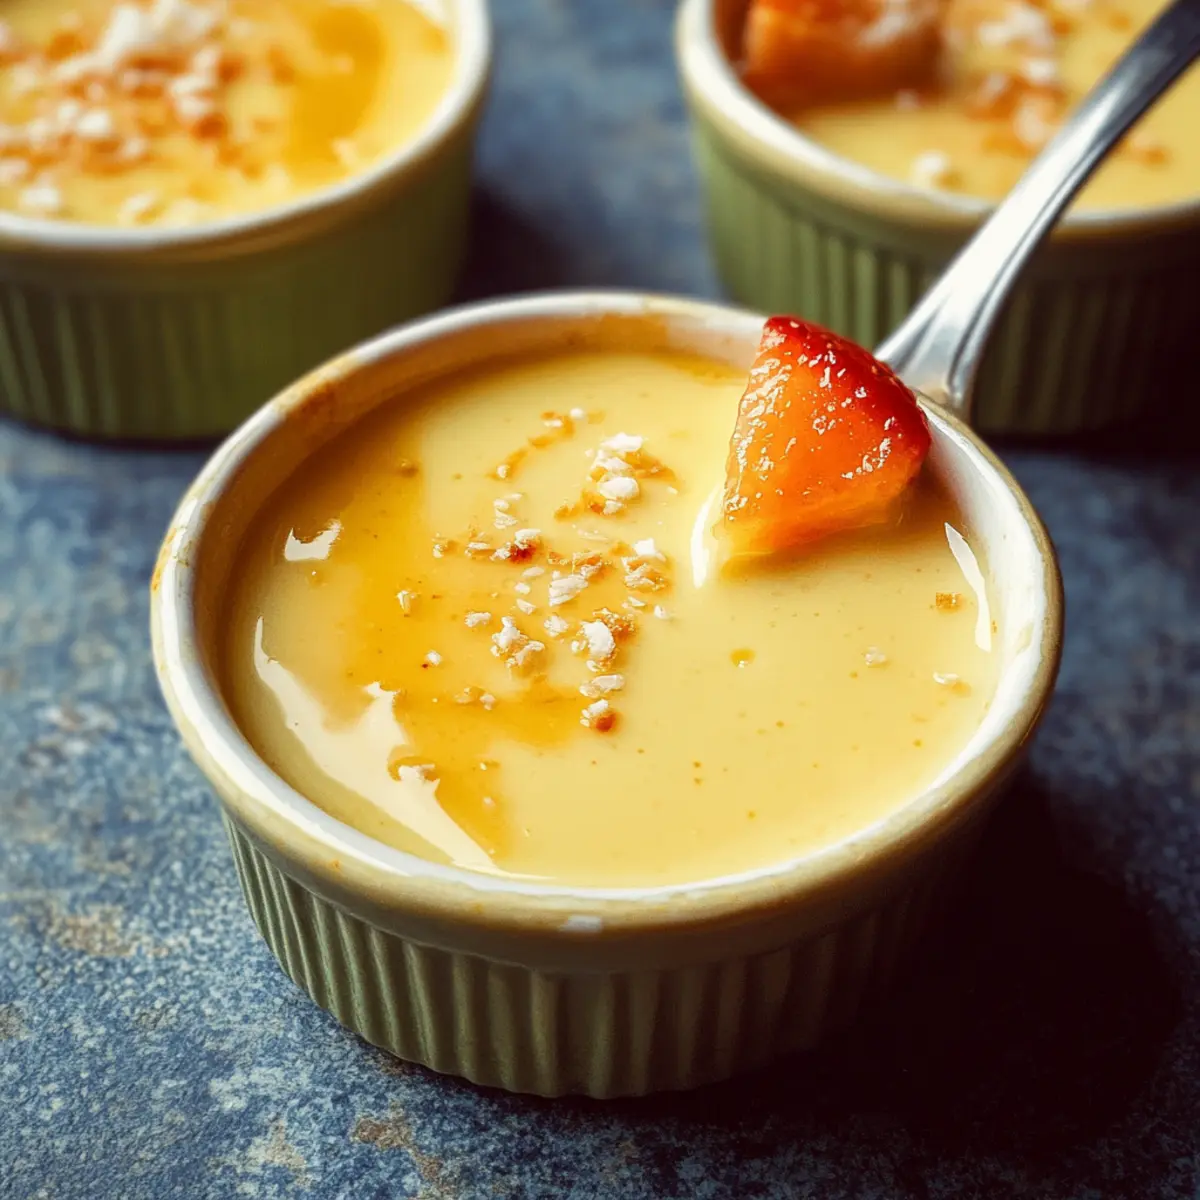
• Fresh Fruit – Offers a refreshing balance to the creamy custard; mango slices work wonderfully!
Enjoy creating this Thai Coconut Sago Pudding that will transport you right to a tropical oasis!
Step‑by‑Step Instructions for Silky Thai Coconut Custard
Step 1: Preheat the Oven
Begin by preheating your oven to 300°F (150°C). This temperature is crucial for gently baking the custard, allowing it to set perfectly. While the oven warms up, prepare your baking setup to avoid delays later on.
Step 2: Whisk Eggs and Sugar
In a mixing bowl, crack the eggs and whisk them vigorously until they appear pale and frothy. Gradually mix in the palm sugar, ensuring it dissolves completely for a smooth texture. This step sets the foundation for the silky consistency of your Thai Coconut Custard.
Step 3: Incorporate Coconut Milk and Flavoring
Next, pour in the coconut milk and add your choice of jasmine extract or pandan juice. Whisk all the ingredients together until fully combined and smooth. This mixture will create the rich and creamy base of your custard, capturing the essence of Thai flavors.
Step 4: Strain the Mixture (Optional)
For an ultra-smooth custard, strain the mixture through a fine sieve into another bowl. This step is optional but highly recommended as it eliminates any lumps, resulting in that heavenly silky texture everyone loves in Thai Coconut Custard.
Step 5: Prepare Ramekins
Carefully divide the custard mixture evenly among four ramekins, filling them about three-quarters full. The even spread ensures uniform cooking. Set the ramekins aside as you prepare for the next step, maintaining their delightful layers intact.
Step 6: Create a Water Bath
Place your filled ramekins into a larger baking dish or pan. Pour boiling water into the outer pan until it reaches halfway up the sides of the ramekins. This water bath will help cook the custard gently, preventing it from curdling while enhancing its creamy texture.
Step 7: Bake the Custard
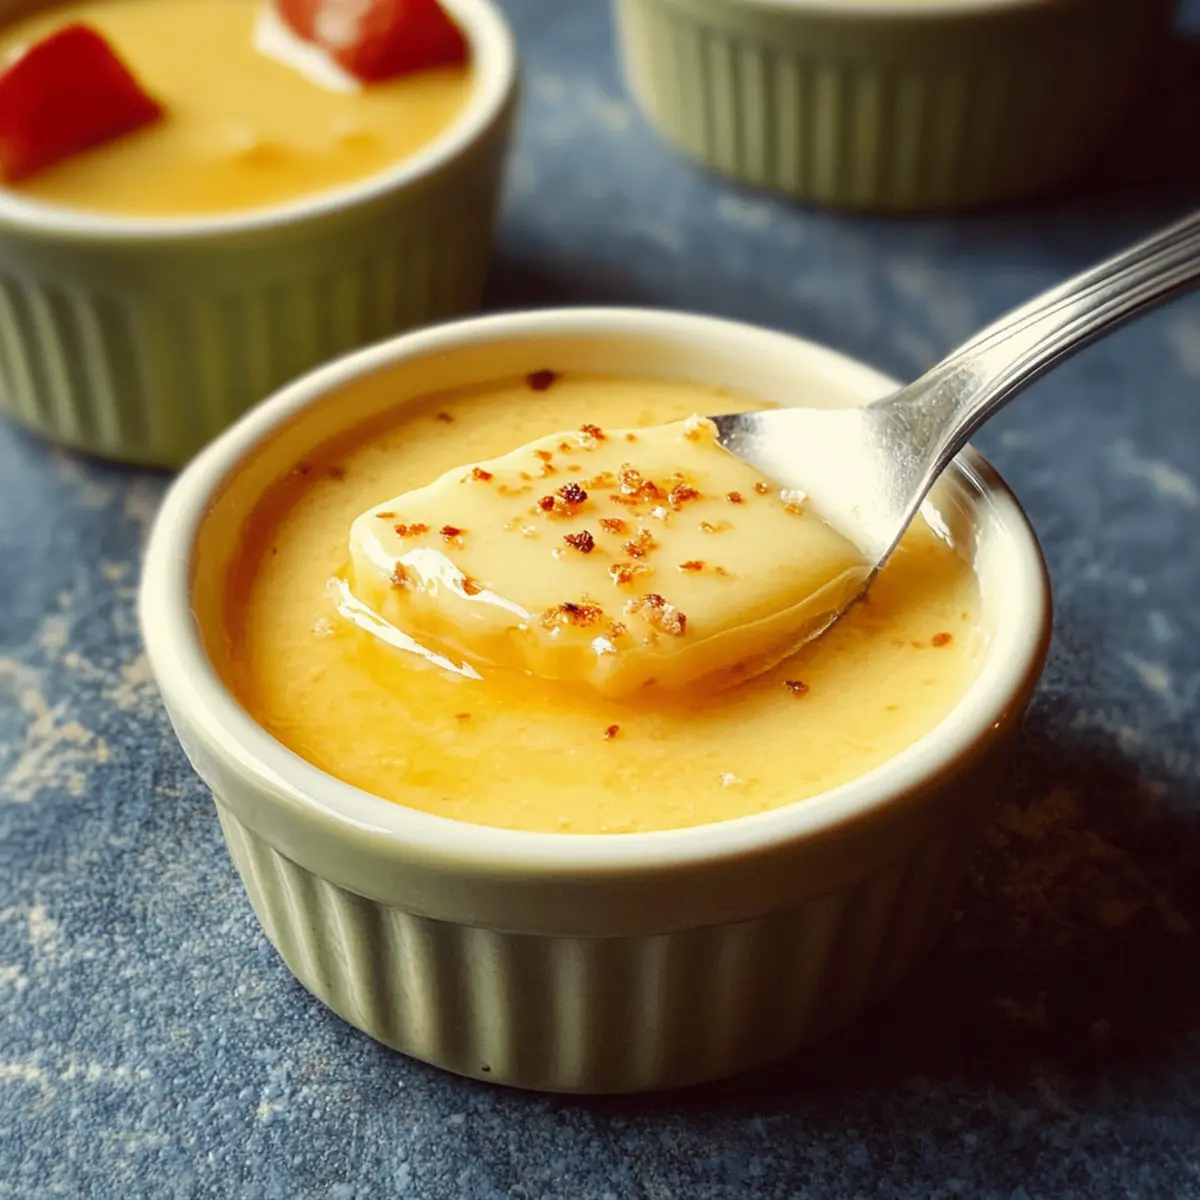
Bake the custard in your preheated oven for approximately 90 minutes. At the end of baking, the center should be set yet still slightly jiggly when gently shaken. This indicates that your Thai Coconut Custard is perfectly cooked and ready to cool.
Step 8: Cool and Chill Before Serving
Once baked, remove the ramekins from the water bath and allow them to cool slightly. Then, refrigerate them for at least 2 hours. Chilling the custard enhances its flavors and creates an even more enjoyable, refreshing treat when served.
Thai Coconut Custard Variations
Feel free to explore these delightful twists on your Thai Coconut Custard to make it just perfect for your taste buds!
-
Pandan Coconut Custard: Swap jasmine extract for pandan juice for a vibrant green custard infused with a unique flavor. This traditional twist brings an exciting new aesthetic and taste to your dessert table!
-
Layered Custard Cake: Layer the custard over a light sponge cake for an elegant dessert. The combination of soft cake and creamy custard creates a delightful treat that your guests will love!
-
Custard with Sticky Rice: Serve the custard alongside sweet sticky rice for a true Thai street food experience. This comforting pairing will evoke memories of warm evenings at bustling markets!
-
Coconut Infusion: Boost the coconut flavor by adding shredded coconut into the custard mixture before baking. This adds a delightful texture and enhances the tropical vibe of the dish!
-
Chocolate Drizzle: For a decadent twist, drizzle a rich chocolate sauce over the custard before serving. The combination of chocolate and coconut is a match made in dessert heaven!
-
Citrus Zest: Add a hint of lime or lemon zest to the mixture for a zesty kick. This adds brightness and elevates the creamy custard with fresh, vibrant notes.
-
Spiced Optional: For a hint of warmth, add a pinch of cinnamon or cardamom to the custard mix. These spices introduce an exotic aroma that perfectly complements the coconut richness.
-
Nutty Topping: Top with crushed nuts like cashews or almonds for added crunch and flavor. This extra element will surprise your palate with delightful contrasts in texture!
For more delicious dessert ideas, don’t forget to check out these Breakfast Granola Cups or the luscious Pineapple Coconut Dream. Enjoy your culinary adventures!
Expert Tips for Thai Coconut Custard
-
Avoid Overbeating: Keep it gentle when whisking the eggs to prevent a bubbly texture that can ruin the silky finish of your Thai Coconut Custard.
-
Strain for Smoothness: Straining your mixture isn’t mandatory, but it’s a great way to ensure a luxurious texture without any lumps.
-
Monitor Sugar Selection: If using brown sugar, remember it has a stronger taste than palm sugar; adjust according to your preference for sweetness.
-
Temperature Matters: Maintain your oven temperature accurately. Too high can curdle your custard, while too low may not set it properly.
-
Keep It Steamy: Ensure your water bath doesn’t run dry during baking to help achieve an even, creamy custard cook.
-
Cool Completely: Let your custard cool in the water bath before refrigerating; this helps it set beautifully while enhancing the flavors.
What to Serve with Silky Thai Coconut Custard?
Imagine a table filled with vibrant, flavorful dishes that evoke the warm spirit of Thailand, perfect for turning a simple dessert into a memorable feast.
-
Sticky Rice: A traditional pairing that enhances the custard’s sweet creaminess and adds a delightful texture contrast. This warm, chewy side is a Thai classic that complements the custard beautifully.
-
Toasted Coconut: Sprinkling toasted coconut atop the custard adds a crunchy, nutty layer, giving every spoonful an enticing twist. It brings out the coconut flavors even more!
-
Fresh Mango Slices: Juicy and sweet mango adds a refreshing burst to the rich custard, balancing flavors perfectly and creating a tropical vibe. The presentation is as enticing as the taste!
-
Jasmine Tea: Sipping on fragrant jasmine tea while enjoying the custard enhances its aromatic notes, making for a soothing gastronomic experience. The floral notes intertwine beautifully with the dessert’s tropical essence.
-
Pandan Sticky Rice: Elevate your serving with fragrant pandan sticky rice for a beautiful color contrast and unique taste. The earthy notes of pandan harmonize with the custard’s sweetness.
-
Coconut Sorbet: For those hot days, a scoop of coconut sorbet provides a refreshing chilly element that pairs scrumptiously with the creamy custard. A palate cleanser that keeps the tropical mood alive!
How to Store and Freeze Thai Coconut Custard
Fridge: Store the custard covered in the refrigerator for up to 3 days. The flavors deepen as it chills, making it even more delicious upon serving.
Freezer: If you want to store it longer, freeze the Thai Coconut Custard for up to a month. Ensure each ramekin is wrapped tightly or placed in an airtight container to prevent freezer burn.
Reheating: When ready to indulge again, thaw in the fridge overnight and reheat gently in a microwave or oven until warmed through.
Serving Tip: For added texture, serve chilled with a sprinkle of toasted coconut or fresh fruit after storage.
Make Ahead Options
These Thai Coconut Custard treats are perfect for meal prep enthusiasts! You can prepare the custard mixture up to 24 hours in advance by whisking together the eggs, palm sugar, coconut milk, and flavoring, then store it covered in the refrigerator. When you’re ready to enjoy, divide the mixture into ramekins and proceed with the water bath and baking steps. If you’d like to serve this delightful dessert later, you can also bake the custard up to 3 days ahead, letting it cool and then refrigerating it. To maintain quality, be sure to cover the ramekins to prevent any odors from the fridge affecting the custard. Just before serving, simply chill for at least 2 hours, and you’ll have a refreshing treat ready with minimal effort!
Thai Coconut Custard Recipe FAQs
What type of coconut milk should I use for the custard?
I recommend using full-fat coconut milk for the richest and creamiest texture. However, you can also use light coconut milk if you prefer a lower-fat option. Just be aware that it might slightly affect the custard’s creaminess.
How do I know when the custard is perfectly baked?
You’ll want to bake the custard for about 90 minutes. To check, gently shake the ramekin; if the center jiggles slightly but is mostly set, it’s ready! You can also use a thermometer—aim for a custard temperature of around 170°F (76°C).
Can I make Thai Coconut Custard ahead of time?
Absolutely! In fact, it’s best to let it chill for at least 2 hours after baking, allowing flavors to meld beautifully. You can make it up to 3 days in advance, and it will just keep getting tastier in the fridge!
How do I freeze Thai Coconut Custard?
To freeze, ensure each ramekin is tightly wrapped with plastic wrap or place it in an airtight container to avoid freezer burn. It will last for up to a month! When ready to enjoy, thaw it in the refrigerator overnight. Reheat gently to bring back that luscious texture.
Is Thai Coconut Custard suitable for those with dietary restrictions?
Absolutely! This custard is gluten-free, dairy-free, and vegetarian. However, if anyone in your party has egg allergies, this particular recipe might not be suitable. Always double-check with your guests for specific dietary needs!
Can I customize the flavors in my custard?
Very much so! If you want something extra special, swap the jasmine extract for pandan juice for a lovely color and unique flavor. You can also experiment with adding flavors like vanilla or even a hint of citrus for a refreshing twist.
Creamy Thai Coconut Sago Pudding: A Tropical Delight
Ingredients
Equipment
Method
- Preheat your oven to 300°F (150°C).
- In a mixing bowl, crack the eggs and whisk until pale and frothy. Gradually mix in palm sugar until dissolved.
- Pour in coconut milk and add jasmine extract or pandan juice. Whisk until smooth.
- Strain the mixture through a fine sieve into another bowl (optional).
- Divide the custard mixture evenly among four ramekins.
- Place ramekins in a larger baking dish and pour boiling water into the outer pan, halfway up the ramekins.
- Bake for approximately 90 minutes until the center is set but slightly jiggly.
- Remove from water bath and let cool slightly, then refrigerate for at least 2 hours.
Leave a Reply