
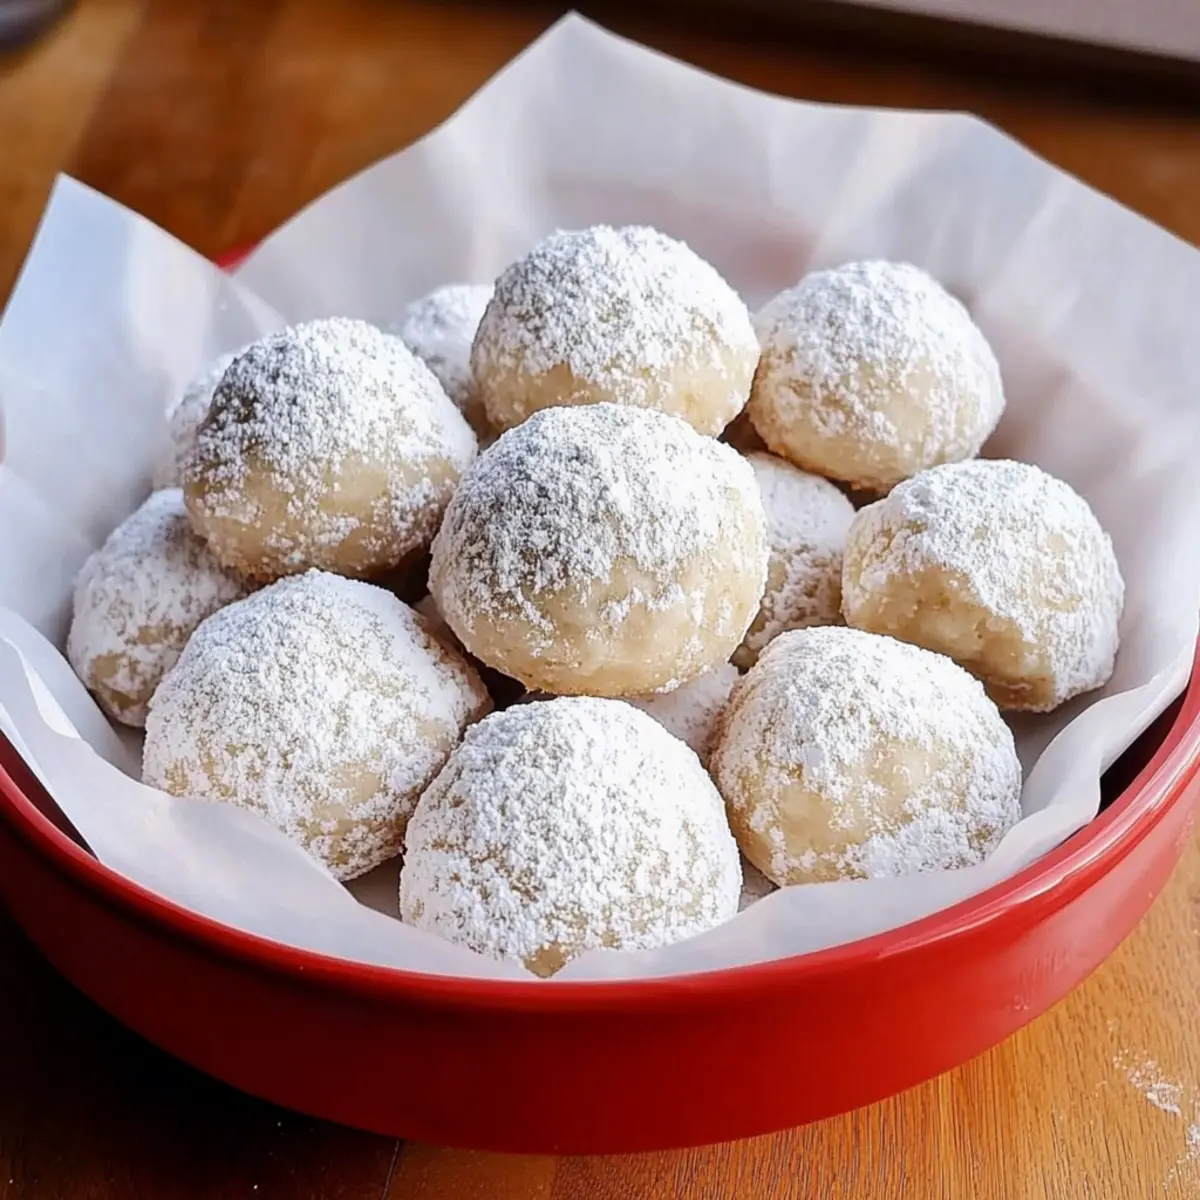
As I stood in the kitchen, the scent of warm, buttery goodness enveloped me, instantly transporting me to joyous holiday gatherings. Today, I’m excited to share my recipe for Classic Snowball Cookies—a simple yet delightful treat that is bound to become a favorite in your home. These easy snowball cookies come together with just four ingredients, making them perfect for those last-minute dessert decisions or cozy baking sessions with family and friends. Their soft, melt-in-your-mouth texture isn’t only satisfying; you’ll love how they can easily be customized to fit vegan, gluten-free, or nut-free diets. So, whether you’re treating yourself or spreading holiday cheer, these cookies are sure to bring smiles. Are you ready to learn how to whip up these little delights? Let’s dive into the magic of snowball cookies!
Why are snowball cookies a must-try?
Easy to Make: Combining just four simple ingredients, these snowball cookies require minimal effort and time, making them ideal for those busy days leading up to the holidays.
Versatile Options: Whether you prefer classic, vegan, or gluten-free variations, you can easily adapt this recipe to suit various dietary preferences.
Melt-in-Your-Mouth Goodness: The buttery texture and light sweetness create a heavenly experience that keeps you reaching for more.
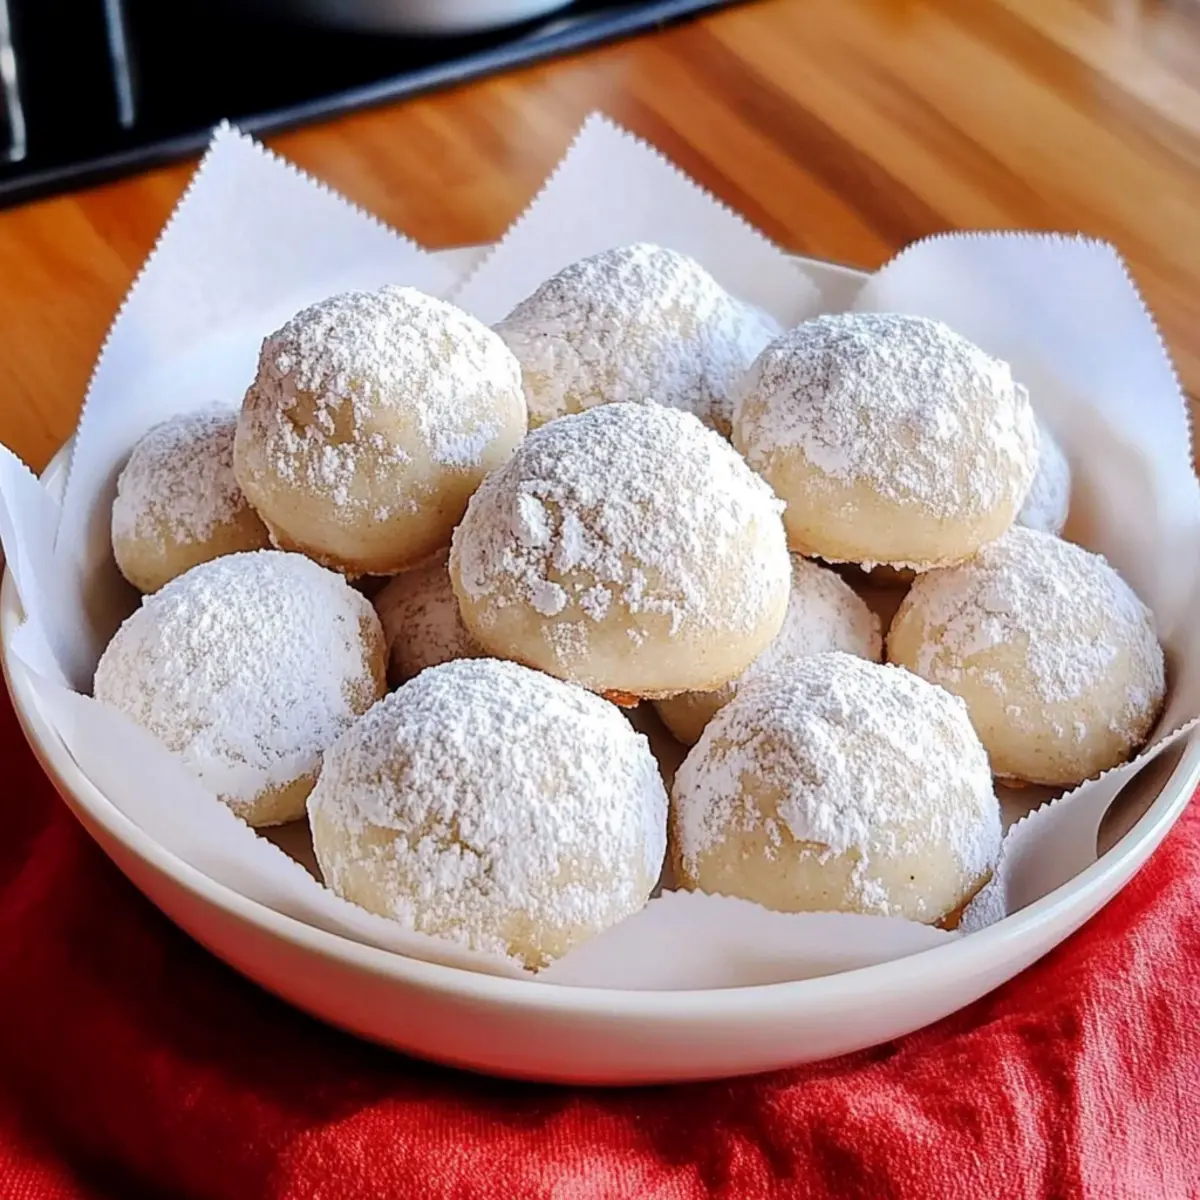
Perfect for Sharing: These delightful cookies are perfect for holiday gatherings or cozy get-togethers. They create smiles and warm memories with every bite!
For more delicious treats, check out Healthy Carrot Cookies or indulge in Chocolate Oat Cookies for a different twist!
Snowball Cookies Ingredients
• Simple ingredients for delightful results!
For the Cookie Base
- Flour – Provides structure and a tender crumb; feel free to use whole wheat or gluten-free varieties as alternatives.
- Butter or Coconut Oil – Ensures a rich, melt-in-your-mouth texture; for a vegan option, coconut oil is perfect.
For the Crunch
- Nuts (Walnuts, Almonds, Pecans) – Adds a delightful crunch and nutty flavor; you can omit these for a nut-free treat.
For the Sweetness
- Powdered Sugar – Adds sweetness and creates a soft, meltaway quality; sugar-free powdered sugar is a great substitute for a healthier option.
Enjoy experimenting with these snowball cookies to find your family’s favorite variations!
Step‑by‑Step Instructions for Snowball Cookies
Step 1: Preheat your oven
Begin by preheating your oven to 325°F (163°C). This will ensure that your cookies bake evenly and achieve that perfect soft texture. While the oven heats, gather your baking sheets and line them with parchment paper to prevent sticking, making cleanup a breeze.
Step 2: Cream the butter and sugar
In a large mixing bowl or using a stand mixer, combine softened or melted butter with powdered sugar. Beat them together until the mixture is light and fluffy, which should take about 2-3 minutes. You’re looking for a creamy consistency that changes in color, signaling it’s ready for the next step!
Step 3: Mix in dry ingredients
In a separate bowl, sift together your flour and finely chopped nuts. Gradually add this dry mixture to your butter-sugar blend, mixing carefully until a soft dough forms. Take your time with this step; the dough should be uniform and slightly sticky, ready for shaping.
Step 4: Shape the cookies
Using your hands, scoop out portions of dough and shape them into small balls, about 1 inch in diameter. Place each ball on the prepared cookie sheet, spacing them about 2 inches apart. This will allow room for spreading during baking, ensuring that your snowball cookies don’t stick together.
Step 5: Bake to perfection
Slide the cookie sheet into your preheated oven and bake for 20-25 minutes. Look for a light golden hue on the bottoms of the cookies, indicating they are ready. The tops should remain pale, giving them that classic snowball appearance.
Step 6: Sugar coat the warm cookies
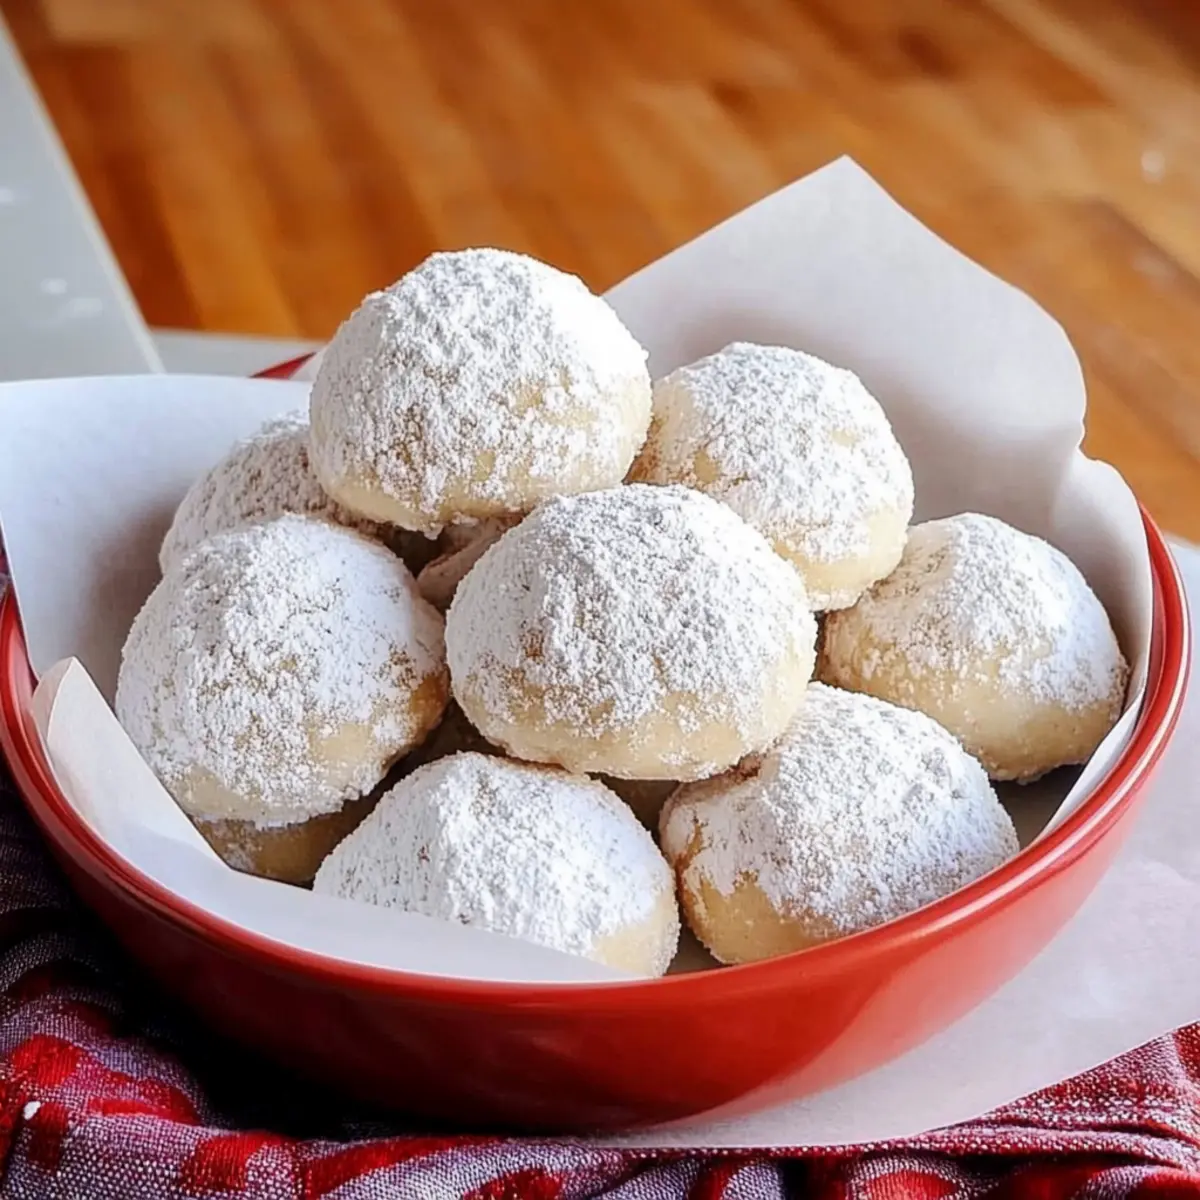
Once your snowball cookies are out of the oven, allow them to cool for a few minutes on the sheet. This brief cooling period makes them easier to handle. While still warm, roll each cookie in a generous amount of powdered sugar until fully coated, enhancing their festive charm.
Step 7: Cool and serve
Transfer the coated cookies to a wire rack to cool completely. This cooling process allows them to firm up nicely, making them easier to enjoy. Once cooled, these delightful snowball cookies are ready to be savored or shared with loved ones at your next holiday gathering!
Storage Tips for Snowball Cookies
Room Temperature: Store the snowball cookies in a covered container at room temperature for up to 3-5 days to maintain their soft texture and delightful flavor.
Fridge: If you prefer longer freshness, the cookies can be kept in the fridge for up to a week. Just ensure they’re in an airtight container to prevent them from drying out.
Freezer: Cookie dough can be frozen for up to 3 months. Shape it into balls, place them on a baking sheet to freeze individually, then transfer to a freezer bag. Bake from frozen when the mood strikes!
Reheating: For the best experience, if they lose some softness in storage, simply warm them briefly in the oven at 300°F (150°C) for 5-10 minutes before enjoying your snowball cookies again.
What to Serve with Snowball Cookies
Indulging in these delightful treats evokes cozy moments and festive cheer, making it easy to build a full holiday spread.
-
Hot Cocoa: A classic pairing, the creamy richness of hot cocoa complements the buttery sweetness of the cookies perfectly.
-
Coffee: The bold flavors of a warm cup of coffee balance the sweetness of snowball cookies, perfect for a cozy afternoon treat.
-
Vanilla Ice Cream: A scoop of creamy vanilla ice cream adds a luscious contrast and elevates the treat to a delightful dessert experience.
-
Fruit Platter: Fresh fruits like strawberries or mandarin slices provide a refreshing contrast to the soft cookies, adding a burst of natural sweetness.
-
Spiced Apple Cider: The warm spices in cider echo holiday flavors, making it a wonderful pairing for the melt-in-your-mouth goodness of the cookies.
-
Pecan Pie: Rich and nutty, a slice of pecan pie plays well with the snowball cookies’ texture, creating a memorable dessert spread for gatherings.
-
Chocolate Milk: Kids and adults alike will love the nostalgia of chocolate milk, offering a sweet, chocolatey complement to the snowball cookies.
-
Cheesecake: A slice of classic cheesecake adds a creamy texture and tangy flavor that contrasts beautifully with the sweet, buttery cookies.
-
Pumpkin Spice Latte: For a seasonal twist, the flavors of a pumpkin spice latte are delightful alongside these cookies, evoking the essence of holiday cheer.
Expert Tips for Snowball Cookies
-
Butter Temperature: Ensure your butter is softened or melted to allow for easy mixing; cold butter can result in a dense texture.
-
Consistent Dough: Take your time mixing the dry ingredients with the butter-sugar mixture; a cohesive, slightly sticky dough yields the best snowball cookies.
-
Cooling is Key: Let the cookies cool on the baking sheet for a few minutes before handling; they firm up and will break less easily.
-
Sugar Coating: Roll your warm cookies in powdered sugar while they’re still warm for a delightful finish; this gives them that signature snowball look!
-
Flavor Twist: Experiment with adding extracts like vanilla or almond for a unique flavor profile, but keep the base flour consistent for perfect cookies.
Make Ahead Options
These delightful snowball cookies are perfect for busy home cooks looking to save time during the holiday hustle! You can prepare the dough up to 24 hours in advance by mixing all the ingredients and then wrapping it tightly in plastic wrap before refrigerating. To maintain their wonderful texture, avoid rolling them in powdered sugar until right before serving. If you’re aiming to simplify your baking even further, you can also shape the cookie balls and freeze them for up to 3 months. When you’re ready to bake, just pop them straight from the freezer into the oven for a little extra baking time (add around 5 minutes) and enjoy fresh, melt-in-your-mouth snowball cookies with minimal effort!
Snowball Cookies: Delightful Variations!
Feel free to explore these fun twists and swaps to create your perfect batch of snowball cookies! Each variation offers a unique flavor or dietary fit that will make your cookie experience even more delightful.
-
Chocolate Twist: Add 1/3 cup of cocoa powder to the dough for a rich chocolate flavor. These chocolaty snowball cookies are a hit during the holidays!
-
Vegan Alternative: Substitute butter with melted coconut oil and use a sugar-free powdered sugar for a vegan-friendly treat. These cookies will still melt in your mouth, just the way you love them!
-
Gluten-Free Option: Replace all-purpose flour with a gluten-free blend like Bob’s Red Mill. The soft texture remains, ensuring everyone can enjoy these festive cookies.
-
Nut-Free Delight: Omit the nuts in the recipe, or swap them for sunflower seeds to keep the crunch while accommodating nut allergies. They will remain deliciously buttery!
-
Minty Freshness: Add a teaspoon of peppermint extract to the dough for a refreshing holiday flavor. Pair them with hot cocoa for a cozy treat!
-
Fruity Spin: Mix in 1/4 cup of dried cranberries or cherries for a fruity twist. The tartness complements the sweetness beautifully!
-
Citrus Zest: Incorporate the zest of one lemon or orange into the dough for a zesty bite that brightens these classic cookies.
-
Savory Pairing: For a unique savory version, sprinkle in 1/4 teaspoon of sea salt and add a finely chopped rosemary sprig. It’s a sophisticated twist that pairs wonderfully with tea or coffee.
Let your imagination run wild as you mix and match these variations! Try them alongside Healthy Carrot Cookies or Chocolate Oat Cookies for a cookie spread that will impress your guests and satisfy every palate!
Snowball Cookies Recipe FAQs
What type of flour should I use for snowball cookies?
For snowball cookies, you can use all-purpose flour, whole wheat pastry flour, spelt flour, or a gluten-free all-purpose blend like Bob’s Red Mill. The key is to find a flour that provides structure while keeping the cookies soft and tender.
How should I store my snowball cookies?
Store your snowball cookies in a covered container at room temperature for up to 3-5 days. If you want them to last longer, try keeping them in the fridge for a week, ensuring they’re in an airtight container to lock in moisture.
Can I freeze the dough for snowball cookies?
Absolutely! To freeze the dough, shape it into balls and place them on a baking sheet lined with parchment paper. Freeze them individually until solid, then transfer the dough balls to a freezer-safe bag. This way, you can enjoy freshly baked snowball cookies anytime within 3 months. When you’re ready, bake them directly from frozen, just adding a few extra minutes to the baking time.
What if my snowball cookies spread too much while baking?
If you find that your snowball cookies are spreading excessively, it could be due to soft butter or not enough flour in the dough. To troubleshoot, try chilling the dough for about 30 minutes before shaping into balls. This will help them maintain their shape while baking. Make sure your butter is either softened just enough to blend or slightly melted, as overly soft butter can lead to spread.
Can snowball cookies be made nut-free?
Very! You can easily turn snowball cookies into a nut-free delight by either omitting the nuts altogether or substituting them for sunflower seeds or an additional amount of flour. This allows everyone, including those with nut allergies, to enjoy these festive treats!
Are snowball cookies suitable for vegan diets?
Yes, you can make snowball cookies vegan by substituting the butter with coconut oil. Make sure to use powdered sugar that is free from animal products, ensuring everyone can indulge in these melty morsels without worry. Enjoy experimenting with flavors by adding vanilla or almond extract for some added depth!
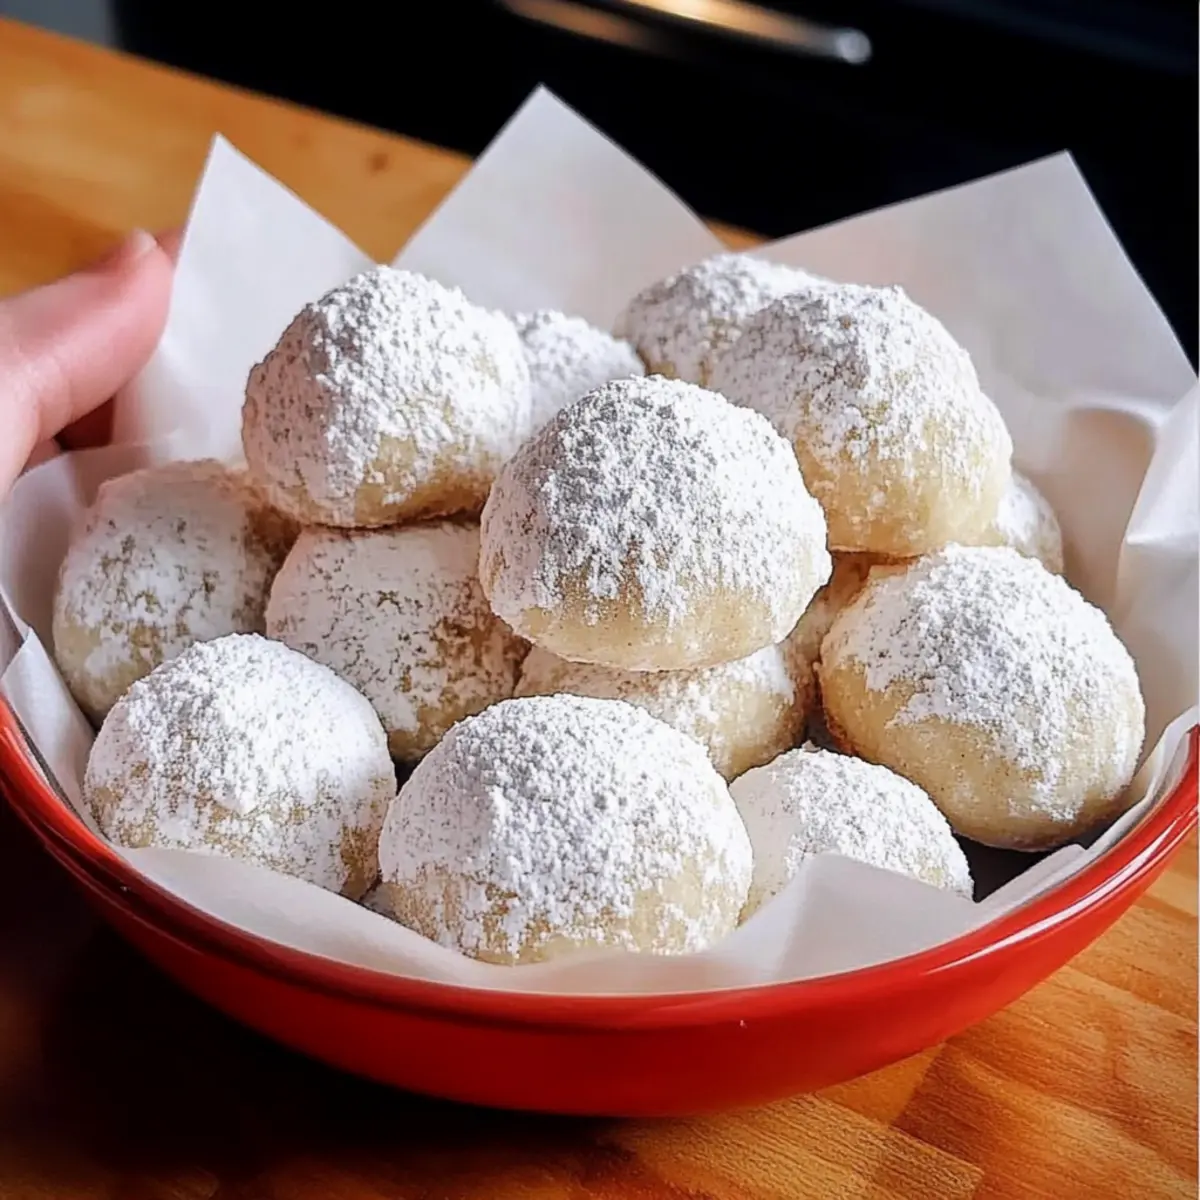
Melty Snowball Cookies: Easy Holiday Treats to Cherish
Ingredients
Equipment
Method
- Preheat your oven to 325°F (163°C) and prepare your baking sheets with parchment paper.
- In a large mixing bowl, cream softened or melted butter with powdered sugar until light and fluffy (2-3 minutes).
- In a separate bowl, sift together flour and finely chopped nuts. Gradually mix into the butter-sugar blend until a soft dough forms.
- Scoop portions of dough and shape into small balls (1 inch in diameter), placing them on the cookie sheet 2 inches apart.
- Bake in the preheated oven for 20-25 minutes until the bottoms are light golden, while tops remain pale.
- Cool the cookies on the sheet for a few minutes, then roll each in powdered sugar until fully coated.
- Transfer cookies to a wire rack to cool completely before serving.
Leave a Reply