
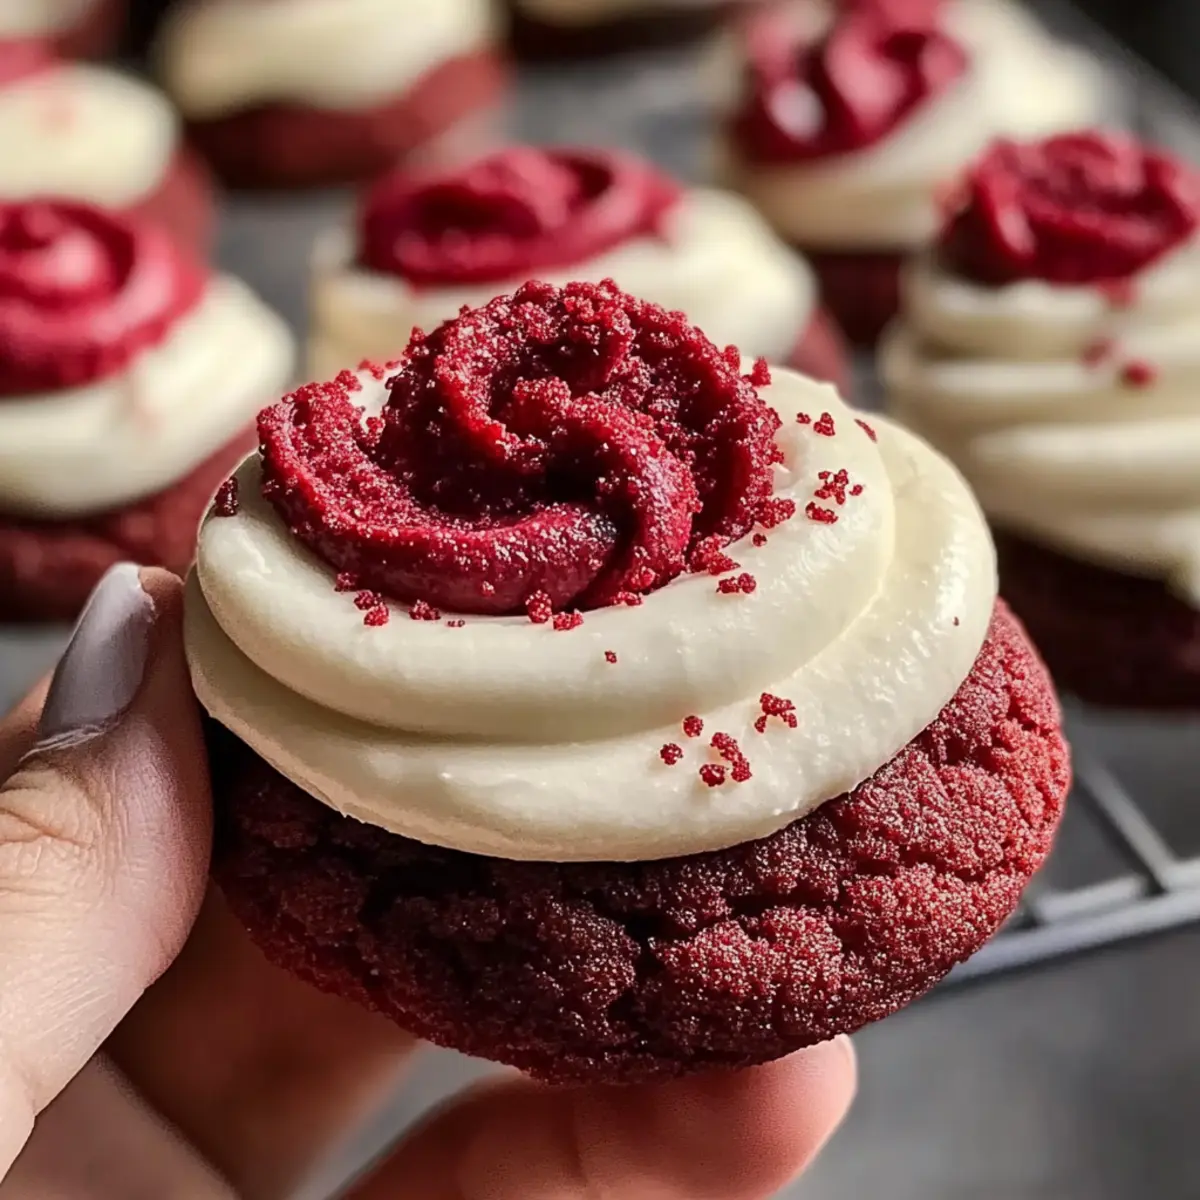
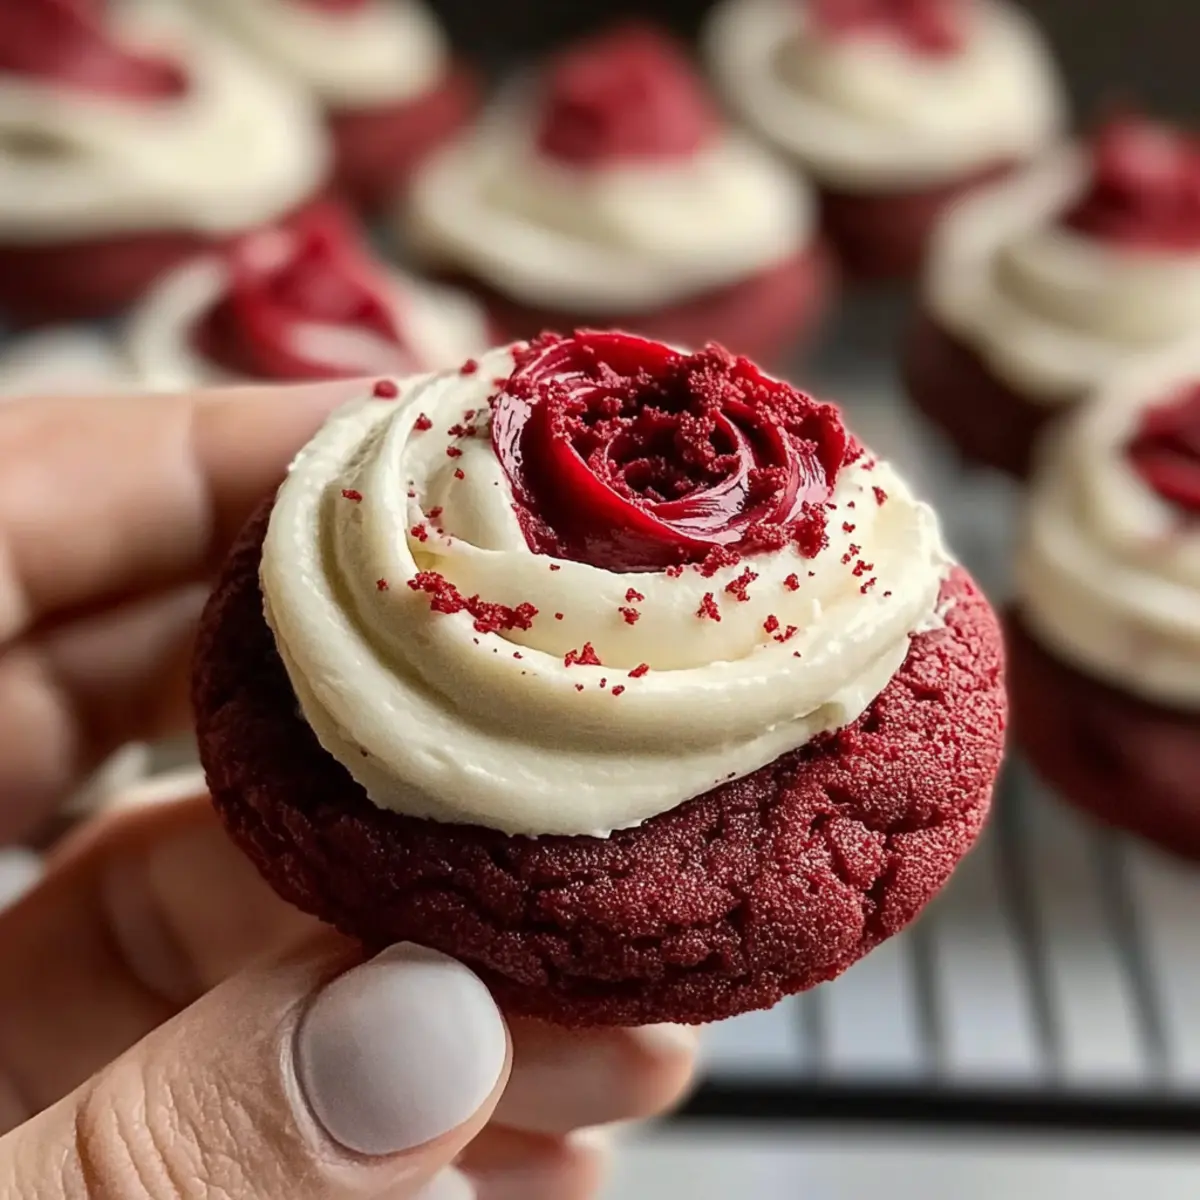
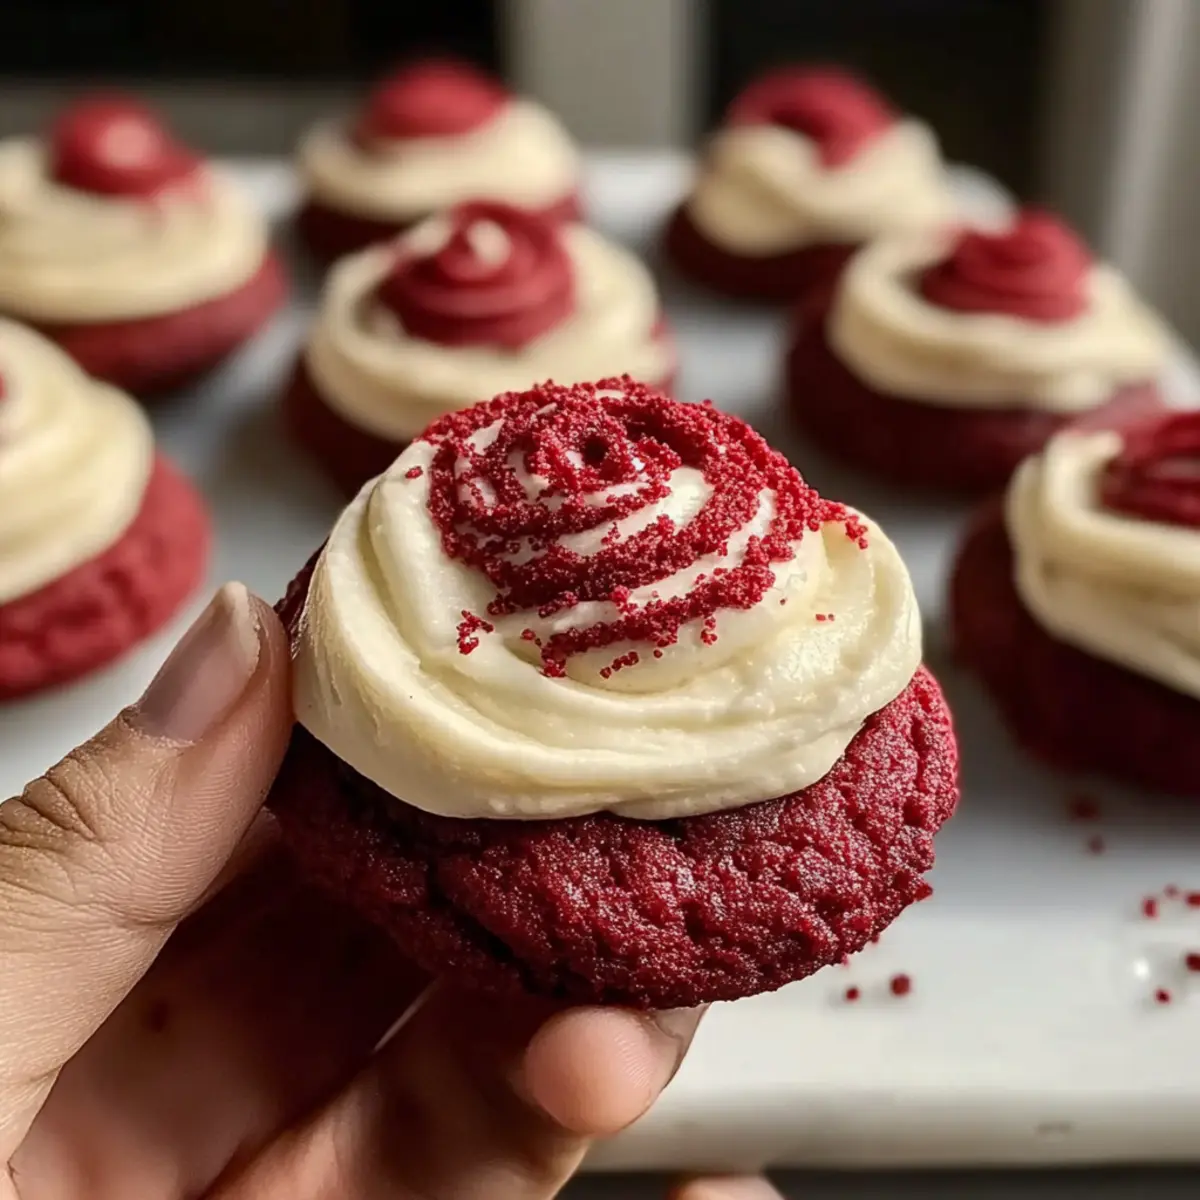
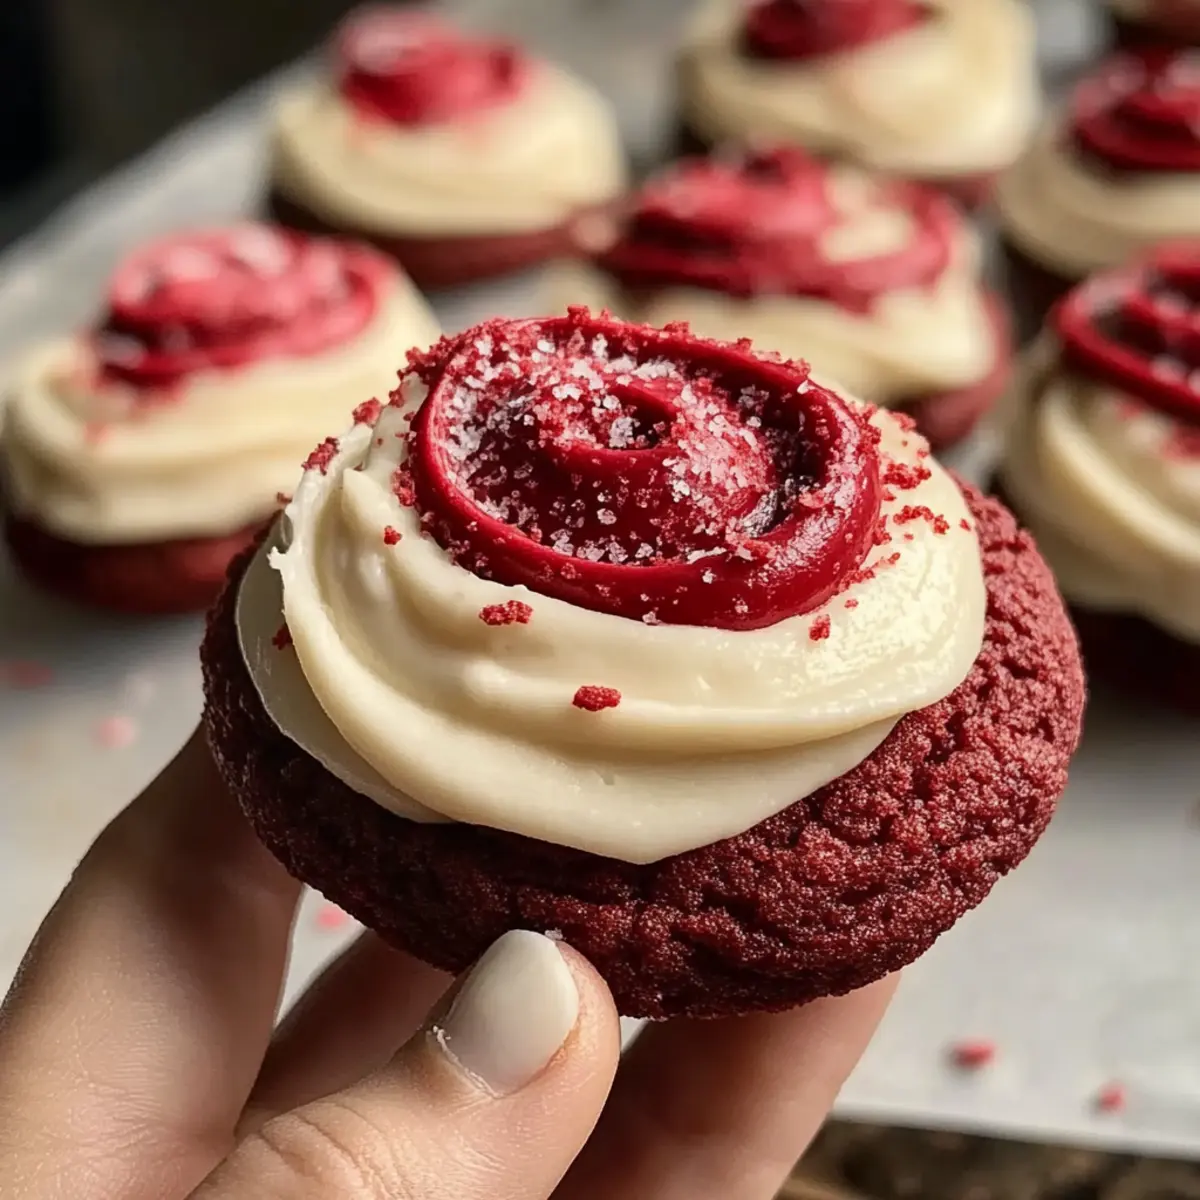
You know that moment when a sweet craving strikes, and nothing but a cookie will do? That’s how I found inspiration for these Crumbl Copycat Red Velvet Cookies. With their soft, chewy texture and dreamy cream cheese frosting, these freshly baked delights are a feast for the eyes and the taste buds. Not only are they a fun twist on classic flavors, but their customizable sweetness allows you to adjust them to perfection. Whether you’re hosting a gathering, celebrating a special occasion, or simply indulging after a long day, these cookies will surely become a favorite. Are you ready to whip up a decadent batch that turns any day into a festive treat? Let’s dive into the recipe!
Why Crumbl Copycat Red Velvet Cookies?
Irresistible Delight: Each bite of these cookies delivers a blissfully soft texture paired with velvety cream cheese frosting, making them an ultimate indulgence.
Customizable Sweetness: You can easily adjust the sweetness by modifying the brown sugar, catering to your personal preference and dietary needs.
Quick Preparation: In just a few simple steps, you can have these delightful cookies ready to impress family and friends, perfect for those spontaneous cravings!
Versatile Treat: Ideal for any occasion, they make a stunning centerpiece for celebrations or a comforting dessert for cozy nights.
Inspired by Crumbl: These cookies bring the beloved Crumbl experience home, allowing you to recreate and enjoy the magic of gourmet cookies in your kitchen.
Red Velvet Cookies Ingredients
For the Cookie Dough
• Unsalted Butter (1/2 cup, softened) – Adds richness and moisture; salted can be used for a twist.
• Granulated Sugar (1/3 cup) – Provides sweetness and supports cookie structure.
• Light Brown Sugar (1/3 cup packed) – Enhances flavor and moisture; reduce to 1/4 cup for less sweetness.
• Large Egg (1) – Binds ingredients and adds moisture; substitute with a flax egg for vegan cookies.
• Vinegar (1 tsp) – Reacts with baking soda for a tender cookie; apple cider vinegar is a great alternative.
• Red Gel Food Color (1-2 tsp) – Provides the iconic red hue; liquid color may alter moisture levels.
• Vanilla Extract (1 tsp) – Adds depth of flavor; opt for pure vanilla for best results.
• All-Purpose Flour (1 1/4 cups) – Gives structure; substitute gluten-free flour for a different option.
• Natural Cocoa Powder (2-3 tbsp) – Adds chocolate flavor; Dutch-processed cocoa offers a richer taste.
• Baking Soda (1/2 tsp) – Helps the cookies rise and maintain softness.
• Baking Powder (1/4 tsp) – Adds lightness to the texture.
• Salt (1/4 tsp) – Enhances the balance of flavors.
For the Cream Cheese Frosting
• Unsalted Butter (6 tbsp, softened) – Ensures a creamy and rich frosting.
• Cream Cheese (6 oz, room temperature) – Provides tangy creaminess; vegan cream cheese can be substituted.
• Icing Sugar (1 cup, sifted) – Sweetens and structures the frosting.
• Vanilla Extract (1/2 tsp) – Adds flavor to the frosting mix.
These red velvet cookies will not only satisfy your sweet tooth but also bring joy to your baking adventures!
Step‑by‑Step Instructions for Irresistible Crumbl Copycat Red Velvet Cookies
Step 1: Cream the Ingredients
Begin by creaming together the softened unsalted butter, granulated sugar, and light brown sugar in a mixing bowl until the mixture is light and fluffy, about 2-3 minutes. This creates a rich base for your red velvet cookies. Use an electric mixer on medium speed for best results, ensuring everything is well combined and airy.
Step 2: Incorporate Wet Ingredients
Add in the large egg, vinegar, red gel food color, and vanilla extract to the fluffy mixture. Mix until everything is well incorporated and you achieve a uniform color and texture, which should take about 1-2 minutes. You’ll notice the mixture transforming into a vibrant red, signaling that your red velvet cookie dough is well on its way.
Step 3: Combine Dry Ingredients
In a separate bowl, sift together the all-purpose flour, cocoa powder, baking soda, baking powder, and salt. Gradually fold this dry mix into your wet ingredients, using a spatula to gently combine the two until just combined. Be careful not to overmix, as this will help keep your cookies soft and tender.
Step 4: Chill the Dough
Cover the cookie dough with plastic wrap and chill it in the refrigerator for 15-20 minutes. Chilling is essential, as it makes the dough easier to handle and helps prevent the cookies from spreading too much while baking, ensuring that your red velvet cookies maintain their beautiful shape.
Step 5: Preheat and Prepare Baking Sheet
While the dough is chilling, preheat your oven to 375°F (190°C). Line a baking sheet with parchment paper to prevent the cookies from sticking. This setup will ensure your homemade red velvet cookies bake evenly and come off the sheet easily once baked.
Step 6: Shape the Cookies
Once the dough is chilled, scoop out portions and roll them into balls, about 2 inches in diameter. Flatten each ball slightly before placing them on your prepared baking sheet, ensuring there is at least 3 inches between each cookie to allow for spreading during baking.
Step 7: Bake the Cookies
Bake the cookies in the preheated oven for 10-11 minutes, until they are set but still soft in the center. They should look slightly puffed up and firm around the edges. Keep an eye on them to prevent overbaking, as you want that classic soft and chewy texture in your red velvet cookies.
Step 8: Cool on Baking Sheet
After baking, remove the cookies from the oven and let them cool on the baking sheet for about 5 minutes. This allows them to firm up slightly before transferring them to a wire rack. Let them cool completely to ensure the perfect texture before frosting.
Step 9: Make the Cream Cheese Frosting
For the frosting, beat together the softened unsalted butter and cream cheese in a bowl until creamy and smooth. Gradually add the sifted icing sugar and vanilla extract, mixing until you achieve a thick and fluffy consistency that will beautifully complement your red velvet cookies.
Step 10: Frost the Cookies
Once your cookies are completely cooled, pipe or spread the cream cheese frosting generously over the tops. For an extra touch, sprinkle crushed cookie crumbs on top of the frosting for added texture and aesthetic appeal, making your irresistible red velvet cookies even more delightful.
What to Serve with Irresistible Crumbl Copycat Red Velvet Cookies
These delightful cookies are not just a treat on their own; pairing them with the right accompaniments elevates the experience to pure bliss.
-
Creamy Vanilla Ice Cream: The cool, smooth texture of vanilla ice cream complements the soft, chewy cookies perfectly, creating a delightful contrast in every bite.
-
Fresh Berries: A handful of juicy raspberries or strawberries adds a fresh, tangy twist that balances the sweetness of the cookies beautifully.
-
Milk or Dairy-Free Alternative: A glass of cold milk—whether classic or a dairy-free version—enhances each satisfying bite while amplifying the flavors.
-
Whipped Cream: Adding a dollop of whipped cream on the side offers an airy, light addition, giving your cookies an indulgent flair that makes them feel extra special.
-
Chocolate Drizzle: A drizzle of melted dark chocolate elevates the rich cocoa notes in the cookies and adds a decadent touch that chocolate lovers will adore.
-
Coffee or Espresso: A warm cup of coffee or a shot of espresso pairs beautifully, enriching the overall flavor experience while offering a cozy feel, perfect for a late-afternoon treat.
Elevate your cookie enjoyment by choosing one or more of these delightful pairings, and let each bite transport you to cookie heaven!
Make Ahead Options
These Crumbl Copycat Red Velvet Cookies are perfect for busy home cooks looking to save time during hectic weeks! You can make the cookie dough up to 24 hours in advance by preparing it through Step 4 and then covering it tightly with plastic wrap before refrigerating. To maintain their soft texture, chill the dough properly and bake them fresh when you’re ready to serve. Alternatively, once baked, these cookies can be stored in an airtight container for up to 5 days at room temperature, or you can freeze them for up to 3 months. Just thaw before frosting and enjoy delicious red velvet cookies with minimal effort!
Variations & Substitutions for Red Velvet Cookies
Feel free to unleash your creativity and customize these delectable cookies to your taste!
- Dairy-Free: Substitute unsalted butter with vegan butter and use dairy-free cream cheese for frosting.
- Gluten-Free: Change out all-purpose flour with a gluten-free flour blend for a safe, yet scrumptious treat.
- Lower Sugar: Reduce granulated and brown sugar to 1/4 cup each for a lighter, less sweet version, allowing the cocoa flavor to shine through.
- Add-ins: Mix in 1/2 cup of chocolate chips or chopped nuts for delightful extra texture and flavor with every bite.
- Spiced Up: Enhance the dough with a sprinkle of cinnamon or nutmeg for a cozy twist that adds warmth to the flavor profile.
- Flavor Infusion: Infuse your frosting with orange or almond extract, giving your cream cheese frosting an exciting new flavor dimension.
- Color Variations: Use different food colorings, like blue or green, for themed occasions or whimsical presentations that will wow your guests.
- Crushed Pairing: Instead of cookie crumbs on top, try sprinkling crushed pistachios or crushed graham crackers for a unique crunchy finish.
These variations invite experimentation for a fun baking journey! Check out these delightful options for a fresh take on satisfying your cravings: Healthy Carrot Cookies and Gluten Free Cookies. Happy baking!
How to Store and Freeze Red Velvet Cookies
Fridge: Store your red velvet cookies in an airtight container for up to 5 days to keep them fresh and moist.
Freezer: For longer storage, freeze these cookies for up to 3 months. Wrap each one individually or place them in a freezer-safe bag to prevent freezer burn.
Reheating: When ready to enjoy, thaw the cookies at room temperature or microwave them for 10-15 seconds. This will restore their delightful softness!
Frosting Note: If frosted, it’s best to freeze cookies without the cream cheese frosting to maintain the best texture; frost them after thawing for the perfect finish.
Expert Tips for Red Velvet Cookies
-
Avoid Overmixing: Overmixing the cookie dough can lead to tough cookies. Mix just until combined for the best soft texture.
-
Chill the Dough: Chilling helps the cookies retain their shape and prevents spreading too thin, ensuring perfect red velvet cookies.
-
Adjust Sweetness: Taste the dough before baking and adjust the brown sugar to your preference for a customized sweetness suitable for your family.
-
Use Proper Measurements: Be sure to measure flour correctly; too much can alter the texture. Spoon and level it off for accuracy.
-
Frosting Consistency: If your cream cheese frosting seems too runny, add a bit more icing sugar until it reaches a spreadable consistency that’s perfect for topping your cookies.
Crumbl Copycat Red Velvet Cookies Recipe FAQs
How do I select the best ingredients for my red velvet cookies?
Absolutely! For the best results, choose fresh ingredients. Make sure your butter is softened to room temperature for easy creaming, and check that your flour is not past its expiration date. For cocoa powder, opt for high-quality natural or Dutch-processed to enhance flavor. Red gel food color gives that iconic hue, but ensure it’s in good condition for a vibrant outcome!
How should I store my red velvet cookies?
Very! To keep your cookies fresh, store them in an airtight container at room temperature for up to 5 days. If you want to enjoy them longer, freeze your cookies for up to 3 months. Just make sure they’re individually wrapped or in a freezer-safe bag to prevent freezer burn.
Can I freeze my red velvet cookies?
Certainly! To freeze your cookies, allow them to cool completely first. Then, wrap each cookie tightly in plastic wrap or place them in a freezer-safe bag, removing as much air as possible. When you’re ready to enjoy, simply thaw them at room temperature or microwave for about 10-15 seconds to bring back that soft texture.
What should I do if my cookie dough is too sticky?
If your dough turns out too sticky, don’t worry! You can chill it in the refrigerator for about 20-30 minutes. This will help firm up the dough and make it easier to handle. Alternatively, you can add a tablespoon of flour at a time until it reaches the desired consistency. Just be careful not to overmix after adding flour, as that could lead to tougher cookies.
Are there any dietary considerations I should keep in mind?
Absolutely! If you have dietary restrictions, consider substituting the egg with a flax egg (1 tablespoon of ground flaxseed mixed with 2.5 tablespoons of water) for a vegan option. For those who need gluten-free cookies, swap out the all-purpose flour for a gluten-free flour blend. If you or anyone around you has allergies to dairy, vegan cream cheese can easily replace traditional cream cheese, allowing everyone to enjoy these delicious red velvet treats!
How can I make these cookies less sweet?
If you prefer less sweetness, you can reduce the light brown sugar from 1/3 cup to 1/4 cup without compromising the cookie’s structure too much. Alternatively, you can try adding other flavor enhancers like a pinch of cinnamon or using a half-and-half mixture of granulated and brown sugar to balance the taste while keeping the delightful red velvet essence intact.
Soft and Creamy Red Velvet Cookies That WOW Every Bite
Ingredients
Equipment
Method
- Cream together the softened unsalted butter, granulated sugar, and light brown sugar in a mixing bowl until light and fluffy, about 2-3 minutes.
- Add in the large egg, vinegar, red gel food color, and vanilla extract. Mix until well incorporated, about 1-2 minutes.
- In a separate bowl, sift the all-purpose flour, cocoa powder, baking soda, baking powder, and salt. Gradually fold this dry mix into your wet ingredients.
- Cover the cookie dough with plastic wrap and chill it in the refrigerator for 15-20 minutes.
- Preheat your oven to 375°F (190°C) and line a baking sheet with parchment paper.
- Scoop out portions of the chilled dough, roll into balls, and flatten slightly before placing on the prepared baking sheet.
- Bake for 10-11 minutes, until set but soft in the center.
- Let the cookies cool on the baking sheet for about 5 minutes before transferring to a wire rack.
- For the frosting, beat the softened butter and cream cheese until creamy. Gradually add the sifted icing sugar and vanilla extract.
- Once the cookies are cooled, frost them generously with the cream cheese frosting.
Leave a Reply