
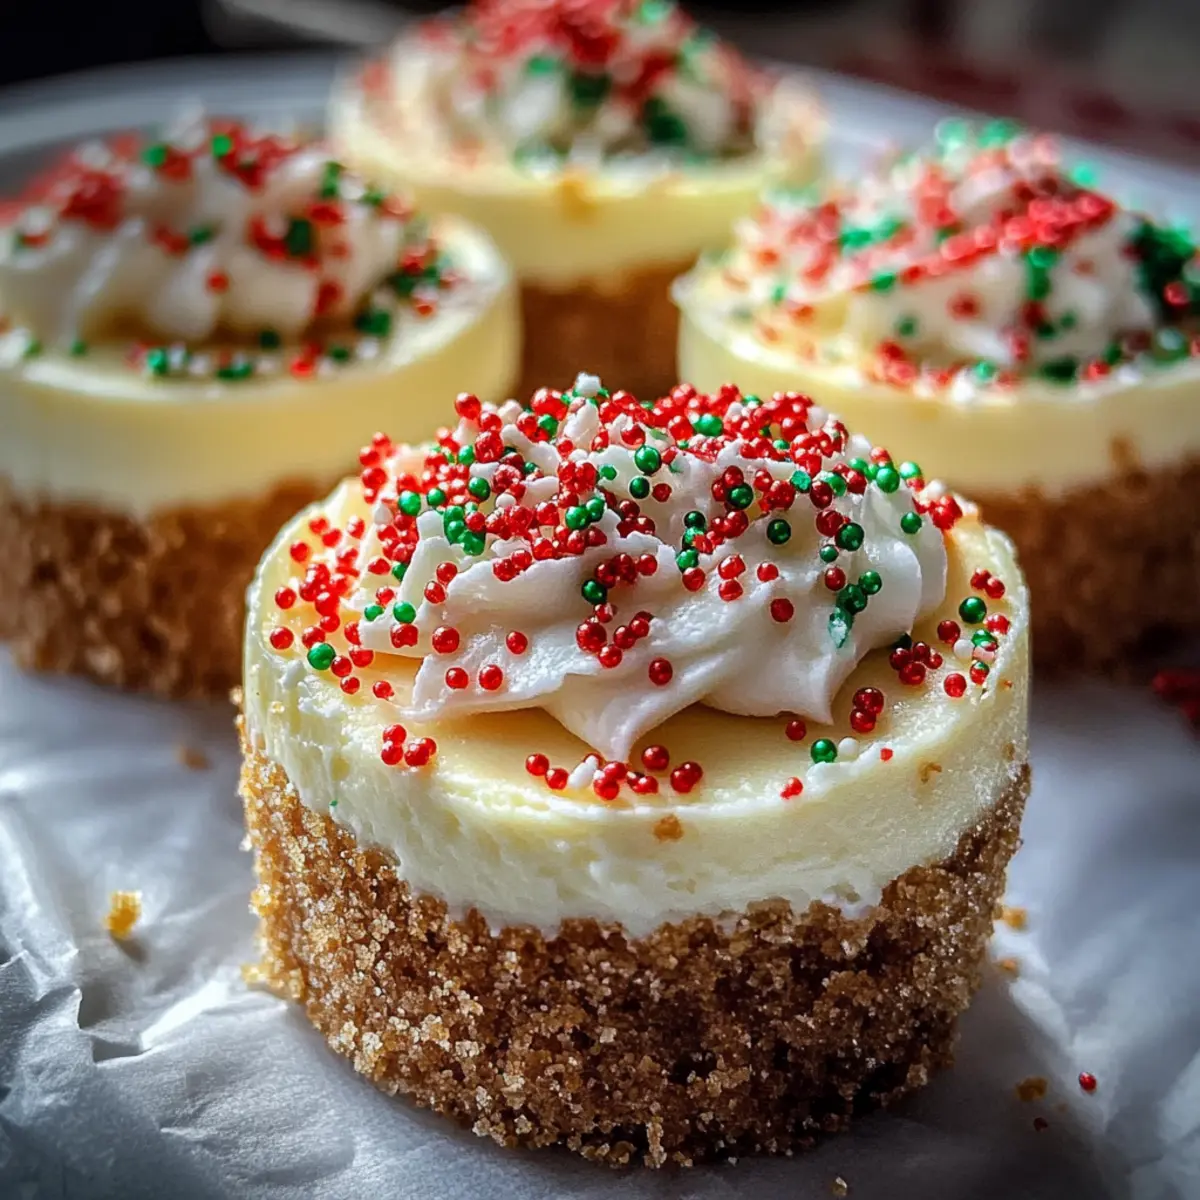
As I rummaged through my holiday recipe book, a sparkle caught my eye—Mini Christmas Cheesecakes. The thought of these delightful bites instantly transported me to festive gatherings filled with laughter and warmth. With their creamy filling nestled atop a buttery graham cracker crust, these cheesecakes are not just an indulgent treat; they are a cheerful centerpiece for any holiday dessert table. Plus, they’re a breeze to whip up, making them the perfect go-to when you want to impress family and friends without spending hours in the kitchen. Ready to add a splash of festive spirit to your celebrations? Join me as we explore this scrumptious recipe that promises to bring joy and a hint of holiday magic to every bite!
Why Make Mini Christmas Cheesecakes?
Irresistible Delight: Each mini cheesecake is a perfectly sized sweet treat, everyone will reach for seconds!
Easy to Prepare: This straightforward recipe ensures you can easily create delicious desserts without overwhelming effort.
Versatile Flavors: Feel free to experiment—add lemon zest for brightness or melted chocolate for indulgence, just like my High Protein Muffins for a fun twist!
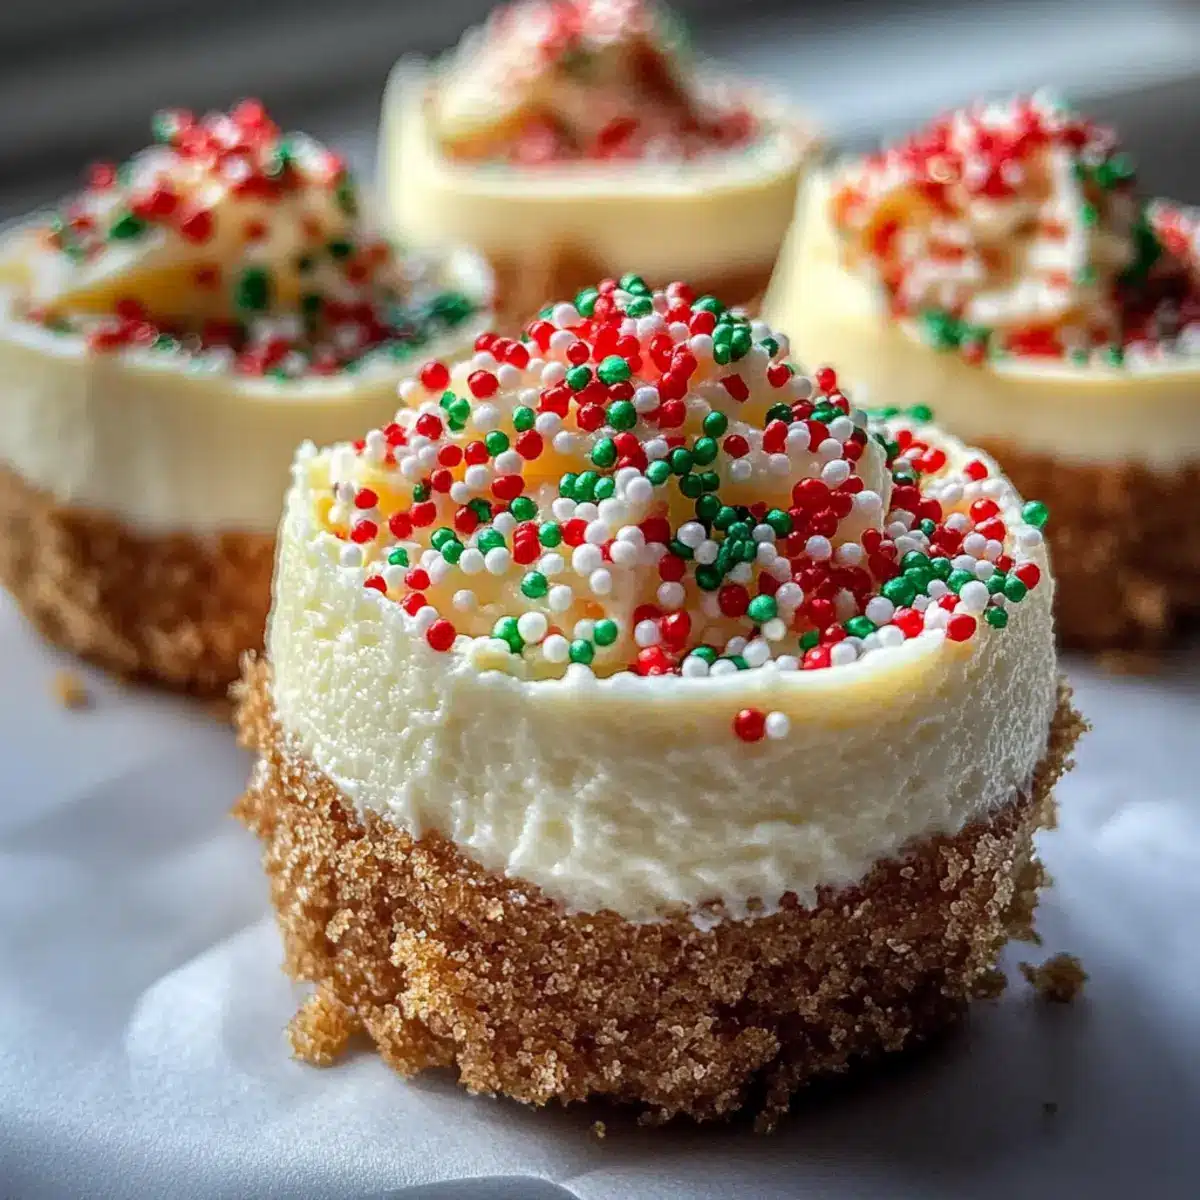
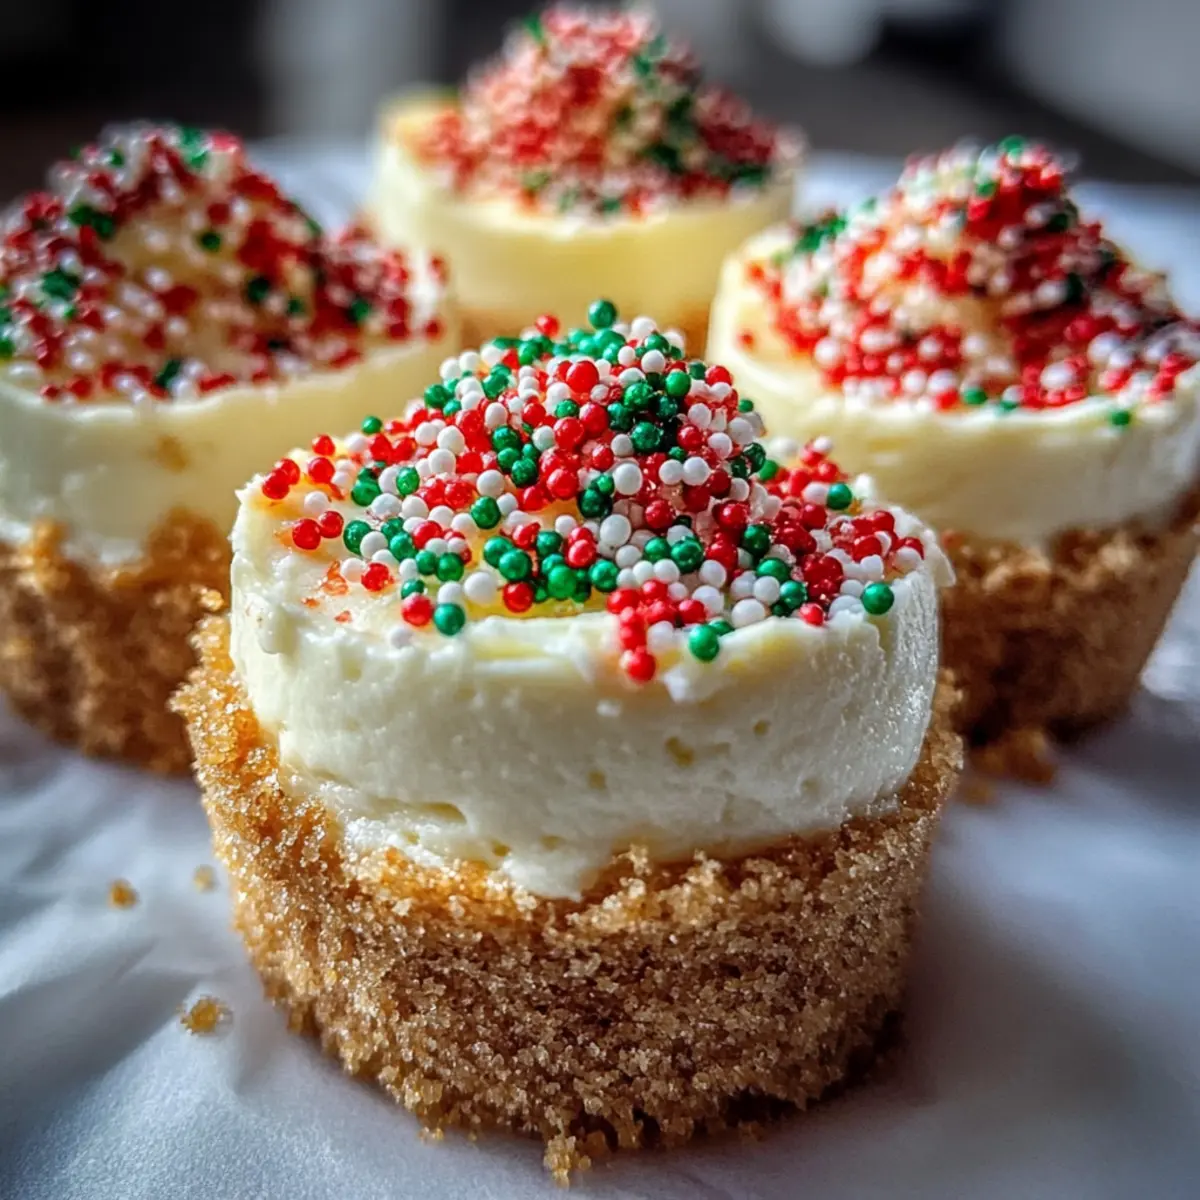
Festive Appeal: Decorate with vibrant red and green sprinkles, instantly elevating your dessert presentation for holiday gatherings.
Make Ahead: These cheesecakes can be prepared in advance, leaving you stress-free and ready to enjoy your festivities!
Family Favorite: With their creamy filling and crunchy crust, these cheesecakes are sure to become a beloved recipe in your holiday lineup.
Mini Christmas Cheesecake Ingredients
Gather your ingredients for these delightful Mini Christmas Cheesecakes, a festive treat everyone will love!
For the Cheesecake Filling
- Cream Cheese – Provides creaminess and structure; try Neufchâtel cheese for a lighter bite.
- Sugar – Sweetens the cheesecake filling; no substitutions needed for this role.
- Vanilla Extract – Adds aromatic flavor; opt for pure vanilla extract for the best taste.
- Sour Cream – Contributes tanginess and creaminess; substitute plain Greek yogurt if desired.
- Eggs – Binds the mixture and adds richness; ensure they are at room temperature for better mixing.
For the Crust
- Graham Crackers – Forms the crust and gives a sweet, crunchy texture; consider digestive biscuits or Oreos for a fun twist.
- Butter – Binds the crumbled crust; use unsalted butter for more control over saltiness.
For Decoration
- Sprinkles (Red and Green) – Adds a festive touch to your cheesecakes, making them the perfect holiday dessert.
With this simple list of ingredients, you’re just steps away from creating heavenly Mini Christmas Cheesecakes that will surely brighten your holiday celebrations!
Step‑by‑Step Instructions for Mini Christmas Cheesecakes
Step 1: Preheat the Oven
Begin by preheating your oven to 325°F (160°C). This critical first step ensures that your Mini Christmas Cheesecakes bake evenly and achieve that perfect creamy texture. While the oven warms up, gather your baking supplies, including a muffin tin and mini cupcake liners, ready to create these delightful treats.
Step 2: Mix the Filling
In a large mixing bowl, combine room temperature cream cheese and sugar. Using an electric mixer, blend them on medium speed until the mixture is smooth and creamy—about 2 minutes. This step is essential for a lump-free filling, setting the stage for your luscious Mini Christmas Cheesecakes.
Step 3: Add Flavor
Next, add the vanilla extract and sour cream to the creamy mixture. Continue mixing on low speed until everything is well combined and silky smooth. This blend will give your cheesecakes that delightful tang and aromatic flavor that dances on the palate, making this holiday dessert even more special.
Step 4: Incorporate Eggs
Gently add the eggs, one at a time, to the mixing bowl, allowing the mixture to blend well after each addition. Take your time with this step, ensuring the batter remains light and airy. This careful incorporation will result in a velvety texture for your Mini Christmas Cheesecakes, perfect for the holiday season.
Step 5: Prepare the Crust
In a separate bowl, combine the crushed graham crackers and melted unsalted butter until the crumbs are well coated. This mixture should feel moist yet crumbly, giving you the perfect base for your cheesecakes. Preparing the crust in this manner ensures each bite is delightfully crunchy alongside the creamy filling.
Step 6: Fill the Liners
Firmly press the graham cracker mixture into the bottom of your mini cupcake liners in the muffin tin. Make sure to create an even layer, about 1/4 inch thick, to support the creamy cheesecake filling above. This solid foundation will keep the Mini Christmas Cheesecakes intact and delightful.
Step 7: Pour the Filling
Carefully pour the cheesecake filling into each crust, filling the liners about three-quarters full. This will allow for slight rising during baking without overflowing. The visual contrast of the cream filling atop the golden crust will surely make your mouth water in anticipation.
Step 8: Bake the Cheesecakes
Place the muffin tin in your preheated oven and bake for about 20 minutes. The Mini Christmas Cheesecakes are done when the centers are set but still slightly jiggly—this tells you they’re creamy and ready for chilling. Keep an eye on them, as baking times can vary slightly depending on your oven.
Step 9: Cool and Chill
Once baked, remove the cheesecakes from the oven and let them cool in the muffin tin for about 10 minutes. Then, transfer them to the refrigerator, allowing them to chill for at least 2 hours. This chilling time is crucial; it firmens the texture and enhances the flavors, resulting in a flavorful dessert.
Step 10: Add the Finishing Touch
Before serving, sprinkle vibrant red and green sprinkles on top of each Mini Christmas Cheesecake. This festive touch not only adds visual appeal but also brings a playful spirit to your dessert table. These delightful bites are now ready to bring joy to your holiday gatherings.
How to Store and Freeze Mini Christmas Cheesecakes
- Fridge: Store the mini cheesecakes in an airtight container in the refrigerator for up to 5 days. This keeps them fresh and ready for indulgent snacking anytime!
- Freezer: For longer storage, wrap each cheesecake individually in plastic wrap or use a freezer-safe container. They can be frozen for up to 2 months while maintaining their delicious creamy texture.
- Thawing: When ready to enjoy, simply transfer the frozen mini cheesecakes to the fridge overnight to thaw. They’ll taste just as delightful as when they were freshly made!
- Serving After Freezing: After thawing, consider adding fresh sprinkles on top for a festive touch before serving your mini Christmas cheesecakes to guests.
What to Serve with Mini Christmas Cheesecakes?
The festive atmosphere calls for delightful pairings that elevate your dessert experience to new heights.
-
Fresh Berries: A medley of strawberries, raspberries, and blueberries adds a burst of natural sweetness and vibrant color, balancing the richness of the cheesecake.
-
Peppermint Hot Chocolate: Creamy and decadent, this classic drink offers a cozy, warming contrast. Perfect for sipping alongside your cheesecakes during holiday gatherings!
-
Whipped Cream: Light and airy, a dollop of freshly whipped cream enhances the mini cheesecakes’ textures while adding an extra layer of indulgence.
-
Chocolate Drizzle: A simple drizzle of melted chocolate over each cheesecake not only intensifies their flavor but also creates an eye-catching presentation that guests will adore.
-
Nutty Biscotti: These crunchy treats provide a satisfying contrast to the creamy cheesecakes. They’re perfect for dipping into coffee or tea, making your dessert experience even more delightful.
-
Spiced Apple Cider: Serve warm mugs of spiced apple cider alongside your mini cheesecakes for a nostalgic taste of the season, rounding out your holiday treat platter beautifully.
Expert Tips for Mini Christmas Cheesecakes
- Room Temperature Cream Cheese: Always start with cream cheese at room temperature for a smoother batter without lumps. This ensures your mini cheesecakes have the perfect texture.
- Don’t Skip Chilling: Allow the cheesecakes to chill for at least 2 hours after baking. This step is essential for achieving the ideal creamy consistency.
- Monitor Baking Time: Keep an eye on your mini cheesecakes while baking; they should be set but still slightly jiggly in the center. Adjust time based on your oven.
- Optimal Cupcake Liners: Ensure your liners are firmly pressed with the crust mixture to avoid separation. A well-formed base is key for delightful bites of the mini Christmas cheesecakes.
- Experiment with Flavors: Feel free to get creative! Add lemon zest for brightness or a dash of melted chocolate for richness, making your mini cheesecakes unique.
Mini Christmas Cheesecake Variations
Feel free to unleash your creativity with these delightful Mini Christmas Cheesecake variations that add unique twists!
-
Lemon Zest: Add brightness by incorporating some lemon zest into the filling for a refreshing citrus twist. The zesty flavor balances the richness perfectly, making your cheesecakes even more vibrant.
-
Chocolate Delight: Mix in melted chocolate or chocolate chips for a decadent chocolate version. This adds a rich flavor that truly elevates the cheesecakes, providing a delicious contrast to the creamy filling.
-
Fruit-Topped Bliss: Top the cheesecakes with fruit preserves or fresh berries for a burst of flavor and color. This can create a lovely contrasting sweet-tart profile, reminiscent of holiday cheer and freshness.
-
Spiced Pumpkin: Fold in a bit of canned pumpkin puree and spices like cinnamon and nutmeg for a festive pumpkin cheesecake version. This seasonal twist brings comforting fall flavors into your holiday desserts!
-
Dairy-Free Option: Substitute cream cheese with vegan cream cheese and use coconut milk or cashew yogurt in place of sour cream. You can still enjoy that creamy texture while ensuring everyone can enjoy these sweets!
-
Nutty Crunch: Add finely chopped nuts to the graham cracker crust for extra texture. Walnuts or pecans add a delightful crunch that complements the creaminess of the filling, taking your dessert to the next level.
-
Caramel Drizzle: Drizzle your mini cheesecakes with caramel sauce just before serving. This simple addition creates an irresistible sweet contrast that makes each bite a little piece of joy.
For more scrumptious treats, you might also enjoy my Delightful Mini Pineapple desserts, or for breakfast brunch, consider these High Protein Muffins that pair wonderfully with holiday sweets! Enjoy customizing your dessert!
Make Ahead Options
These Mini Christmas Cheesecakes are perfect for meal prep, allowing you to enjoy the holiday festivities without stress! You can prepare the cheesecake filling up to 24 hours in advance—simply mix all the ingredients and store it in an airtight container in the refrigerator. The graham cracker crust can also be made 3 days ahead; just keep it in a sealed container to maintain its crunch. When it’s time to bake, simply press the crust into the liners, pour in the chilled filling, and bake per the instructions. This way, you’ll have delicious, festive treats ready with minimal effort, ensuring they are just as delightful as when freshly made!
Mini Christmas Cheesecakes Recipe FAQs
What type of cream cheese should I use for Mini Christmas Cheesecakes?
Absolutely! For the best results, use full-fat cream cheese at room temperature. This ensures a smoother, creamier filling without lumps. If you’re looking for a lighter alternative, Neufchâtel cheese works wonderfully and still provides that rich flavor.
How should I store leftover Mini Christmas Cheesecakes?
Great question! Store your mini cheesecakes in an airtight container in the refrigerator for up to 5 days. This keeps them fresh, delicious, and ready to savor. If you want to enjoy them longer, wrap each cheesecake individually in plastic wrap and freeze for up to 2 months.
Can I freeze Mini Christmas Cheesecakes? If so, how?
Yes, and it’s super easy! After they are fully baked and cooled, wrap each cheesecake in plastic wrap or place them in a freezer-safe container. Make sure they’re well-sealed to prevent freezer burn. When you’re ready to enjoy them, just transfer them to the fridge to thaw overnight. This method retains their creamy texture while hiding their holiday magic for later!
What should I do if my cheesecakes crack during baking?
If you notice cracks forming, don’t worry—this is a common issue! To prevent this in the future, be careful not to over-mix your filling after adding the eggs, as this can incorporate too much air, leading to cracks. You can also consider using a water bath during baking, which helps maintain moisture and control the temperature for even baking.
Are Mini Christmas Cheesecakes suitable for those with dietary restrictions?
Very! These delightful treats are vegetarian, making them a great choice for vegetarian friends and family. However, remember to check for allergies: some may have sensitivities to dairy, gluten from graham crackers, or eggs. You can substitute ingredients to accommodate dietary needs, like using a gluten-free crust or making it dairy-free with cream cheese alternatives.
How can I change the flavor profile of my Mini Christmas Cheesecakes?
The more the merrier! You can experiment with various flavors by adding lemon zest for a fresh twist or melted chocolate for a decadent vibe. Toppings can also change the game—try fresh fruit, chocolate drizzles, or flavored whipped creams to make each bite uniquely festive!

Mini Christmas Cheesecakes Perfect for Holiday Gatherings
Ingredients
Equipment
Method
- Preheat your oven to 325°F (160°C).
- In a large mixing bowl, combine room temperature cream cheese and sugar. Blend until smooth and creamy—about 2 minutes.
- Add vanilla extract and sour cream to the mixture, mixing until well combined.
- Gently add eggs one at a time, mixing lightly to keep the texture airy.
- In another bowl, mix crushed graham crackers and melted butter until the mixture is well combined.
- Press the graham cracker mixture into the bottom of mini cupcake liners in the muffin tin.
- Pour cheesecake filling into each crust, filling about three-quarters full.
- Bake for about 20 minutes or until the centers are set but still slightly jiggly.
- Let cool in tin for 10 minutes, then chill in the refrigerator for at least 2 hours.
- Before serving, sprinkle red and green sprinkles on top of each cheesecake.
Leave a Reply