
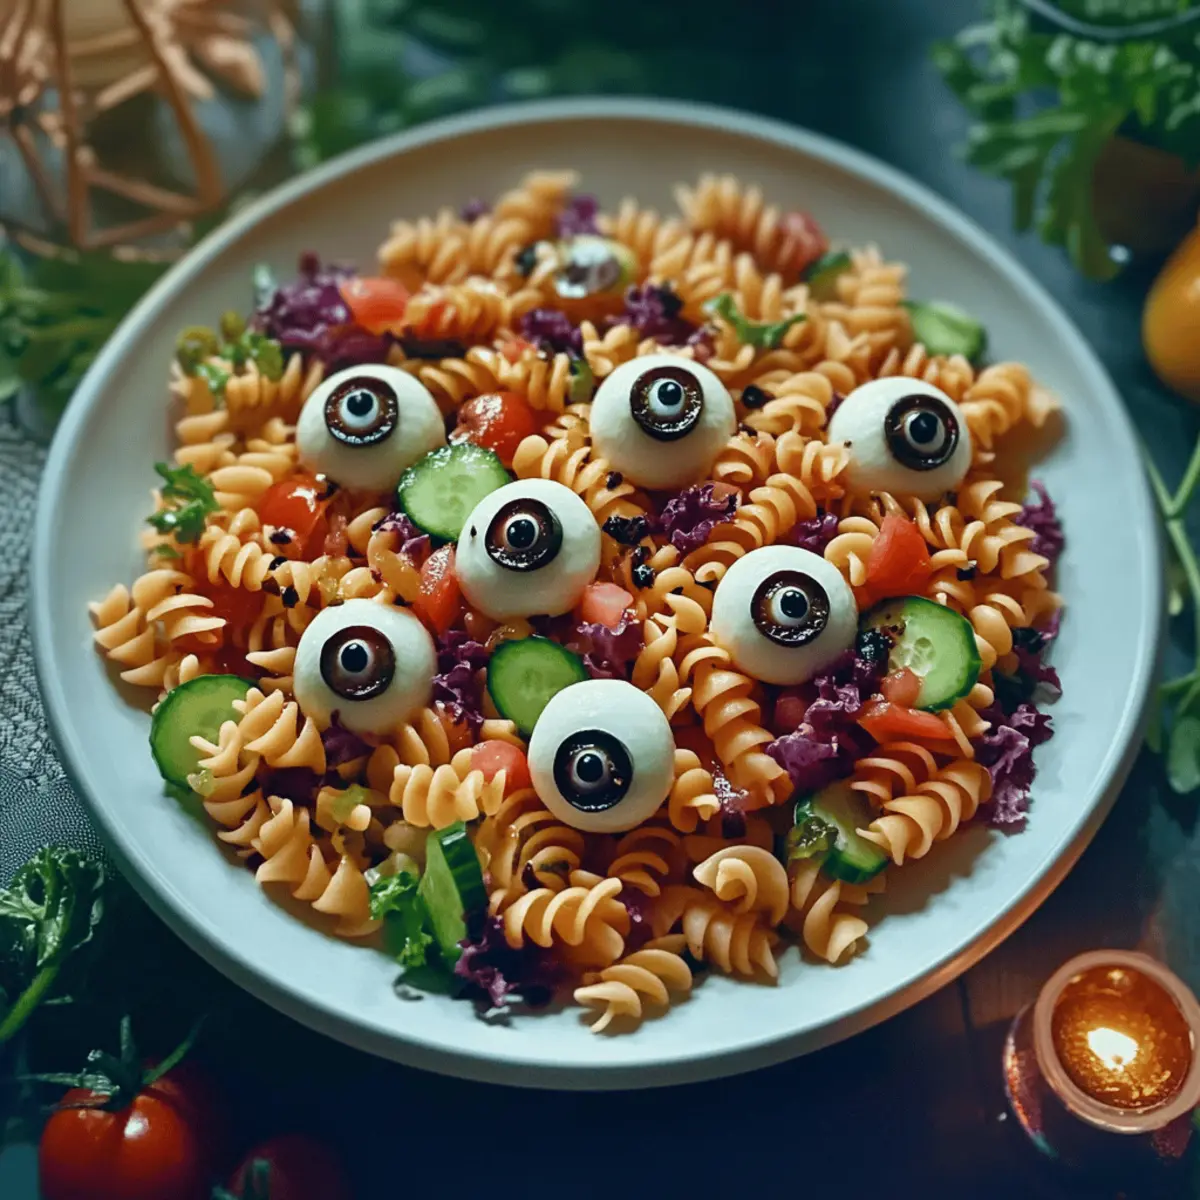
As I rummaged through my pantry, a playful idea surfaced: what if my favorite pasta salad had a spooky twist? Enter the Eyeball Pasta Salad, a delectable yet eerie creation that’s destined to steal the show at any Halloween gathering. This whimsical dish combines al dente pasta with a colorful medley of fresh veggies and delightful mozzarella eyeballs, offering a fun, vegetarian option that’s sure to impress both kids and adults alike. With just a handful of ingredients and minimal prep time, it’s the perfect crowd-pleaser to bring smiles—and maybe a shiver or two—as you share this unique take on party food. Ready to dive into a dish that’s as entertaining as it is delicious? Let’s bring this creepy culinary masterpiece to life!
Why is this Eyeball Pasta Salad a must-try?
Fun and Festive: This Eyeball Pasta Salad is the ultimate conversation starter, blending Halloween fun with a deliciously fresh salad. Easy to Assemble: With just a few simple steps, you can whip up this delightful dish in no time! Vibrant Colors: A colorful array of vegetables not only makes it visually appealing but also adds a nutritious punch. Versatile Ingredients: Feel free to customize with your favorite veggies or even add protein like chickpeas for a heartier option. Kid-Approved: Kids will love the playful presentation, making it a hit among little ghouls and goblins. It’s the perfect pairing for other Halloween treats like Lemon Feta Pasta or Roll Cucumber Salad to create a spook-tacular feast!
Eyeball Pasta Salad Ingredients
Get ready to create this creepy yet delightful dish!
-
For the Salad Base
-
Pasta (rotini or fusilli) – Provides the perfect base for the salad, holding dressing and ingredients well. Substitution: Any small pasta shape could work.
-
Cucumber – Adds a refreshing crunch. Note: Seedless cucumbers work best for texture.
-
Red bell pepper & Yellow bell pepper – Introduce sweetness and vibrant color. Tip: Feel free to use any color bell pepper you like.
-
Cherry tomatoes – Offer a burst of sweetness and color. Substitution: Diced regular tomatoes can be used in a pinch.
-
For the Eyeballs
-
Mini mozzarella balls – Serve as the “eyeballs,” making this dish fun and engaging. Tip: Use fresh mozzarella for an extra creamy texture.
-
Black olives – Create the eerie pupils for the mozzarella eyeballs. Note: Swap with green olives for a slightly different look.
-
For the Dressing
-
Olive oil – Acts as a rich dressing base. Tip: Extra virgin olive oil is recommended for optimal flavor.
-
Balsamic vinegar – Adds a delightful acidity to balance the flavors. Substitution: Use red wine vinegar if preferred.
-
Italian seasoning – Enhances the flavor profile beautifully. Note: Fresh herbs can elevate the taste further.
-
Salt and pepper – Essential for seasoning. Tip: Adjust to suit your personal taste preferences.
-
For the Finish
-
Fresh basil leaves – Offer a burst of freshness and herbaceous flavor. Substitution: Parsley or arugula can also work if you’re out of basil.
Enjoy gathering these ingredients for a fun culinary journey crafting your Eyeball Pasta Salad!
Step‑by‑Step Instructions for Eyeball Pasta Salad
Step 1: Cook Pasta
Begin by boiling a large pot of water over high heat. Once the water reaches a rolling boil, add a pinch of salt and your rotini or fusilli pasta. Cook according to package instructions—typically around 8-10 minutes—until al dente. Drain the pasta in a colander and rinse it under cold running water to stop the cooking process and cool it down for your Eyeball Pasta Salad.
Step 2: Prepare Eyeballs
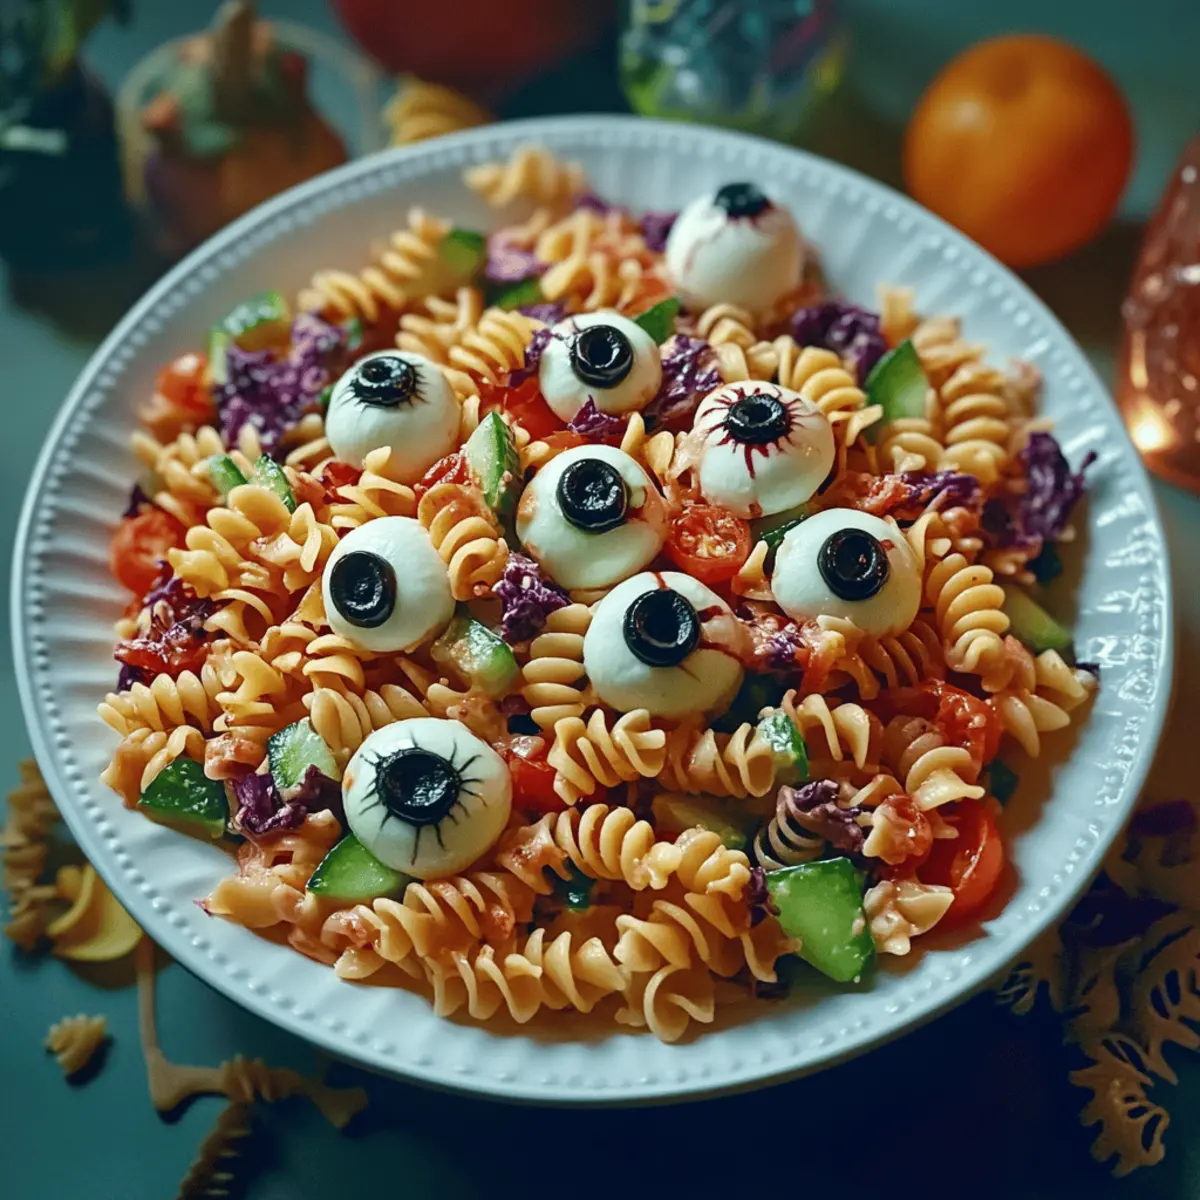
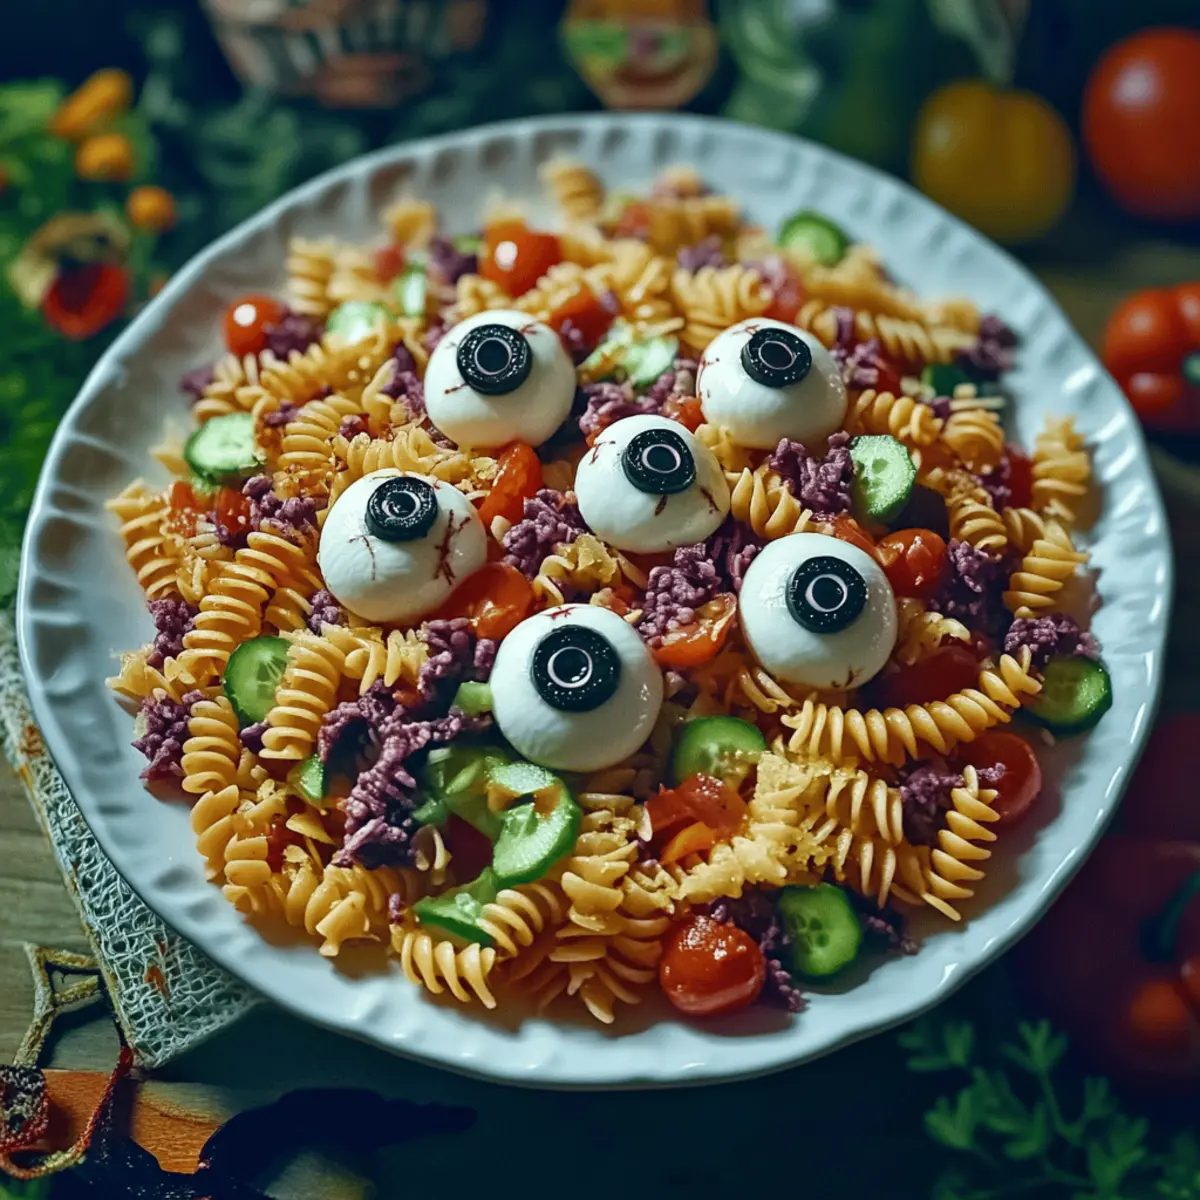
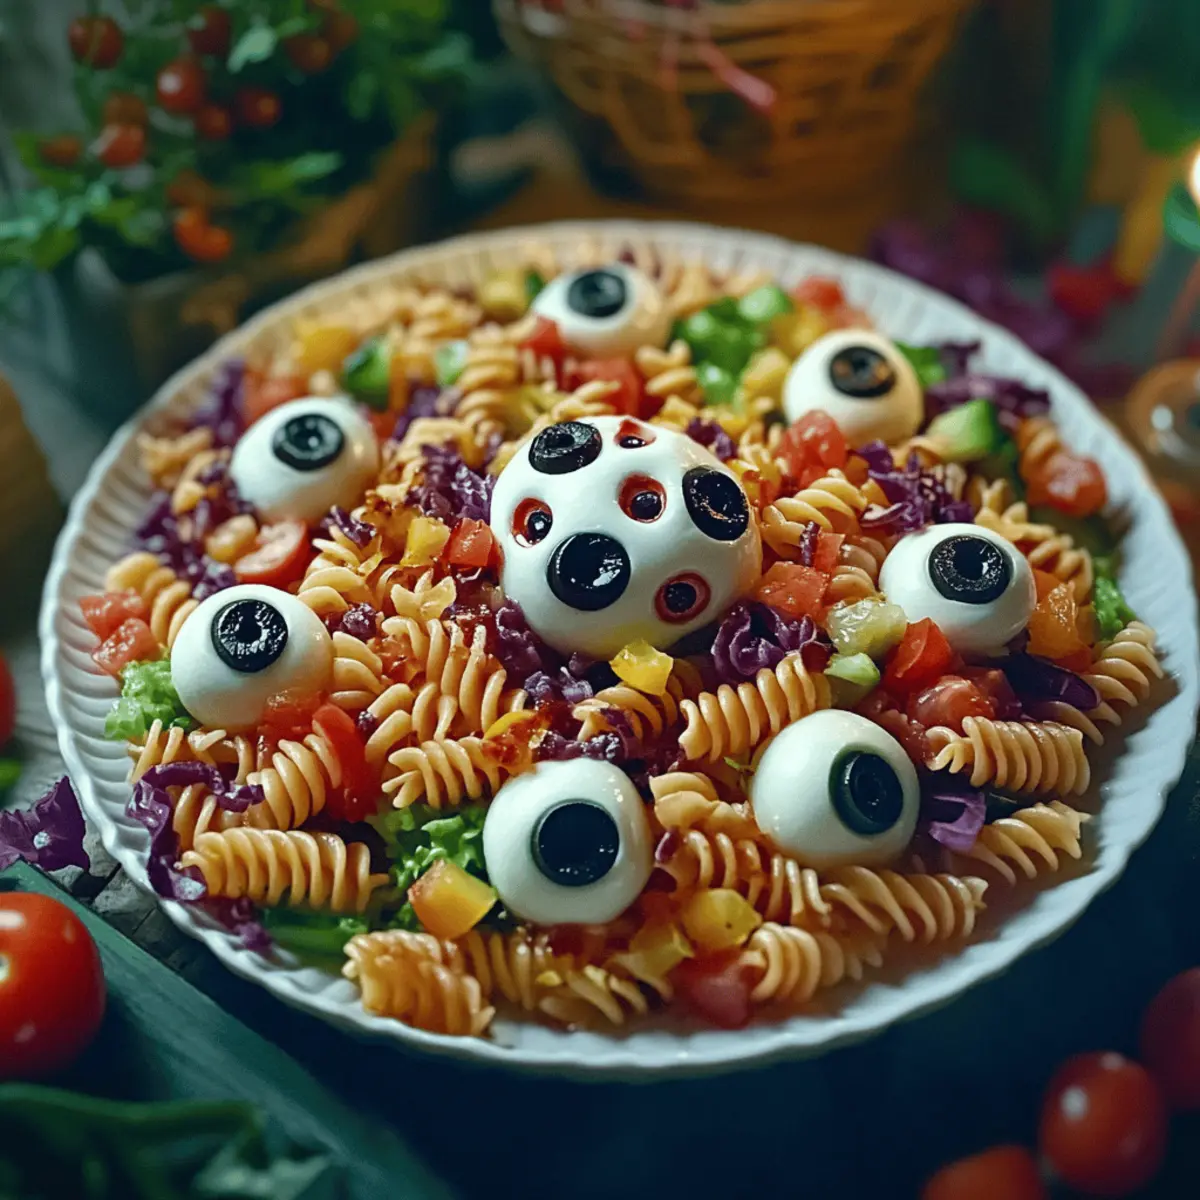
While the pasta cools, take your mini mozzarella balls and place them on a clean cutting board. Slice black olives into rounds, then press one olive slice onto each mozzarella ball to create adorable eyeballs. If needed, use toothpicks to secure the olives in place. This fun step adds a playful element to your Eyeball Pasta Salad that will delight your guests!
Step 3: Combine Ingredients
In a large mixing bowl, combine the cooled pasta with diced cucumber, chopped red and yellow bell peppers, cherry tomatoes, and both types of olives. Gently toss all the ingredients together using a spatula, making sure the pasta is evenly mixed with the vibrant vegetables. The colorful medley will make your Eyeball Pasta Salad visually appealing and ready for dressing.
Step 4: Make Dressing
In a separate bowl, whisk together the olive oil, balsamic vinegar, Italian seasoning, salt, and pepper until well combined. The dressing should have a smooth consistency and a balanced flavor. This step is crucial for adding delicious richness to your Eyeball Pasta Salad, ensuring every bite is flavorful and enjoyable.
Step 5: Dress Salad
Pour the freshly made dressing over the pasta salad and gently toss the mixture to ensure all ingredients are beautifully coated. The dressing will bring together the elements of your Eyeball Pasta Salad, allowing the flavors to meld deliciously. Be sure to check that the pasta and vegetables are evenly coated for a harmonious taste experience.
Step 6: Garnish
As a finishing touch, scatter the mozzarella eyeballs on top of the mixed salad and add a handful of fresh basil leaves for a pop of color and flavor. The placement of the eyeballs gives a spooky yet fun final presentation that will impress anyone at your Halloween gathering while also enhancing the appearance of your Eyeball Pasta Salad.
Step 7: Chill
Refrigerate your Eyeball Pasta Salad for at least 30 minutes before serving. This chilling step helps meld the flavors together and allows the dressing to absorb into the pasta and vegetables. Your salad will be refreshingly cold and bursting with flavor, making it the perfect creepy dish to serve to your guests at any Halloween bash.
What to Serve with Creepy Eyeball Pasta Salad
Looking to complete your Halloween feast with delightful sides or desserts? Let’s explore some charming pairings that will enchant your guests.
- Garlic Breadsticks: Warm, buttery breadsticks add a comforting touch, perfect for scooping up all the delicious pasta salad’s dressing.
- Deviled Eggs: Playful and easy to prepare, these spooky treats can be adorned with olive “eyes” to match the theme, creating a fun centerpiece.
- Roasted Veggie Platter: A medley of seasonal roasted vegetables offers a warm, earthy flavor that complements the fresh notes of the pasta salad beautifully.
- Mummy Hot Dogs: These fun finger foods, wrapped in crescent dough, are an absolute hit among kids and adults alike, enhancing the festive spirit.
- Witches’ Brew Punch: Serve a refreshing, colorful drink with fruity elements and a touch of fizz; it’s a whimsical delight that pairs well with any Halloween theme.
- Pumpkin Pie: End your meal on a sweet note with this classic dessert, its warm spices providing a cozy contrast to the cool salad.
- Cranberry Brie Bites: These bite-sized treats combine sweet and savory flavors, making a delightful addition to your table that’s sure to impress.
- Spooky Dessert Cups: Fill cups with layers of chocolate pudding, whipped cream, and crushed cookies to create a creepy yet delicious treat—perfect to keep the fun going.
Make Ahead Options
These Eyeball Pasta Salad preparations are perfect for busy home cooks looking to save time! You can prepare all the vegetables (cucumber, bell peppers, cherry tomatoes, and olives) and store them in an airtight container in the refrigerator up to 3 days in advance. For the pasta, cook and cool it, then refrigerate it for up to 24 hours, ensuring it remains firm and isn’t soggy. Prepare the mozzarella eyeballs and keep them in the fridge, separating them with parchment paper to maintain quality. When ready to serve, simply combine all the prepped components, add the dressing, and chill for at least 30 minutes. This way, your Eyeball Pasta Salad will be just as delicious and eye-catching, with minimal effort right before your gathering!
How to Store and Freeze Eyeball Pasta Salad
Fridge: Store the Eyeball Pasta Salad in an airtight container in the refrigerator for up to 2 days. This keeps the ingredients fresh and the flavors vibrant.
Room Temperature: Avoid leaving the salad out at room temperature for more than 2 hours, as the creamy mozzarella and dressing can spoil quickly.
Reheating: This salad is best enjoyed chilled and doesn’t require reheating. Toss it gently before serving to distribute ingredients evenly after chilling.
Freezer: Freezing is not recommended for Eyeball Pasta Salad, as the texture of the pasta and fresh veggies may become mushy once thawed. Enjoy it fresh for the best experience!
Eyeball Pasta Salad Variations & Substitutions
Feel free to get creative and customize this delightful dish to suit your tastes or dietary needs!
-
Pasta Shape: Use different pasta shapes like penne or shells for a fun twist. Each shape holds dressing differently, so play around with what you like best!
-
Protein Boost: Add diced cooked chicken or chickpeas to make the salad more filling. This is a great way to turn a side dish into a complete meal.
-
Veggie Swap: Vary your vegetables based on what’s in season—try adding broccoli or bell peppers for a new take. This salad is as versatile as your imagination!
-
Cheese Alternatives: If you’re looking for a vegan option, substitute mini mozzarella balls with cubed avocado or diced tofu. They add creaminess while keeping it plant-based.
-
Spice It Up: For a little heat, add sliced jalapeños or a sprinkle of red pepper flakes. This will give your Eyeball Pasta Salad an exciting kick that’ll thrill the flavor enthusiasts!
-
Herb Infusion: Swap fresh basil for other herbs like cilantro or dill to impart a different flavor profile. Each herb will change the character of the dish beautifully.
-
Dressing Change: Try using a tangy yogurt dressing instead of olive oil and balsamic for a creamy kick. This can transform the salad’s overall taste and cater to varied preferences.
-
Olive Variety: Instead of black olives, experiment with other varieties like kalamata or Castelvetrano for unique flavors. Each does wonders in bringing your Eyeball Pasta Salad to life!
Don’t forget, creating valuable culinary experiences can be as simple as exploring different flavors, similar to the fun you’ll have with dishes like Protein Egg Salad or Cheeseburger Salad Sauce!
Expert Tips for Eyeball Pasta Salad
- Cool Pasta First: Ensure your pasta is completely cooled before mixing to prevent the salad from becoming soggy and unappetizing.
- Use Fresh Ingredients: Opt for fresh mozzarella and seasonal veggies for the best flavor and texture in your Eyeball Pasta Salad.
- Add Colorful Veggies: Incorporate a variety of colorful vegetables to enhance the visual appeal and nutritional value of your salad.
- Adjust Dressing to Taste: Feel free to customize the amount of olive oil and balsamic vinegar based on your personal preferences for a balanced flavor.
- Chill for Flavor: Allow the salad to chill in the refrigerator for at least 30 minutes; this step enhances the flavor as all the ingredients meld together nicely.
Eyeball Pasta Salad Recipe FAQs
How do I choose the best pasta for Eyeball Pasta Salad?
Absolutely! When selecting pasta, look for shapes like rotini or fusilli, as they hold the dressing and other ingredients well. If you prefer a different shape, any small pasta works just as great. Always aim for pasta that’s cooked al dente to maintain a nice bite in your salad.
What’s the best way to store leftover Eyeball Pasta Salad?
Store any leftovers in an airtight container in the refrigerator for up to 2 days. This helps keep the ingredients fresh. I recommend consuming it within this timeframe for the best taste and texture. If packed properly, it should stay flavorful and crunchy!
Can I freeze Eyeball Pasta Salad for later?
It’s not advisable to freeze Eyeball Pasta Salad. Freezing will likely lead to a mushy texture due to the pasta and fresh veggies. They don’t thaw well, so I encourage you to enjoy this salad fresh. If you plan to make it ahead, chilling in the fridge is your best bet!
What should I do if my Eyeball Pasta Salad looks soggy?
No need to worry! If you’ve found your salad has become a bit soggy, check how long you’ve chilled it—typically, chilling helps meld the flavors together but can also lead to moisture. First, ensure you’re using cooled pasta before mixing it in. You can also drain excess moisture from veggies like cucumber before adding them to help.
Are there any dietary considerations for Eyeball Pasta Salad regarding allergies?
Very much so! Eyeball Pasta Salad is vegetarian-friendly but watch out for potential allergens. Some people may be sensitive to dairy, so feel free to use lactose-free mozzarella or plant-based alternatives. Additionally, olives and seasonings can contain allergens, so review your ingredients if you’re serving guests with dietary restrictions. Always best to check beforehand!
How long should I chill the Eyeball Pasta Salad before serving?
To get the most out of your flavors, I recommend chilling the Eyeball Pasta Salad for at least 30 minutes in the refrigerator. This allows the dressing to soak into the ingredients, enhancing every bite! The longer it chills, the better the flavors meld together—which is always a win at spooky gatherings!
Spook-tacular Eyeball Pasta Salad to Thrill Your Guests
Ingredients
Equipment
Method
- Begin by boiling a large pot of water over high heat. Once boiling, add a pinch of salt and your rotini or fusilli pasta. Cook according to package instructions—typically around 8-10 minutes—until al dente. Drain and rinse under cold running water.
- While the pasta cools, slice black olives into rounds and press one slice onto each mini mozzarella ball to create eyeballs. Use toothpicks to secure olives if needed.
- In a large mixing bowl, combine the cooled pasta, diced cucumber, chopped red and yellow bell peppers, cherry tomatoes, and both types of olives. Toss gently using a spatula.
- In a separate bowl, whisk together olive oil, balsamic vinegar, Italian seasoning, salt, and pepper until well combined.
- Pour the dressing over the salad and toss gently to ensure everything is coated evenly.
- Scatter mozzarella eyeballs on top of the salad and add fresh basil leaves for garnish.
- Refrigerate the pasta salad for at least 30 minutes before serving to meld flavors together.
Leave a Reply