
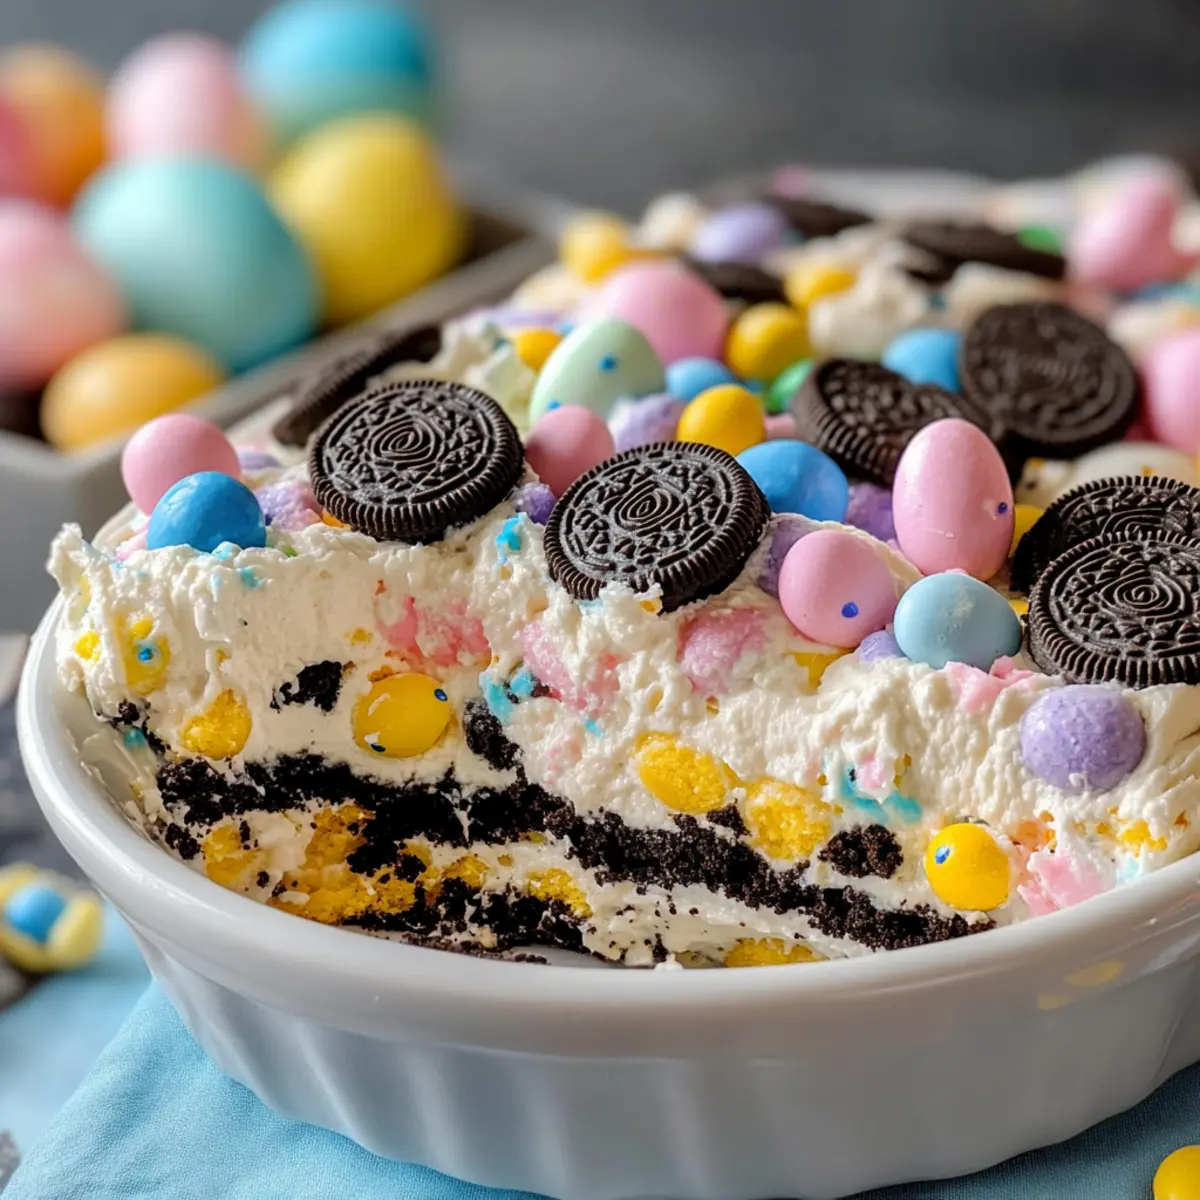
As the spring sun peeks through the clouds and flowers start to bloom, my mind races with thoughts of festive gatherings and delightful desserts. Enter the No-Bake Easter Oreo Cookie Casserole, a fun and playful creation that transforms ordinary ingredients into a crowd-pleasing masterpiece. In just 15 minutes, you can whip up this vibrant dessert, layered with crunchy Oreos, fluffy cream cheese filling, and cheerful pastel candies. Not only is this treat incredibly easy to make, but it also offers a nostalgic nod to classic desserts, ensuring smiles all around during your Easter celebrations. Ready to impress your friends and family with this whimsical delight? Let’s dive into the recipe together!
Why is this dessert a must-try?
Irresistibly Easy: With just 15 minutes of prep, you’ll have a stunning dessert with minimal effort.
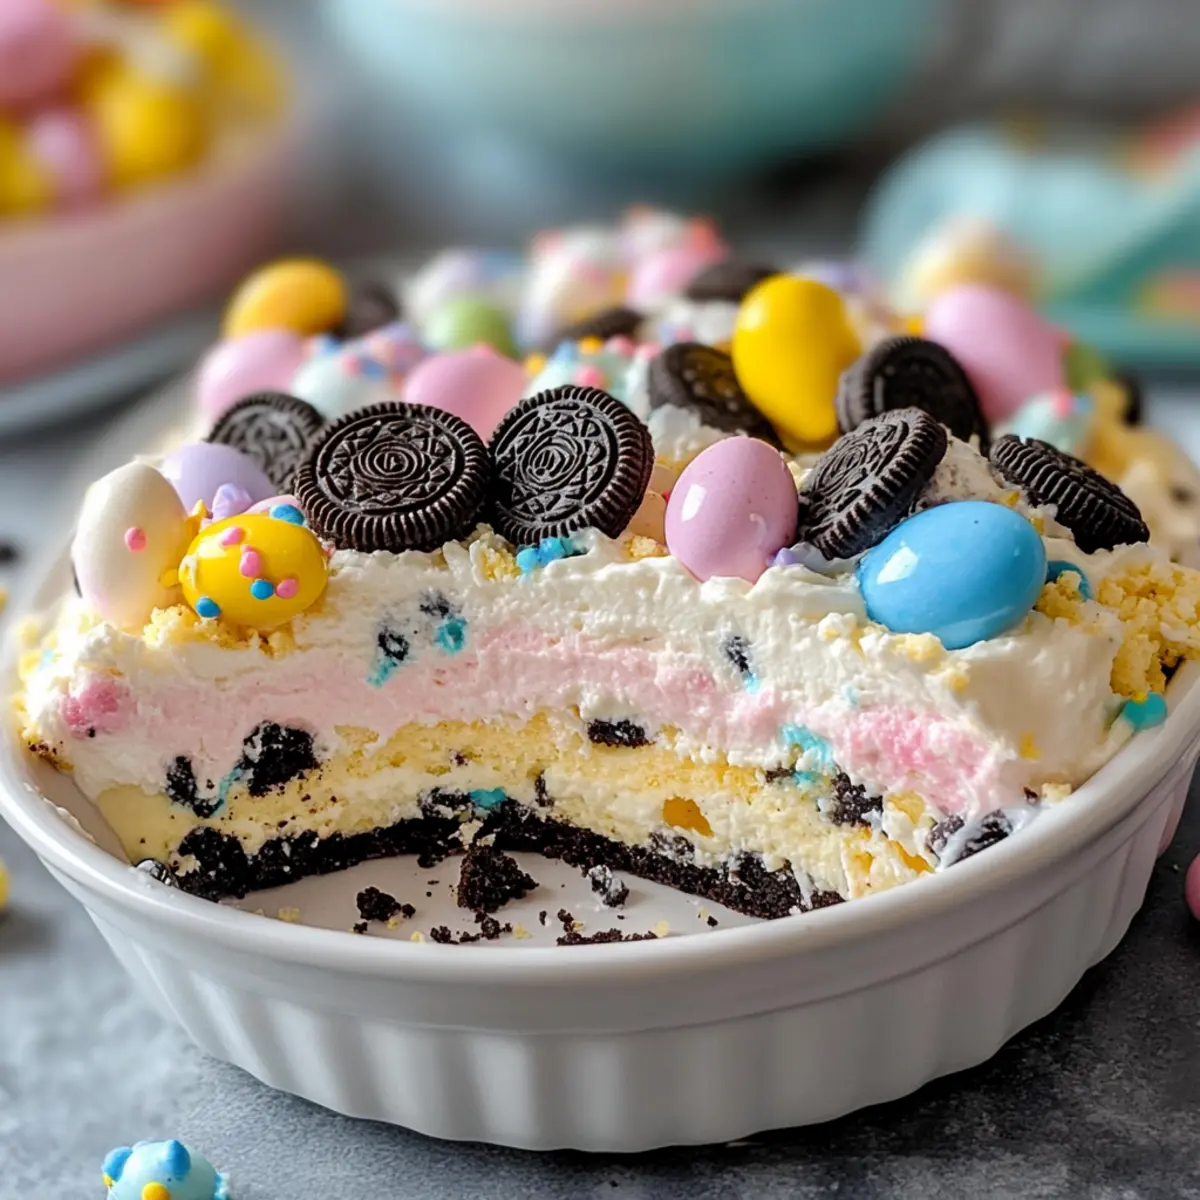
Playful Layers: Delight in the contrast of crunchy Oreos and fluffy cream cheese filling, making each bite a texture-packed experience.
Party Favorite: This Easter Oreo Cookie Casserole is a guaranteed crowd-pleaser, bringing fun to any gathering with its eye-catching colors and nostalgic flavors.
Creative Freedom: Feel free to swap the Oreos or candies for your favorites, customizing it to delight any palate.
Make-Ahead Magic: Prep it a day in advance, freeing you up to focus on enjoying your spring festivities. This recipe is the perfect compliment to other dishes like Cordon Bleu Casserole and is a great addition to your dessert table!
Easter Oreo Cookie Casserole Ingredients
For the Base
- Oreo Cookies – The primary component providing structure and crunch; swap with gluten-free Oreos for a gluten-free version.
- Unsalted Butter – Enhances richness; make sure it’s softened for easy mixing.
For the Cream Filling
- Cream Cheese – Adds a rich and creamy texture; ensure it’s softened for easier blending.
- Powdered Sugar – Sweetens the filling without grit; feel free to reduce for a less sweet version.
- Whipped Topping – Lightens the cream mixture for a fluffy texture; substitute with homemade whipped cream for a fresher taste.
For the Toppings
- Pastel Candy-Coated Chocolates – Brings color and fun to your casserole; can swap with any colorful candies like M&Ms or Skittles.
- Extra Mini Oreos and Candies – Perfect for garnishing; optional based on preference.
This Easter Oreo Cookie Casserole is sure to create sweet memories at your festive gatherings!
Step‑by‑Step Instructions for Easter Oreo Cookie Casserole
Step 1: Prepare Cookies
Begin by crushing 36 Oreo cookies into bite-sized chunks using a zip-top bag and a rolling pin, or you can pulse them in a food processor for a finer texture. Reserve a few whole cookies for garnishing at the end. This step is essential for creating the satisfying crunch that will layer beautifully in your Easter Oreo Cookie Casserole.
Step 2: Make Filling
In a large mixing bowl, combine 8 ounces of softened cream cheese and 4 tablespoons of softened unsalted butter. Use an electric mixer to beat them together until smooth and creamy, ensuring no lumps remain. Gradually add 1 cup of powdered sugar, mixing until fully incorporated, then gently fold in 8 ounces of thawed whipped topping until the mixture is light and airy, creating a fluffy base.
Step 3: Layer Assembly
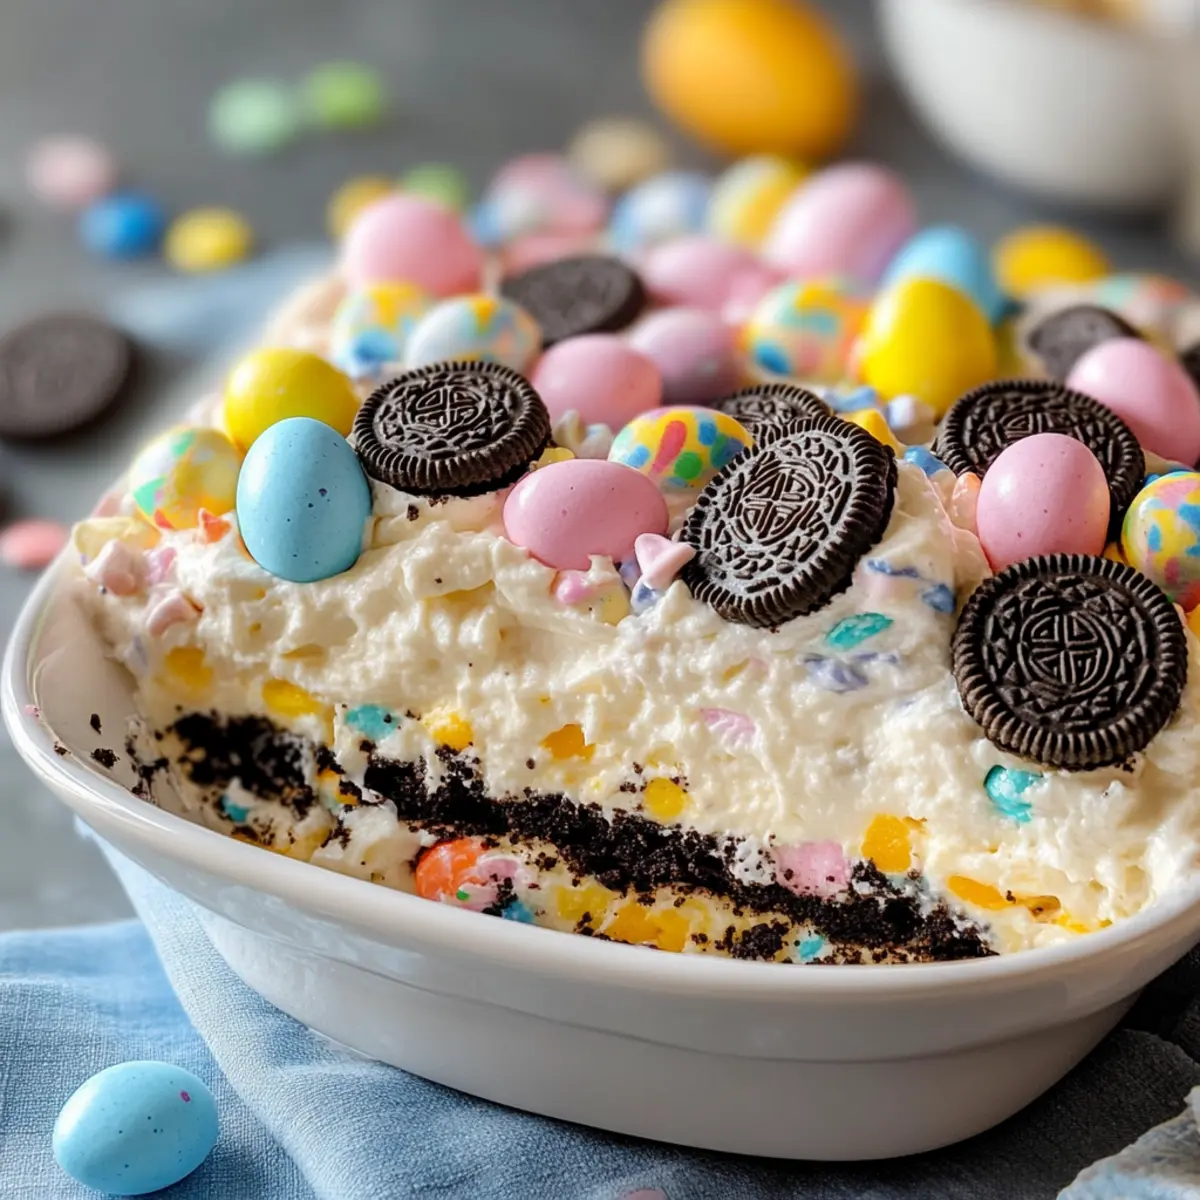
Select a clear serving dish to showcase the layers of your Easter Oreo Cookie Casserole. Start by evenly spreading half of the crushed Oreo cookies across the bottom of the dish. Next, add half of the cream cheese filling on top, smoothing it out with a spatula. Sprinkle a handful of pastel candy-coated chocolates over this layer, adding a festive touch that will delight your guests.
Step 4: Repeat Layers
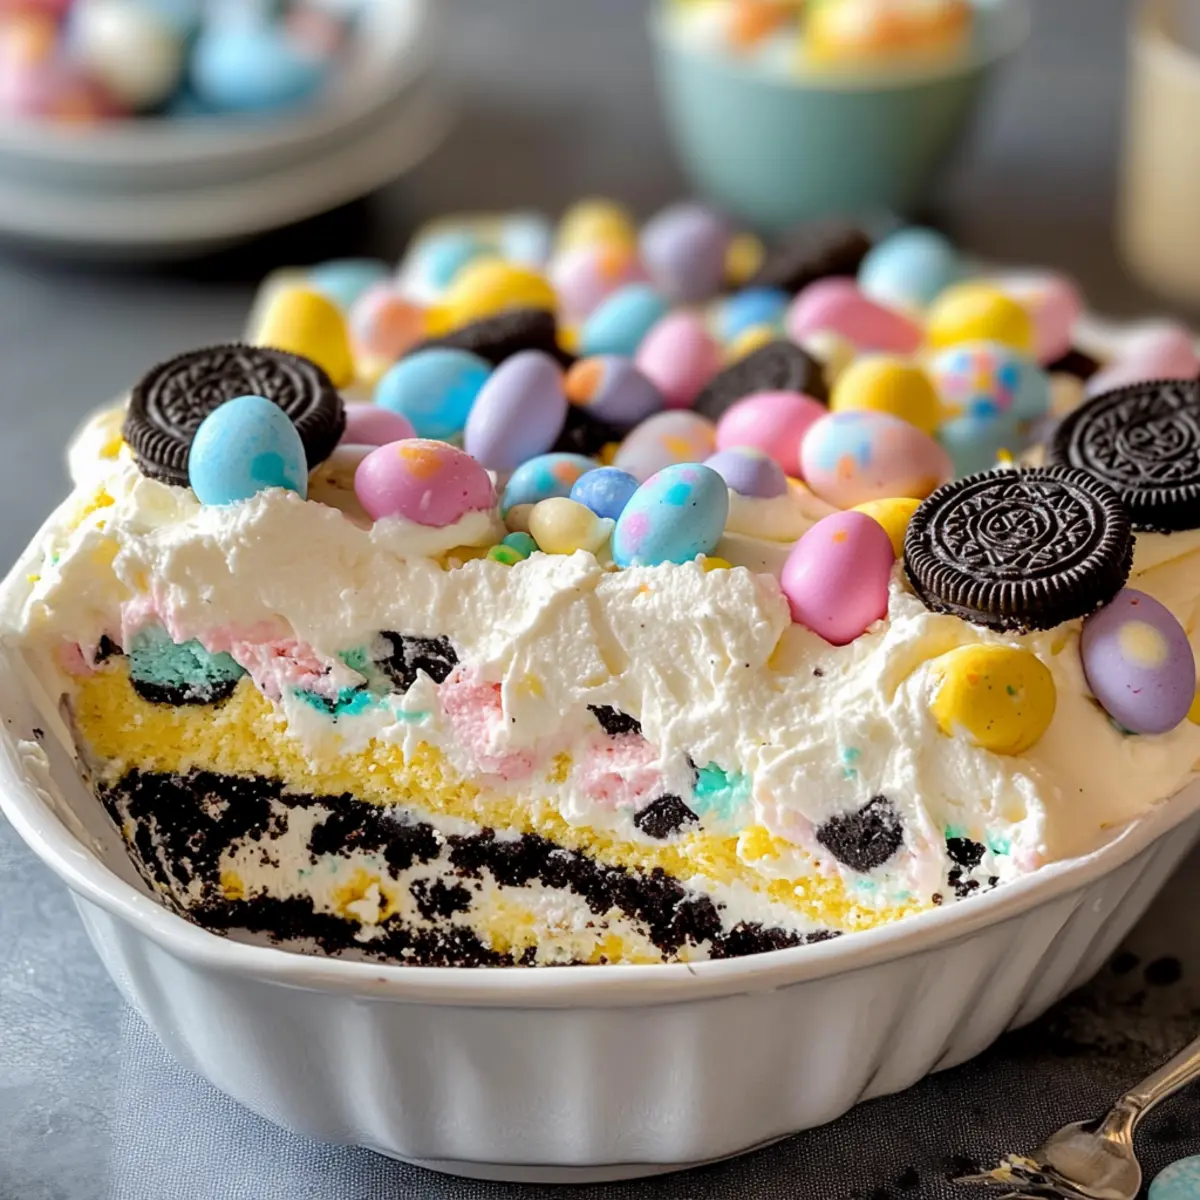
Once the first layer is complete, repeat the process with the remaining crushed Oreo cookies, followed by the rest of the cream mixture. Smooth the top layer gently to ensure an even surface. Finish this layering off by sprinkling more pastel candies for an eye-catching presentation. This assembly creates a visually striking contrast between the dark Oreos and the light filling.
Step 5: Chill
Cover your assembled Easter Oreo Cookie Casserole with plastic wrap or a lid and place it in the refrigerator. Allow it to chill for at least 1 hour, which helps the flavors meld together beautifully and sets the layers. This resting period is crucial for achieving that delightful texture and ensuring the dish holds its shape when served.
Step 6: Garnish and Serve
Before serving, take the casserole out of the fridge and add the reserved whole Oreos and any additional pastel candies or mini Oreos on top for a festive look. This final touch of decoration not only enhances visual appeal but also invites everyone to dig into this vibrant Easter Oreo Cookie Casserole. Serve chilled and enjoy the delighted reactions from your loved ones!
Expert Tips for Easter Oreo Cookie Casserole
-
Softening Ingredients: Ensure both cream cheese and butter are at room temperature before mixing for a smooth and creamy filling. Hard ingredients can lead to lumps.
-
Crunch Control: Avoid letting the casserole sit for more than 8-10 hours before serving. This prevents the Oreos from becoming overly soft and maintains that delicious crunch.
-
Layering Magic: When assembling, be generous with your layers. Each bite should showcase the contrast of crunchy Oreos, creamy filling, and vibrant candies for the best eating experience.
-
Decorating Wisely: Add delicate toppings like candy-coated chocolates right before serving. This keeps colors bright and prevents any bleeding, enhancing the visual appeal of your Easter Oreo Cookie Casserole.
-
Experiment with Flavors: Don’t hesitate to swap out Oreos or candies. Customizing this recipe allows for flavor variations, making it a joyous and personalized dessert for your celebrations!
How to Store and Freeze Easter Oreo Cookie Casserole
Fridge: Store leftovers tightly covered in the refrigerator for up to 4 days. This keeps the rich flavors fresh while maintaining the delightful texture.
Make-Ahead: You can prepare the Easter Oreo Cookie Casserole a day in advance. Just ensure it’s covered properly to avoid drying out and to maintain its beauty.
Freezer: For longer storage, freeze the casserole unassembled. Wrap layers tightly in plastic wrap and foil. It can be stored for up to 2 months.
Thawing: When ready to serve, transfer the casserole to the fridge to thaw overnight before assembling or enjoying. This helps retain the best texture and flavor.
Make Ahead Options
These delicious Easter Oreo Cookie Casserole layers are perfect for meal prep, making your holiday entertaining a breeze! You can prepare the entire casserole up to 24 hours in advance by assembling all the layers and then refrigerating it covered. This not only enhances the flavors but also saves you precious time on the day of your celebration. Just remember to hold off on adding the colorful candy toppings until you’re ready to serve; this prevents any bleeding of colors and keeps them vibrant! When it’s time to indulge, simply garnish with reserved Oreos and candies, and enjoy this delightful dessert that’s just as delicious as when freshly made!
Easter Oreo Cookie Casserole Variations
Feel free to unleash your creativity with this delightful dessert and customize it to suit your taste!
-
Dairy-Free: Use coconut cream and a dairy-free cream cheese alternative for a completely dairy-free twist. The coconut adds a lovely tropical flavor!
-
Gluten-Free: Swap out standard Oreo cookies for gluten-free Oreos, ensuring that all guests can enjoy this festive treat without worry.
-
Fruit-Filled: Add layers of fresh strawberries or raspberries between the cream filling for a refreshing burst of flavor. This adds a lovely tartness that perfectly balances the sweetness.
-
Nutty Delight: Incorporate crushed nuts, like walnuts or pecans, into the creamy filling for an unexpected crunch. It introduces a beautiful depth of flavor and texture.
-
Peanut Butter Chocolate: Mix peanut butter into the cream filling for a deliciously nutty flavor explosion! Swirling in some melted chocolate would elevate the dish even further.
-
Seasonal Sprinkles: Depending on the occasion, customize with seasonal sprinkles on top—think vibrant autumn colors for Thanksgiving or red and green for Christmas festivities.
-
Chocolate Lovers: Drizzle melted chocolate over the layers before chilling, adding a rich, chocolaty indulgence to your casserole. You can use dark or milk chocolate depending on your preference.
-
Candy Variations: Instead of pastel candies, use holiday-themed candies (like hearts for Valentine’s Day or pumpkin candies for Halloween) for a festive touch that keeps this recipe fun throughout the year.
Embrace these variations and take your Easter Oreo Cookie Casserole to new delicious heights while making cherished memories with loved ones! If you’re looking for more ideas, check out my delightful Healthy Carrot Cookies for another sweet treat that’s perfect for any occasion.
What to Serve with Easter Oreo Cookie Casserole
Prepare the perfect meal to complement the whimsical flavors of this festive dessert and elevate your gathering experience.
-
Grilled Ham Steaks: The savory, smoky flavors of ham steaks create a delightful contrast to the sweet richness of the casserole. Pairing these offers a satisfying balance on your plate.
-
Spring Salad with Berries: A light salad featuring fresh greens, strawberries, and a tangy vinaigrette brings a refreshing element to your meal. The vibrant colors will echo the cheerful pastel tones of the casserole.
-
Roasted Vegetables: Caramelized seasonal veggies like asparagus and carrots add warmth and texture, enriching your overall dining experience while keeping the meal colorful and nutritious.
-
Macaroni and Cheese: This creamy and cheesy favorite appeals to all ages, adding a comforting element to your table. Offer it alongside the casserole for a playful, nostalgic feel everyone will love.
-
Sparkling Lemonade: A bubbly lemon drink adds a cheerful pop to your gathering, enhancing the fun atmosphere and beautifully offsetting the sweetness of the dessert.
-
Chocolate-Covered Strawberries: This delightful contrast of flavors and textures is a perfect pre-dessert bite. The fruity and chocolate aspects reflect the fun spirit of the Easter Oreo Cookie Casserole.
Easter Oreo Cookie Casserole Recipe FAQs
How do I choose the best Oreos for my casserole?
Absolutely! When selecting Oreos for your Easter Oreo Cookie Casserole, look for those with a sealed package, ensuring freshness. Check for any dark spots or signs of staleness on the cookies. You can also consider using different flavored Oreos for a twist, like peanut butter or mint!
What’s the best way to store leftovers?
Very! To store leftovers, cover the casserole tightly with plastic wrap or a lid and refrigerate it. It will stay fresh for up to 4 days. If you notice any excess moisture in the container, place a paper towel underneath the cover to absorb it. This helps maintain the delicious texture of your casserole.
Can I freeze Easter Oreo Cookie Casserole?
Definitely! To freeze the casserole, I recommend assembling the layers but not adding the toppings. Wrap the entire dish tightly in plastic wrap followed by aluminum foil to prevent freezer burn. It can be stored for up to 2 months. When you’re ready to enjoy it, thaw it in the refrigerator overnight before serving.
What should I do if my cream filling is too runny?
If you find your filling is a bit runny, don’t worry! First, ensure that the cream cheese and butter are softened at room temperature but not melted. If it’s still loose, try adding a bit more powdered sugar to thicken it, or fold in a few more ounces of whipped topping. Chill the casserole for a longer period, as this allows it to set properly.
Is this dessert safe for pets, or does it contain any allergens?
Great question! The Easter Oreo Cookie Casserole contains ingredients such as cream cheese and sugar, which are not suitable for pets. If you’re preparing this dessert for gatherings, it’s good practice to inform guests about allergens, especially dairy and gluten if using regular Oreos. Always check ingredient labels if there are specific allergies to consider!
Easter Oreo Cookie Casserole: A No-Bake Dream Dessert!
Ingredients
Equipment
Method
- Crush 36 Oreo cookies into bite-sized chunks using a zip-top bag and a rolling pin, or pulse them in a food processor for a finer texture. Reserve a few whole cookies for garnishing.
- In a large mixing bowl, combine 8 ounces of softened cream cheese and 4 tablespoons of softened unsalted butter. Use an electric mixer to beat until smooth. Gradually add 1 cup of powdered sugar, mixing until fully incorporated, then gently fold in 8 ounces of thawed whipped topping.
- Select a clear serving dish and spread half of the crushed Oreo cookies across the bottom. Add half of the cream cheese filling on top.
- Sprinkle a handful of pastel candy-coated chocolates over the first layer, then repeat with the remaining Oreo cookies and cream mixture, smoothing gently.
- Cover the casserole with plastic wrap or a lid and refrigerate for at least 1 hour.
- Before serving, add reserved whole Oreos and extra pastel candies on top. Serve chilled.
Leave a Reply