
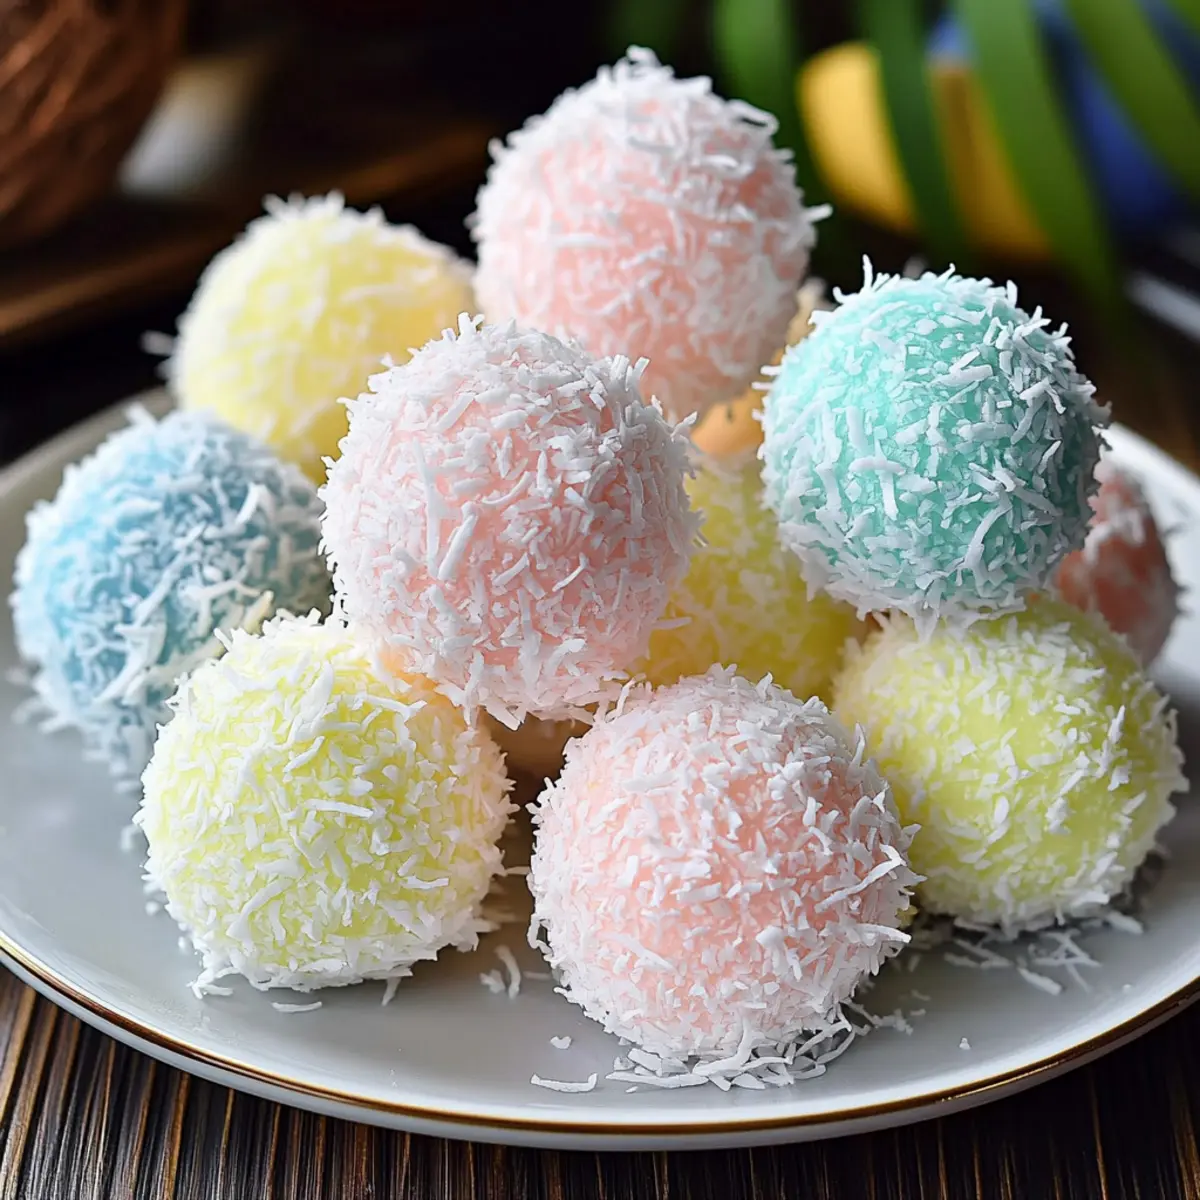
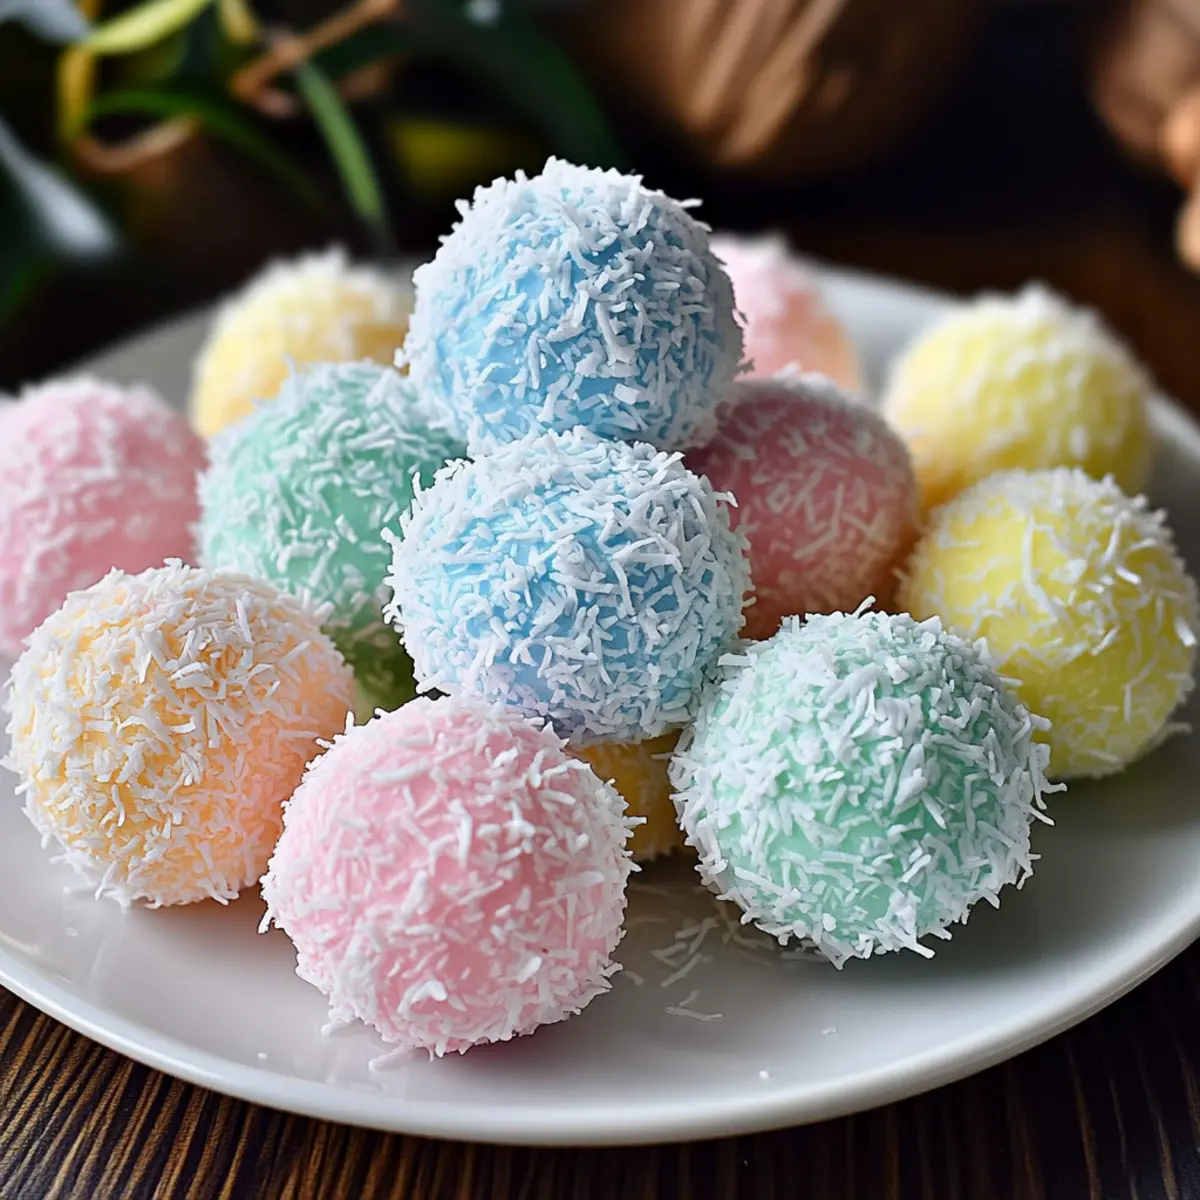
With the faint scent of spring in the air, I can’t help but feel a surge of excitement for Easter! This year, I wanted to create something not only delightful but also profoundly fun to make—enter my Easter Bunny Coconut Tails. These colorful, no-bake treats are perfect for bringing kids into the kitchen, turning them into little chefs as they roll and coat their own sweet bundles. Not only do they showcase a lovely pastel palette that enhances your holiday spread, but they also allow you to cater to varying taste preferences with easy adjustments between sweetened and unsweetened coconut. Imagine the joy on everyone’s faces when these playful treats hop onto the dessert table! Are you ready to whip up some sweet magic together?
Why are Easter Bunny Coconut Tails a must-try?
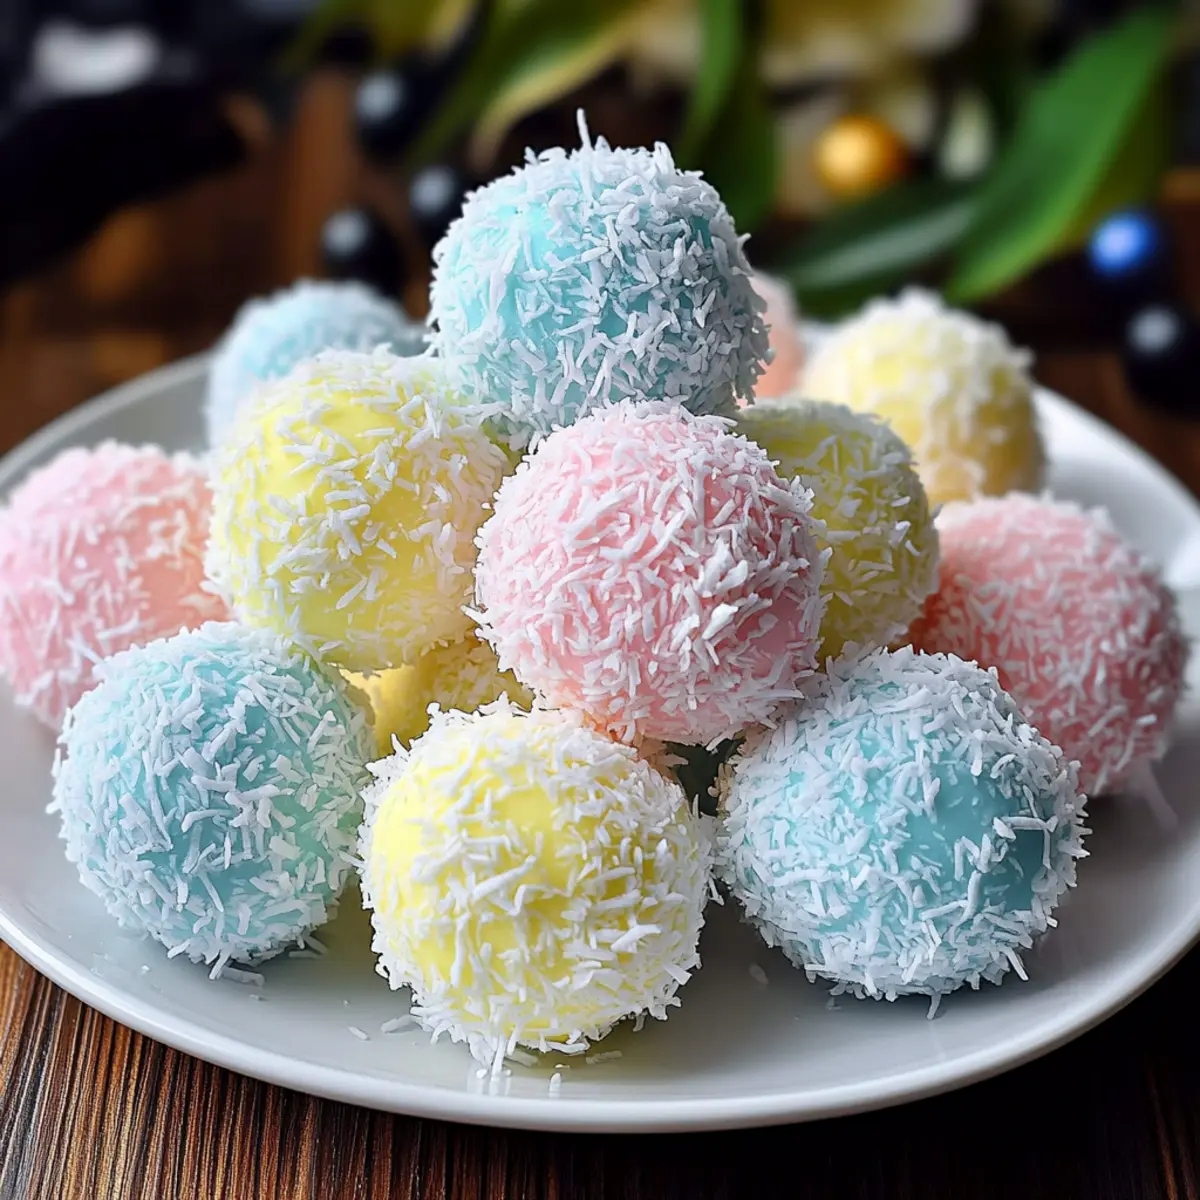
Kid-Friendly Fun: These delightful treats are perfect for little hands to help make. No-Bake Ease: No oven required means less mess and more time to enjoy with family. Personalized Flavor: Choose between sweetened or unsweetened coconut to suit any palate. Vibrant Colors: The pastel shades create an eye-catching addition to your holiday table, appealing to kids and adults alike. Quick Assembly: With just a few simple steps, you can whip these up in no time, perfect for last-minute gatherings. For more fun treats, check out my Breakfast Granola Cups that are also easy to make!
Easter Bunny Coconut Tails Ingredients
For the Coconut Mixture
• Unsweetened Shredded Coconut (Medium Shred) – Adds delightful coconut flavor and texture; using sweetened coconut will heighten the sweetness.
• Unsweetened Shredded Coconut (Fine Shred) – Ideal for coating; gives a silky finish and can be dyed to your liking.
• Sweetened Condensed Milk – Binds the mixture together while adding moisture; substitute with dairy-free condensed milk for a vegan treat.
• Butter (Melted & Cooled) – Provides richness and ensures the mixture holds together; opt for plant-based butter to make it dairy-free.
• Vanilla Extract – Enhances the overall flavor; feel free to leave it out if you prefer a more straightforward taste.
• Confectioner’s Sugar – Sweetens and helps achieve perfect rolling consistency.
For the Coating
• Liquid Food Coloring – Use to achieve pastel hues on the coconut coating; gel coloring works well but needs a bit of water to mix.
Step‑by‑Step Instructions for Easter Bunny Coconut Tails
Step 1: Prepare the Coconut Mixture
In a large mixing bowl, whisk together 1 cup of sweetened condensed milk, ½ cup of melted and cooled butter, and 1 teaspoon of vanilla extract until fully blended. This creamy mixture should be smooth and cohesive, taking about 1-2 minutes. Ensure your bowl is large enough to accommodate the subsequent ingredients for your Easter Bunny Coconut Tails.
Step 2: Incorporate Coconut and Sugar
Add 3 cups of medium-shred unsweetened coconut along with ½ cup of confectioner’s sugar to the bowl. Stir thoroughly until the mixture becomes sticky and thick, about 3-4 minutes. The coconut should be evenly coated, making it easy to shape later. You will know it’s ready when it forms a cohesive dough-like texture that holds its shape.
Step 3: Chill the Mixture
Cover the bowl with plastic wrap and place it in the refrigerator for about 15 minutes. This chilling time allows the coconut mixture to firm up, making it easier to scoop and roll into balls. Aim for a slightly set consistency that holds its shape when pressed, which is crucial for forming your cute Easter Bunny Coconut Tails.
Step 4: Color the Fine Coconut
While the mixture chills, prepare your colored coconut coating. Divide 2 cups of fine-shred unsweetened coconut into small bowls. Add a few drops of liquid food coloring to each bowl, mixing thoroughly with a fork to distribute the color evenly. This will create a vibrant array of pastel shades perfect for coating your Easter Bunny Coconut Tails and elevating their festive appeal.
Step 5: Shape the Coconut Tails
Once chilled, remove the coconut mixture from the refrigerator. Using a teaspoon, scoop out portions of the mixture (about 1½ teaspoons each) and roll them into smooth balls with your hands. The mixture should feel sticky yet manageable. Aim to create approximately 20-24 coconut balls, each resembling a cute little tail, ready to be coated.
Step 6: Coat in Colored Coconut
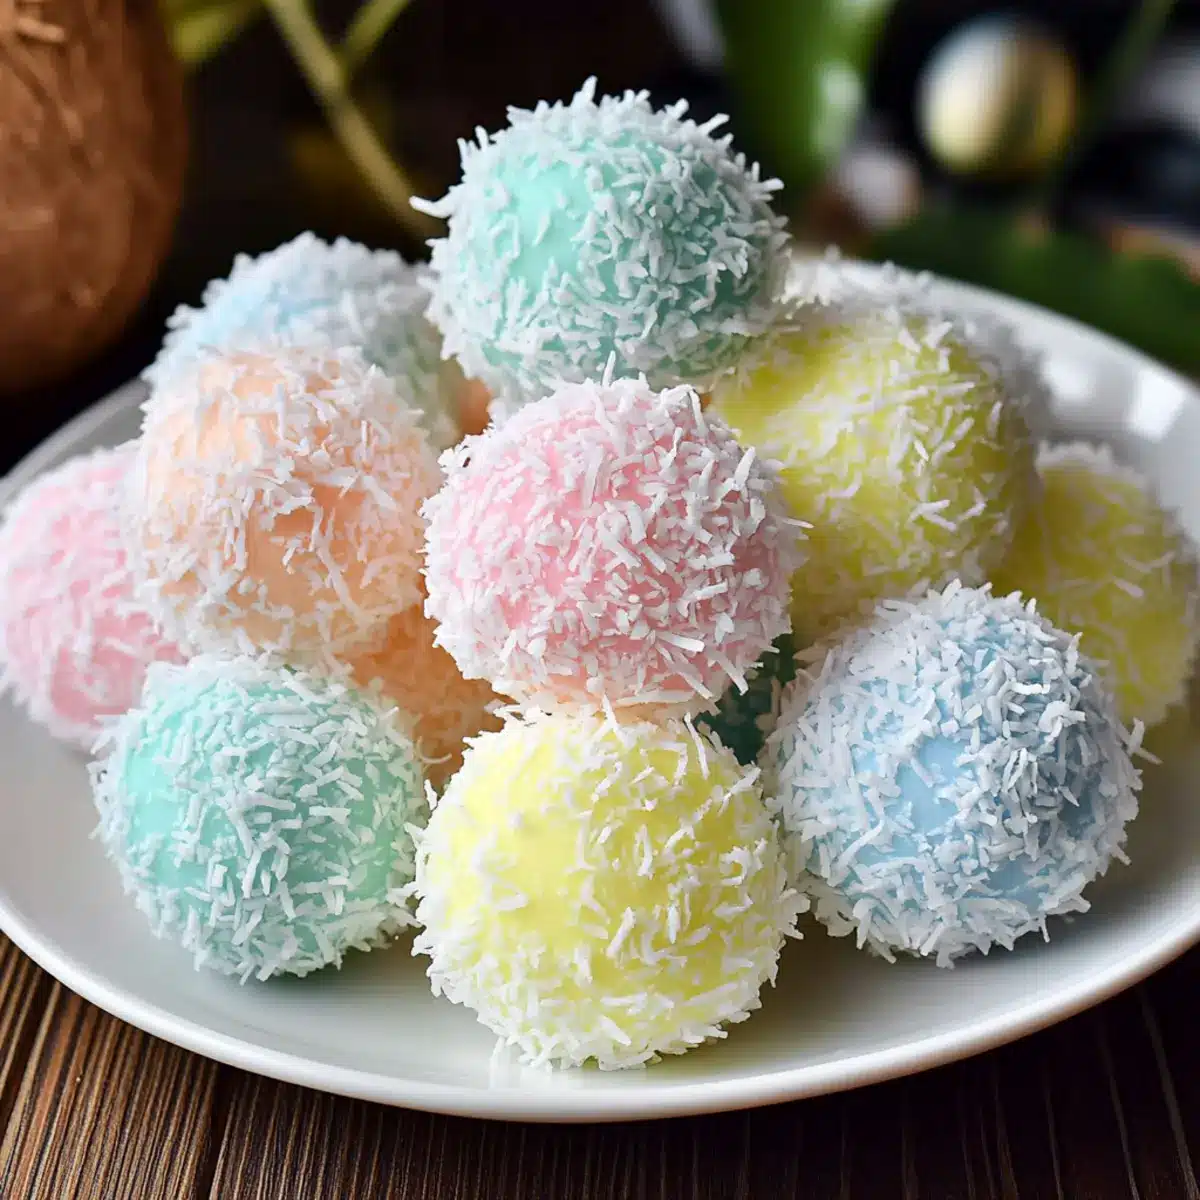
Take each ball and roll it in the colored fine-shred coconut, pressing gently to ensure full coverage. Each Easter Bunny Coconut Tail should be coated generously, resulting in a fluffy and vibrant appearance. Place the coated balls on a parchment-lined baking sheet, ensuring they are spaced apart to prevent sticking together.
Step 7: Set the Coconut Tails
Finally, refrigerate the coated Easter Bunny Coconut Tails for about 1 hour to allow them to set properly. This step ensures they firm up and hold their shape when served. Once they have set and are nice and cold, they are ready to make a cheerful appearance on your dessert table!
Easter Bunny Coconut Tails Variations
Invite your creativity to play with these delightful twists on our Easter Bunny Coconut Tails!
-
Sweetened Coconut: Use sweetened shredded coconut if you prefer a sweeter treat that brings a joyful burst of flavor with every bite.
-
Unsweetened Coconut: For a lighter option, swap in unsweetened coconut, allowing the natural coconut flavor to shine through beautifully.
-
Pastel Color Mix: Combine different pastel colors for a marbled effect—just imagine the cheerful blend of hues turning your tails into little works of art!
-
Mini Chocolate Chips: Enhance the texture by folding in mini chocolate chips for an unexpected chocolate surprise that kids will adore.
-
Nutty Crunch: Add finely chopped nuts like almonds or pecans to the mix for a delightful crunch that pairs wonderfully with soft coconut.
-
Coconut-Cocoa Flavor: Mix in a tablespoon of cocoa powder for a chocolatey twist that’s sure to enchant both kids and adults at your Easter celebration.
-
Gel Food Coloring: Opt for gel food coloring instead of liquid for vibrant colors that won’t dilute your coconut coating. It’s an easy way to achieve deep hues without the extra moisture!
-
Layering Techniques: Create a tiered or layered look by rolling half in different colored coconut and sprinkling the other half with edible glitter for a festive finishing touch!
Each variation lets you personalize your coconut tails, making them as special as your Easter gathering. For even more delicious ideas, don’t miss my Pineapple Coconut Dream and other scrumptious options!
Make Ahead Options
These Easter Bunny Coconut Tails are perfect for meal prep, allowing you to spend more time enjoying the festivities! You can prepare the coconut mixture up to 24 hours in advance by following Steps 1-3, then keep it tightly covered in the refrigerator to maintain its freshness. Additionally, the colored coconut can be prepped and stored in separate airtight containers for up to 3 days before assembly. When you’re ready to serve, simply scoop and roll the chilled mixture into balls, coat them in the colored coconut, and refrigerate for an hour to set. This method ensures that your treats are just as delightful and vibrant while saving you precious time during your Easter celebrations!
How to Store and Freeze Easter Bunny Coconut Tails
Fridge: Store your Easter Bunny Coconut Tails in an airtight container lined with parchment paper to prevent sticking. They will stay fresh for up to 1 week.
Freezer: For longer storage, freeze the coconut tails! Place them in a single layer on a baking sheet to freeze, then transfer to an airtight container or freezer bag. They can be frozen for up to 3 months.
Thawing: When ready to enjoy, simply transfer the frozen tails to the fridge for a few hours to thaw. They’ll be just as delightful as when you first made them!
Serving Tip: For best flavor, let them sit at room temperature for 10-15 minutes before serving for the perfect chewy texture!
What to Serve with Easter Bunny Coconut Tails
Elevate your dessert table with delightful accompaniments that bring out the best in these playful coconut treats.
- Fresh Fruit Salad: A bright, refreshing fruit salad adds a burst of color and juicy sweetness, perfectly balancing the richness of the coconut tails.
- Chocolate Dipping Sauce: Rich chocolate drizzled over these delightful tails creates a luxurious twist, satisfying every sweet tooth in sight.
- Chilled Lemonade: A zesty, refreshing lemonade cleanses the palate, making each sip a perfect complement to the creamy sweetness of the tails.
- Mini Cupcakes: Light and fluffy mini cupcakes are a treat that entices with varied flavors, adding a soft texture alongside your coconut delights.
- Easter Themed Cookies: Bunny-shaped or pastel-colored cookies enhance the festive spirit, creating a fun, cohesive dessert theme for your celebration.
- Coffee or Tea: A warm brew offers a cozy contrast to the chewy texture of the tails, inviting guests to linger over delightful conversations.
- Marshmallow Treats: Soft and chewy marshmallow treats present a similar texture but with a different flavor profile, making for a fun pairing.
- Coconut Mojito: A refreshing coconut mojito with mint is an exciting drink that echoes the coconut flavor while adding a festive flair.
- Carrot Cake Bites: These moist, spiced cake bites provide a unique twist, enhancing the Easter theme while contrasting beautifully with your coconut tails.
Expert Tips for Easter Bunny Coconut Tails
Perfect Coconut Color: Use a small amount of water: If your coconut isn’t coloring evenly, a tiny splash of water can help spread the food coloring.
Easy Vegan Swap: Substitution made simple: For a vegan-friendly treat, ensure you use dairy-free condensed milk and plant-based butter in your Easter Bunny Coconut Tails.
Storage Savvy: Keep them fresh: Store completed tails in the fridge between layers of parchment paper to prevent sticking. They can be made up to one week ahead!
Avoid Sticky Hands: Use damp fingertips: Lightly wetting your hands before rolling the coconut balls can prevent stickiness and help shape the tails with ease.
Experiment with Variations: Mix it up: Try using different colored coconut or adding mini chocolate chips for an extra touch. Each twist creates a unique flavor experience!
Easter Bunny Coconut Tails Recipe FAQs
How do I choose the right coconut for my Easter Bunny Coconut Tails?
When choosing coconut, I recommend using unsweetened shredded coconut for a more natural taste. If you prefer a sweeter treat, feel free to swap it for sweetened coconut. For the coating, fine-shred coconut provides a beautiful finish, and you can color it to match your pastel palette!
How should I store leftover Easter Bunny Coconut Tails?
Store your treats in an airtight container lined with parchment paper to prevent sticking. They will stay fresh in the fridge for up to one week. I often make them in advance for gatherings, and they hold up beautifully!
Can I freeze Easter Bunny Coconut Tails?
Absolutely! To freeze your coconut tails, place them in a single layer on a baking sheet to freeze for a few hours. Afterward, transfer them to an airtight container or a freezer bag. They can be stored for up to 3 months. Just remember to thaw them in the fridge before enjoying!
What if my coconut isn’t coloring evenly?
If you notice uneven coloring, just add a tiny splash of water to your food coloring, and mix it through the coconut gently. This little trick helps distribute the color more evenly, ensuring your tails are vibrantly festive!
Are there any dietary considerations for pets or allergies?
Yes, it’s important to keep these treats away from pets, especially dogs, since they may not digest coconut well. Also, please note that sweetened condensed milk contains dairy, so for a safe option for those with lactose intolerance, use dairy-free condensed milk and plant-based butter for a vegan version!
Can I adjust the sweetness of the recipe?
Yes, you can easily control the sweetness by using unsweetened shredded coconut in place of sweetened coconut, and adjusting the amount of confectioner’s sugar as needed. If you want to reduce sugars further, consider adding natural sweeteners like pure maple syrup or honey (if not vegan).
Easter Bunny Coconut Tails: Fun No-Bake Treats for Kids
Ingredients
Equipment
Method
- In a large mixing bowl, whisk together 1 cup of sweetened condensed milk, ½ cup of melted and cooled butter, and 1 teaspoon of vanilla extract until fully blended.
- Add 3 cups of medium-shred unsweetened coconut along with ½ cup of confectioner’s sugar to the bowl. Stir thoroughly until the mixture becomes sticky and thick.
- Cover the bowl with plastic wrap and place it in the refrigerator for about 15 minutes.
- Divide 2 cups of fine-shred unsweetened coconut into small bowls and add a few drops of liquid food coloring to each bowl, mixing thoroughly.
- Once chilled, remove the coconut mixture from the refrigerator. Using a teaspoon, scoop out portions of the mixture (about 1½ teaspoons each) and roll them into smooth balls.
- Take each ball and roll it in the colored fine-shred coconut, pressing gently to ensure full coverage.
- Finally, refrigerate the coated Easter Bunny Coconut Tails for about 1 hour to allow them to set properly.
Leave a Reply